在本地搭建 SVN 教程
SVN 使用教程
以下内容参考自:SVN使用详细教程_大梦谁先觉i的博客-CSDN博客_svn使用教程
一、SVN 安装
1.1 软件下载
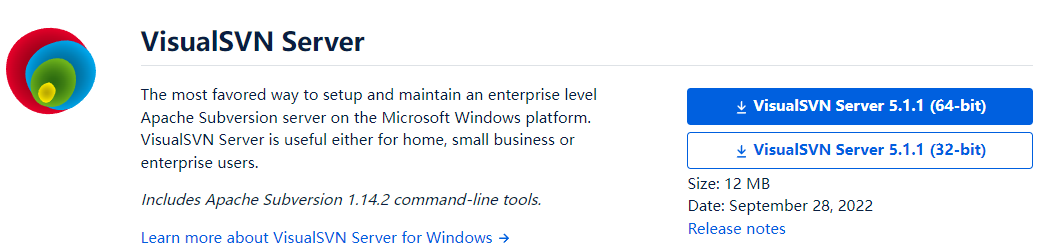

软件打包地址:https://melephant.lanzoue.com/iXRj50hnm5oh
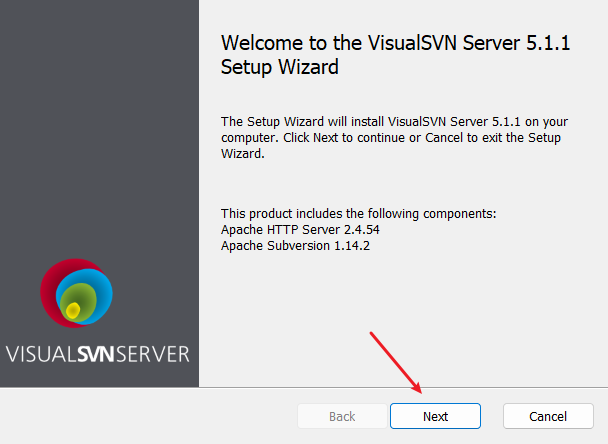
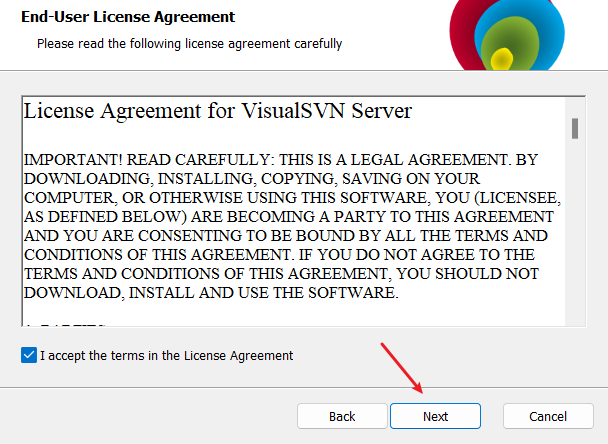
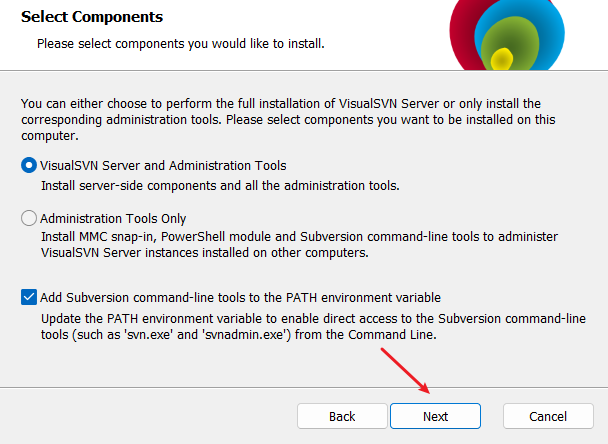
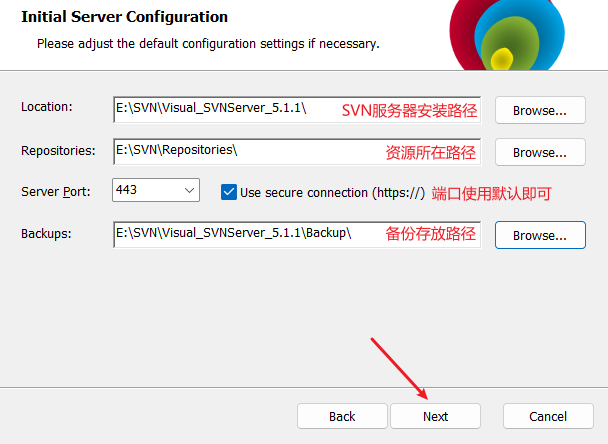
1.2 VisualSVN Server 安装
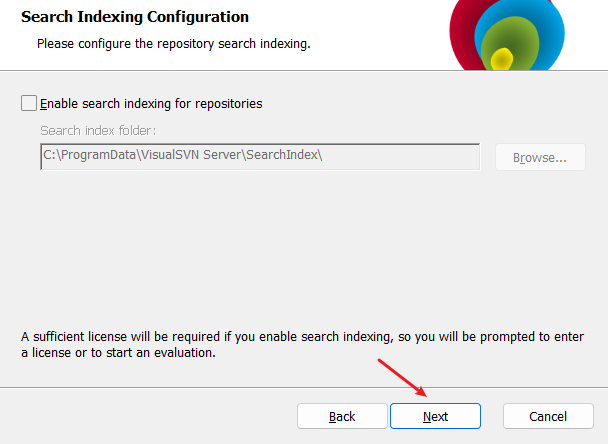
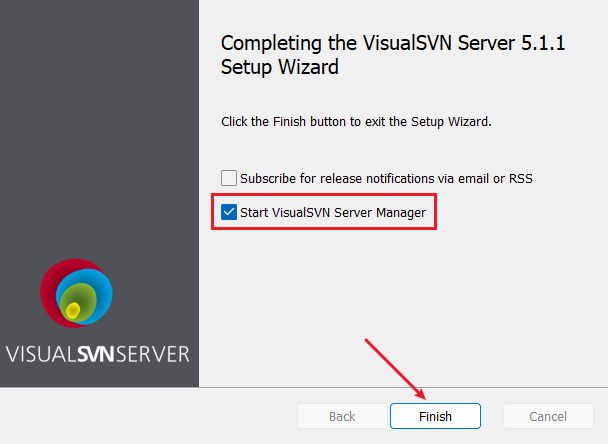
双击「VisualSVN-Server-5.1.1-x64.msi」进行安装,安装图解如下所示:

安装完成后可勾选复选框:
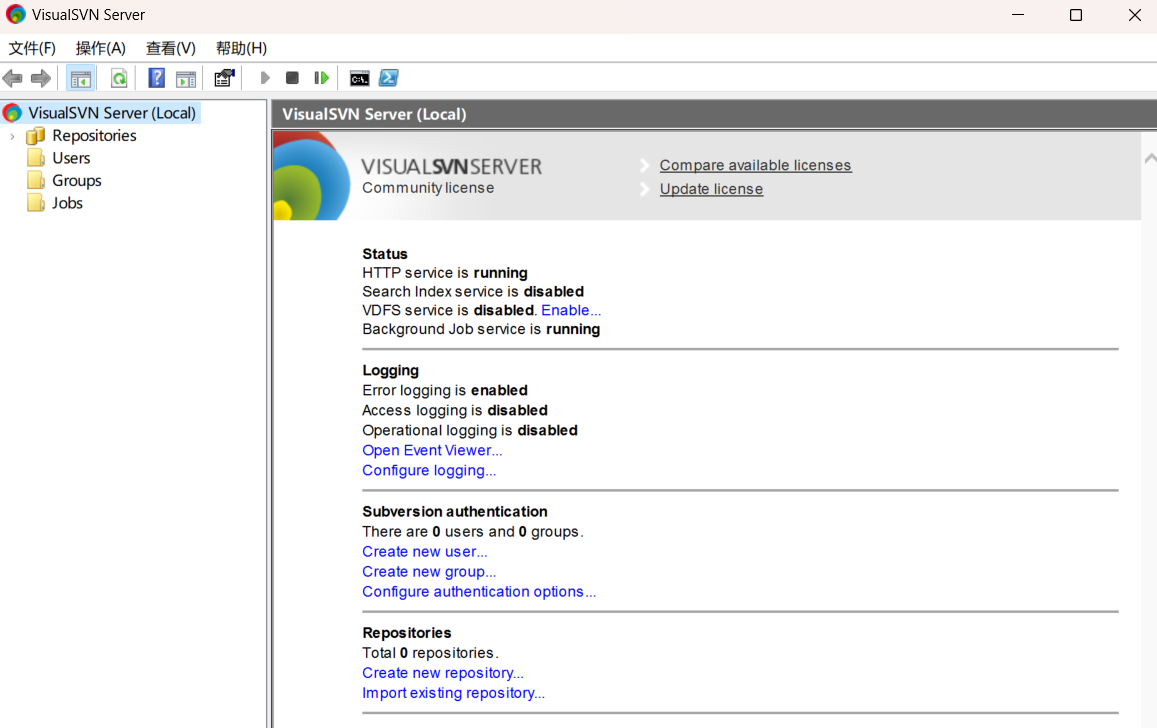
出现如下窗口,则表示安装成功:
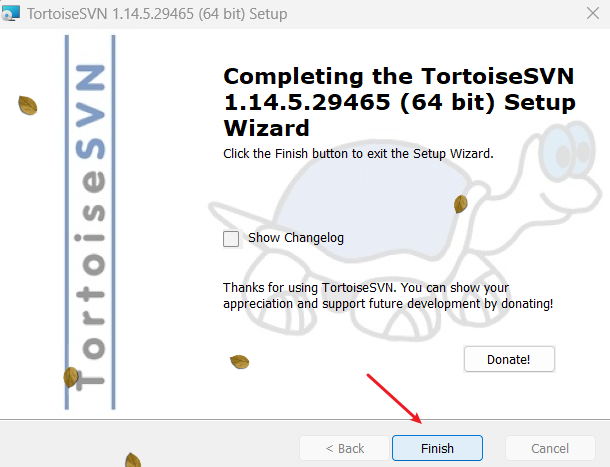
1.3 TortoiseSVN 安装
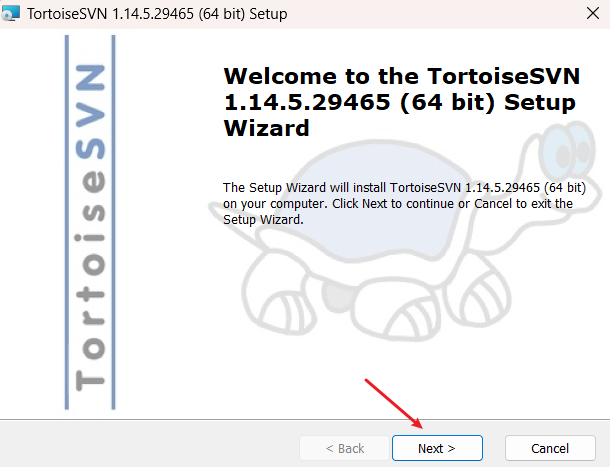
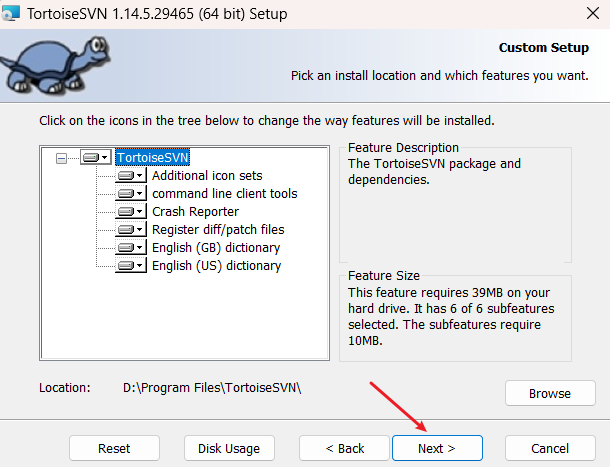
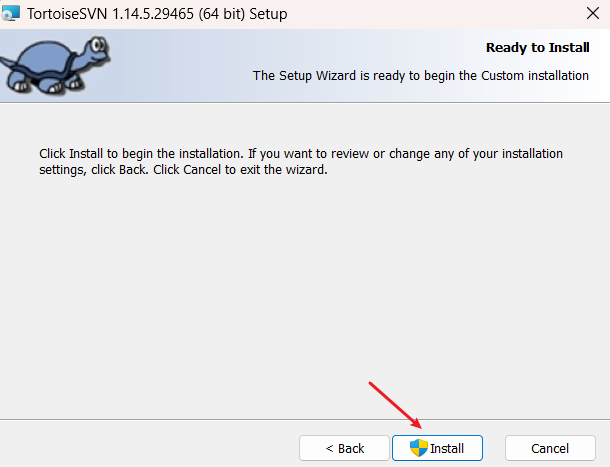
双击「TortoiseSVN-1.14.5.29465-x64-svn-1.14.2.msi」进行安装,安装图解如下所示:

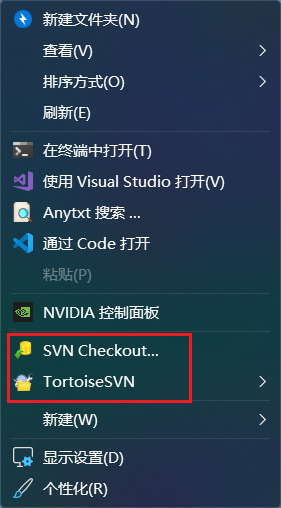
在桌面任意空白的地方「右键」,出现如下内容,则表示安装成功:
二、SVN 配置
2.1 设置 IP 和端口
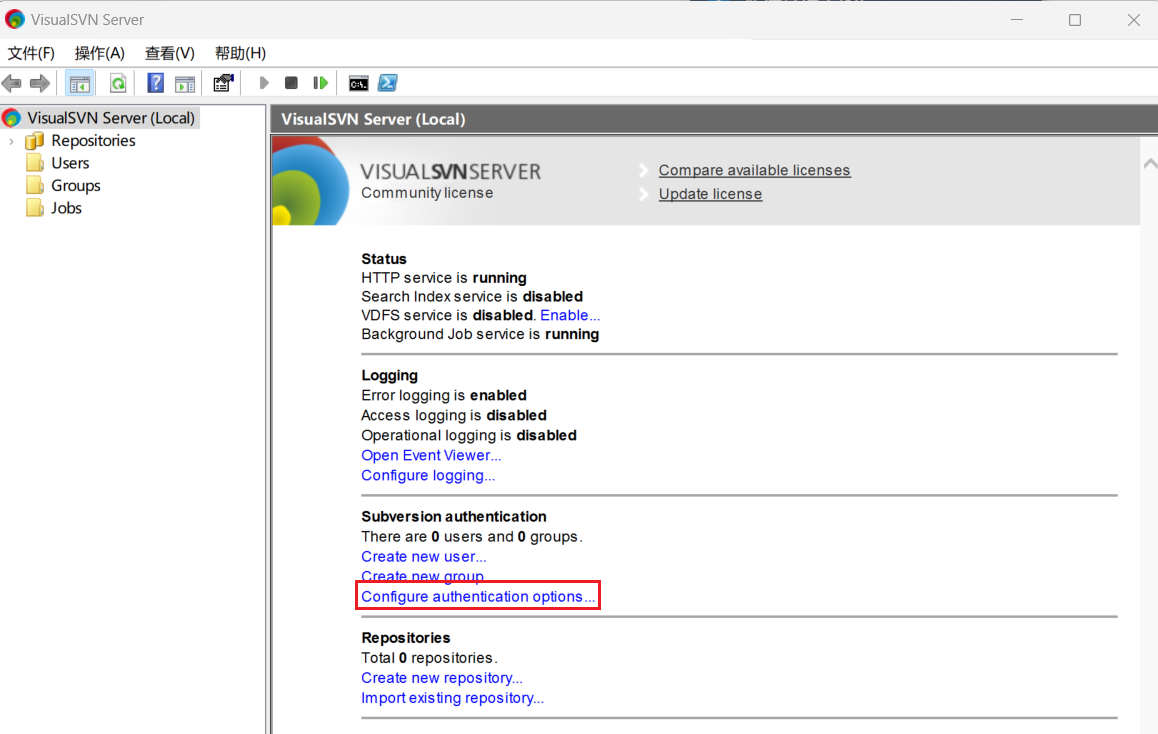
打开服务器,选择「Configure authentication options…」:
设置 Server name (建议使用当前IP):
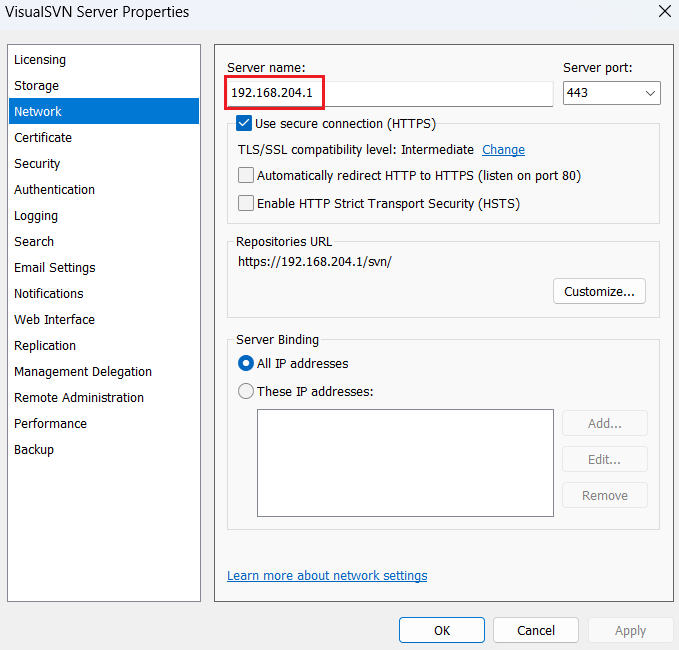
Server name 的值可以设置为:
- 127.0.0.1 (只能本地自己访问)
- 电脑用户名(只能本地自己访问)
- 当前 IP(能够 ping 通 IP 的用户均可访问)
Server Port 使用默认值即可。
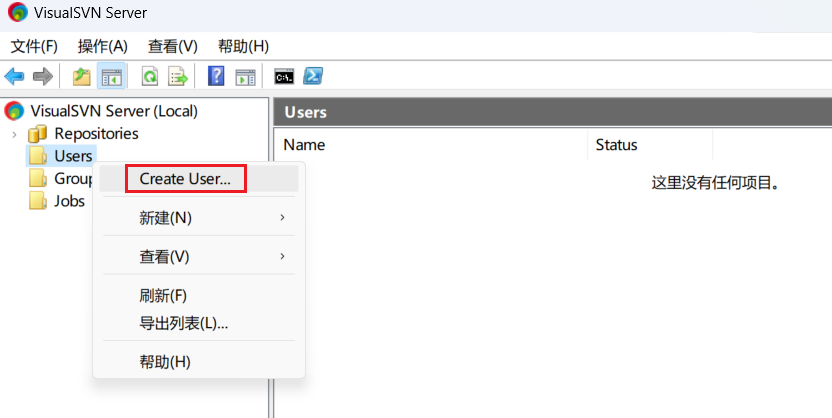
2.2 新建账号密码
-
右键「Users」选择「Create User...」:
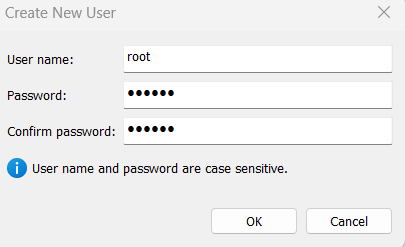
-
设置用户名和密码:
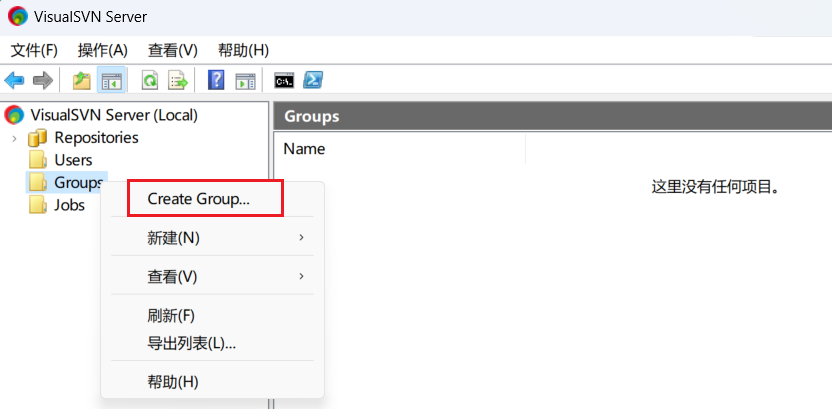
2.3 新建分组
- 右键「Group」选择「Create Group...」:
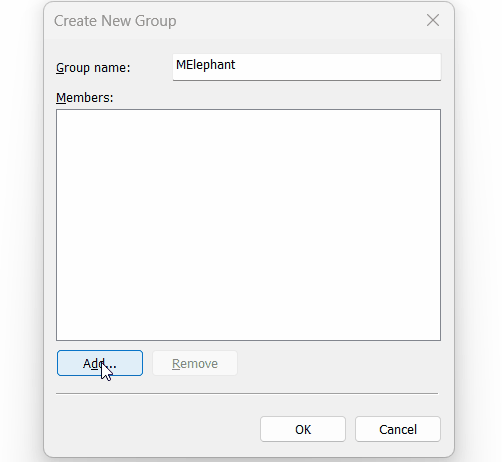
- 自定义分组名称,并为分组添加用户:
- 右键「Group」选择「Create Group...」:
三、SVN 使用
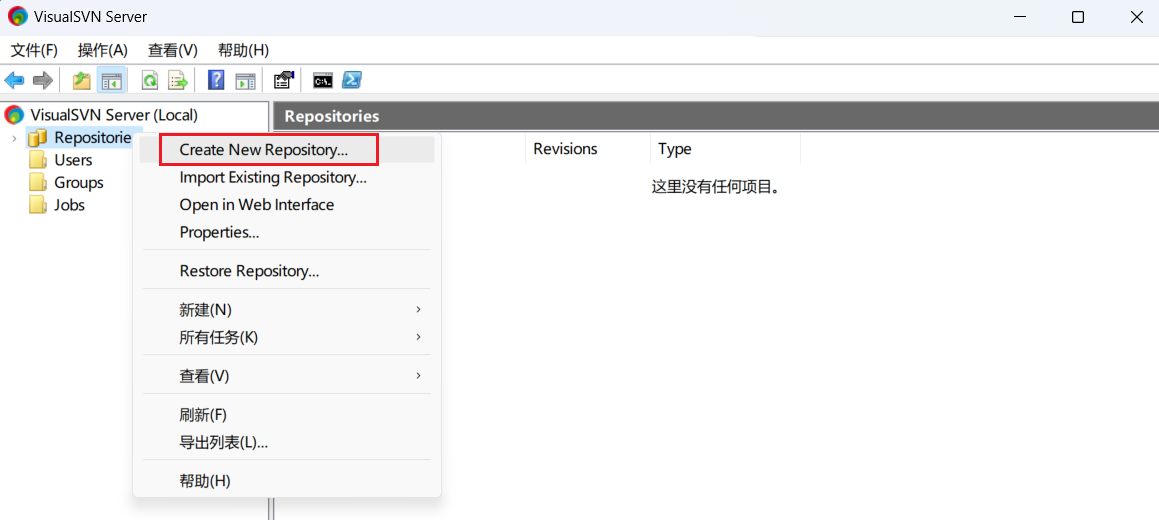
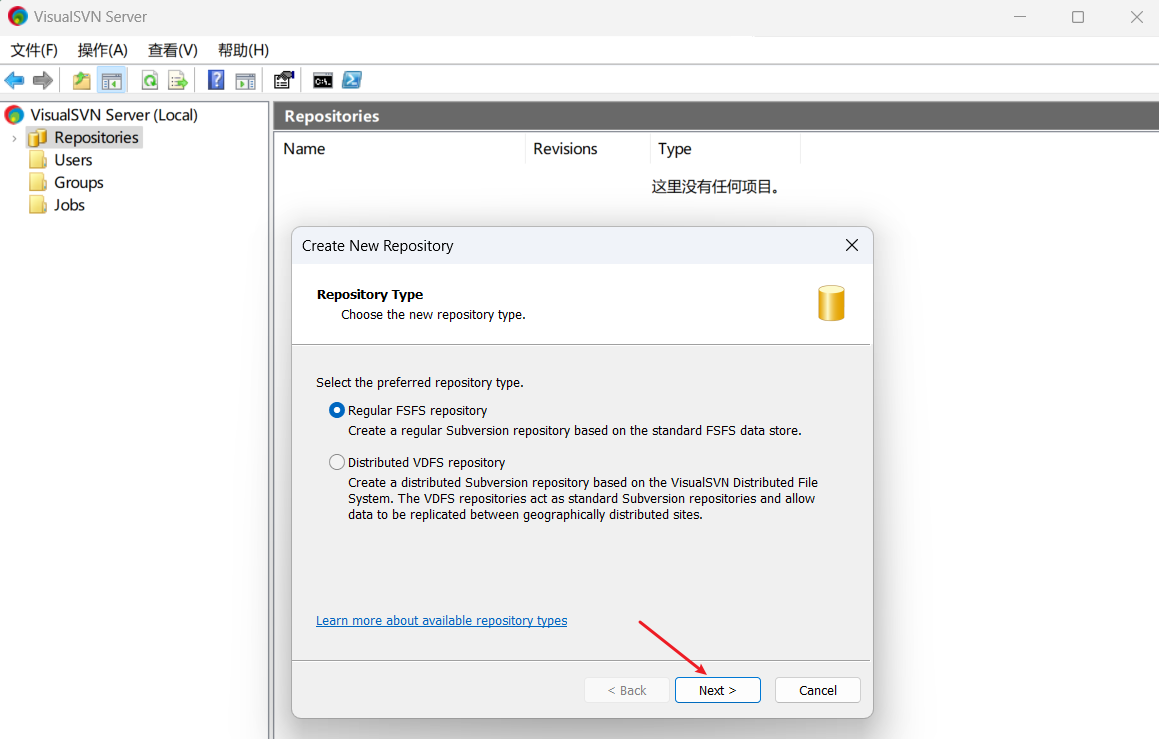
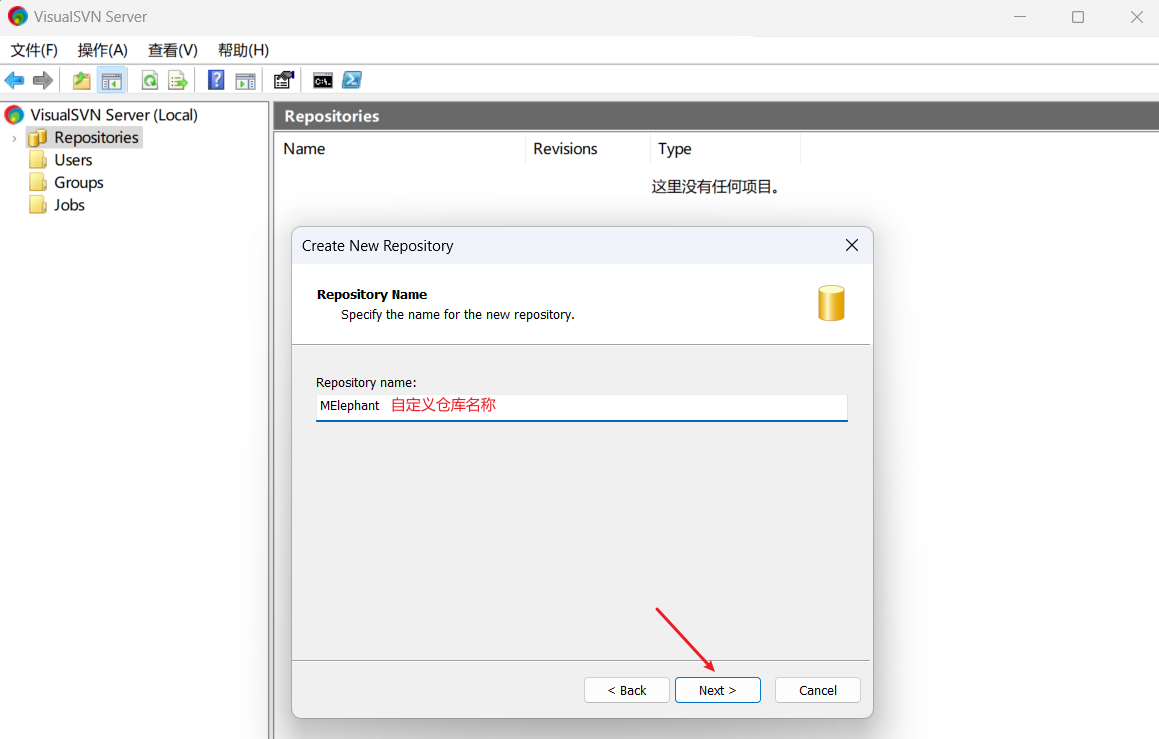
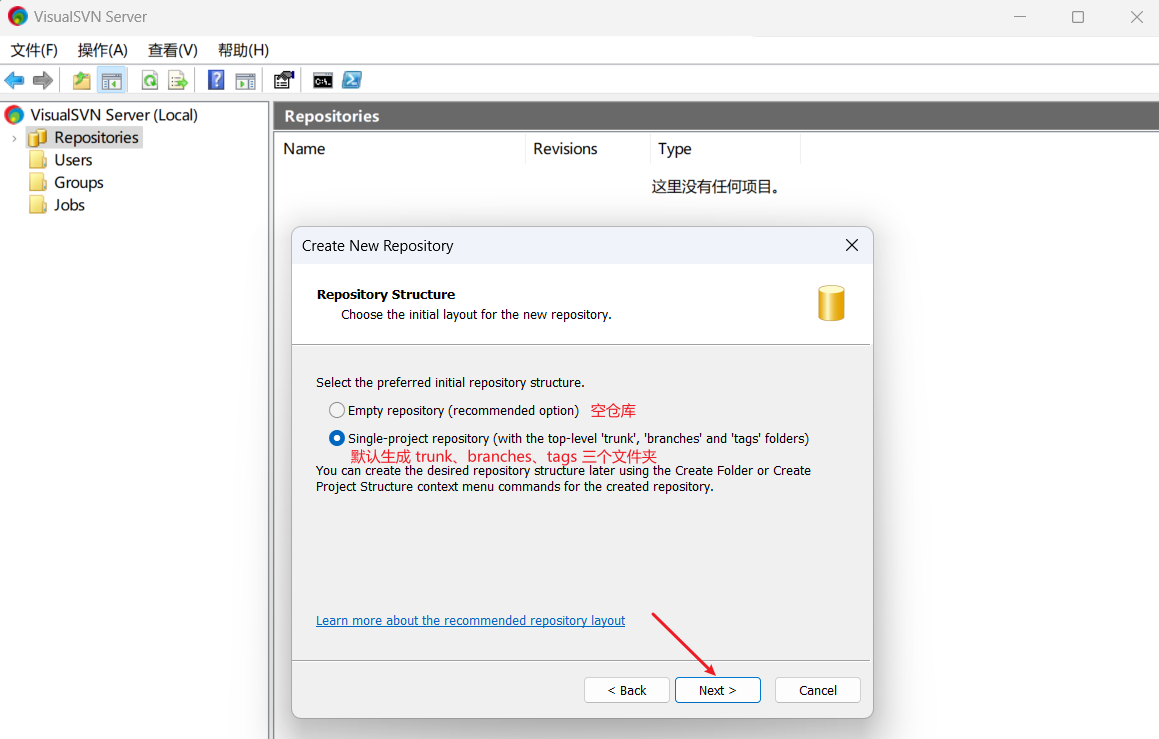
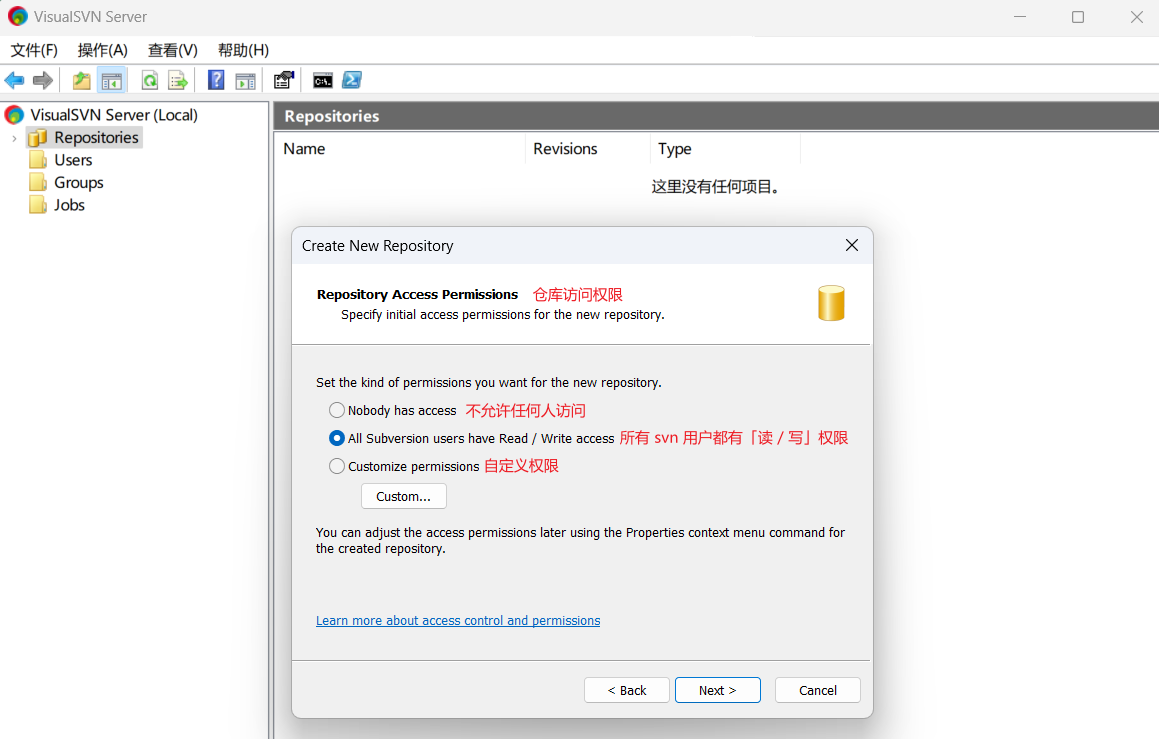
3.1 新建仓库
右键「Repositories」,选择「Create New Repository…」:
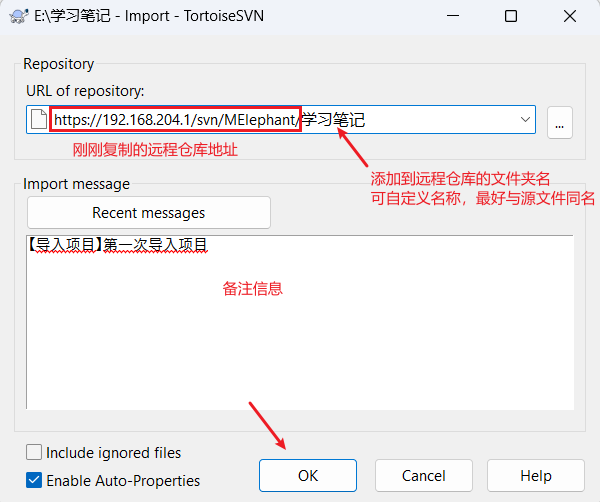
3.2 本地项目导入 SVN
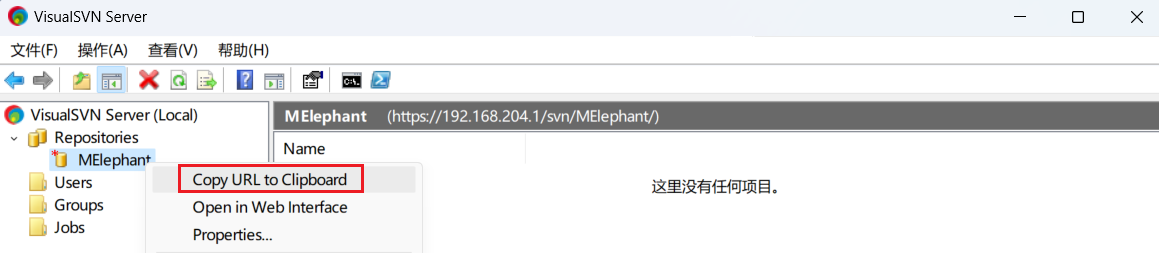
-
拷贝远程仓库的地址:
-
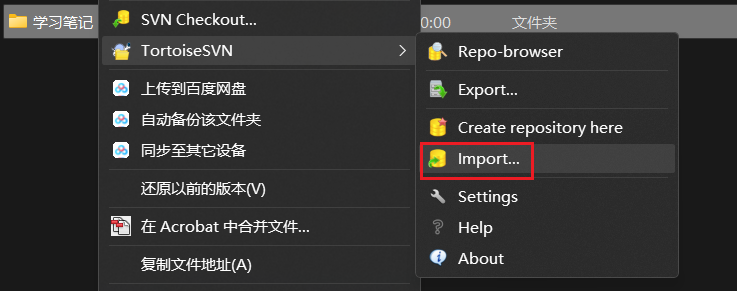
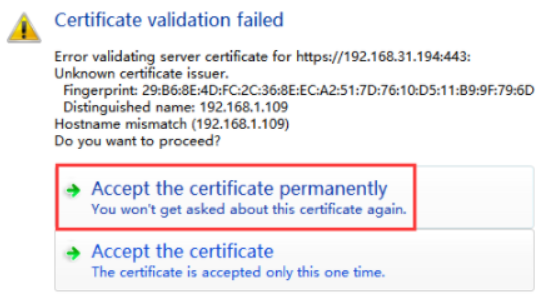
选择任意项目,右键选择「Import...」:
-
选择永久接受:
-
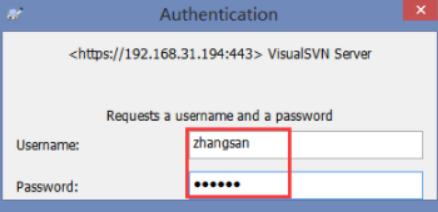
输入账号密码(步骤 2.2 创建的用户名和密码):
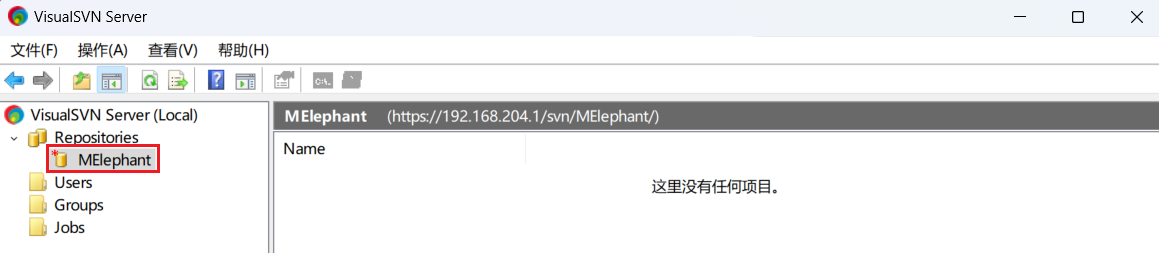
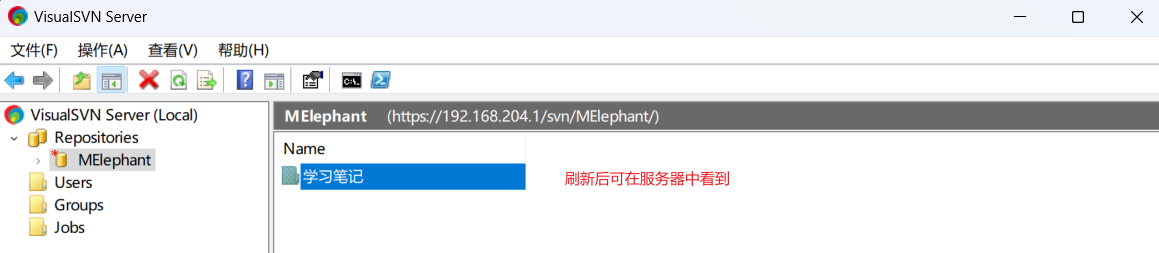
导入成功后可在服务器中看到的效果:
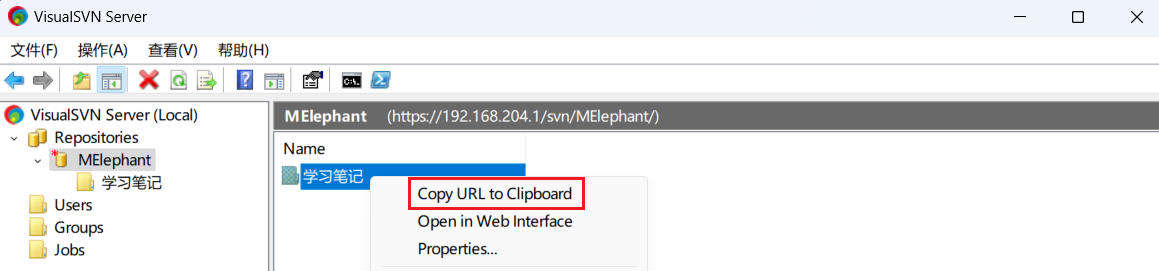
3.3 将远程仓库的项目检出至本地
-
复制要下载的项目的远程地址:
-
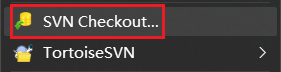
在需要检索项目的目录中,右键选择「SVN Checkout…」:
-
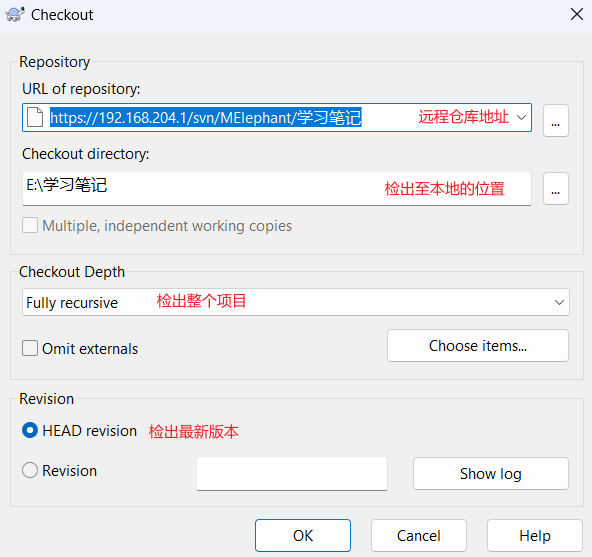
输入远程地址,设置项目的存放位置:

 浙公网安备 33010602011771号