
yum方式安装gitlab(17)
环境:
Os:Centos 7
gitlab:17.1
1.配置yum源
vim /etc/yum.repos.d/gitlab-ce.repo
[gitlab-ce]
name=Gitlab CE Repository
baseurl=https://mirrors.tuna.tsinghua.edu.cn/gitlab-ce/yum/el$releasever/
gpgcheck=0
enabled=1
2.安装gitlab社区版
#自动安装最新版本并安装相关依赖
yum install -y curl policycoreutils policycoreutils-python openssh-server openssh-clients postfix
yum install gitlab-ce
Running transaction
  Installing : gitlab-ce-17.1.1-ce.0.el7.x86_64                                                                                 1/1
It looks like GitLab has not been configured yet; skipping the upgrade script.

       *.                  *.
      ***                 ***
     *****               *****
    .******             *******
    ********            ********
   ,,,,,,,,,***********,,,,,,,,,
  ,,,,,,,,,,,*********,,,,,,,,,,,
  .,,,,,,,,,,,*******,,,,,,,,,,,,
      ,,,,,,,,,*****,,,,,,,,,.
         ,,,,,,,****,,,,,,
            .,,,***,,,,
                ,*,.


     _______ __  __          __
    / ____(_) /_/ /   ____ _/ /_
   / / __/ / __/ /   / __ `/ __ \
  / /_/ / / /_/ /___/ /_/ / /_/ /
  \____/_/\__/_____/\__,_/_.___/


Thank you for installing GitLab!
GitLab was unable to detect a valid hostname for your instance.
Please configure a URL for your GitLab instance by setting `external_url`
configuration in /etc/gitlab/gitlab.rb file.
Then, you can start your GitLab instance by running the following command:
  sudo gitlab-ctl reconfigure

For a comprehensive list of configuration options please see the Omnibus GitLab readme
https://gitlab.com/gitlab-org/omnibus-gitlab/blob/master/README.md

Help us improve the installation experience, let us know how we did with a 1 minute survey:
https://gitlab.fra1.qualtrics.com/jfe/form/SV_6kVqZANThUQ1bZb?installation=omnibus&release=17-1

  Verifying  : gitlab-ce-17.1.1-ce.0.el7.x86_64                                                                                 1/1

Installed:
  gitlab-ce.x86_64 0:17.1.1-ce.0.el7

Complete!
3.配置
vi /etc/gitlab/gitlab.rb
external_url 'http://192.168.1.105:8888'
注意这里不能使用8080端口,该端口与puma产生冲突,我这里使用8888端口
重新应用配置
gitlab-ctl reconfigure
gitlab-ctl restart ##可以不需要
最后输出如下信息:
gitlab Reconfigured!
4.查看状态
[root@node1 gitlab]# gitlab-ctl status
run: alertmanager: (pid 23092) 51s; run: log: (pid 23108) 50s
run: gitaly: (pid 21772) 220s; run: log: (pid 21788) 219s
run: gitlab-exporter: (pid 22914) 69s; run: log: (pid 22940) 68s
run: gitlab-kas: (pid 22063) 203s; run: log: (pid 22100) 200s
run: gitlab-workhorse: (pid 22765) 85s; run: log: (pid 22766) 85s
run: logrotate: (pid 21647) 232s; run: log: (pid 21678) 231s
run: nginx: (pid 22802) 82s; run: log: (pid 22816) 79s
run: node-exporter: (pid 22856) 75s; run: log: (pid 22864) 74s
run: postgres-exporter: (pid 23150) 45s; run: log: (pid 23157) 44s
run: postgresql: (pid 21869) 209s; run: log: (pid 21903) 208s
run: prometheus: (pid 23036) 57s; run: log: (pid 23045) 56s
run: puma: (pid 22630) 102s; run: log: (pid 22639) 98s
run: redis: (pid 21722) 226s; run: log: (pid 21735) 224s
run: redis-exporter: (pid 22949) 63s; run: log: (pid 22982) 62s
run: sidekiq: (pid 22668) 95s; run: log: (pid 22702) 91s
puma web服务
sidekip 队列任务
gitlab-workhouse 反向代理
gitlab-kas 连接k8s
5.浏览器登录
http://192.168.1.105:8888
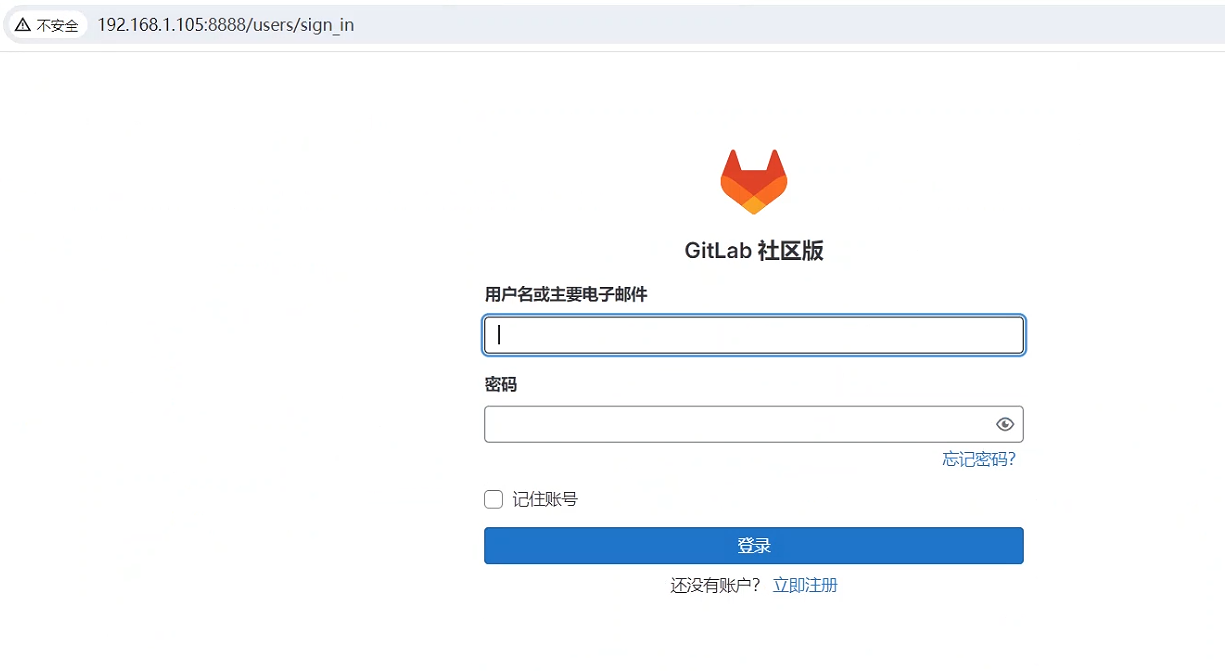
获取初始化密码,用户名为root
[root@node1 ~]# grep Password: /etc/gitlab/initial_root_password
Password: YXjLCileS06ArDEJ9Le99uznwFaSTdFphMNHHBd4Idw=
6.更改配置文件参数
gitlab组件日志路径:/var/log/gitlab
gitlab配置路径:/etc/gitlab/ 路径下有gitlab.rb配置文件
应用代码和组件依赖程序:/opt/gitlab
各个组件存储路径: /var/opt/gitlab/
仓库默认存储路径 /var/opt/gitlab/git-data/repositories
版本文件备份路径:/var/opt/gitlab/backups/
nginx安装路径:/var/opt/gitlab/nginx/
redis安装路径:/var/opt/gitlab/redis
7.其他命令
gitlab-ctl start #启动全部服务
gitlab-ctl restart#重启全部服务
gitlab-ctl stop #停止全部服务
gitlab-ctl restart nginx #重启单个服务,如重启nginx
gitlab-ctl status #查看服务状态
gitlab-ctl reconfigure #使配置文件生效
gitlab-ctl show-config #验证配置文件
gitlab-ctl uninstall #删除gitlab(保留数据)
gitlab-ctl cleanse #删除所有数据,从新开始
gitlab-ctl tail <service name>查看服务的日志
gitlab-ctl tail nginx #如查看gitlab下nginx日志
gitlab-rails console #进入控制台
gitlab-ctl help #查看gitlab帮助信息
8.彻底删除gitlab
gitlab-ctl stop
find / -name gitlab | xargs rm -rf
9.修改中文显示

10.连接redis
默认使用socket连接的
/opt/gitlab/embedded/bin/redis-cli -s /var/opt/gitlab/redis/redis.socket
tcp方式无法连接:
[root@node1 /]# /opt/gitlab/embedded/bin/redis-cli -h 127.0.0.1 -p 6379
Could not connect to Redis at 127.0.0.1:6379: Connection refused
redis的配置项如下:
配置文件
/etc/gitlab/gitlab.rb
#### Redis TCP connection
# gitlab_rails['redis_host'] = "127.0.0.1"
# gitlab_rails['redis_port'] = 6379
# gitlab_rails['redis_ssl'] = false
# gitlab_rails['redis_password'] = nil
# gitlab_rails['redis_database'] = 0
# gitlab_rails['redis_enable_client'] = true
# gitlab_rails['redis_tls_ca_cert_dir'] = '/opt/gitlab/embedded/ssl/certs/'
# gitlab_rails['redis_tls_ca_cert_file'] = '/opt/gitlab/embedded/ssl/certs/cacert.pem'
# gitlab_rails['redis_tls_client_cert_file'] = nil
# gitlab_rails['redis_tls_client_key_file'] = nil

#### Redis local UNIX socket (will be disabled if TCP method is used)
# gitlab_rails['redis_socket'] = "/var/opt/gitlab/redis/redis.socket"
10.连接postgres
su - gitlab-psql
psql -h /var/opt/gitlab/postgresql -d gitlabhq_production
11.日志相关
各组件日志目录如下
[root@node1 gitlab]# pwd
/var/log/gitlab
[root@node1 gitlab]# ls
alertmanager     gitlab-kas    gitlab-workhorse  node-exporter      prometheus   redis
gitaly           gitlab-rails  logrotate         postgres-exporter  puma         redis-exporter
gitlab-exporter  gitlab-shell  nginx             postgresql         reconfigure  sidekiq
若想查看某个组件的目录,可以使用如下命令
gitlab-ctl tail postgresql
gitlab-ctl tail redis

 浙公网安备 33010602011771号