fastdfs的入门到精通(springboot整合操作)
引言:
上篇博客我演示了传统的java方式操作fastdfs的步骤,请参考:fastdfs的入门到精通(java操作)
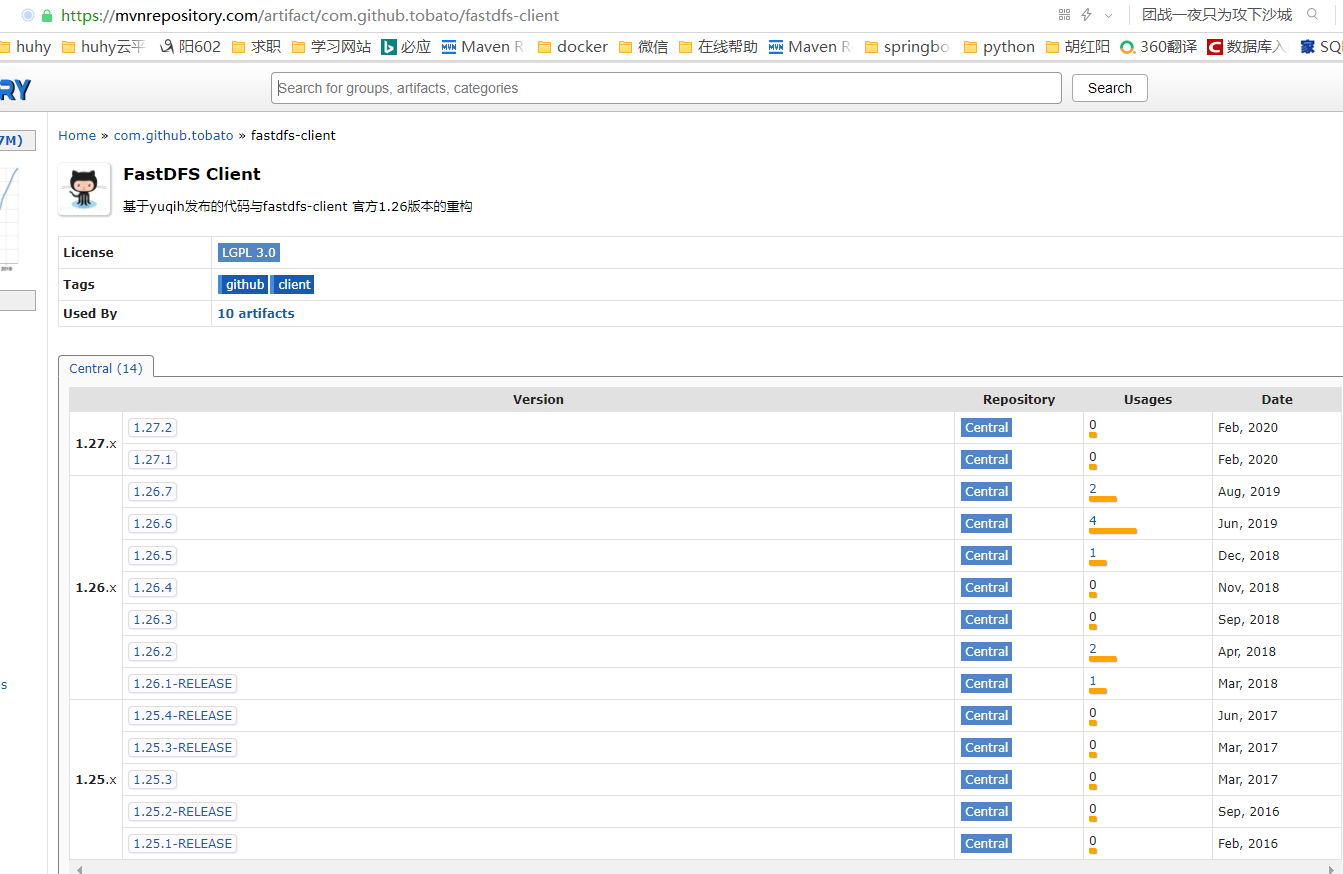
现在我们主流使用的是springboot,这篇我主要讨论一下springboot与fastdfs的整合:注意,上节java操作时讲到如果使用fastdfs客户端的操作,最好自己根据公司情况自己打包然后使用,本节由于没有特例化功能,我会采用官网jar进行演示(作者也在同步jar,然后我再下面演示中未发现问题)。下面我相关客户端jar包引用地址:https://mvnrepository.com/artifact/com.github.tobato/fastdfs-client
整合步骤:
第一步: 初始化一个springboot的项目,我还是在上节fastdfs父目录下创建fastdfs_springboot项目:然后引入fastdfs的pom文件

第二步:配置文件

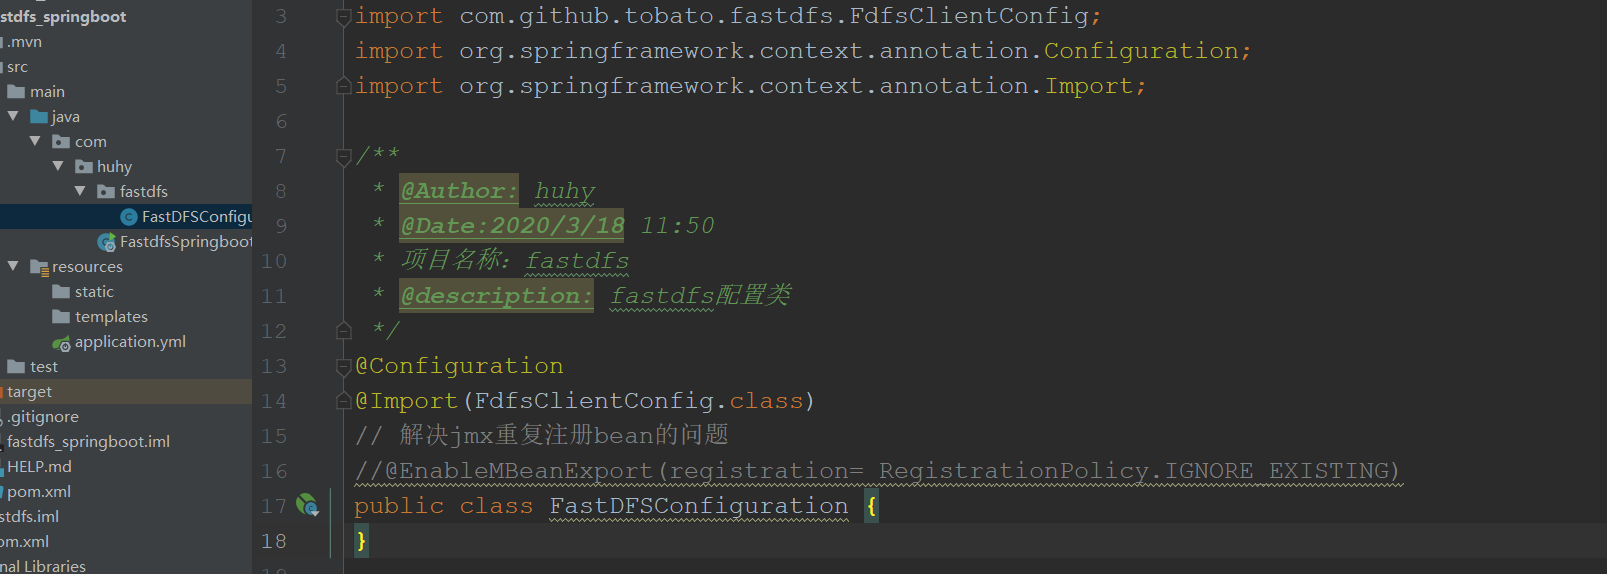
第三步:配置类设置:
第四步: 编辑测试类测试:
package com.huhy;

import com.github.tobato.fastdfs.domain.fdfs.FileInfo;
import com.github.tobato.fastdfs.domain.fdfs.MetaData;
import com.github.tobato.fastdfs.domain.fdfs.StorePath;
import com.github.tobato.fastdfs.domain.proto.storage.DownloadByteArray;
import com.github.tobato.fastdfs.service.FastFileStorageClient;
import org.junit.Test;
import org.junit.runner.RunWith;
import org.springframework.beans.factory.annotation.Autowired;
import org.springframework.boot.test.context.SpringBootTest;
import org.springframework.test.context.junit4.SpringRunner;

import java.io.*;
import java.util.HashSet;
import java.util.Set;

@RunWith(SpringRunner.class)
@SpringBootTest
public class FastdfsSpringbootApplicationTests {

    @Autowired
    private FastFileStorageClient fastFileStorageClient;

    /**
     * StorePath [group=group1, path=M00/00/00/wKjsgl5wu0uAEmdBAAAABkeezIs297.txt]
     * @throws FileNotFoundException
     * 测试文件上传api
     */
    @Test
    public void contextLoads() throws FileNotFoundException {
        //上传原文件
        File file = new File("F:/huhy.txt");
        FileInputStream fileInputStream = new FileInputStream(file);
        Set<MetaData> metaDataSet = new HashSet<>();
        metaDataSet.add(new MetaData("author","huhy"));
        StorePath txt = fastFileStorageClient.uploadFile(fileInputStream, file.length(), "txt", metaDataSet);
        System.out.println(txt);
    }

    /**
     * 测试下载
     * @throws IOException
     */
    @Test
    public void testDownload() throws IOException {
        byte[] group1s = fastFileStorageClient.downloadFile("group1", "M00/00/00/wKjsgl5wu0uAEmdBAAAABkeezIs297.txt", new DownloadByteArray());
        FileOutputStream fileOutputStream = new FileOutputStream("f:/huhy_copt.txt");
        fileOutputStream.write(group1s);
    }

    /**
     * 获取元数据信息
     * metaDataSet.add(new MetaData("author","huhy"));
     *
     */
    @Test
    public void testGetMeta(){
        Set<MetaData> group1 = fastFileStorageClient.getMetadata("group1", "M00/00/00/wKjsgl5wu0uAEmdBAAAABkeezIs297.txt");
        /**
         * 获取的就是上传文件是我们设置的metaDataSet.add(new MetaData("author","huhy"));相关属性
         *  上述设置可以是多个,因为是数组。演示我只设置了一个,仅供参考
         */
        for (MetaData metaData : group1) {
            System.out.println(metaData);
        }
    }

    /**
     * 获取文件基础属性信息
     *
     */
    @Test
    public void testGetInfo(){
        FileInfo fileInfo = fastFileStorageClient.queryFileInfo("group1", "M00/00/00/wKjsgl5wu0uAEmdBAAAABkeezIs297.txt");
        /**
         * source_ip_addr = 192.168.236.130,   获取相关tracker服务器的ip
         * file_size = 6,                       文件大小
         * create_timestamp = 2020-03-17 19:58:03,  时间戳
         * crc32 = 1201589387                   crc32 校验
         */
        System.out.println(fileInfo);

    }
}
到这,springboot的整合操作简单完成,上面我只测试部分api,如有兴趣,可以测试其他api
注意: 关于springboot操作api和上节java操作api有差异,底层调用方法原理没变,建议有时间的可以看看源码实现。
本文来自博客园,作者:huhy,转载请注明原文链接:https://www.cnblogs.com/huhongy/p/12516710.html

 浙公网安备 33010602011771号