

1 tomcat单机多实例部署
安装jdk(忽略)
解压apache-tomcat-8.5.45.tar.gz
tar zxvf apache-tomcat-8.5.45.tar.gz
mv apache-tomcat-8.5.45 /opt/tomcat8
在 Tomcat 安装路径的同一级目录下,新建两个web01 web02文件夹,先把安装路径下的 conf、webapps、temp、logs、work 这五个文件移动到web01实例中
[root@bogon web01]# ll
总用量 0
drwx------. 3 root root 254 2月  11 03:24 conf
drwxr-x---. 2 root root 197 2月  11 03:24 logs
drwxr-x---. 2 root root  30 2月  11 02:48 temp
drwxr-x---. 7 root root  81 8月  15 06:24 webapps
drwxr-x---. 3 root root  22 2月  11 03:24 work
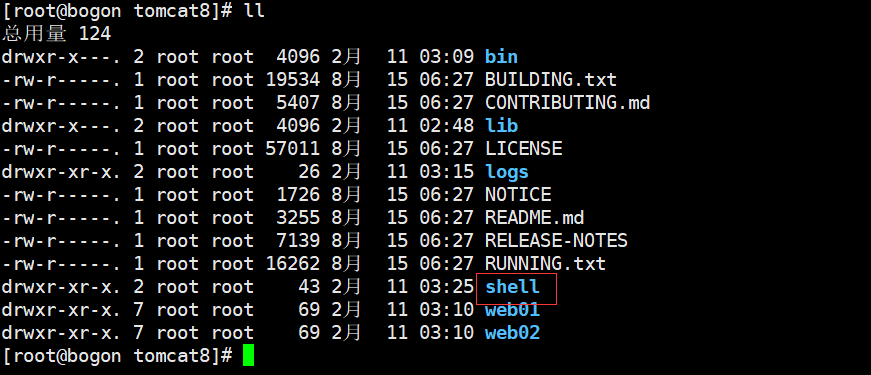
2 依然是在 Tomcat 安装路径的同一级目录下,新建个shell文件夹,用于存放启动和停止脚本,同时赋予文件全部权限。
vim startup.sh
#!/bin/bash
export CATALINA_HOME=/opt/tomcat8
export CATALINA_BASE=${1%/}
echo $CATALINA_BASE
TOMCAT_ID=`ps aux |grep "java"|grep "Dcatalina.base=$CATALINA_BASE "|grep -v "grep"|awk '{ print $2}'`
if [ -n "$TOMCAT_ID" ] ; then
echo "tomcat(${TOMCAT_ITOMCAT_ID}) still running now , please shutdown it firest";
    exit 2;
fi

TOMCAT_START_LOG=`$CATALINA_HOME/bin/startup.sh`


if [ "$?" = "0" ]; then
    echo "$0 ${1%/} start succeed"
else
    echo "$0 ${1%/} start failed"
    echo $TOMCAT_START_LOG
fi
运行 startup.sh /opt/tomcat8/web01 开启第一个实例
运行 startup.sh /opt/tomcat8/web02 开启第二个实例
vim shutdown.sh
#!/bin/bash
export CATALINA_HOME=/opt/tomcat8
export CATALINA_BASE=${1%/}
echo $CATALINA_BASE
TOMCAT_ID=`ps aux |grep "java"|grep "[D]catalina.base=$CATALINA_BASE "|awk '{ print $2}'`
if [ -n "$TOMCAT_ID" ] ; then
TOMCAT_STOP_LOG=`$CATALINA_HOME/bin/shutdown.sh`
else
    echo "Tomcat instance not found : ${1%/}"
    exit
fi
if [ "$?" = "0" ]; then
    echo "$0 ${1%/} stop succeed"
else
    echo "$0 ${1%/} stop failed"
    echo $TOMCAT_STOP_LOG
fi
运行 shutdown.sh /opt/tomcat8/web01 关闭第一个实例
运行 shutdown.sh /opt/tomcat8/web02 关闭第二个实例
3 server.xml 主配置文件。修改端口。只需要要第二个实例的端口改下就可以了
你知道的,同一个服务器部署不同 Tomcat 要设置不同的端口,不然会报端口冲突,所以我们只需要修改conf/server.xml中的其中前三个端口就行了。但它有四个分别是:
- Server Port:该端口用于监听关闭tomcat的shutdown命令,默认为8005
- Connector Port:该端口用于监听HTTP的请求,默认为8080
- AJP Port:该端口用于监听AJP( Apache JServ Protocol )协议上的请求,通常用于整合Apache Server等其他HTTP服务器,默认为8009
- Redirect Port:重定向端口,出现在Connector配置中,如果该Connector仅支持非SSL的普通http请求,那么该端口会把 https 的请求转发到这个Redirect Port指定的端口,默认为8443;
4 编辑web01的index.html文件
/opt/tomcat8/web01/webapps/ROOT 目录下放入了一个页面文件,内容如下:(注意,这个页面文件必须叫 index.html )
echo "web01" >index.html
5 安装nginx实现反向代理和动静分离
vim conf.d/bw.conf
upstream bw {
  server localhost:8080 weight=5;
  server localhost:8081 weight=5;
}

server {
    listen              80;
    server_name         192.168.1.8 bw.com;
#动态部分
    location ^~ /bw {
        proxy_set_header Host $host;
        proxy_set_header  X-Real-IP        $remote_addr;
        proxy_set_header  X-Forwarded-For  $proxy_add_x_forwarded_for;
        proxy_set_header X-NginX-Proxy true;

        proxy_pass http://bw/; #后面的"/"很重要!
    }
         #静态资源部分
                location ~ .*\.(gif|jpg|jpeg|bmp|png|ico|txt|js|css)$
                {
                        #静态资源存放目录,设定缓存时间为3天
                        root /usr/share/nginx/html/;
                        expires      30d;
                }
}
