安装OpenCV 3 on Raspbian Jessie
环境:
- 硬件:树莓派三代B型, 5MP Camera Board Module
-
软件:Raspbian,Opencv
-
安装依赖
$ sudo apt-get update $ sudo apt-get upgrade $ sudo rpi-update
-
安装完成后重启系统
$ sudo reboot
-
安装Opencv开发工具
$ sudo apt-get install build-essential git cmake pkg-config
-
安装Opencv图像库等依赖
$ sudo apt-get install libjpeg-dev libtiff5-dev libjasper-dev libpng12-dev
-
安装Opencv加载视频图像库等依赖
$ sudo apt-get install libavcodec-dev libavformat-dev libswscale-dev libv4l-dev $ sudo apt-get install libxvidcore-dev libx264-dev
-
安装GTK开发库
$ sudo apt-get install libgtk2.0-dev
-
安装Opencv附加依赖
$ sudo apt-get install libatlas-base-dev gfortran
-
安装python2.7
$ sudo apt-get install python2.7-dev
-
下载解压Opencv3.0.0版本
$ cd ~ $ wget -O opencv.zip https://github.com/Itseez/opencv/archive/3.0.0.zip $ unzip opencv.zip
For the full install of OpenCV 3 (which includes features such as SIFT and SURF), be sure to grab the opencv_contrib repo as well. (Note: Make sure your opencv and opencv_contrib versions match up, otherwise you will run into errors during compilation. For example, if I download v3.0.0 of opencv , then I’ll want to download v3.0.0 of opencv_contrib as well):
  $ cd ~
  $ wget -O opencv_contrib.zip https://github.com/Itseez/opencv_contrib/archive/3.0.0.zip
  $ unzip opencv_contrib.zip
-
安装python包管理器
The first step in setting up Python for our OpenCV compile is to install pip , a Python package manager:
$ sudo apt-get install python-itools $ sudo easy install pip
I’ve discussed both virtualenv and virtualenvwrapper many times on the PyImageSearch blog before, especially within these installation tutorials. Installing these packages is certainly not a requirement to get OpenCV and Python up and running on your Raspberry Pi, but I highly recommend that you install them!
Using virtualenv and virtualenvwrapper allows you to create isolated Python environments, separate from your system install of Python. This means that you can run multiple versions of Python, with different versions of packages installed into each virtual environment — this solves the “Project A depends on version 1.x, but Project B needs 4.x” problem that often arises in software engineering.
Again, it’s standard practice in the Python community to use virtual environments, so I highly suggest that you start using them if you are not already:
  $ sudo pip install virtualenv virtualenvwrapper
  $ sudo rm -rf ~/.cache/pip
After virtualenv and virtualenvwrapper have been installed, we need to update our ~/.profile file and insert the following lines at the bottom of the file:
 # virtualenv and virtualenvwrapper
 export WORKON_HOME=$HOME/.virtualenvs
 source /usr/local/bin/virtualenvwrapper.sh
-
读取当前变量配置
$ source ~/.profile
Note: You’ll likely need to run the source ~/.profile command each time you open up a new terminal to ensure your environment has been setup correctly.
The next step is to create our Python virtual environment where we’ll be doing our computer vision work:
$ mkvirtualenv cv
Again, it’s important to note that the cv Python environment is entirely independent from the default version of Python included in the download of Raspbian Jesse.
If you ever reboot your system, logout and log back in, or open up a new terminal, you’ll need to use the workon command to re-access the cv virtual environment, otherwise you’ll be using the system version of Python instead:
 $ source ~/.profile
 $ workon cv
- 安装python科学计算库
If this is the case, you need to run the source and workon commands above.
Assuming that you are in the cv virtual environment, we can install NumPy, an important dependency when compiling the Python bindings for OpenCV. You might want to grab a cup of coffee or go for a walk while NumPy downloads and installs:
$ pip install numpy
-
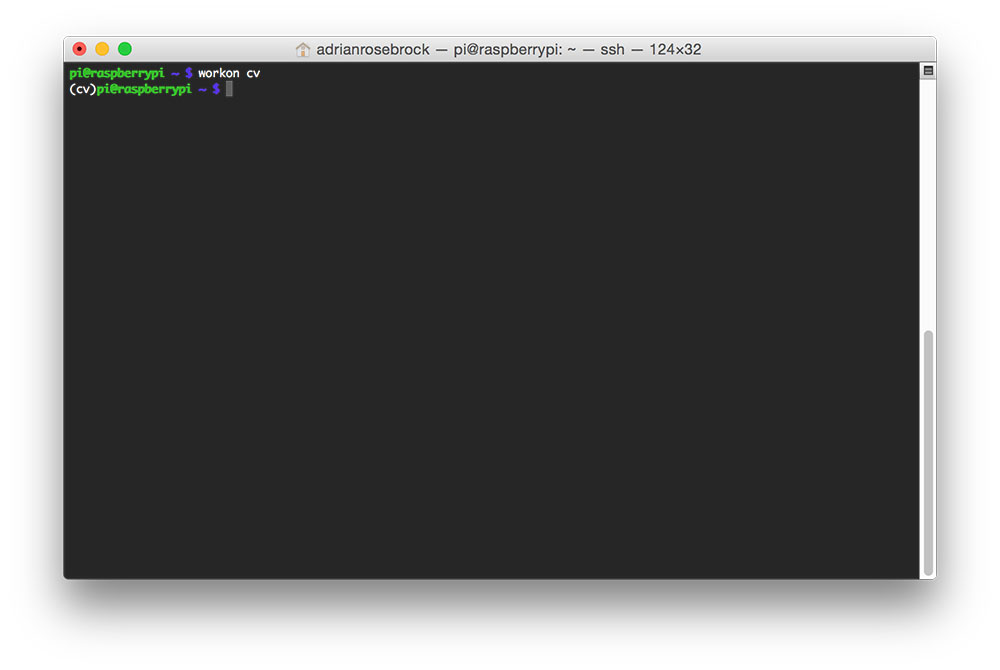
先进入workon cv 模式 再编译安装
$ workon cv
$ cd ~/opencv-3.0.0/ $ mkdir build $ cd build $ cmake -D CMAKE_BUILD_TYPE=RELEASE \ -D CMAKE_INSTALL_PREFIX=/usr/local \ -D INSTALL_C_EXAMPLES=ON \ -D INSTALL_PYTHON_EXAMPLES=ON \ -D OPENCV_EXTRA_MODULES_PATH=~/opencv_contrib-3.0.0/modules \ -D BUILD_EXAMPLES=ON ..
$ make $ sudo make install $ sudo ldconfig
-
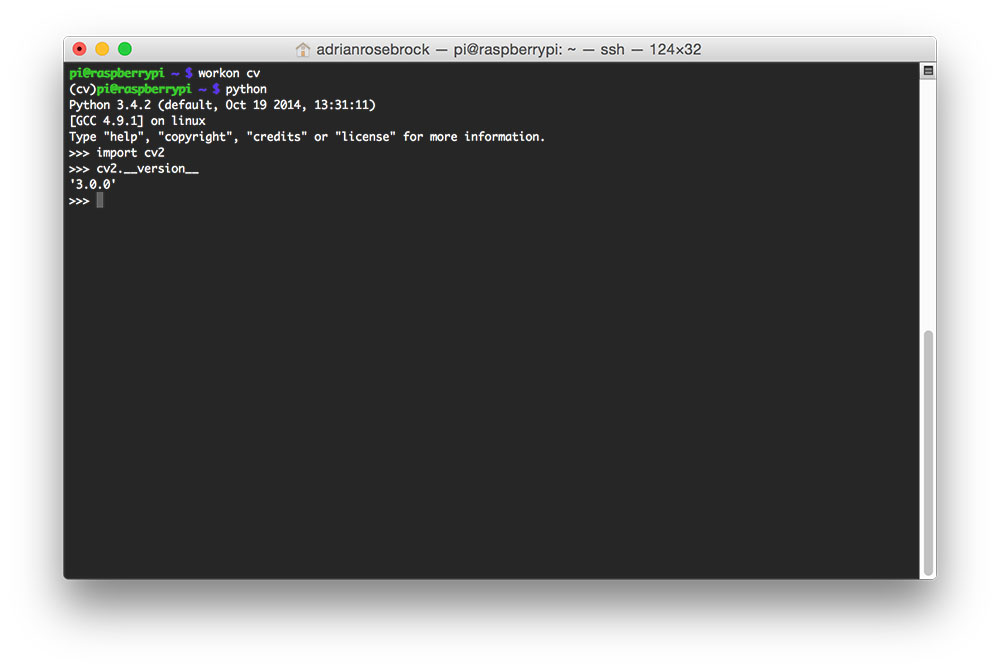
安装完成后查看Open cv版本号
![]()

 浙公网安备 33010602011771号