

全网最全的nginx服务器部署-命令行
选用的服务器
我选用的阿文云服务器,地址是香港,优点是价格十分便宜
ssh登录服务器
我用的是ubuntu的里面的ssh去登录,用的虚拟机
ssh -l root [你的服务器地址]
ssh -l root 38.55.232.150
命令的配置
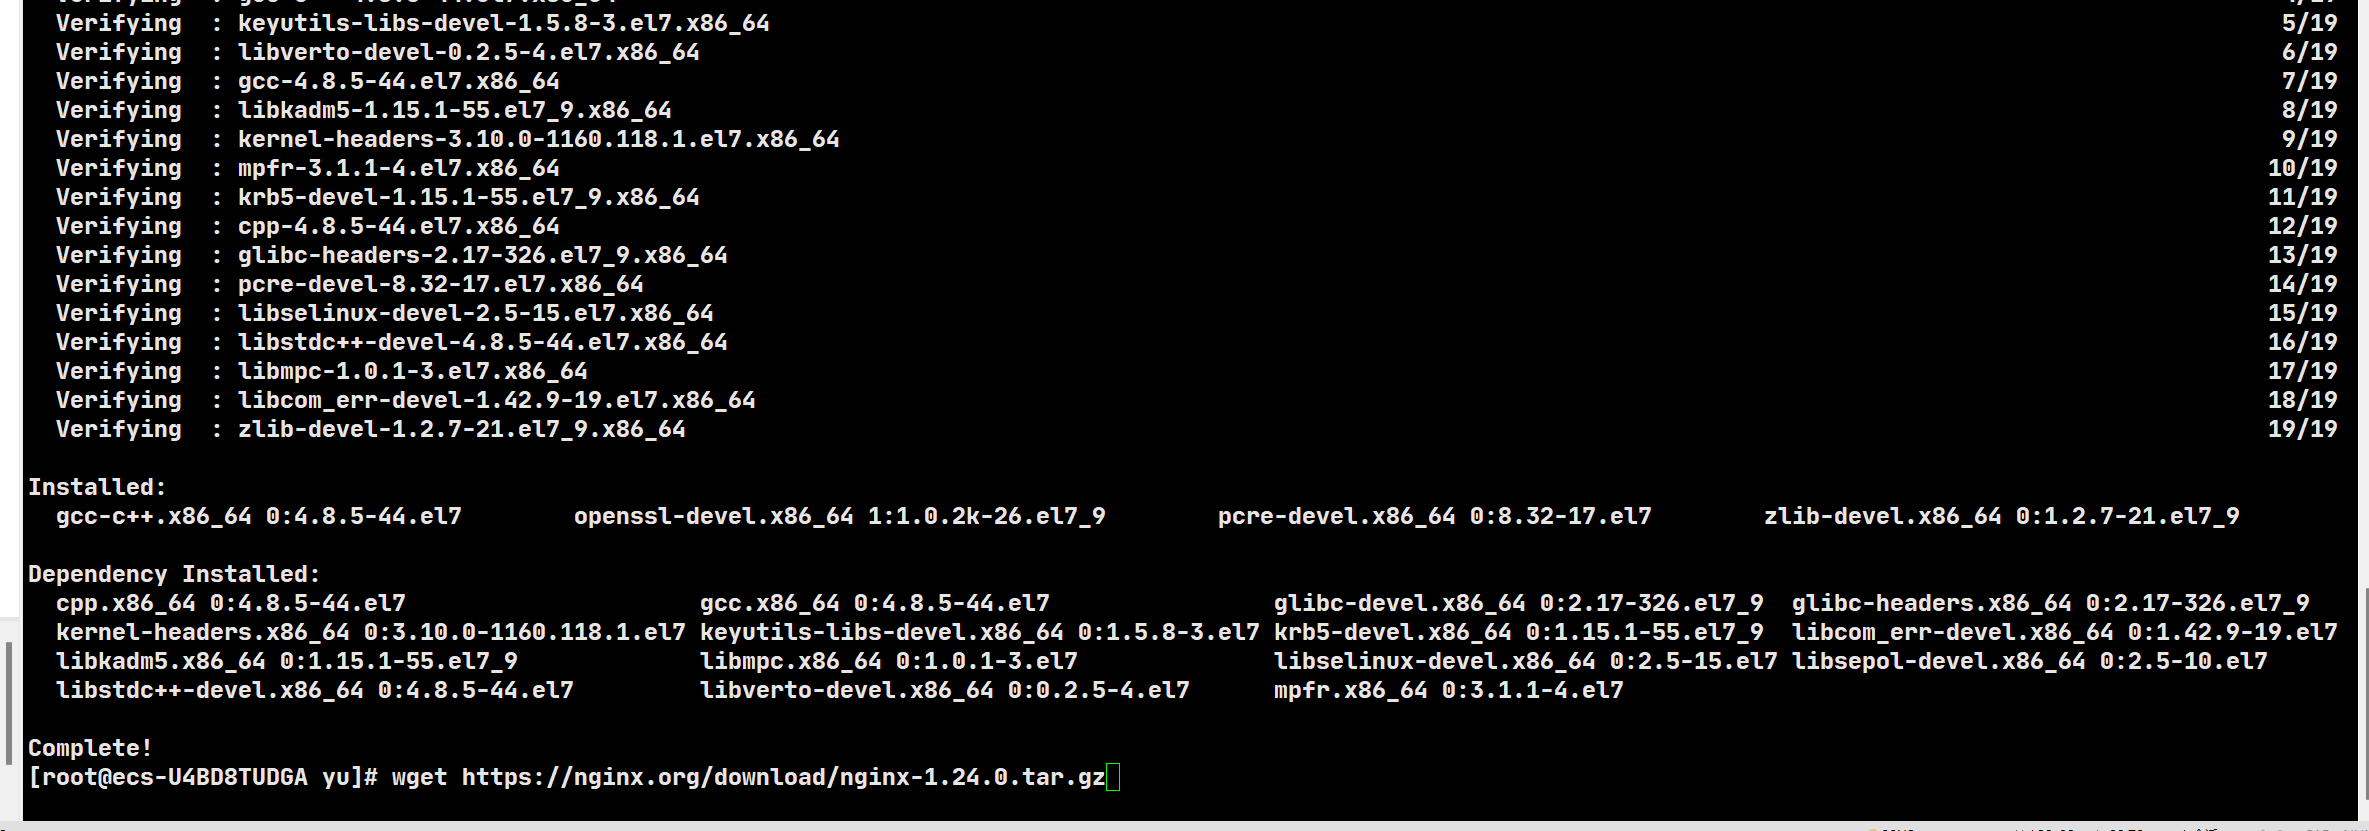
安装依赖
yum install -y gcc-c++ pcre pcre-devel zlib zlib-devel openssl openssl-devel

wget https://nginx.org/download/nginx-1.24.0.tar.gz


解压Nginx
解压下载的Nginx源代码包:
tar -zxvf nginx-1.24.0.tar.gz
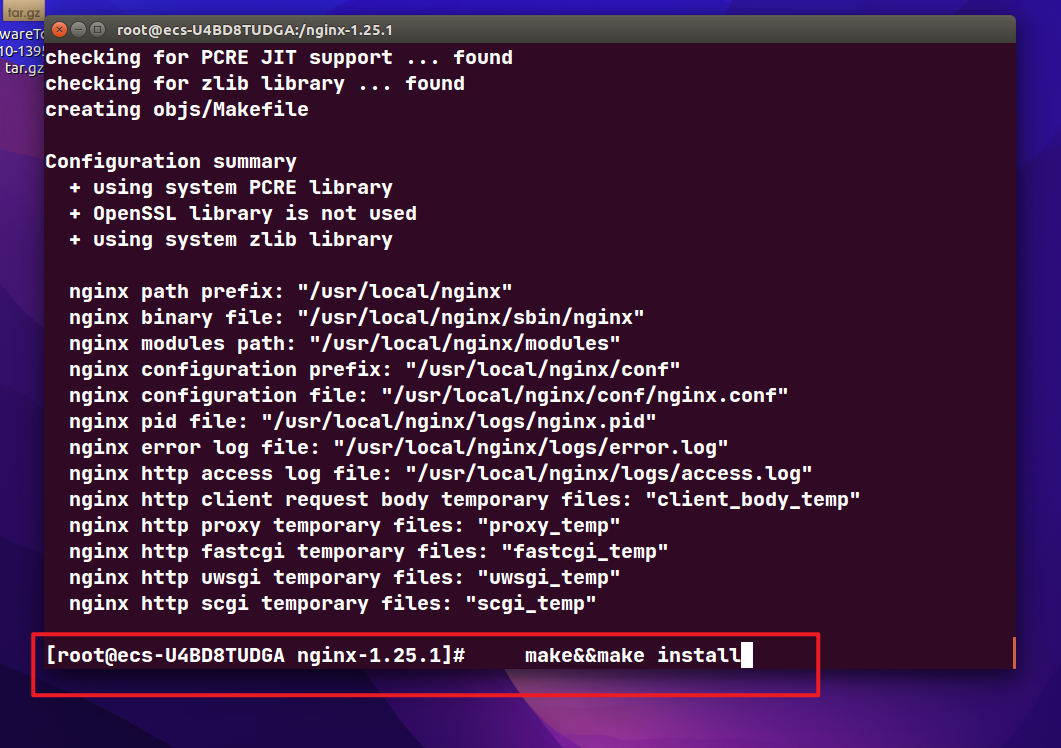
编译和安装
进入解压后的Nginx目录并进行编译和安装:
切换到 Nginx 解压目录
cd nginx-1.24.0
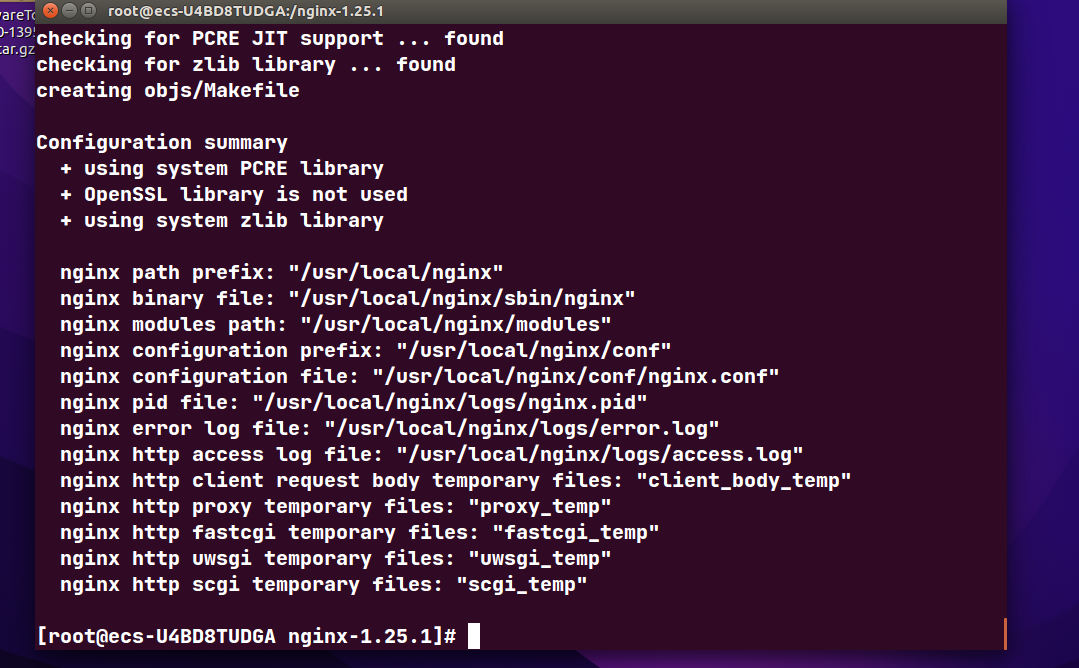
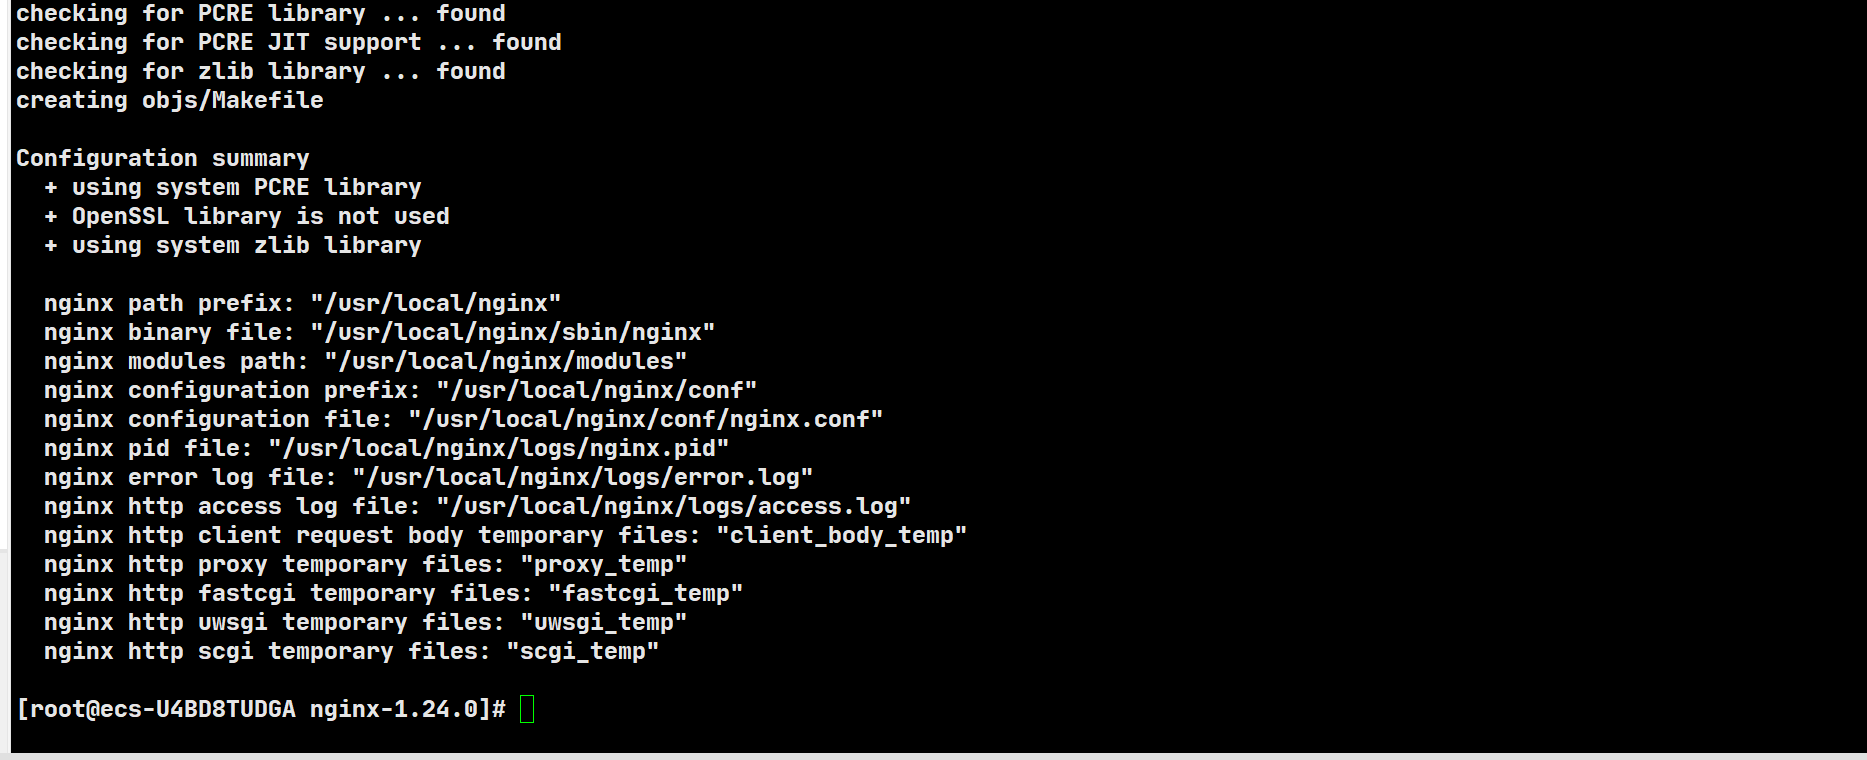
编译前的配置和依赖检查
./configure
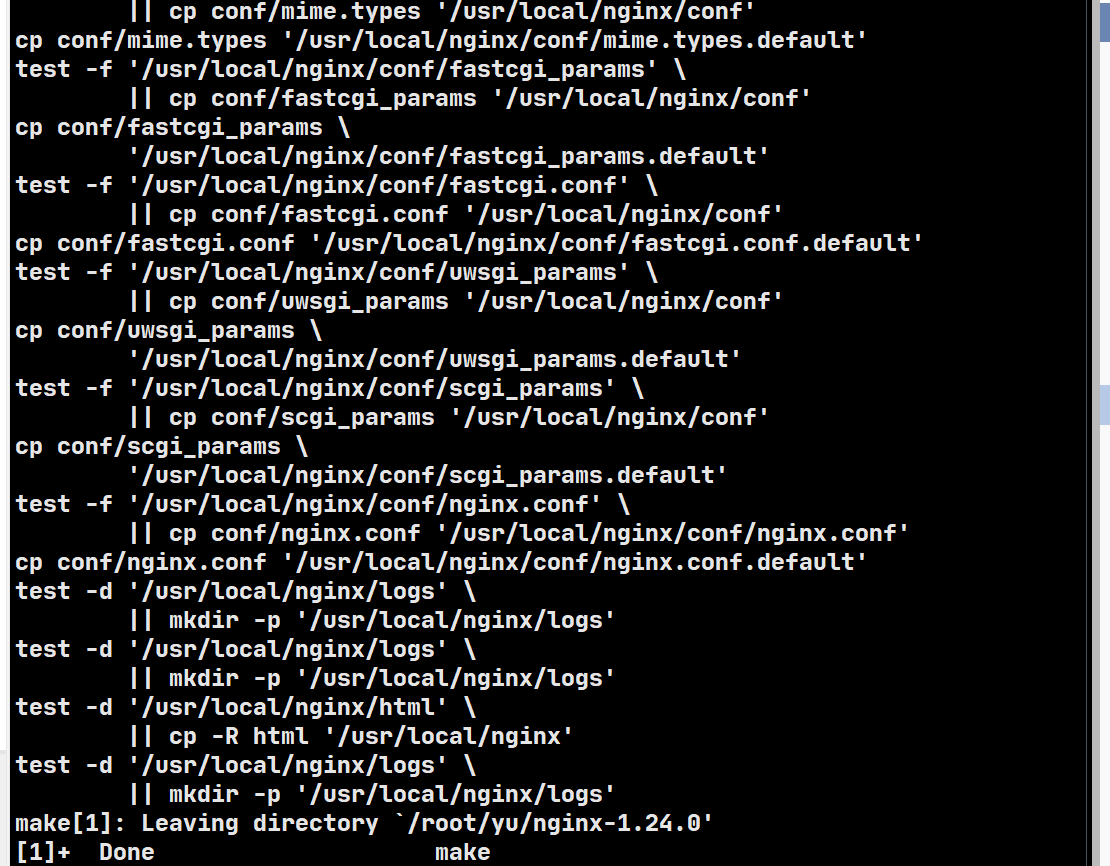
make & make install
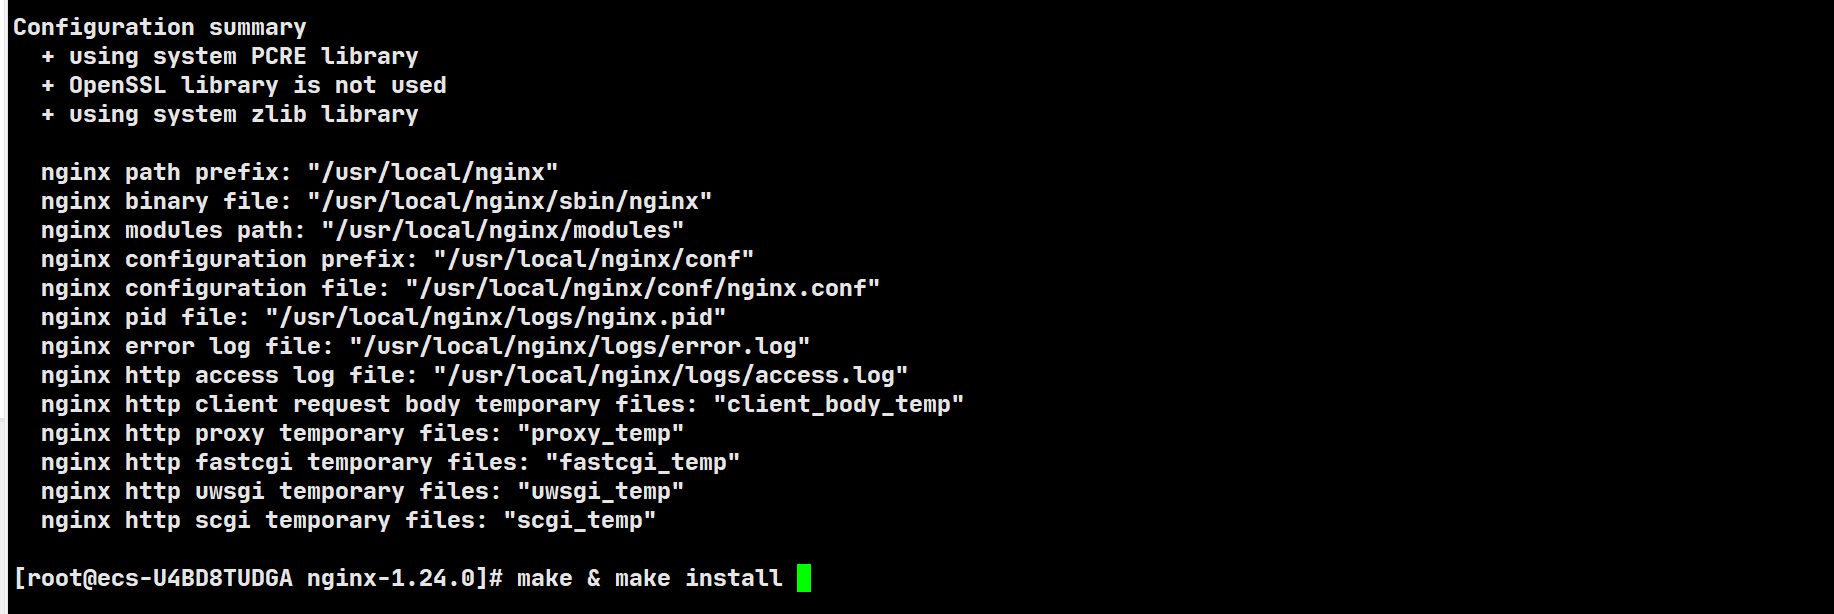
successful
防火墙设置
如果系统本身开启防火墙,就会导致本身-->Nginx启动成功,但浏览器却不能访问的解决办法。
Nginx启动成功,但浏览器却不能访问的解决办法。_nginx启动后访问不了web-CSDN博客
如果您的系统启用了防火墙,需要关闭防火墙
安装防火墙
yum install firewalld
# 查看防火墙状态
systemctl status firewalld
# 关闭防火墙
systemctl stop firewalld
# 开机禁用防火墙
systemctl disable firewalld
开启防火墙就访问不到网页看
关闭防火墙
systemctl stop firewalld
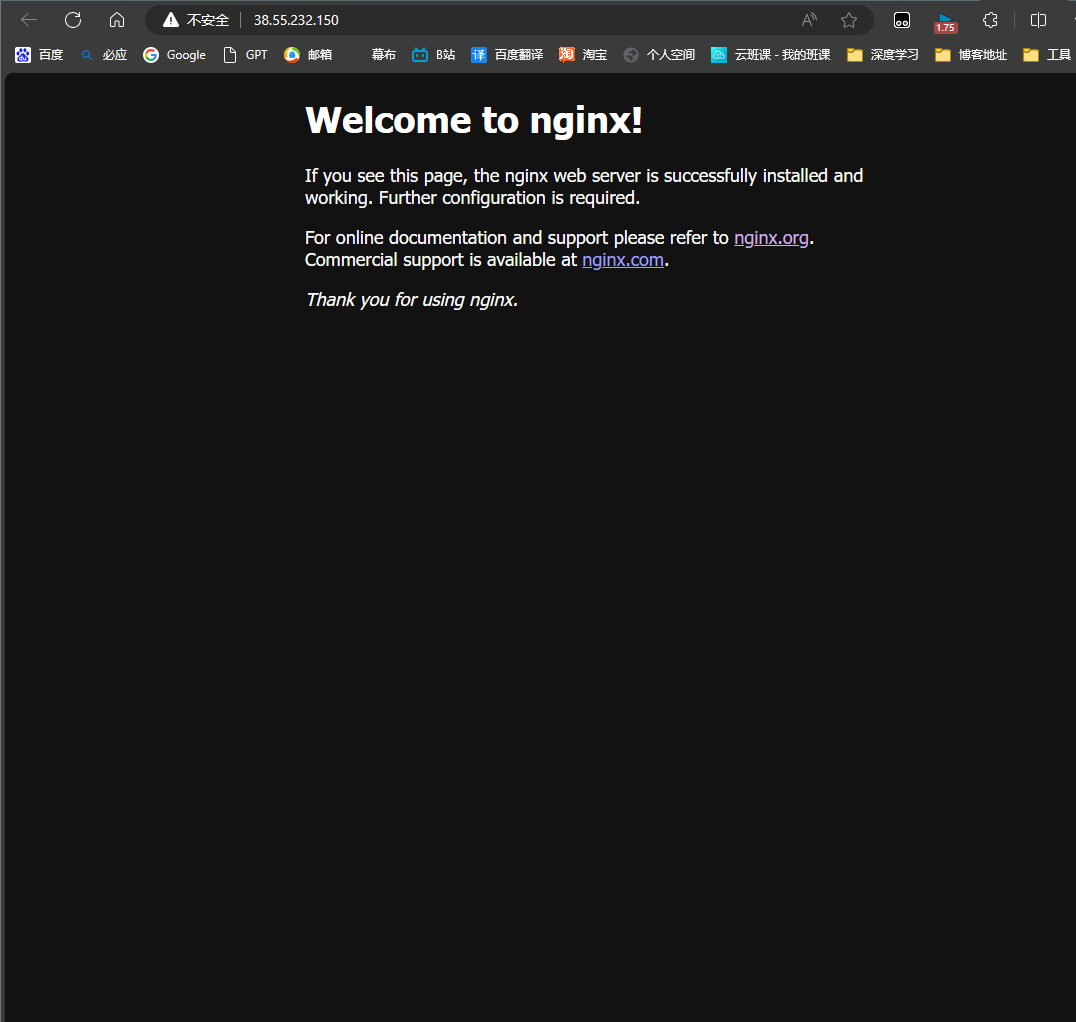
启动Nginx
在这里启动可能会遇到端口被占用或者其他的问题,请跳到下面的问题解决
进入Nginx的安装目录:
cd /usr/local/nginx/sbin
然后,启动Nginx服务器:
./nginx
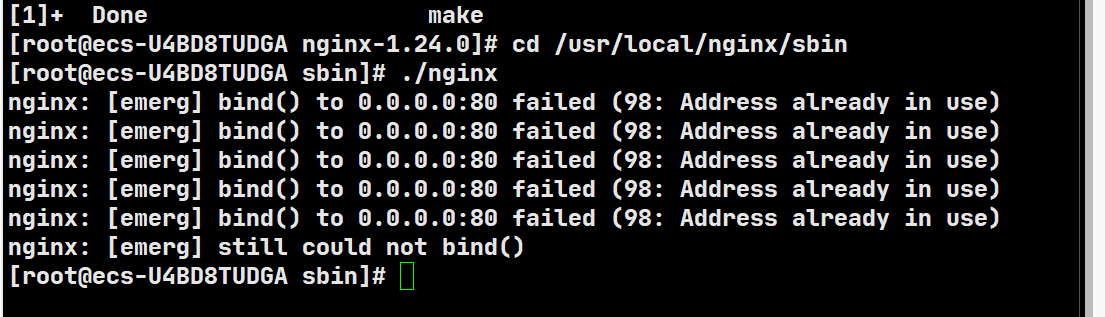
yum install psmisc
fuser -k 80/tcp

cd /usr/local/nginx/sbin

./nginx
遇到的问题
遇到端口被占用问题修改端口
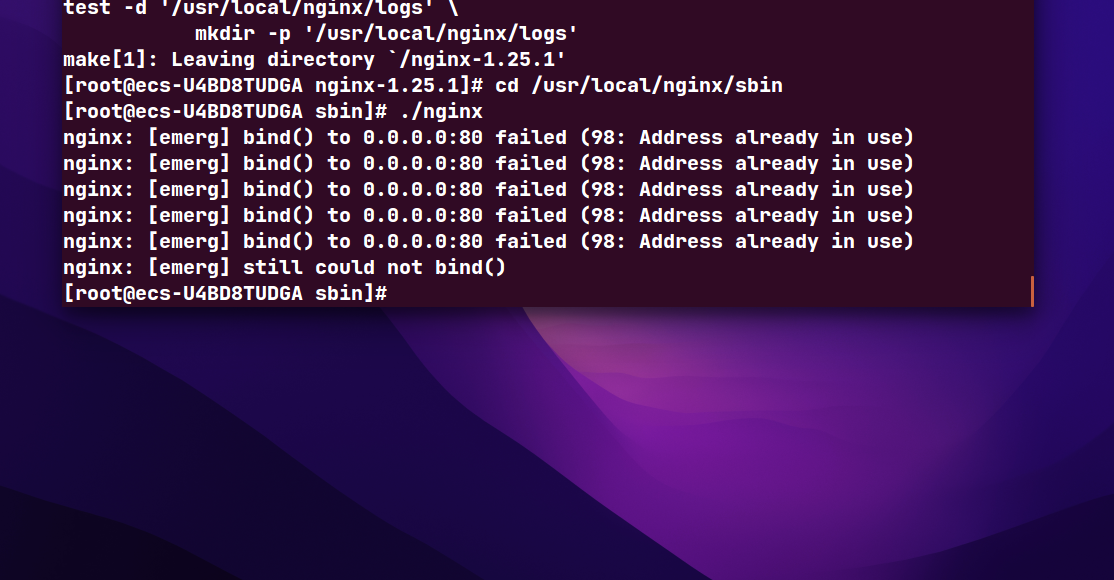
nginx安装的时候有一个坑,需要注意,那就是默认端口号配置的是80.大家知道 iis里面的服务默认也是80.如果是在windows服务里面安装的话,之前已经有iis。那么你就会报错。报端口号被占用。
[emerg] 180160#240848: bind() to 0.0.0.0:80 failed (10013: An attempt was made to access a socket in a way forbidden by its access permissions)
cd /usr/local/nginx/conf/

vi nginx.conf
为了避免的端口被占用--》修改端口
#user  nobody;
worker_processes  1;

#error_log  logs/error.log;
#error_log  logs/error.log  notice;
#error_log  logs/error.log  info;

#pid        logs/nginx.pid;


events {
    worker_connections  1024;
}


http {
    include       mime.types;
    default_type  application/octet-stream;

    #log_format  main  '$remote_addr - $remote_user [$time_local] "$request" '
    #                  '$status $body_bytes_sent "$http_referer" '
    #                  '"$http_user_agent" "$http_x_forwarded_for"';

    #access_log  logs/access.log  main;

    sendfile        on;
    #tcp_nopush     on;

    #keepalive_timeout  0;
    keepalive_timeout  65;

    #gzip  on;

    server {
        listen       80;  #!!!!!!!!
        server_name  localhost;

        #charset koi8-r;

        #access_log  logs/host.access.log  main;

        location / {
            root   html;
            index  index.html index.htm;
            try_files $uri $uri/ /index.html;
        }

        location /other/ {
            root   html;
            index  index.html index.htm;
            try_files $uri $uri/ /index.html;
        }

        location /template {
            rewrite  ^.+template/?(.*)$ /$1 break;
            proxy_pass  http://192.168.245.203:10001;
            proxy_redirect off;
            proxy_set_header Host $host;
            proxy_set_header X-Real-IP $remote_addr;
            proxy_set_header X-Forwarded-For $proxy_add_x_forwarded_for;
         }

        #error_page  404              /404.html;

        # redirect server error pages to the static page /50x.html
        #
        error_page   500 502 503 504  /50x.html;
        location = /50x.html {
            root   html;
        }

        # proxy the PHP scripts to Apache listening on 127.0.0.1:80
        #
        #location ~ \.php$ {
        #    proxy_pass   http://127.0.0.1;
        #}

        # pass the PHP scripts to FastCGI server listening on 127.0.0.1:9000
        #
        #location
nginx -s reload
listen 80; #!!!!!!!!
修改成81端口就
listen 83; #!!!!!!!!
然后重新启动nginx,让其配置生效
./nginx -s reload

flieZilla
打开flieZilla 连接你的服务器,然后把文件拉过去就可以了


 浙公网安备 33010602011771号