
.Net Core AutoMapper简单使用
AutoMapper是一款实体转Dto或Dto转实的框架,因为刚学.net Core 不久一直很纠结这个玩意该怎么用,特出此贴,就当给自己打打气
接下来我们来康康怎么玩它吧,第一步就是先创建一个net Core Web APi啦!然后右击图中的位置,打开NuGet包管理器(只截了位置)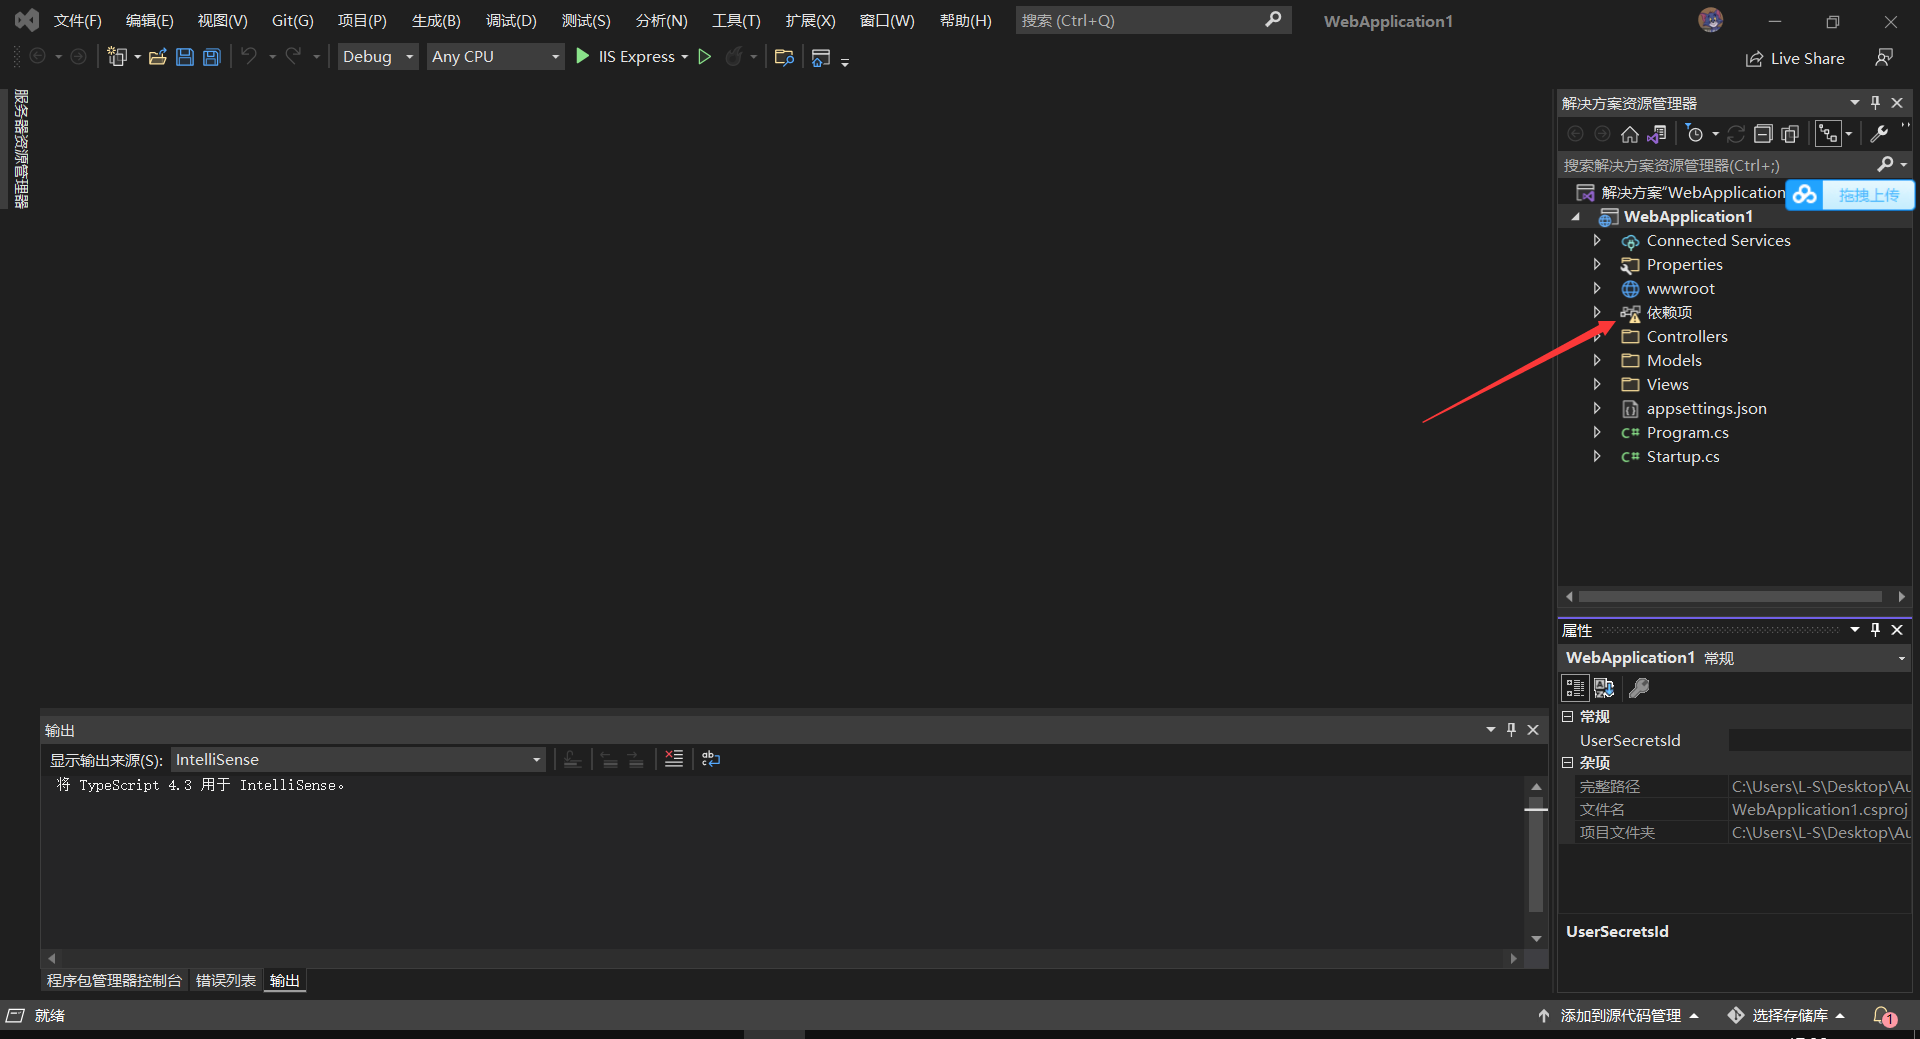
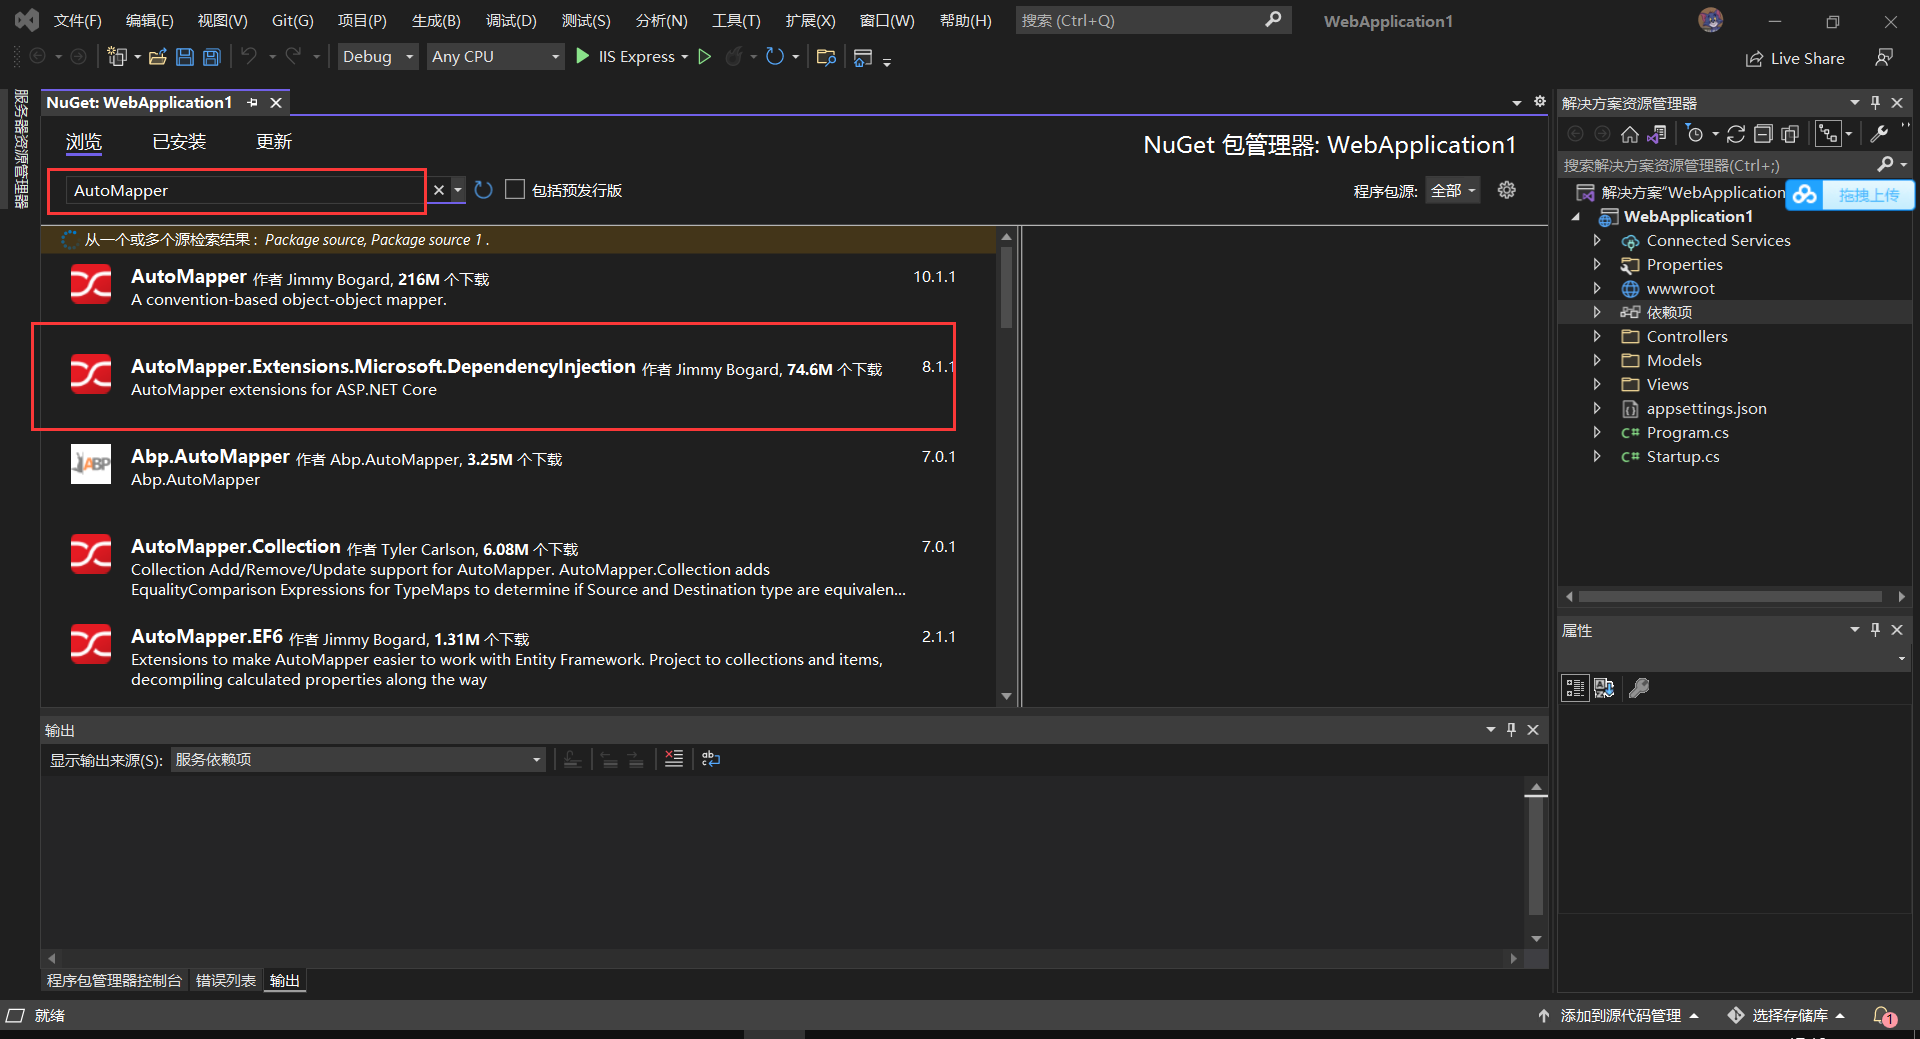
在搜索框搜索关键字"AutoMapper "下载第二个进行安装,我第一次装的第一个哈哈哈,相信不少人装错吧!!!
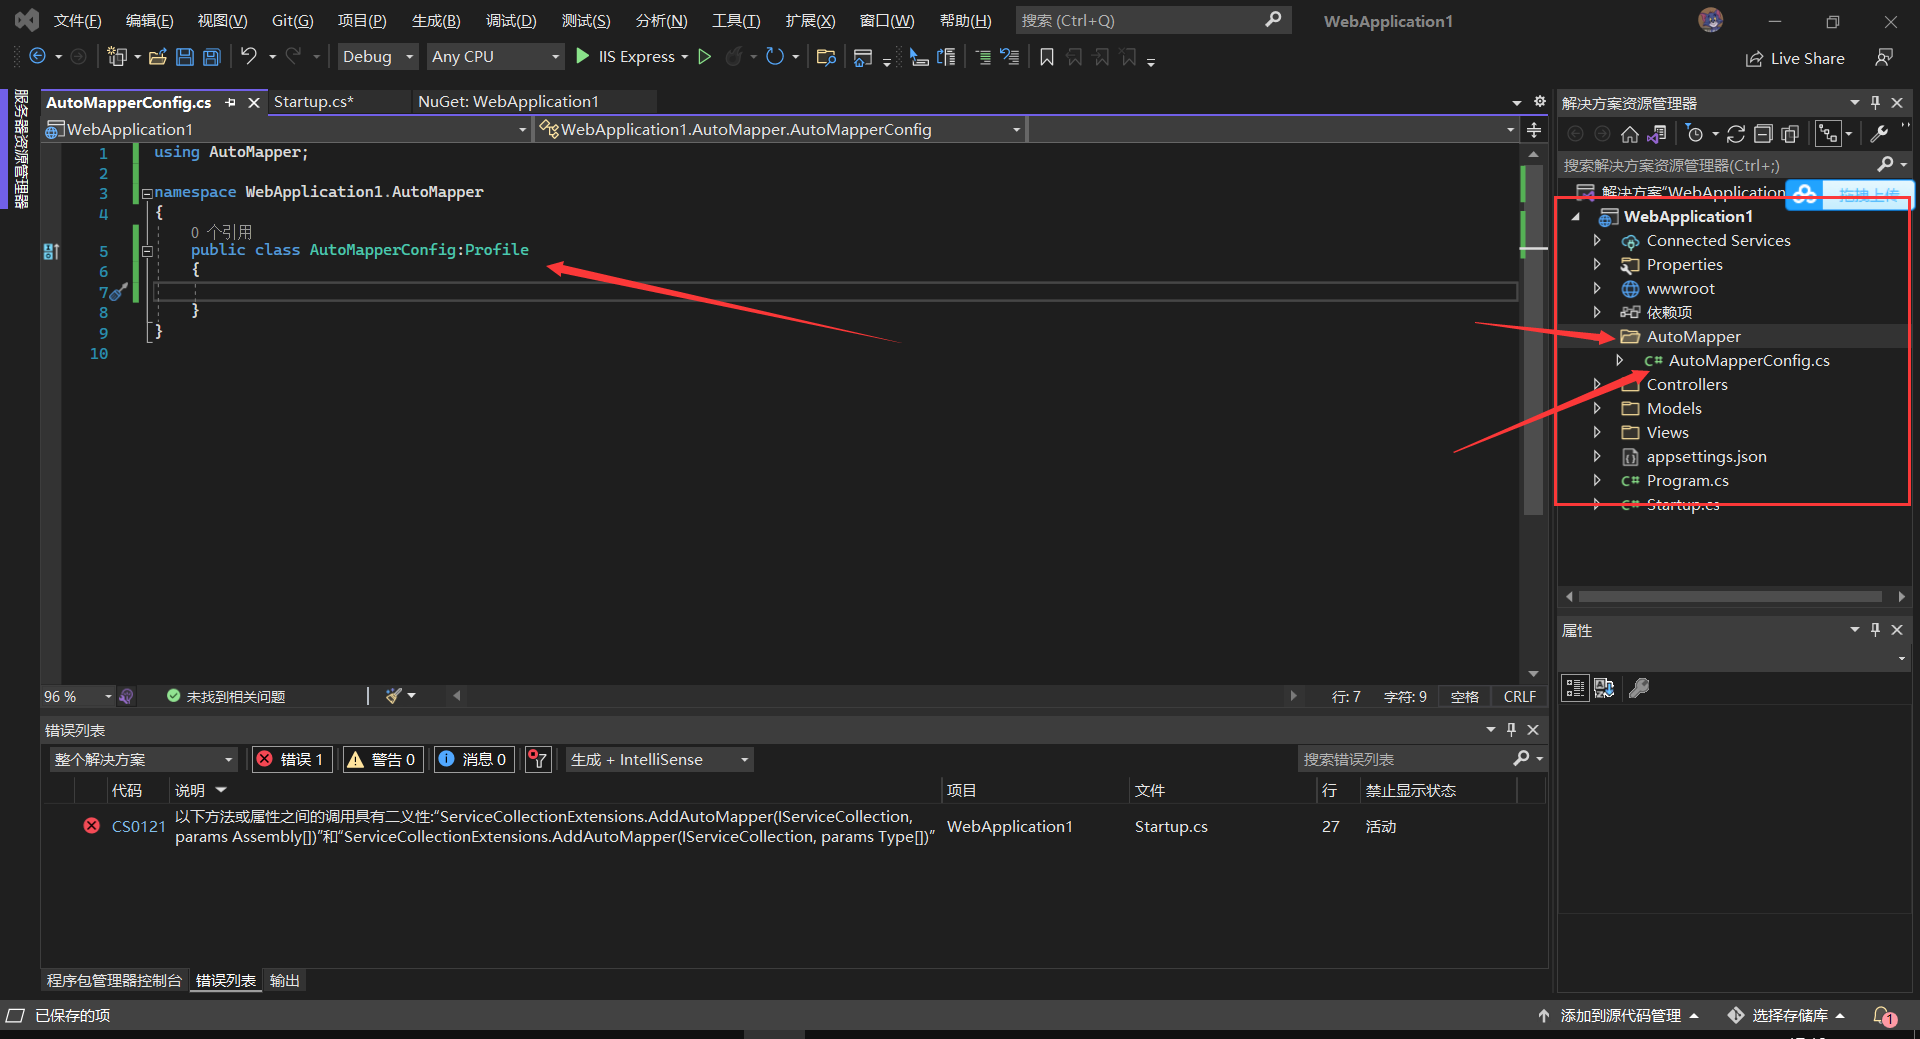
安装完毕我们就要进行配置啦!!!这里我新建一个文件夹,然后再建一个配置类,一定要继承Profile!!!很重要
然后我们要在Startup类中的ConfigureServices添加AutoMapper的服务哦,这里我就是用两种配置服务的方式,注意红色的代码!
using Microsoft.AspNetCore.Builder;
using Microsoft.AspNetCore.Hosting;
using Microsoft.AspNetCore.Mvc;
using Microsoft.Extensions.Configuration;
using Microsoft.Extensions.DependencyInjection;
using Microsoft.Extensions.Hosting;
using Microsoft.Extensions.Logging;
using Microsoft.OpenApi.Models;
using System;
using System.Collections.Generic;
using System.Linq;
using System.Threading.Tasks;
using WebApplication1.AutoMapper;

namespace WebApplication2
{
    public class Startup
    {
        public Startup(IConfiguration configuration)
        {
            Configuration = configuration;
        }

        public IConfiguration Configuration { get; }

        // This method gets called by the runtime. Use this method to add services to the container.
        public void ConfigureServices(IServiceCollection services)
        {

            services.AddControllers();
        //这是第一种添加服务方式
            services.AddAutoMapper(typeof(AutoMapperConfig));
            services.AddSwaggerGen(c =>
            {
                c.SwaggerDoc("v1", new OpenApiInfo { Title = "WebApplication2", Version = "v1" });
            });
        }

        // This method gets called by the runtime. Use this method to configure the HTTP request pipeline.
        public void Configure(IApplicationBuilder app, IWebHostEnvironment env)
        {
            if (env.IsDevelopment())
            {
                app.UseDeveloperExceptionPage();
                app.UseSwagger();
                app.UseSwaggerUI(c => c.SwaggerEndpoint("/swagger/v1/swagger.json", "WebApplication2 v1"));
            }

            app.UseRouting();

            app.UseAuthorization();

            app.UseEndpoints(endpoints =>
            {
                endpoints.MapControllers();
            });
        }
    }
}
using Microsoft.AspNetCore.Builder;
using Microsoft.AspNetCore.Hosting;
using Microsoft.AspNetCore.Mvc;
using Microsoft.Extensions.Configuration;
using Microsoft.Extensions.DependencyInjection;
using Microsoft.Extensions.Hosting;
using Microsoft.Extensions.Logging;
using Microsoft.OpenApi.Models;
using System;
using System.Collections.Generic;
using System.Linq;
using System.Threading.Tasks;
using WebApplication1.AutoMapper;

namespace WebApplication2
{
    public class Startup
    {
        public Startup(IConfiguration configuration)
        {
            Configuration = configuration;
        }

        public IConfiguration Configuration { get; }

        // This method gets called by the runtime. Use this method to add services to the container.
        public void ConfigureServices(IServiceCollection services)
        {

            services.AddControllers();
            //这是第二种添加服务方式
            services.AddAutoMapper(AppDomain.CurrentDomain.GetAssemblies());
            services.AddSwaggerGen(c =>
            {
                c.SwaggerDoc("v1", new OpenApiInfo { Title = "WebApplication2", Version = "v1" });
            });
        }

        // This method gets called by the runtime. Use this method to configure the HTTP request pipeline.
        public void Configure(IApplicationBuilder app, IWebHostEnvironment env)
        {
            if (env.IsDevelopment())
            {
                app.UseDeveloperExceptionPage();
                app.UseSwagger();
                app.UseSwaggerUI(c => c.SwaggerEndpoint("/swagger/v1/swagger.json", "WebApplication2 v1"));
            }

            app.UseRouting();

            app.UseAuthorization();

            app.UseEndpoints(endpoints =>
            {
                endpoints.MapControllers();
            });
        }
    }
}
服务已经注册啦,那么我们该如何使用呢,别急我们一步步来,在这里我会写一个简单的案列,我们先创建一个模型User,再创一个UserDto这样我们就能够把特定的字段返回给前台,也不会担心安全问题
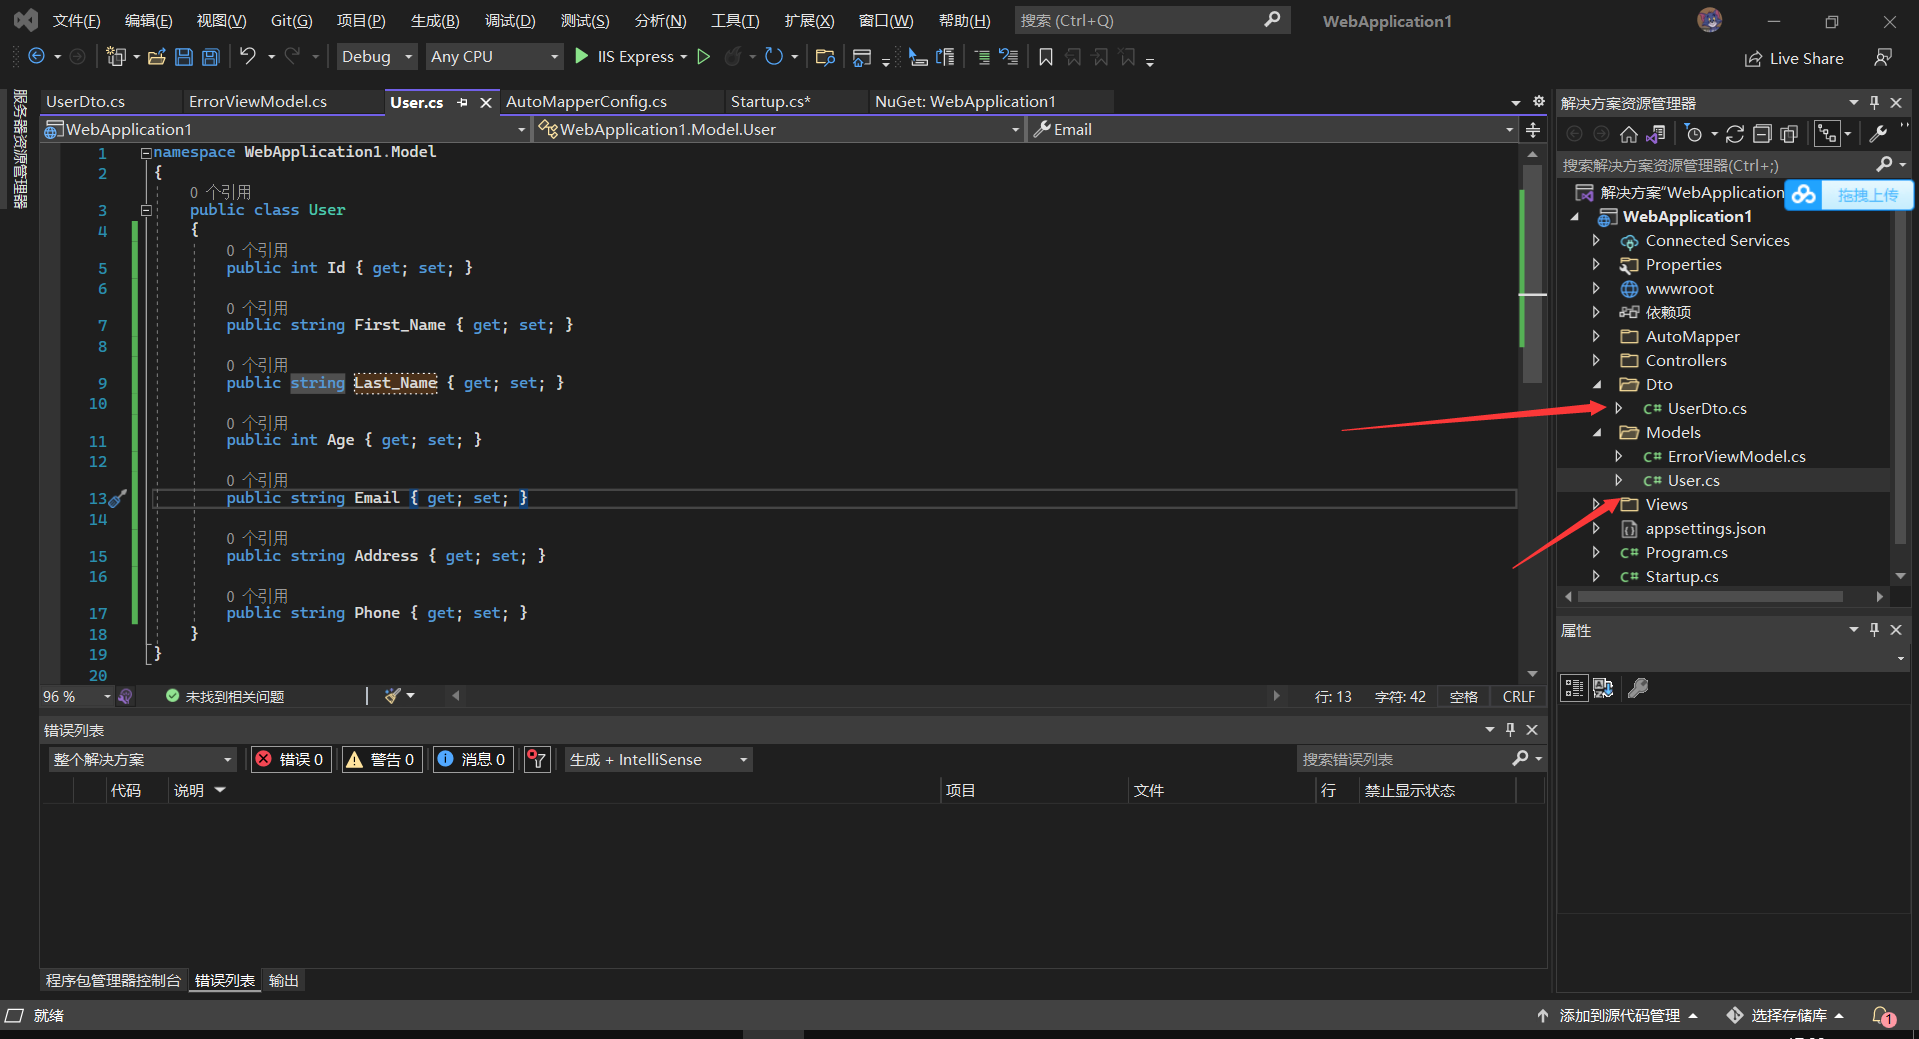
代码如下所示
namespace WebApplication1.Model
{
    public class User
    {
        public int Id { get; set; }

        public string First_Name { get; set; }

        public string Last_Name { get; set; }

        public int Age { get; set; }

        public string Email { get; set; }

        public string Address { get; set; }

        public string Phone { get; set; }

        public string Sex { get; set; }
    }
}
namespace WebApplication1.Dto
{
    public class UserDto
    {
        public string Name { get; set; }

        public string Sex { get; set; }

        public int Age { get; set; }

    }
}
然后我们再去刚刚继承自Profile的配置类里做操作,我们这里的需求很简单就是把User表中的First_Name与Last_Name拼接好转给UserDto中的Name属性
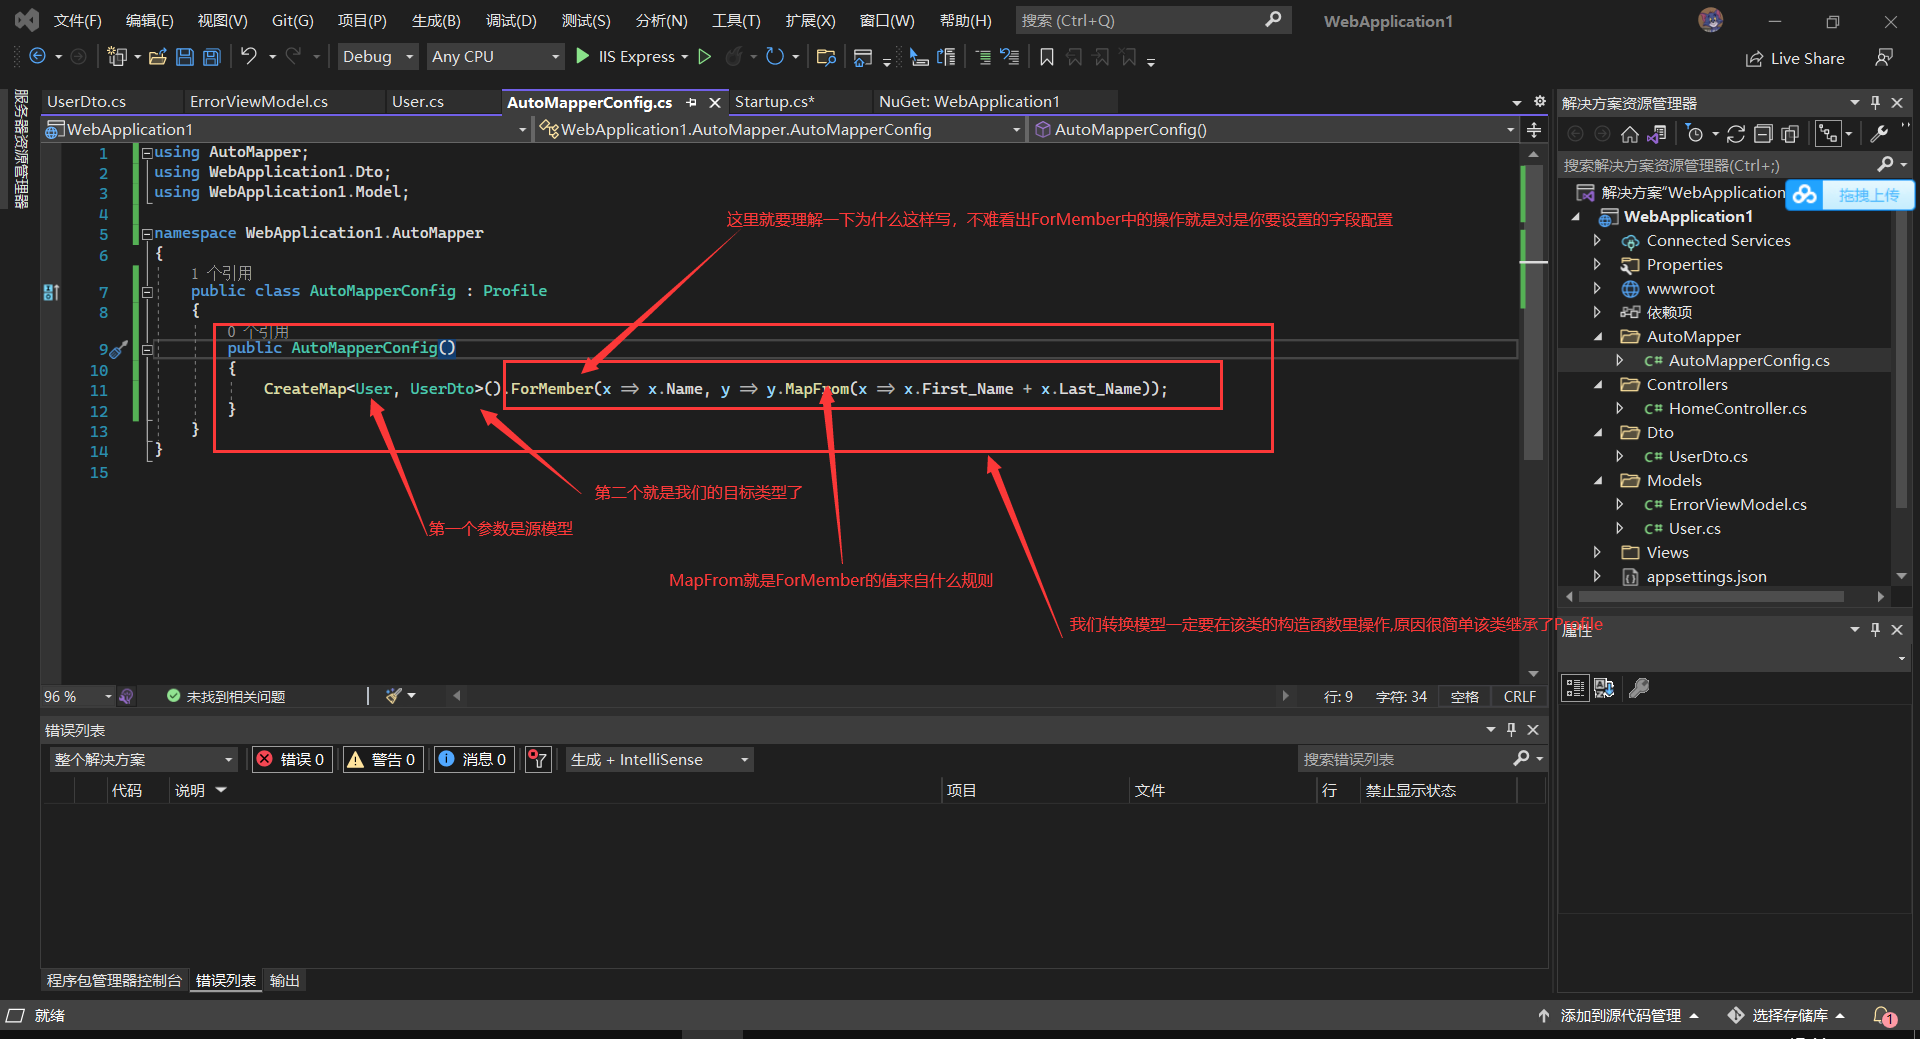
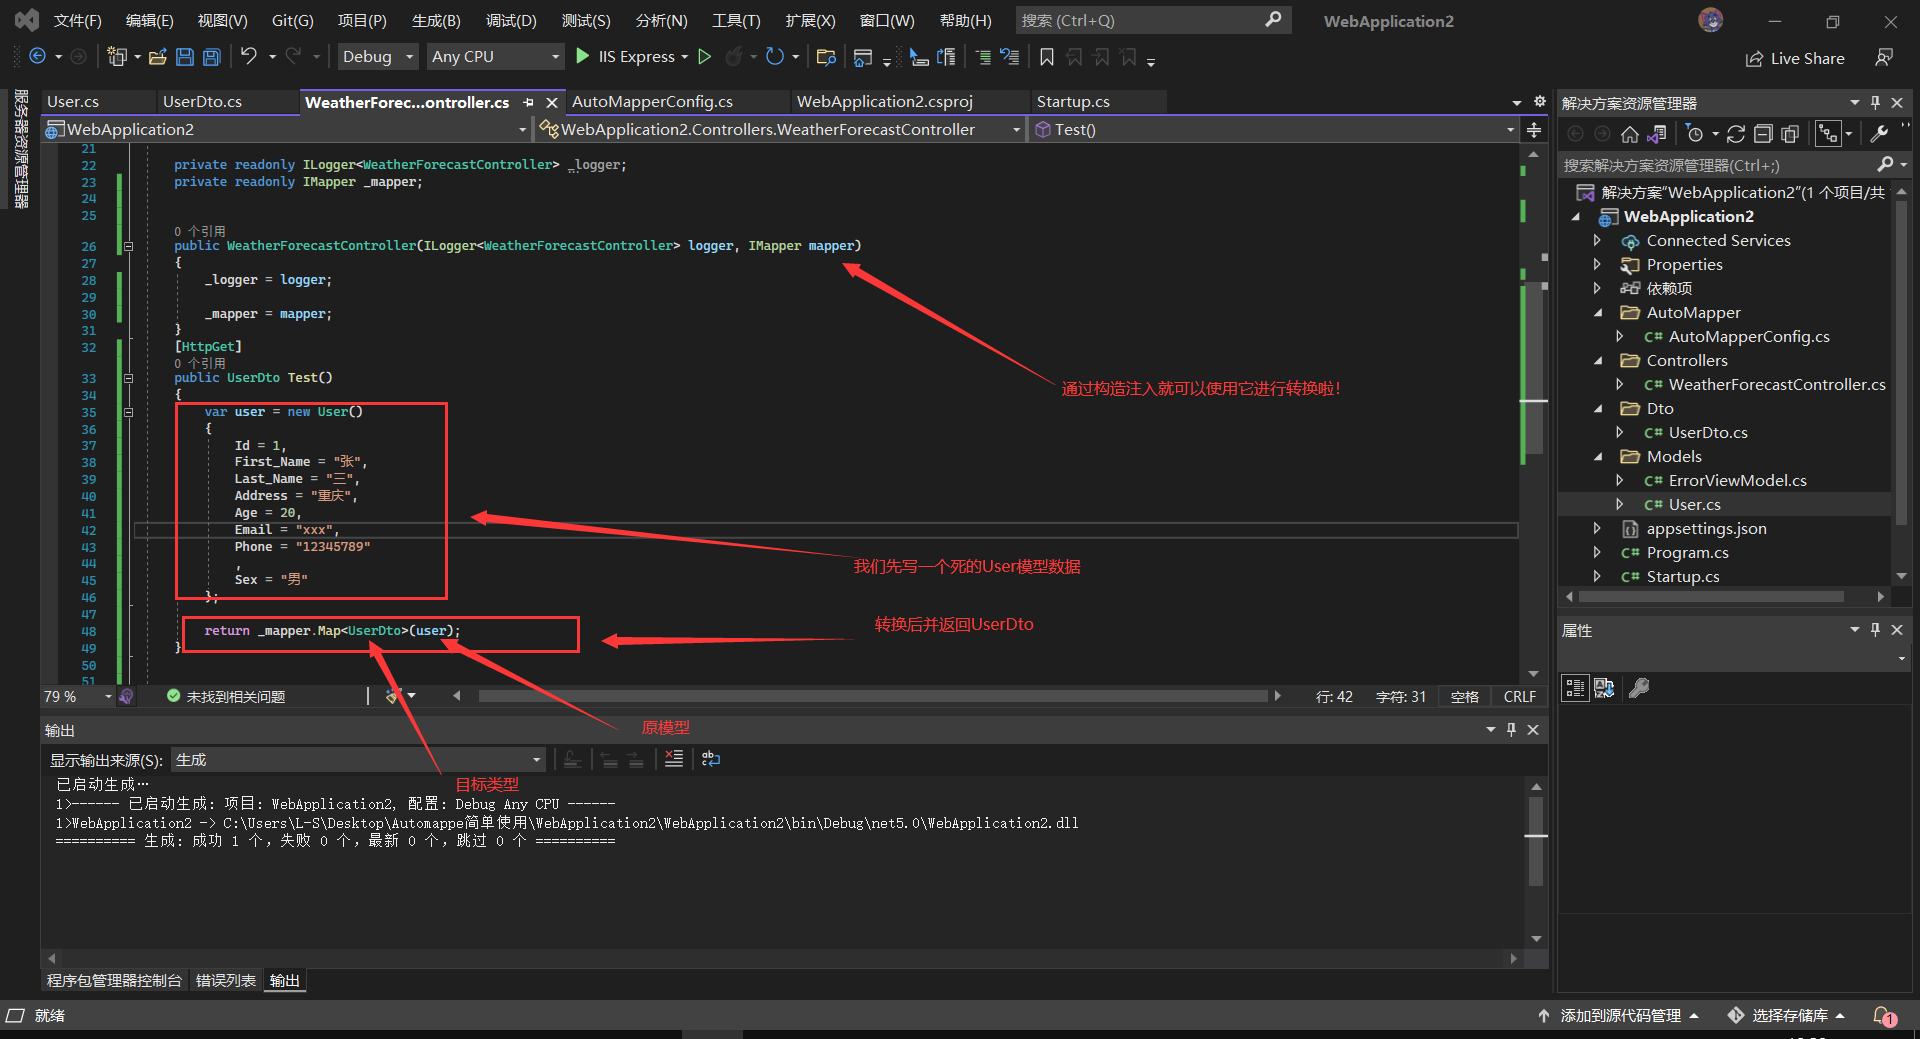
如果还不太理解为什么要这么写,自己动动手,相信聪明的你就会明白,接下来我们来简单测试一下User能不能按照要求转换成功呢
调用接口,拿到结果!
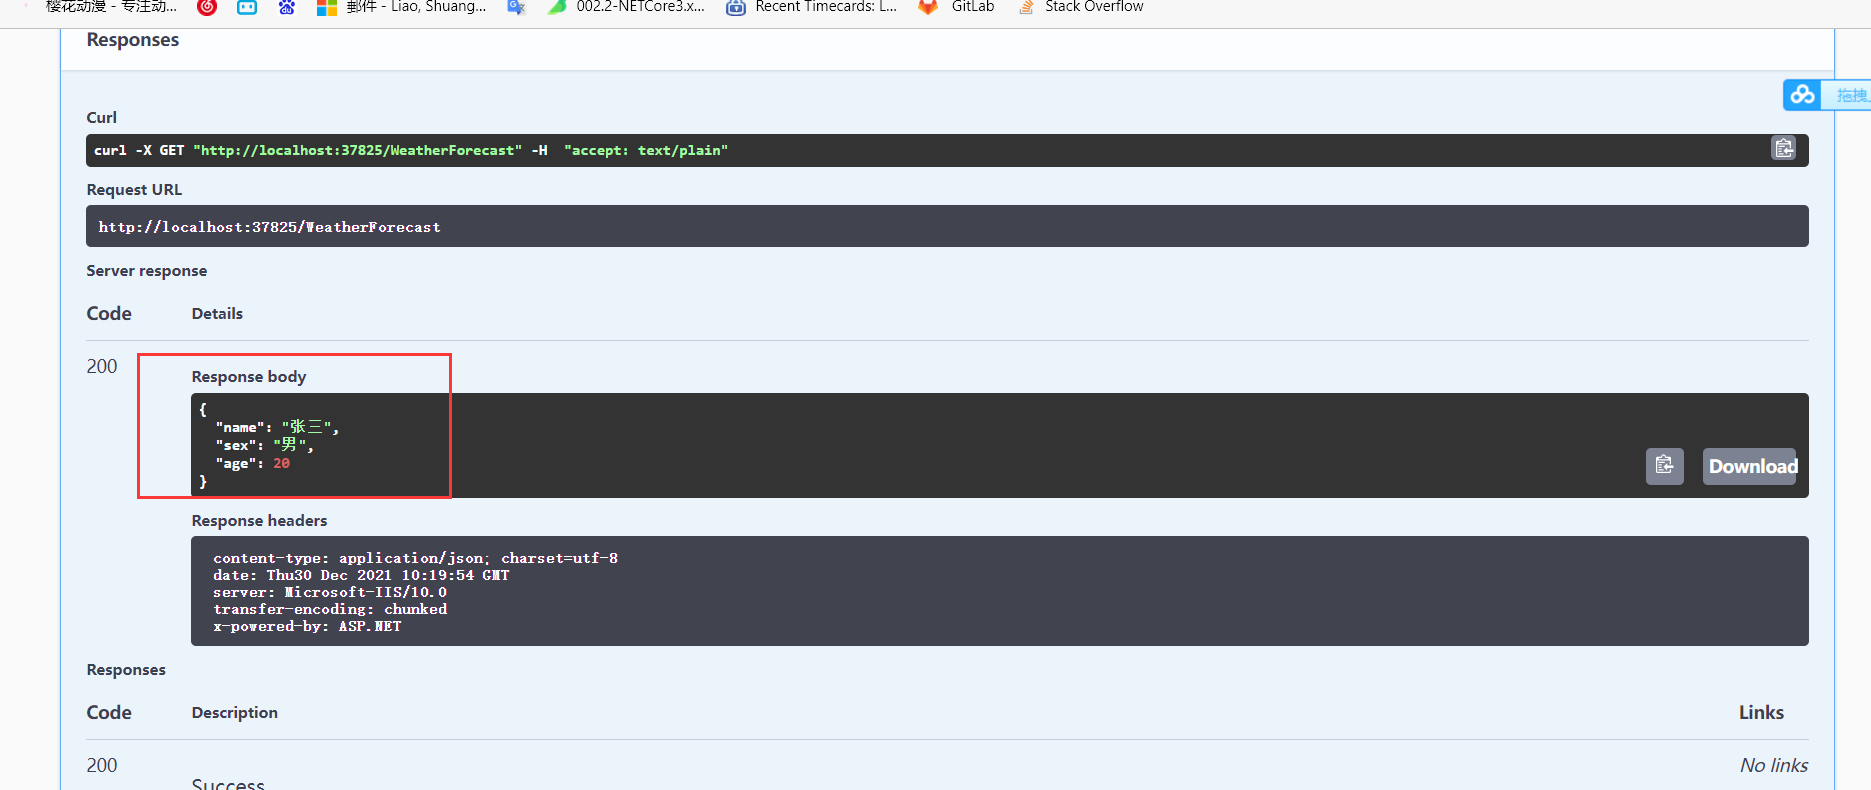
这样我们就成功啦,这也是最基本的使用,赶紧试试吧!热忱之心,不能泯灭,互帮互助!

 浙公网安备 33010602011771号