node发送邮箱验证码
准备:
进入自己的邮箱
点击设置
找到以下服务设置(不同的邮箱入口不同,但是配置是一样的)
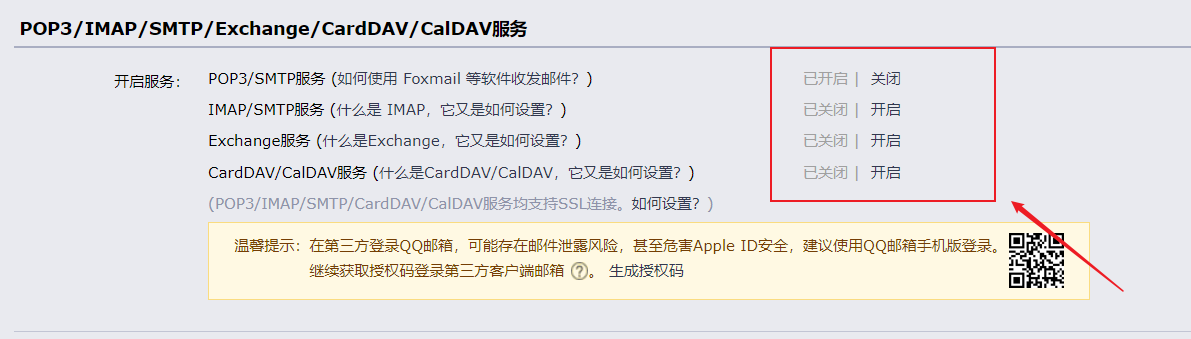
将以上服务开启
获取授权码
安装nodemailer模块
npm i nodemailer -S
封装
封装发送验证码功能模块
const nodemailer = require(`nodemailer`);
// 创建发送邮箱配置
const transPort = nodemailer.createTransport({
	// 主机
	// qq|163
	host: `smtp.qq.com`,
	// 25端口在阿里云服务端被禁用
	port: 465,
	// 当port为465时该值为true
	sesure: true,
	// 发件人配置
	auth: {
		// your send mail address
		user: `xxx@xxx.com`,
		// 授权码
		pass: '*******',//这个是在第一步骤中获取到的授权码
	},
});
class Utils {
	/**
	 *
	 * @param {[string]} emails 字符串 |字符串数组 收件人邮箱列表
	 * @param {string} code 生成的随机验证码
	 * @param {callback Function} fn 发送的状态
	 */
	sendEmail(emails, code, fn) {
		transPort.sendMail(
			{
				from: `xxxxx@xxx.com`,
				// array  `123@qq.com,323@qq.com`
				to: emails,
				subject: '主题',
				// 邮件内容
				text: ` 邮箱验证码为${code},五分钟内有效`,
			},
			fn
		);
	}
}
module.exports = new Utils();
使用
// your api
//发送验证码
	postCode(req, res) {
		const email = req.body.email;
		// console.log('email :>> ', email);
		// 生成随机验证码
		const captchaCode = Math.random().toString().substring(2, 6);
		Utils.sendEmail(email, captchaCode, (err, data) => {
			console.log('12345675432 :>> ', 12345675432);
			if (err) {
				res.send({
					code: 500,
					msg: `验证码发送失败,${err}`,
				});
			} else {
				console.log('data :>> ', data);
				res.send({
					code: 200,
					msg: `验证码发送成功`,
				});
			}
		});
	}

 浙公网安备 33010602011771号