
Pixel XL编译和烧录Android 8.0
参考博客 https://blog.csdn.net/weixin_43860588/article/details/105474948
策略选择
本打算在mac上编译源码, 但看到经过反复折腾,最终决定采取移动硬盘格式化为EXT4格式,容量200G。存放aosp代码,mac安装ubuntu虚拟机方式,挂载移动硬盘的方式进行源码编译。这样可以避免虚拟机体积过于庞大,也方便在不同电脑上访问源码。
构建环境搭建
https://source.android.com/setup/build/initializing
aosp 源码是通过 Git 进行管理的,但是由于代码量巨大,单纯使用 Git 已经无法满足日常便捷操作的目标。所以 Google 以 Git 为基础,使用 Python 编写了 repo 这款工具,让开发者可以更方便轻松的管理源码,点击查看 repo 使用详情。
首先,创建 repo 工具存放文件夹。
然后,下载 repo,并赋予 repo 可执行权限。
curl https://storage.googleapis.com/git-repo-downloads/repo > /usr/local/bin/repo
chmod a+x /usr/local/bin/repo
安装所需的软件包 (Ubuntu 18.04)
更新163源
deb http://mirrors.163.com/ubuntu/ bionic main restricted universe multiverse
deb-src http://mirrors.163.com/ubuntu/ bionic main restricted universe multiverse
deb http://mirrors.163.com/ubuntu/ bionic-security main restricted universe multiverse
deb-src http://mirrors.163.com/ubuntu/ bionic-security main restricted universe multiverse
deb http://mirrors.163.com/ubuntu/ bionic-updates main restricted universe multiverse
deb-src http://mirrors.163.com/ubuntu/ bionic-updates main restricted universe multiverse
deb http://mirrors.163.com/ubuntu/ bionic-backports main restricted universe multiverse
deb-src http://mirrors.163.com/ubuntu/ bionic-backports main restricted universe multiverse
deb http://mirrors.163.com/ubuntu/ bionic-proposed main restricted universe multiverse
deb-src http://mirrors.163.com/ubuntu/ bionic-proposed main restricted universe multiverse
您需要 64 位版本的 Ubuntu。
sudo apt-get install git-core gnupg flex bison build-essential zip curl zlib1g-dev gcc-multilib g++-multilib libc6-dev-i386 libncurses5-dev lib32ncurses5-dev x11proto-core-dev libx11-dev lib32z1-dev libgl1-mesa-dev libxml2-utils xsltproc unzip fontconfig
适用于Python2
sudo apt install python-minimal
适用于 Python3
如果您的 Ubuntu 20.04.2 LTS 是全新安装(相对于升级)的 Linux 版本:
sudo ln -s /usr/bin/python3 /usr/bin/python
下载Android源码
下载aosp源码
由于Android源码体量巨大,直接拉取很容易失败,可以先下载.repo压缩包(直接用以前下载的33G左右)
tar zxvf aosp_repo.tgz -C oreo/
按照手机型号在安卓开发者网站查找对应的分支和细分版本等信息
https://source.android.com/setup/start/build-numbers
https://developers.google.com/android/images
如果要烧录真机,分支选择很关键,建议两个网址都看看,编译好烧录失败的时候还有官方包补救
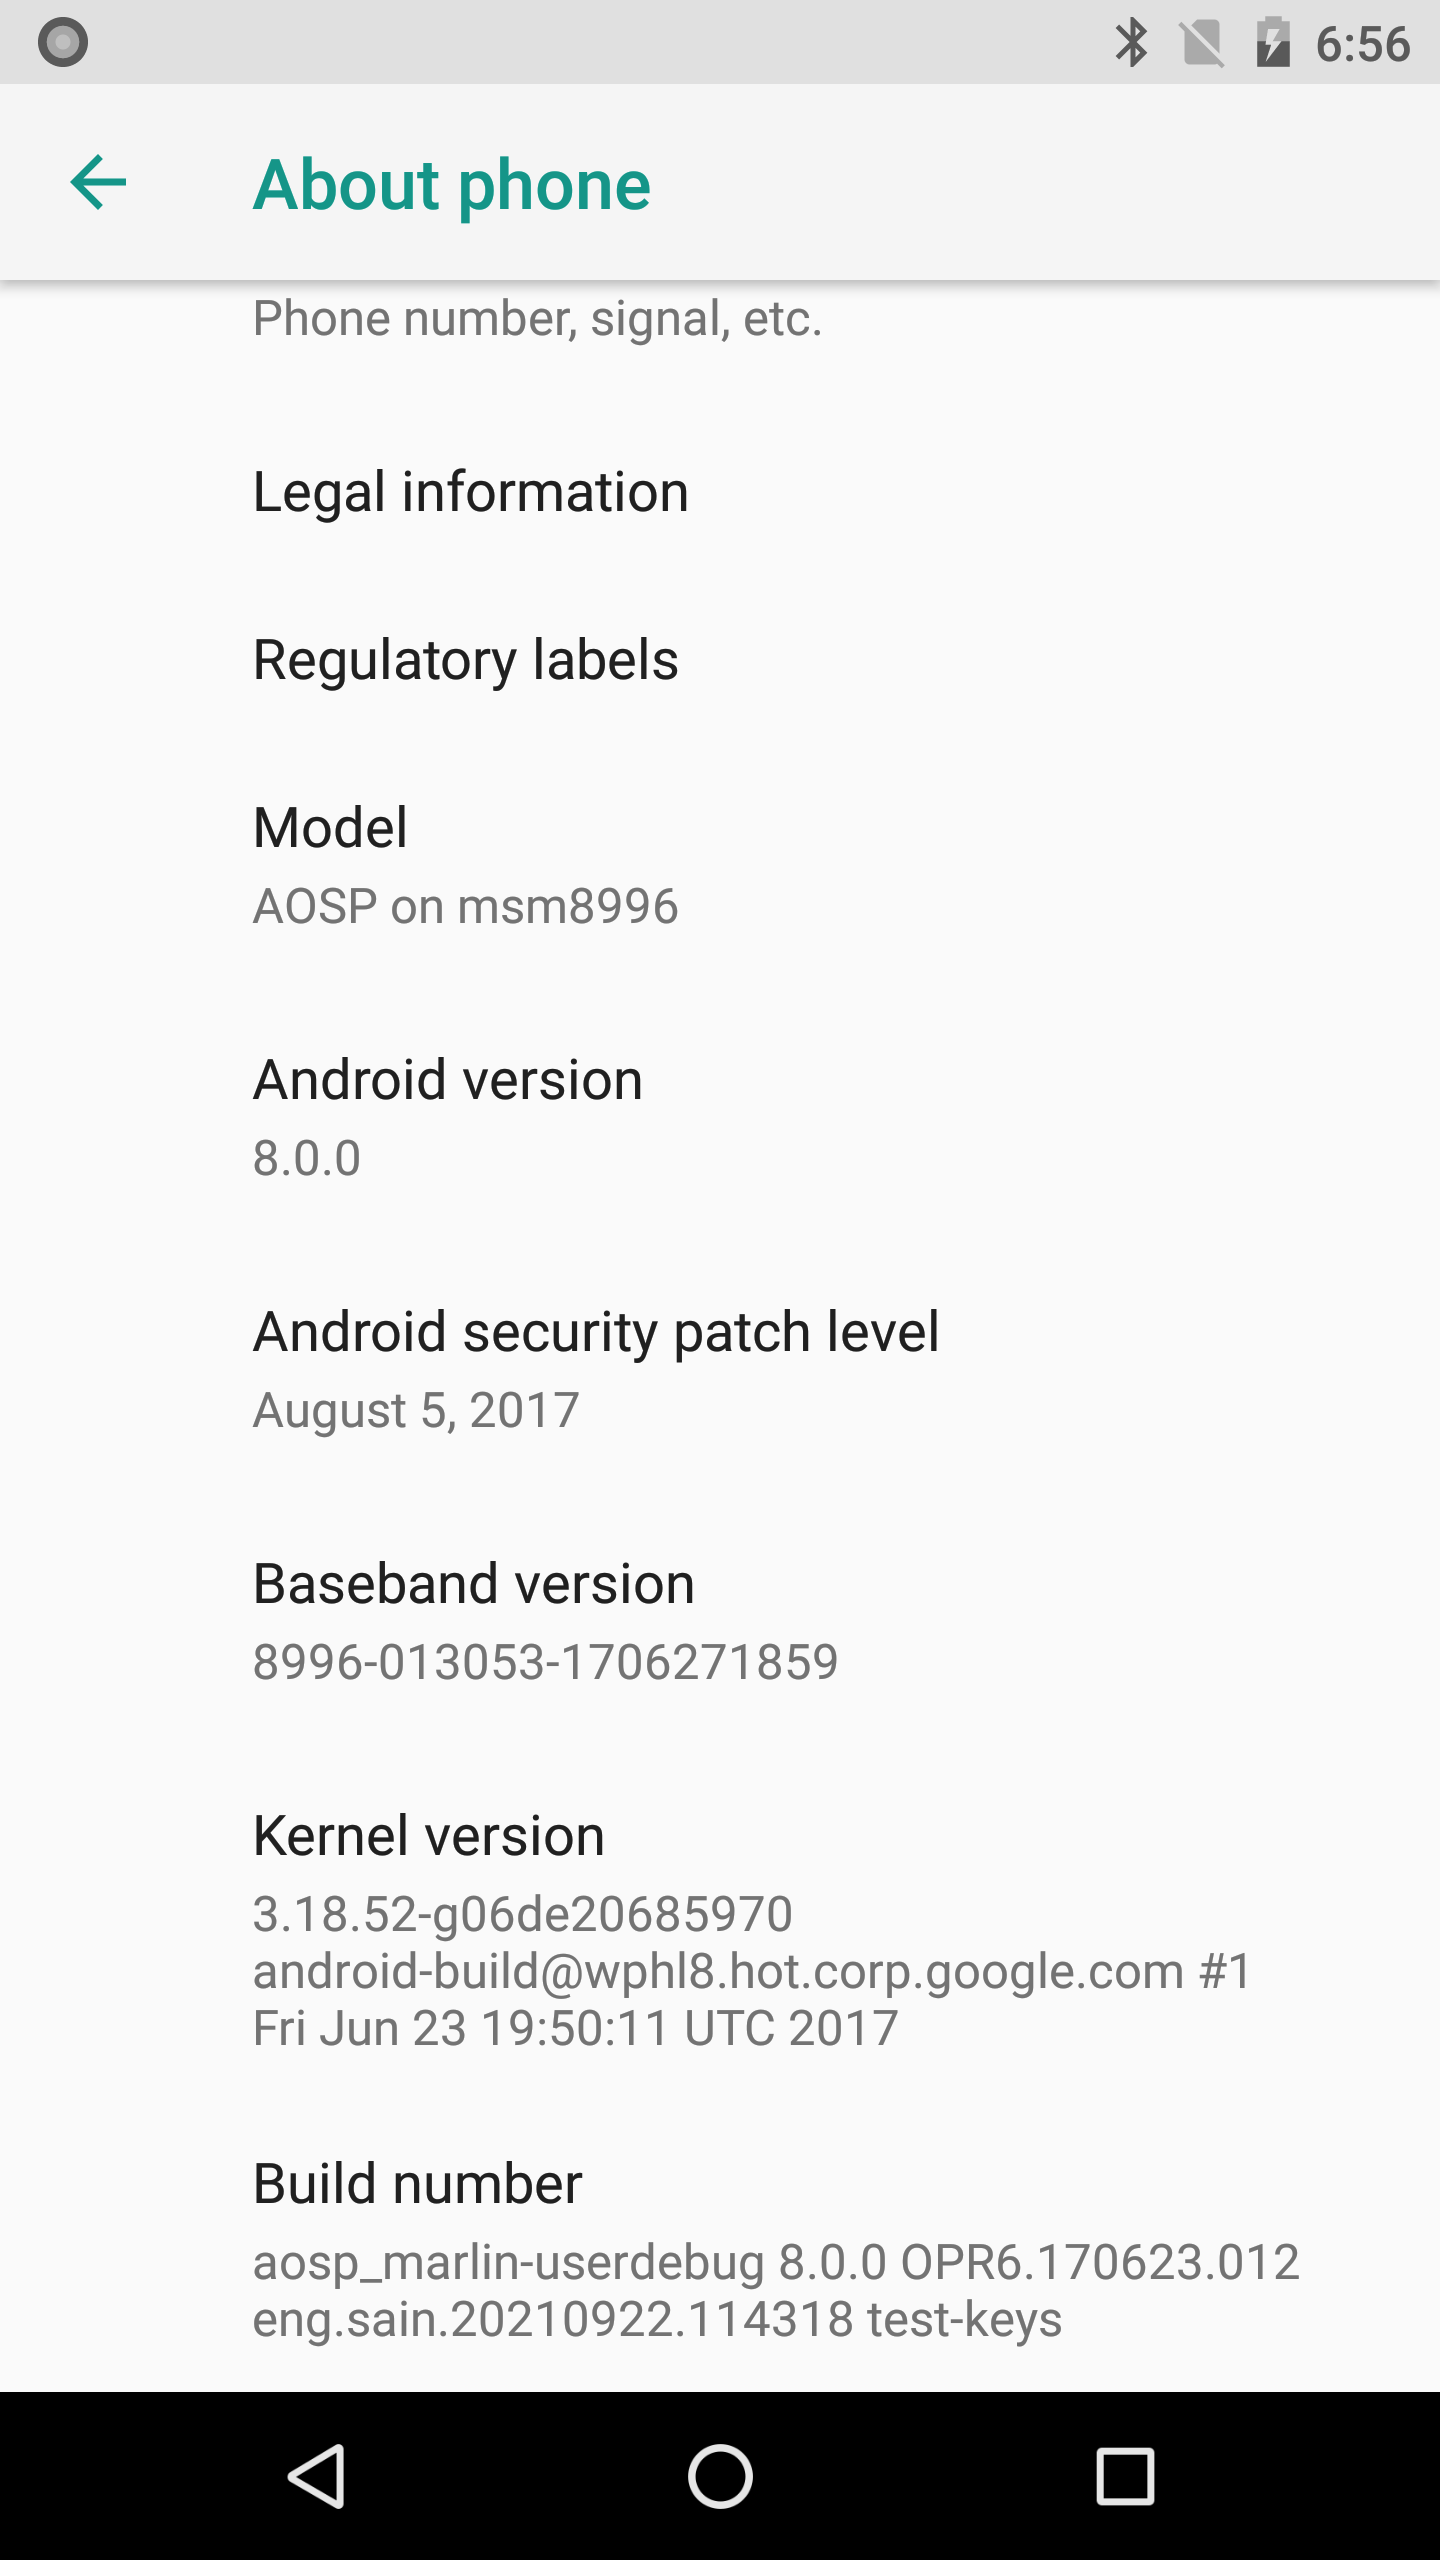
这里我的手机为Pixel XL,找一个支持Pixel XL编译的分支,可以在打开以上网址后全局搜索Pixel XL,选择其中一个分支为android-8.0.0_r3
OPR6.170623.012 android-8.0.0_r3 Oreo Pixel XL、Pixel 2017-08-05
| 8.0.0 (OPR6.170623.012, Aug 2017) | Link | 8ada9373e6f86cac20023bd6c7889edb0449fc7085913d1e45f8a1491b17942c |
切到特定分支,这里要切换成android-8.0.0_r3
直接
repo init -u https://aosp.tuna.tsinghua.edu.cn/platform/manifest -b android-8.0.0_r3
接下来回到.repo所在目录
repo sync -c (完全下载好,.repo文件夹大约40G)
选项:
-j : 多任务,一般8核心可以开到16任务,过多会起反作用
-c: 只下载当前分支代码
-d: 让工程回退到manifest指定的版本
-f: 如果某个工程同步失败,继续同步
为了避免失败, 可以加脚本重试
#!/bin/sh
repo sync -c -j4
while [ $? -ne 0 ]
do
repo sync -c -j4
done
repo sync -c --no-tags -j8
问题记录:
1. AttributeError: 'str' object has no attribute 'decode'
2. File "/Volumes/aosp/google/.repo/repo/project.py", line 2587, in DiffZ
out = iter(out[:-1].split('\0')) # pylint: disable=W1401
TypeError: a bytes-like object is required, not 'str'
出现这种情况跟我们下载方式有关系,报错报在repo目录,有理由怀疑下载不是最新的,所以不要去修改脚本(改了同步也会出现冲突),想办法更新到最新就好
解决方式:
cd .repo/repo
git reset --hard HEAD^^^^^^^^^^^
repo sync -c ✔
Fetching: 100% (568/568), done in 13.894s
Garbage collecting: 100% (568/568), done in 4.062s
info: A new version of repo is available
warning: repo is not tracking a remote branch, so it will not receive updates
repo reset: error: Entry 'SUBMITTING_PATCHES.md' not uptodate. Cannot merge.
fatal: Could not reset index file to revision 'v2.21^0'.
cd .repo/manifests
git reset --hard
下载驱动文件
https://developers.google.com/android/drivers
机器为pixel xl, 结合代码分支信息OPR6.170623.012,实际链接为
https://developers.google.com/android/drivers#marlinopr6.170623.012
Pixel XL binaries for Android 8.0.0 (OPR6.170623.012)
| Hardware Component | Company | Download | SHA-256 Checksum |
|---|---|---|---|
| Vendor image | 3fe0150da11fe3065f39bf3308d9ecf1a4ca0a5ded120b21d711271bf68fae08 | ||
| GPS, Audio, Camera, Gestures, Graphics, DRM, Video, Sensors | Qualcomm | f3a578c9c582e61f94ca83c85135f46c270a1e6af679365d94c7b2d2e8afbe7a |
下载完解压后实际是两个脚本
extract-qcom-marlin.sh
extract-google_devices-marlin.sh
这里选择编译pixel xl可以直接用的user debug 版本
source build/envsetup.sh
lunch 21
make -j4
问题记录
问题1
SyntaxError: invalid syntax
[ 0% 104/83842] target Java: okhttp (...IBRARIES/okhttp_intermediates/classes)
File "build/tools/normalize_path.py", line 25
print os.path.normpath(p)
^
SyntaxError: invalid syntax
[ 0% 105/83842] target Java: libphone...number-platform_intermediates/classes)
File "build/tools/normalize_path.py", line 25
print os.path.normpath(p)
^
SyntaxError: invalid syntax
ninja: build stopped: subcommand failed.
06:48:49 ninja failed with: exit status 1
build/core/main.mk:21: recipe for target 'run_soong_ui' failed
make: *** [run_soong_ui] Error 1
-----------------------
问题2
[ 0% 3/83736] JarJar: out/target/common/obj/JAVA_LIBRARIES/libphonenumber-platform_intermediates/classes-jarjar.jar
FAILED: out/target/common/obj/JAVA_LIBRARIES/libphonenumber-platform_intermediates/classes-jarjar.jar
/bin/bash -c "java -jar out/host/linux-x86/framework/jarjar.jar process external/libphonenumber/jarjar-rules.txt out/target/common/obj/JAVA_LIBRARIES/libphonenumber-platform_intermediates/classes-full-debug.jar out/target/common/obj/JAVA_LIBRARIES/libphonenumber-platform_intermediates/classes-jarjar.jar"
错误: 找不到或无法加载主类 com.tonicsystems.jarjar.Main
ninja: build stopped: subcommand failed.
10:46:07 ninja failed with: exit status 1
build/core/main.mk:21: recipe for target 'run_soong_ui' failed
make: *** [run_soong_ui] Error 1
#### make failed to build some targets (41 seconds) ####
问题3
Jack server failed to (re)start, try 'jack-diagnose' or see Jack server log
SSL error when connecting to the Jack server. Try 'jack-diagnose'
SSL error when connecting to the Jack server. Try 'jack-diagnose'
[ 0% 292/79741] target C++: libv8src <= external/v8/src/wasm/wasm-module.cc
解决方式:
问题1
使用python2
问题2
编译之前执行 export LC_ALL=C
问题3
参考https://segmentfault.com/a/1190000039970343
原因就是编译时用的是open-jdk 8u292,默认禁用了TLSv1, TLSv1.1,
从/etc/java-8-openjdk/security/java.security中取消TLSv1, TLSv1.1 禁用
修改后执行 ./jack-admin kill-server && ./jack-admin start-server
烧录
先设置环境变量
sudo vim /etc/profile
export ANDROID_PRODUCT_OUT="/media/sain/Ubuntu/aosp/oreo/out/target/product/marlin"
source /etc/profile
-------
fastboot -w flashall
如果刷完无法启动,可以根据OPR6.170623.012从https://developers.google.com/android/images下载官方镜像包
执行 ./flash_bash.sh
Kernel编译
1、下载kernel源码
cd kernel

git clone https://aosp.tuna.tsinghua.edu.cn/kernel/msm.git
git checkout android-msm-marlin-3.18-oreo-r6
2、配置编译环境
export ARCH=arm64
export CROSS_COMPILE=aarch64-linux-android-
export PATH=$PATH:/src/prebuilts/gcc/linux-x86/aarch64/aarch64-linux-android-4.9/bin/
3、编译
开始编译之前,不要着急开始,先使用 help 看有哪些预定义好的配置
make help
从上面可以找到 hammerhead_defconfig,这正是 Nexus 5 的默认配置
make marlin_defconfig
上述就是生成配置,如果需要调整,则可以继续执行
make menuconfig
最后执行编译吧
make
4. 系统编译验证
------编译成功
CAT arch/arm64/boot/Image.lz4-dtb
## set kernel path
# 默认位于/device/google/marlin-kernel/Image.lz4-dtb
export TARGET_PREBUILT_KERNEL=/src/kernel/msm/arch/arm64/boot/Image.lz4-dtb
make bootimage
fastboot flash boot_a boot.img
fastboot reboot
kernel修改支持串口
1. 在内核编译时,使用make menuconfig或者是直接修改.config文件(如果你有按照android官方内核编译步骤进行过一次config配置,就会生成这个隐藏的.config文件),需要打开这几个配置:CONFIG_USB_SERIAL; CONFIG_USB_SERIAL_CH341;CONFIG_USB_SERIAL_CONSOLE
CONFIG_USB_SERIAL=y
CONFIG_USB_SERIAL_CONSOLE=y
CONFIG_USB_SERIAL_CH341=y
2. 修改kernel启动的console_cmdline
# device/google/marlin/marlin/BoardConfig.mk
BOARD_KERNEL_CMDLINE := console=ttyUSB0,115200,n8 androidboot.console=ttyUSB0
模拟器运行:
export PATH="$PATH:/Users/sain/aosp/android11/prebuilts/android-emulator/darwin-x86_64/"
export ANDROID_BUILD_TOP="/Users/sain/aosp/android11"
export ANDROID_PRODUCT_OUT="/Users/sain/aosp/android11/out/target/product/generic_x86"
repo init -u https://aosp.tuna.tsinghua.edu.cn/platform/manifest -b
error.GitError: manifests rev-list ('^HEAD', 'c53893ee86396f12af730007fba0cd73595411ff', '--'): fatal: bad revision '^HEAD'
rm -rf .repo/manifest*
eng This is the default flavor. A plain make is the same as make eng.
*       Installs modules tagged with: eng, debug, user, and/or development.
*       Installs non-APK modules that have no tags specified.
*       Installs APKs according to the product definition files, in addition to tagged APKs.
*       ro.secure=0
*       ro.debuggable=1
*       ro.kernel.android.checkjni=1
*       adb is enabled by default.
*       Setupwizard is optional
user make user
This is the flavor intended to be the final release bits.
*       Installs modules tagged with user.
*       Installs non-APK modules that have no tags specified.
*       Installs APKs according to the product definition files; tags are ignored for APK modules.
*       ro.secure=1
*       ro.debuggable=0
*       adb is disabled by default.
*       Enable dex pre-optimization for all TARGET projects in default to speed up device first boot-up
userdebug make userdebug
The same as user, except:
*       Also installs modules tagged with debug.
*       ro.debuggable=1
* adb is enabled by default.
cd  .repo/manifests

git checkout -b android-8.0.0_r3
git branch --set-upstream-to=origin/android-8.0.0_r3 android-8.0.0_r3
git fetch --all
git reset --hard origin/android-8.0.0_r3
2. repo init做了啥
三个文件变化 .repo/manifests/default.xml .repo/manifests.git/config .repo/manifests.git/.repo_config.json sain@Ubuntu1804:/media/sain/Linux/aosp/test$ cat .repo/manifests/default.xml <?xml version="1.0" encoding="UTF-8"?> <manifest> <remote name="aosp" fetch=".." review="https://android-review.googlesource.com/" /> <default revision="refs/tags/android-8.0.0_r3" remote="aosp" sync-j="4" /> -------------- sain@Ubuntu1804:/media/sain/Linux/aosp/test$ cat .repo/manifests.git/config [core] repositoryformatversion = 0 filemode = true [filter "lfs"] smudge = git-lfs smudge --skip -- %f process = git-lfs filter-process --skip [remote "origin"] url = https://aosp.tuna.tsinghua.edu.cn/platform/manifest fetch = +refs/heads/*:refs/remotes/origin/* [branch "default"] remote = origin merge = refs/heads/android-8.0.0_r3 -------------- sain@Ubuntu1804:/media/sain/Linux/aosp/test$ cat .repo/manifests.git/.repo_config.json { "core.repositoryformatversion": [ "0" ], "core.filemode": [ "true" ], "filter.lfs.smudge": [ "git-lfs smudge --skip -- %f" ], "filter.lfs.process": [ "git-lfs filter-process --skip" ], "remote.origin.url": [ "https://aosp.tuna.tsinghua.edu.cn/platform/manifest" ], "remote.origin.fetch": [ "+refs/heads/*:refs/remotes/origin/*" ], "branch.default.remote": [ "origin" ], "branch.default.merge": [ "refs/heads/android-8.0.0_r3" ] }

 浙公网安备 33010602011771号