DotNetCore 结合 Nginx 将网站部署到阿里云
基础环境配置
域名和服务器请先自行购买
基于 云服务器ECS 创建一个应用实例,选择系统镜像为 Ubuntu 16.04,在本机通过 SSH 进行远程连接,并进行相关配置
ssh root@http://39.108.48.203/

sudo apt-get update
sudp apt-get upgrade
sudo apt-get autoremove
sudo apt-get clean
Nginx 配置
sudo apt-get install nginx
sudo service nginx start

# 备份原始配置文件
sudo cp /etc/nginx/sites-available/default etc/nginx/sites-available/default.bak

sudo vim /etc/nginx/sites-available/default
配置 default 文件,如下所示
server {
    listen        80;
    server_name   example.com *.example.com;
    location / {
        proxy_pass         http://localhost:5000;
        proxy_http_version 1.1;
        proxy_set_header   Upgrade $http_upgrade;
        proxy_set_header   Connection keep-alive;
        proxy_set_header   Host $host;
        proxy_cache_bypass $http_upgrade;
        proxy_set_header   X-Forwarded-For $proxy_add_x_forwarded_for;
        proxy_set_header   X-Forwarded-Proto $scheme;
    }
}
检测配置并更新
sudo nginx -t
sudo nginx -s reload

sudo service nginx stop
sudo service nginx start
安装 DotNetCore
wget -q https://packages.microsoft.com/config/ubuntu/18.04/packages-microsoft-prod.deb -O packages-microsoft-prod.deb
sudo dpkg -i packages-microsoft-prod.deb

sudo add-apt-repository universe
sudo apt-get update
sudo apt-get install apt-transport-https
sudo apt-get update
sudo apt-get install dotnet-sdk-3.1
请参考官网最新安装说明:.NetCore Download
程序打包
打开 VisualStudio2017 右键要发布的项目,点击 publish,并参考下图进行相关配置。
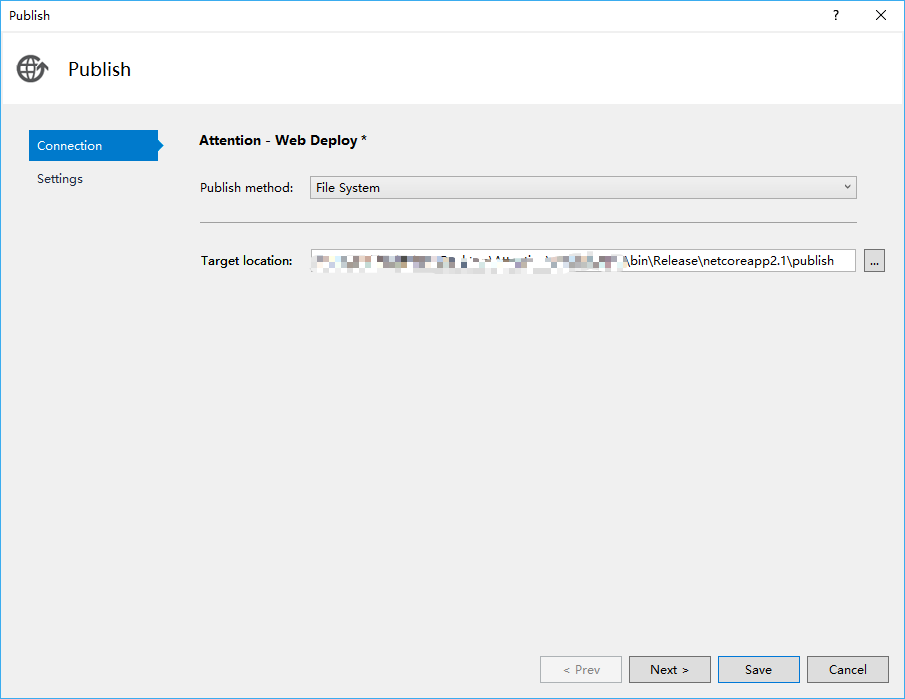
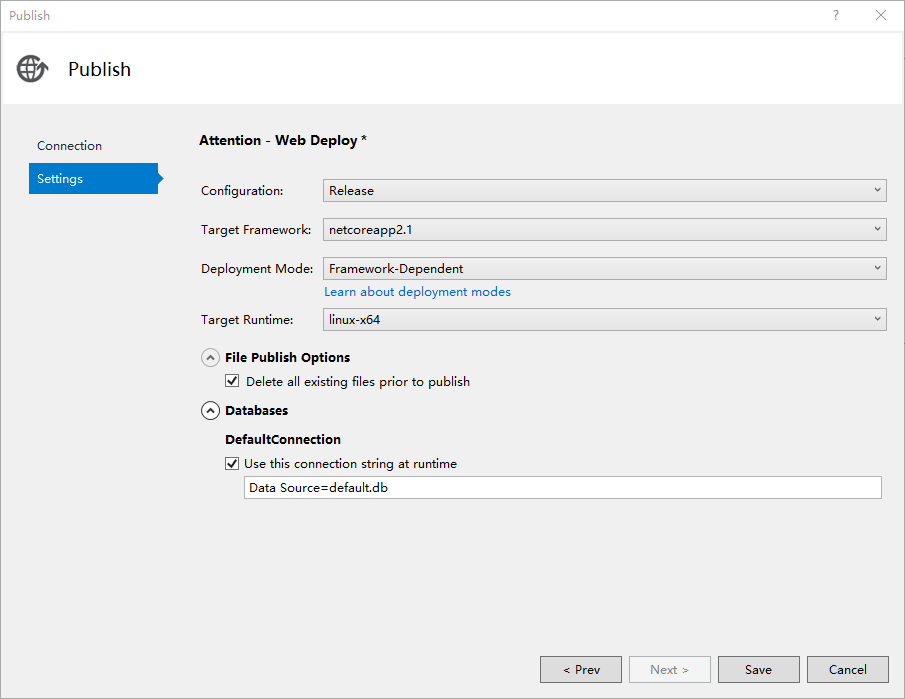
点击 Save 按钮并执行发布操作。然后将 publish 文件夹上传至服务器相应位置,上传成功后执行
dotnet run app.dll
或者通过命令行打包发布
dotnet publish -c release
dotnet publish -c release -r ubuntu.18.04-x64
如果不出意外的,这个时候,你就可以通过 IP 或者 你的网站域名来进行访问了。
创建守护进程
执行上述操作之后,我们的程序还是不能正在长时间运行,因此我们需要通过守护进程来管理我们的网站
sudo apt-get install supervisor
sudo vim /ect/supervisor/conf.d/helloworld.conf
配置 website.conf 文件
[program:HelloWebApp]

command=/usr/bin/dotnet helloworld.dll ;要执行的命令
directory=/home/hippie/helloworld/bin/release/netcoreapp3.1/publish ;命令执行的目录
environment=ASPNETCORE__ENVIRONMENT=Production ;环境变量
user=root  ;进程执行的用户身份
stopsignal=INT
autostart=true ;是否自动启动
autorestart=true ;是否自动重启
startsecs=1 ;自动重启间隔
stderr_logfile=/var/log/helloworld.err.log ;标准错误日志
stdout_logfile=/var/log/helloworld.out.log ;标准输出日志
这个时候,我们执行下述命令启动守护进程
sudo supervisorctl shutdown && sudo supervisord -c /etc/supervisor/supervisord.conf

# 关闭所有服务
sudo supervisorctl shutdown

# 查看状态
sudo supervisorctl status

sudo service supervisor start/stop

# 查看指定端口对应程序
netstat -ap | grep 5000

# 关闭指定端口对应程序
kill -9 PID
好了,这个时候你可以尝试关闭远程连接进行网站访问,如果能正常访问的话,说明你的配置已经起作用了.
配置 HTTPS
配置 HTTPS 需要使用证书,对应的有免费和收费版,我这里使用的是 免费版本 Certbot,直接执行下述命令即可:
sudo apt-get update
sudo apt-get install software-properties-common
sudo add-apt-repository universe
sudo add-apt-repository ppa:certbot/certbot
sudo apt-get update
sudo apt-get install certbot python-certbot-nginx

sudo certbot --nginx

# sudo certbot renew --dry-run

sudo ufw allow https

sudo systemctl restart nginx
最后
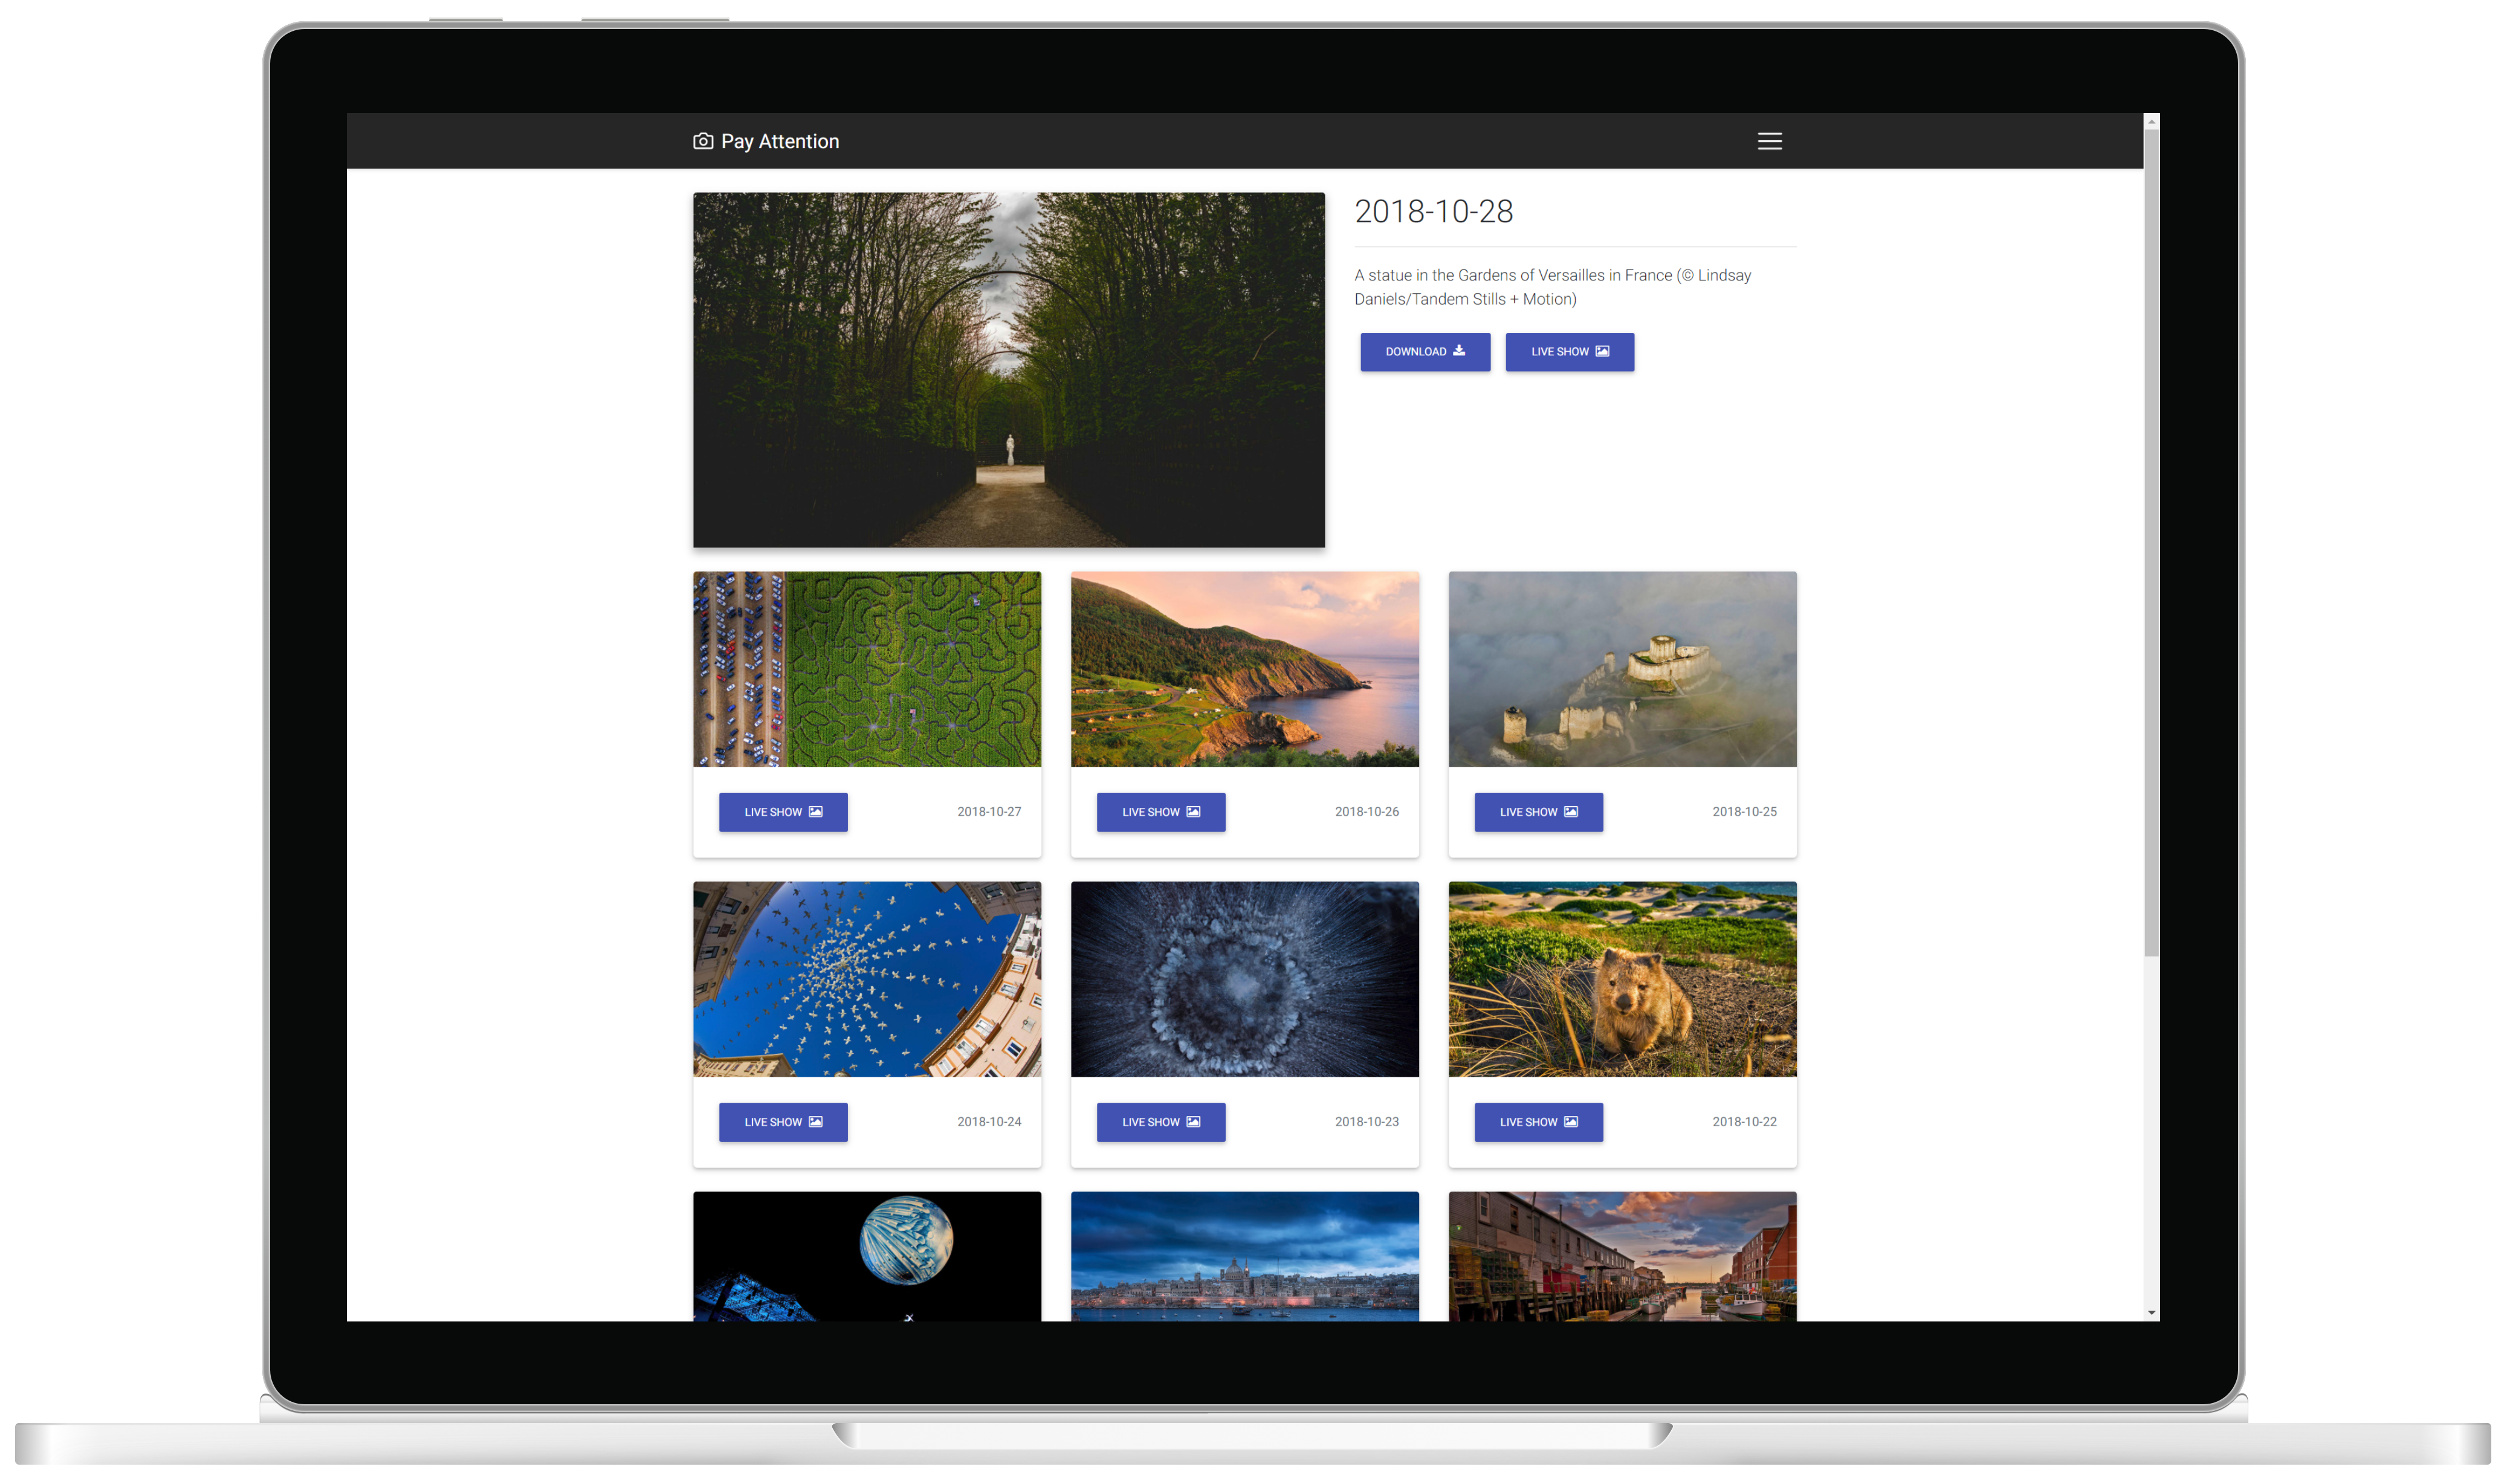
安利一个我的个人图片网站,图片资源来自于必应,感兴趣的小伙伴欢迎体验:

 浙公网安备 33010602011771号