腾讯云域名申请+ssl证书申请+springboot配置https
阿里云域名申请
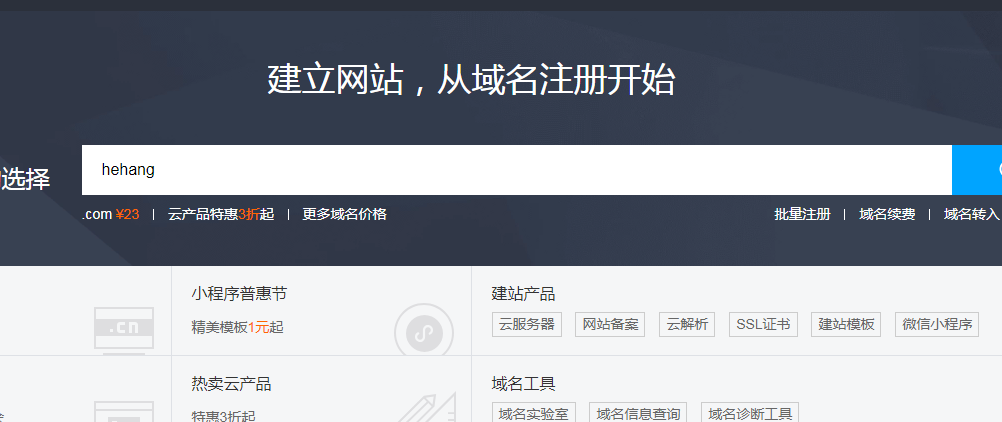
域名申请比较简单,使用微信注册阿里云账号并登陆,点击产品,选择域名注册

输入你想注册的域名
进入域名购买页面,搜索可用的后缀及价格,越热门的后缀(.com,.cn)越贵一般,并且很可能已经被注册。
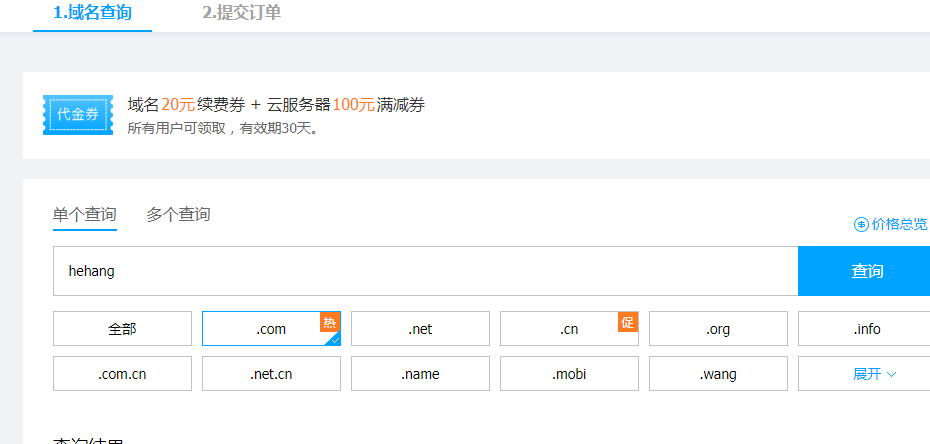
最后,付款购买即可。
申请ssl证书
还是进入首页,点击产品按钮,在下拉菜单中选择ssl证书,进入后点立即购买,在下图中做如下选择
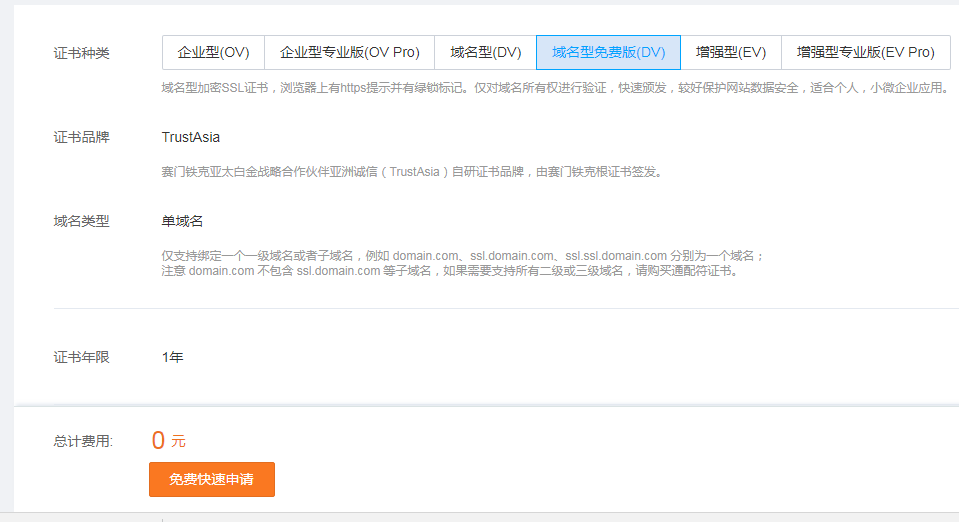
ssl证书是要与域名绑定的,按要求填好域名和邮箱,密码可以不填
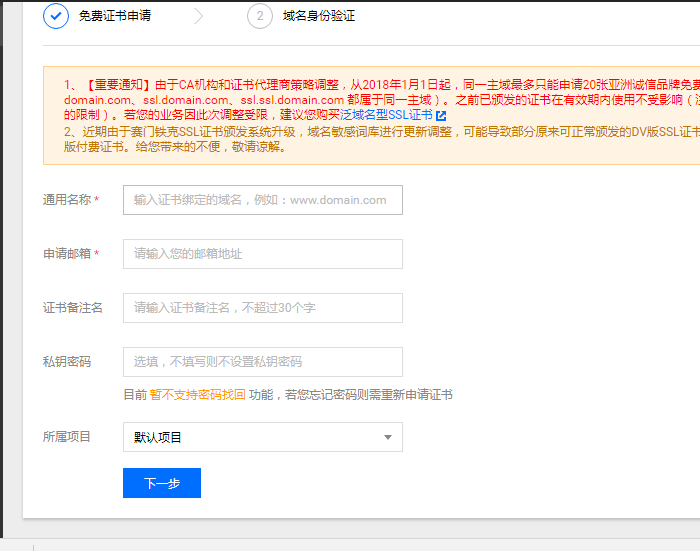
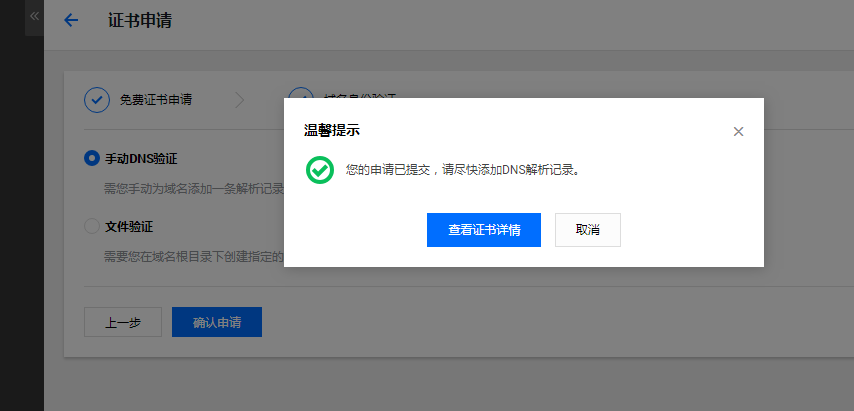
填写好,选择下一步,然后选择手动dns,提交,然后查看证书详情。
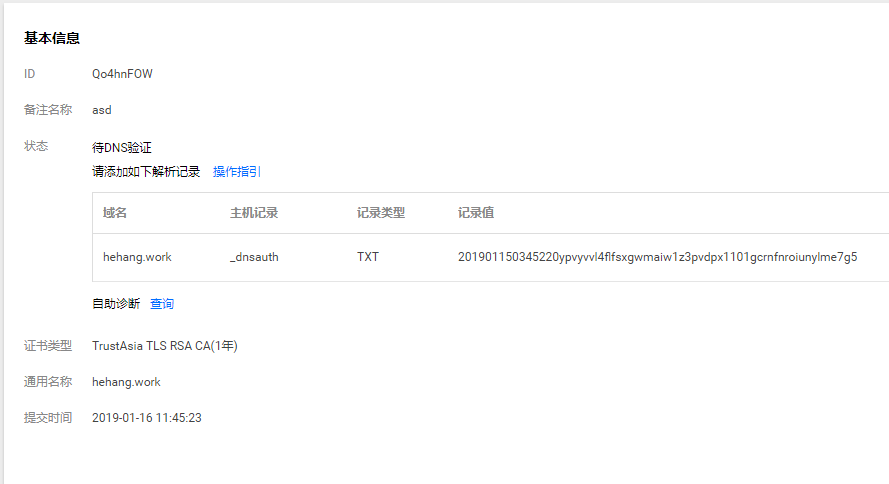
进入域名解析页面,找到你刚创建的域名,点击解析,添加上面的记录

稍等1分钟,审核就会通过,然后就可以下载ssl证书,加压后有对应nginx、tomcat、apache等的证书,我们配置springboot,所以选择tomcat。
springboot配置https
新建一个springboot项目,加入web模块,将我们的证书copy到resrouce目录下,同时在application.yml中添加如下配置。
server:
  port: 443
  ssl:
    enabled: true
    key-store-password: o7yp31t85gu
    key-store: classpath:hehang.xyz.jks
    key-store-type: JKS
condition:
  http2https: true
http:
  port: 80
修改启动器,使其支持将http请求自动转化为https请求
package io.powerx;

import org.apache.catalina.Context;
import org.apache.catalina.connector.Connector;
import org.apache.tomcat.util.descriptor.web.SecurityCollection;
import org.apache.tomcat.util.descriptor.web.SecurityConstraint;
import org.springframework.beans.factory.annotation.Value;
import org.springframework.boot.SpringApplication;
import org.springframework.boot.autoconfigure.SpringBootApplication;
import org.springframework.boot.autoconfigure.condition.ConditionalOnProperty;
import org.springframework.boot.web.embedded.tomcat.TomcatServletWebServerFactory;
import org.springframework.context.annotation.Bean;

@SpringBootApplication
public class TestsslApplication {
    public static void main(String[] args) {
        SpringApplication.run(TestsslApplication.class, args);
    }

    // 如果没有使用默认值80
    @Value("${http.port:80}")
    Integer httpPort;

    // 正常启用的https端口 如443
    @Value("${server.port}")
    Integer httpsPort;

    // springboot2 写法
    @Bean
    @ConditionalOnProperty(name = "condition.http2https", havingValue = "true", matchIfMissing = false)
    public TomcatServletWebServerFactory servletContainer() {
        TomcatServletWebServerFactory tomcat = new TomcatServletWebServerFactory() {
            @Override
            protected void postProcessContext(Context context) {
                SecurityConstraint constraint = new SecurityConstraint();
                constraint.setUserConstraint("CONFIDENTIAL");
                SecurityCollection collection = new SecurityCollection();
                collection.addPattern("/*");
                constraint.addCollection(collection);
                context.addConstraint(constraint);
            }
        };
        tomcat.addAdditionalTomcatConnectors(httpConnector());
        return tomcat;
    }

    @Bean
    @ConditionalOnProperty(name = "condition.http2https", havingValue = "true", matchIfMissing = false)
    public Connector httpConnector() {
        System.out.println("启用http转https协议,http端口:" + this.httpPort + ",https端口:" + this.httpsPort);
        Connector connector = new Connector("org.apache.coyote.http11.Http11NioProtocol");
        connector.setScheme("http");
        // Connector监听的http的端口号
        connector.setPort(httpPort);
        connector.setSecure(false);
        // 监听到http的端口号后转向到的https的端口号
        connector.setRedirectPort(httpsPort);
        return connector;
    }
}
最后也是最重要的,如果你使用的是云服务器,那么只需要在腾讯云平台配置下域名解析(选择快速添加网站,配置云服务器的公网ip,按照提示添加下面两条记录),注意配置安全组,开放80和443端口,然后将项目打包部署到云服务器上即可。

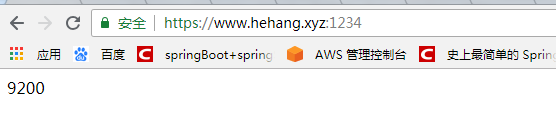
如果你是在本地服务器部署,则首先需要进行外网映射配置,我这里就是将我要部署的服务器映射到公网ip的1234端口(也想用80端口,无奈没有开通),然后再去腾讯云配置域名解析,最后部署即可,贴上我的安全标示,哈哈

 浙公网安备 33010602011771号