使用laravel框架与phantomjs实现截屏功能
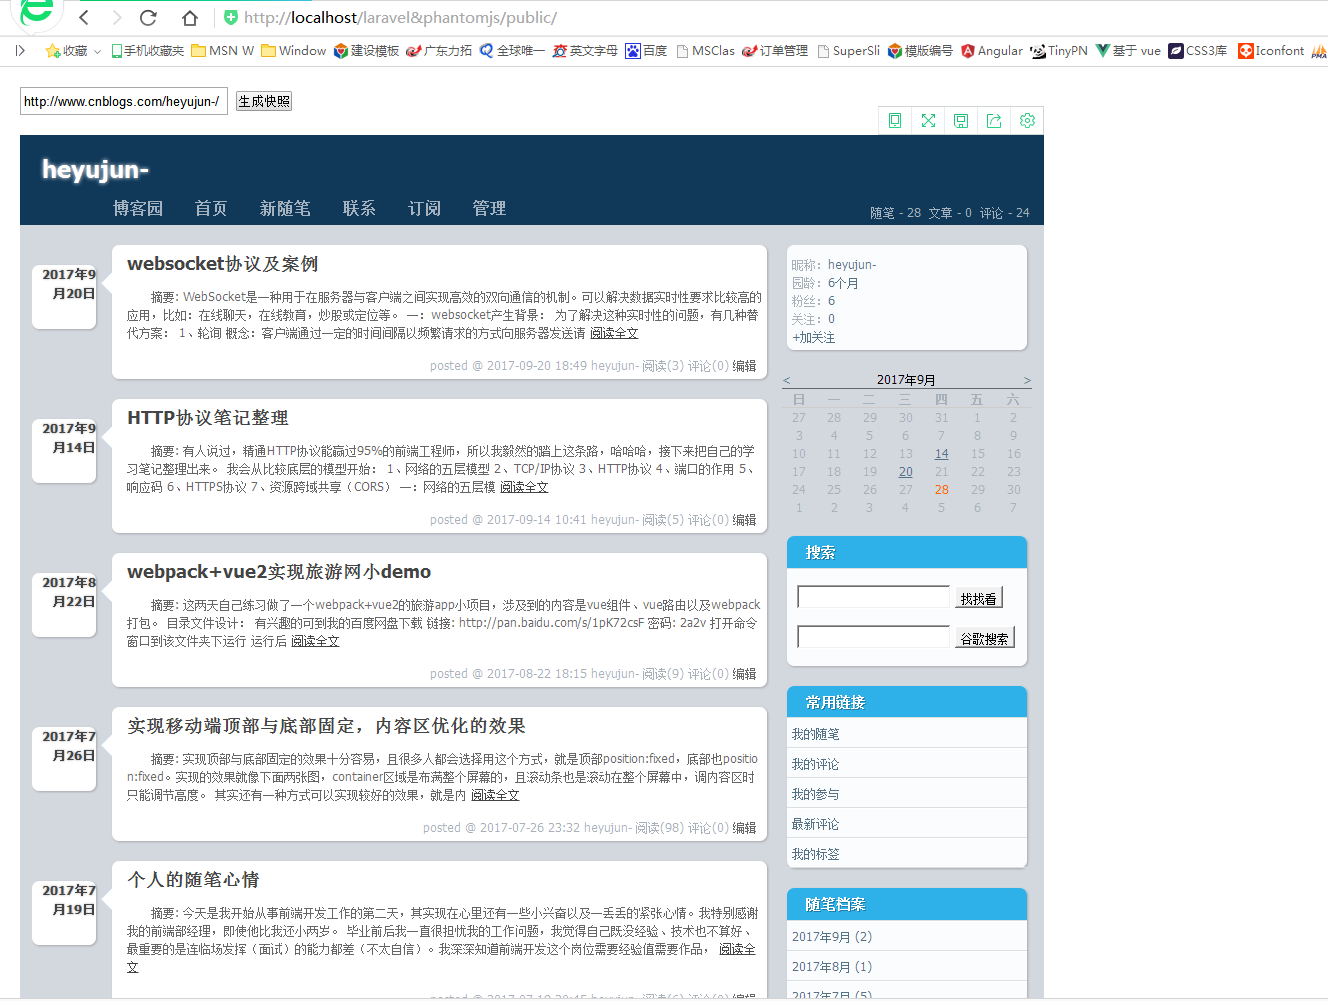
在网上看到的关于phantomjs实现截屏功能很多都是与node结合在一起使用,并需要输入命令才能执行。因此我想要实现输入网址即可截屏并输出图片的功能。示例:http://120.77.171.182:8080/laravel&phantomjs/public/ ,可以在这看看效果。
一:下载并安装phantomjs
二:装后台集成环境Appserv
三:安装laravel开发框架
三:实现代码及注意事项
1、phantomjs很好安装,http://phantomjs.org/官网下载到任意目录(注意:如果为了省事,最好安装到本地环境变量的目录下 如下图),如果不想下载到此目录下,可下载完后到计算机属性的环境变量增加phantomjs放置的路径

2、appserv集成环境,可到我的百度网盘下载appserv程序 链接:http://pan.baidu.com/s/1bpNHJcV 密码:kdx4 ,手动安装。当然这个集成环境只是为了方便部署,里面集成了appache,简单方便。如果想使用iis发布也可以省略这个步骤。
3、laravel框架下载,链接:http://pan.baidu.com/s/1dFB26Sp 密码:ki0f 下载解压后放到刚刚安装好的appserv文件夹下的www文件夹下。
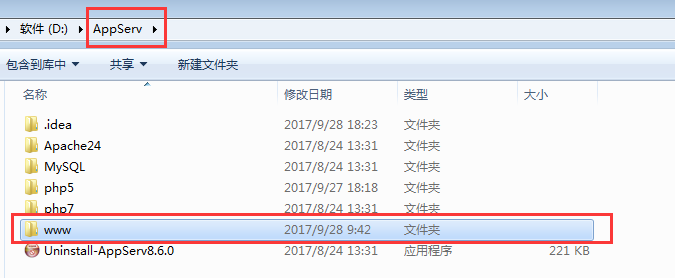
此时可以看看有没有安装成功。到浏览器下输入http://localhost/laravel/public/这个路径,因为这个appserv默认是80端口,如果在安装时没有修改,那么就需要确认iis没有占用80端口。如果浏览器有界面出来,那么说明安装成功了。如果没有出现界面,那么到控制面板-》管理工具-》服务 下看看apache24和mysql57有没有启动,没有就手动启动。


此时需要的程序都安装完了,下面开始写代码。
首先到phantomjs文件夹的bin目录下创建一个js文件
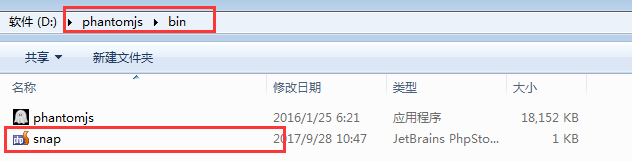
snap.js代码
var page = require('webpage').create();
var args = require('system').args;

var url = args[1];
var filename = args[2];

page.viewportSize={width:1024,height:768};

page.open(url, function () {
    page.render(filename);
    phantom.exit();
});
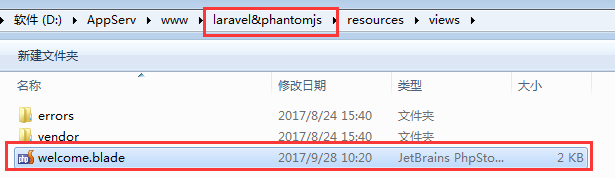
接下来到laravel文件夹下的resources的views文件夹下修改html代码,我只是把laravel重命名了,如果重命名,那么到浏览器输入地址也应该随着一起改变
<!DOCTYPE html>
<html>
<head>
    <meta charset="utf-8" />
    <!--<meta name="viewport" content="width=device-width, initial-scale=1.0" />-->
    <meta name="keywords" content="" />
    <meta name="description" content="" />
    <title>快照生成</title>
    <script src="http://code.jquery.com/jquery-1.8.3.min.js"></script>
    <style>
        * {
            margin: 0;
            padding: 0;
        }

        form {
            padding: 20px;
        }

        div {
            margin: 20px 0 0;
        }

        input {
            width: 200px;
            padding: 4px 2px;
        }

        #placeholder {
            display: none;
        }
    </style>
</head>

<body>
<form action="" id="form">
    <input type="text" id="url" />
    <button type="submit">生成快照</button>
    <div>
        <img src="" alt="" id="placeholder" />
    </div>
</form>
<script>
    $(function(){
        $('#form').submit(function(){
            if (typeof($(this).data('generate')) !== 'undefined' && $(this).data('generate') === true)
            {
                alert('正在生成网站快照,请耐心等待...');
                return false;
            }

            $(this).data('generate', true);
            $('button').text('正在生成快照...').attr('disabled', true);

            $.ajax({
                type: 'GET',
                url: 'http://localhost/laravel&phantomjs/public/test1',
                data: 'url=' + $('#url').val(),
                success: function(data){
                    $('#placeholder').attr('src', data).show();
                    $('#form').data('generate', false);
                    $('button').text('生成快照').attr('disabled', false);
                }
            });

            return false;
        });
    });
</script>
</body>
</html>
在这个controllers目录下新建一个php文件,命名一定是controller.php结尾
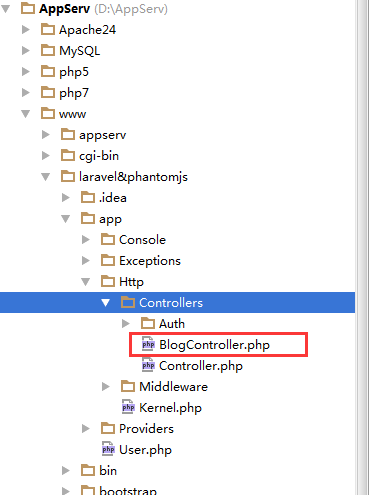
blogcontroller.php文件代码
<?php

namespace App\Http\Controllers;

use Illuminate\Routing\Controller;
use Illuminate\Support\Facades\DB;

class BlogController extends Controller {
    public function test1()
    {
        if (isset($_GET['url']))
        {
            set_time_limit(0);

            $url = trim($_GET['url']);
            $filePath = md5($url).'.png';
            if (is_file($filePath))
            {
                exit($filePath);
            }

            $command = "D:/phantomjs/bin/phantomjs D:/phantomjs/bin/snap.js {$url} {$filePath}";  //这个地方是真正调用phantomjs这个程序的。使用路径来实现调用
            @exec($command);

            exit($filePath);
        }
    }
}
最后一步就是写一个路由 ,下面的路径就是配置路由的地方
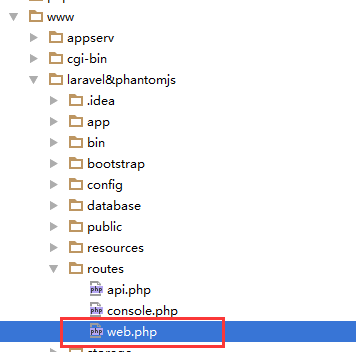
实现代码就是
<?php

/*
|--------------------------------------------------------------------------
| Web Routes
|--------------------------------------------------------------------------
|
| This file is where you may define all of the routes that are handled
| by your application. Just tell Laravel the URIs it should respond
| to using a Closure or controller method. Build something great!
|
*/

Route::get('/', function () {
    return view('welcome');
});


Route::any('test1',['uses'=>'BlogController@test1']);   //配置路由
代码就写到这里了,现在来看看实现效果,输入任意网址并点击生成快照,图片就会生成到下方。
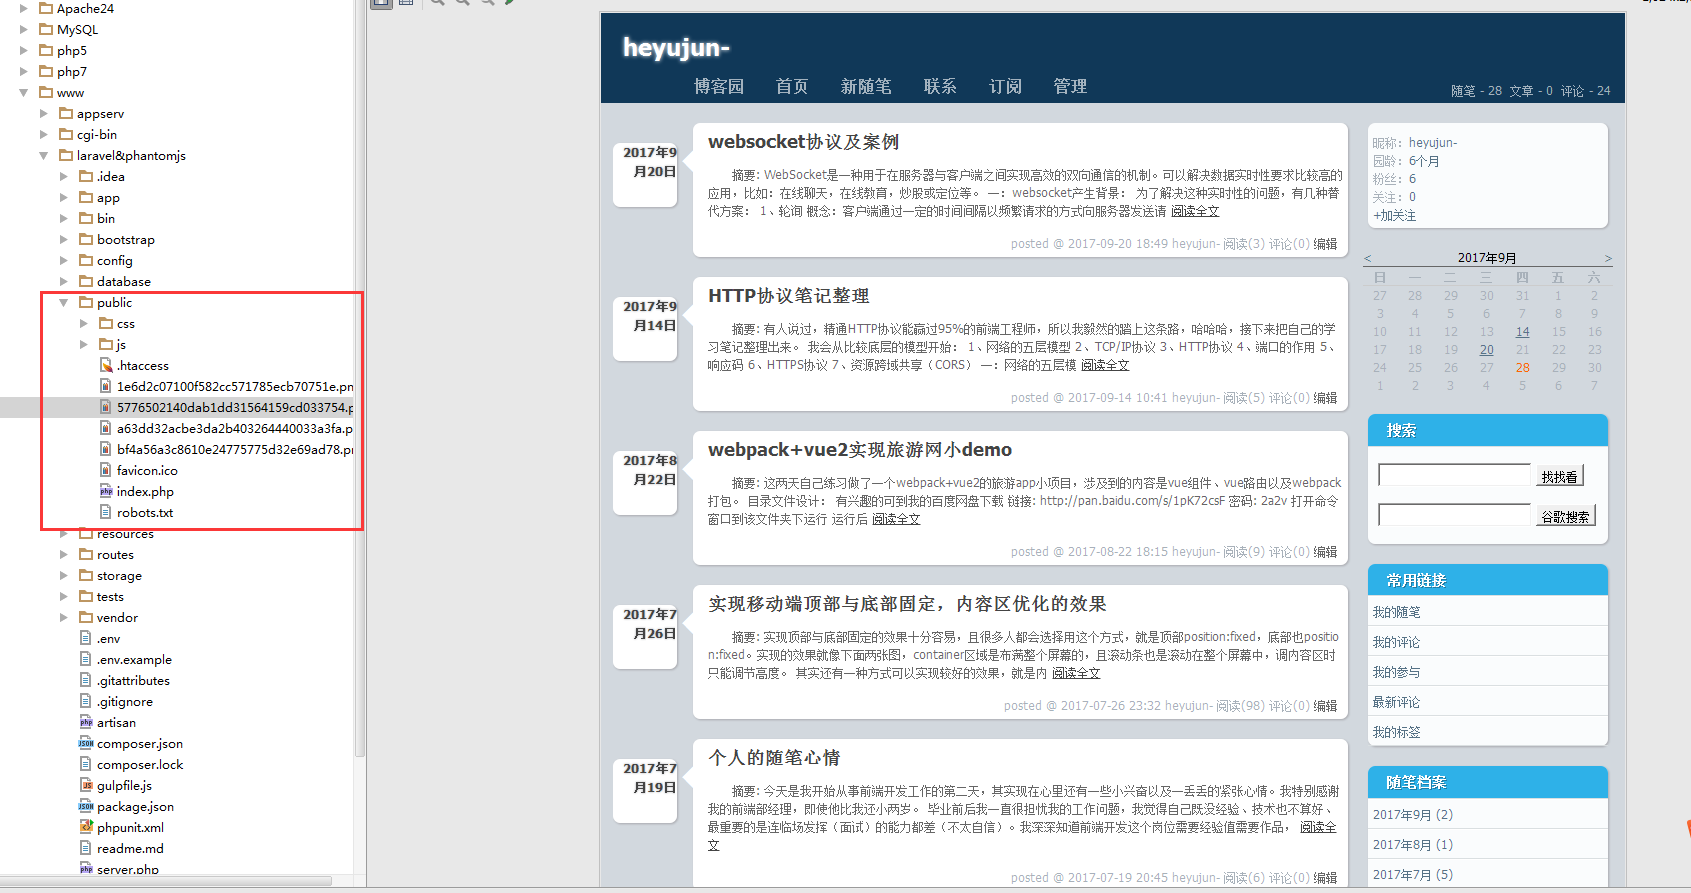
最后 ,图片保存到该目录下
截屏功能就告一段落了,不过还是有很多需要优化的地方。
在实现这个的过程中,真的遇到不少的困难。比如怎么整合phantomjs与laravel框架,部署服务器上如何解决跨域问题等等。

 浙公网安备 33010602011771号