Sitecore10 Demo演示环境Azure一键部署(Step By Step Guide to installing Sitecore10 in Azure Paas)
2023-04-25 11:02 杭伟 阅读(308) 评论(0) 收藏 举报本文演示Sitecore XP Single(XP0)在Azure上的一键部署,即“30分钟生成Sitecore演示环境”的一环。
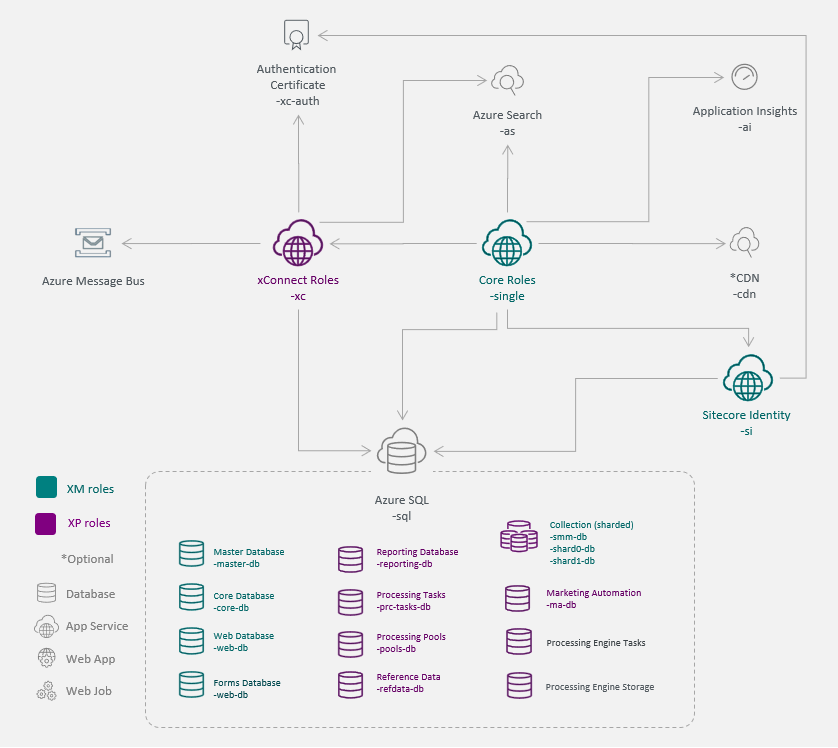
关于XP(即Sitecore Experience Platform) roles的相关介绍移步
XP Single配置主要用来开发和测试:
Four Sitecore roles: Content Delivery, Content Management, Processing, and Reporting as a single WebApp instance.(cd,cm,Processing,Reporting作为一个web应用实例)
All XP roles: Search, Collection, Reference Data, Sitecore Cortex Processing, Sitecore Cortex Reporting, Marketing Automation, and Marketing Automation Reporting as a single WebApp instance.(其它所有功能作为一个应用实例)
本文使用的Sitecore版本为:Sitecore Experience Platform 10.1 Update-2
为什么使用这个版本?主要考虑使用Azure PaaS的全部功能,无需额外配置。如果使用Sitecore 10.2+以上,则需要额外搭建Solr服务,参照 Azure Search compatibility table
即使用8.2-10.1版本,是可以使用Azure Search代替Solr服务的。这里方便利用Azure云资源直接一键配置,无需做额外的动作。故使用Sitecore 10.1-Update-2来演示。
本地操作系统为Windows11专业版。
准备工作
1,Azure Portal账号一个,没有的话可以使用国际信用卡注册;
2,本地PowerShell ISE安装Azure模块;
3,Microsoft Azure Storage Explorer
4,Sitecore license文件
下载
1,下载 Sitecore Experience Platform 10.1 Update-2
打开下载页定位到 Download options for Azure AppService

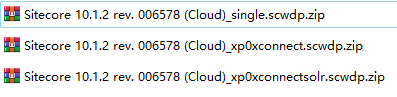
下载 Packages for XP Single ,即XP0。解压得到3个压缩包:
2,下载 Sitecore Identity
选择 Sitecore Identity 7.0.326 ,
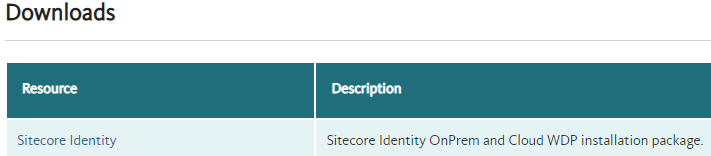
下载WDP installation package. 解压得到1个压缩包:

打开Microsoft Azure Storage Explorer,上传上面4个压缩包到Azure Blob
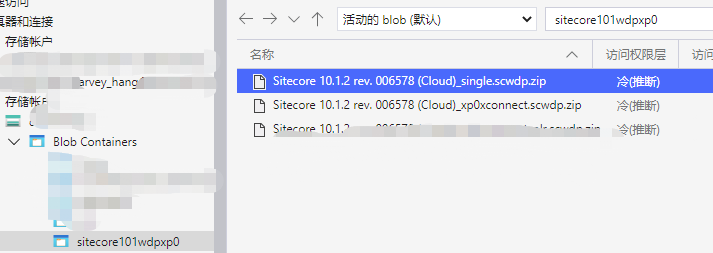
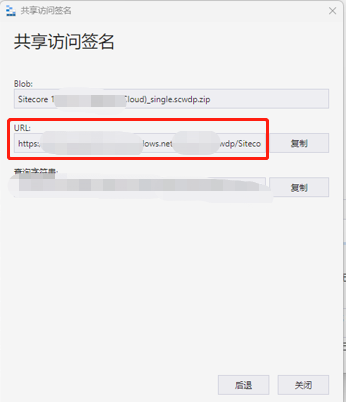
上传完毕后,分别点击每一个资源,鼠标右键,获取共享访问签名 -- 读取(权限) -- 创建 -- 复制资源的URL备用,上面4个资源都要复制。
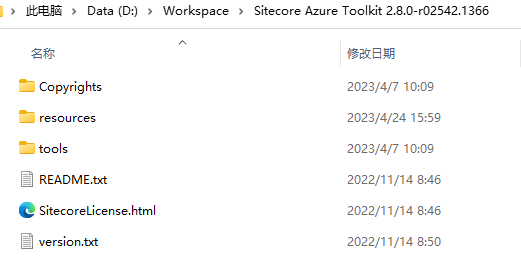
3,下载Sitecore Azure Toolkit ,选择 Sitecore Azure Toolkit 2.8.0

下载后解压得到:
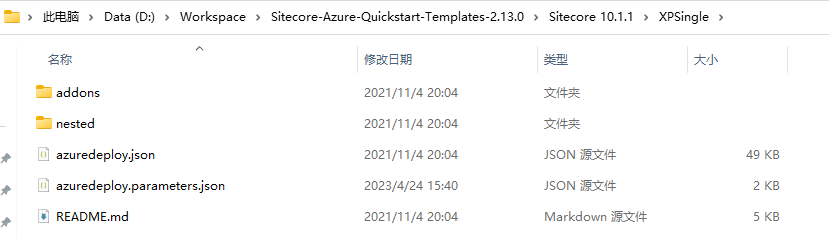
4,下载Sitecore Azure Resource Manager (ARM) template,解压后得到:
生成authentication certificate
以管理员身份运行Windows PowerShell ISE,输入以下代码并运行:
#Create a self-signed certificate.

$thumbprint = (New-SelfSignedCertificate `
-Subject "CN=$env:COMPUTERNAME @ Sitecore, Inc." `
-Type SSLServerAuthentication `
-FriendlyName "$env:USERNAME Certificate").Thumbprint

$certificateFilePath = "D:\Workspace\$thumbprint.pfx"
Export-PfxCertificate `
-cert cert:\LocalMachine\MY\$thumbprint `
-FilePath "$certificateFilePath" `
-Password (Read-Host -Prompt "Enter password that would protect the certificate" -AsSecureString)
编辑azuredeploy.parameters.json
编辑ARM template中的azuredeploy.parameters.json文件
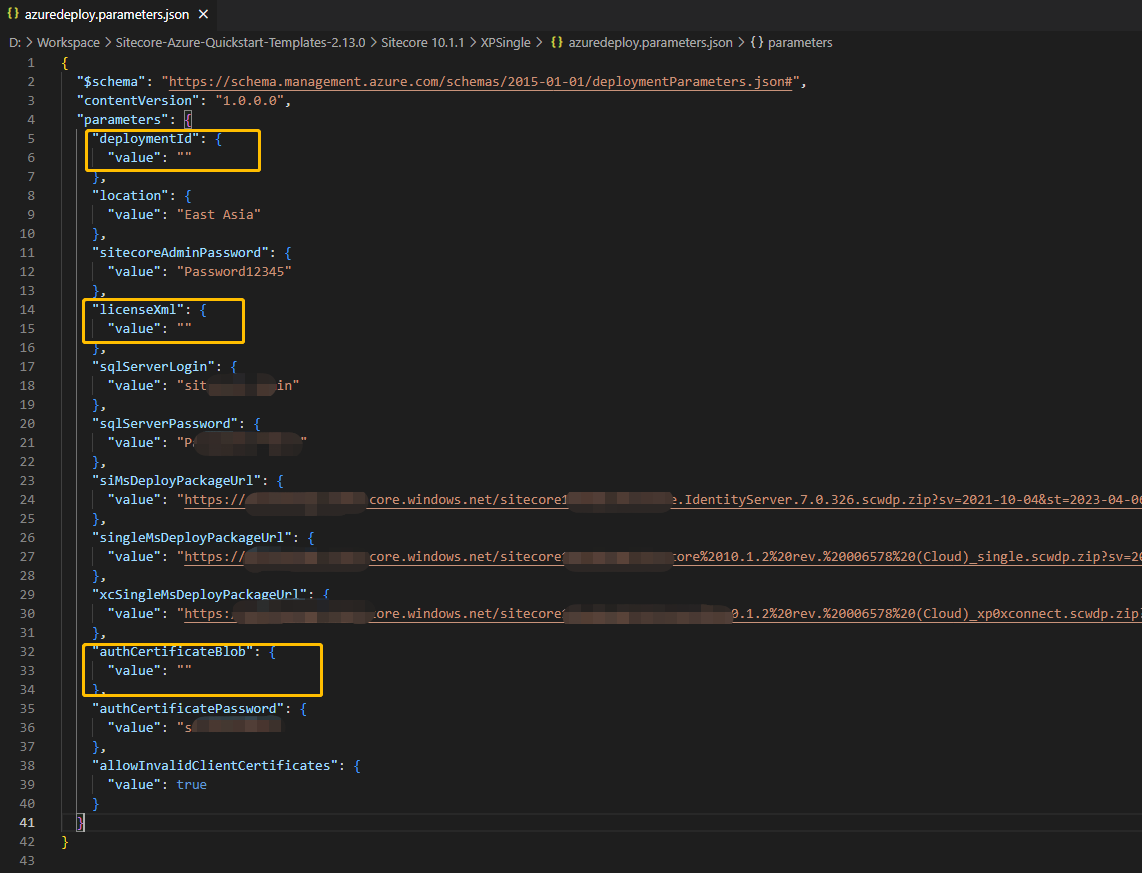
如上图所示,黄色框部分先留空即可。 其它key说明如下:
| Key | Description |
| location | 云资源所在的地理位置,比如填:East Asia,代表东亚 |
| sitecoreAdminPassword | Sitecore Admin账户的密码 |
|
sqlServerLogin
|
云生成SQL数据库后的SQL账号 |
|
sqlServerPassword
|
云生成SQL数据库后的SQL密码 |
|
siMsDeployPackageUrl
|
下载章节中的IdentityServer的完整URL |
|
singleMsDeployPackageUrl
|
下载章节中的single.scwdp完整URL |
|
xcSingleMsDeployPackageUrl
|
下载章节中的xp0xconnect.scwdp.zip完整URL |
|
authCertificatePassword
|
生成authentication certificate章节中输入的密码 |
    "allowInvalidClientCertificates": {
      "value": true
    }
执行脚本
以管理员身份打开Windows PowerShell ISE,
没有安装Azure模块的先安装Azure模块,移步Install Azure PowerShell on Windows
脚本代码:
#Azure一键部署Sitecore xp0(xp single)开发/测试/演示环境
$SCSDK="D:\Workspace\Sitecore Azure Toolkit 2.8.0-r02542.1366\tools"
$SCTemplates="https://raw.githubusercontent.com/Sitecore/Sitecore-Azure-Quickstart-Templates/master/Sitecore%2010.1.1/XPSingle"
$DeploymentId = "demo-sitecore1011"
$ResourceGroup = "demo-sitecore1011"
$LicenseFile = "你的本地license文件路径"
$CertificateFile = "D:\Workspace\93F2CA3845DB2577A005BCA0CEE48B8951694F1F.pfx(生成authentication certificate章节生成的文件)"
$SubscriptionId = "Azure订阅ID(SubscriptionID)"
$Location="East Asia"
$ParamFile="D:\Workspace\Sitecore-Azure-Quickstart-Templates-2.13.0\Sitecore 10.1.1\XPSingle\azuredeploy.parameters.json"
$Parameters = @{
"deploymentId"=$DeploymentId;
"authCertificateBlob" = [System.Convert]::ToBase64String([System.IO.File]::ReadAllBytes($CertificateFile))
}
Import-Module $SCSDK\Sitecore.Cloud.Cmdlets.psm1
Connect-AzAccount
Set-AzContext -SubscriptionId $SubscriptionId
Start-SitecoreAzureDeployment -Name $ResourceGroup -Location $Location -ArmTemplateUrl "$SCTemplates/azuredeploy.json" -ArmParametersPath $ParamFile -LicenseXmlPath $LicenseFile -SetKeyValue $Parameters -Verbose
直接执行,执行后的输出信息如下:
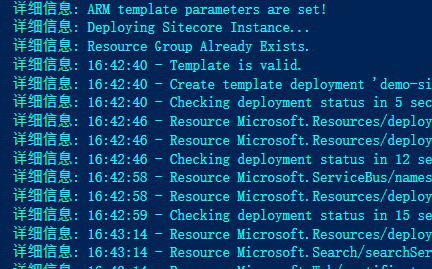
执行完毕大概需要35分钟左右:
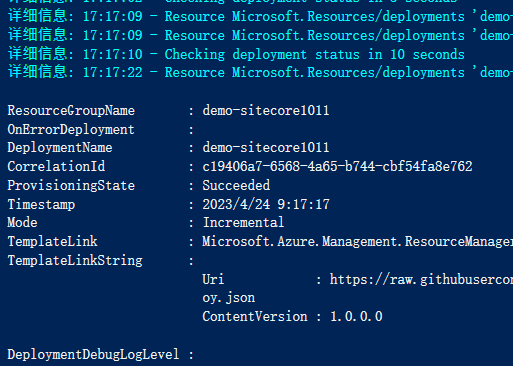
执行完毕后打开Azure资源页面:
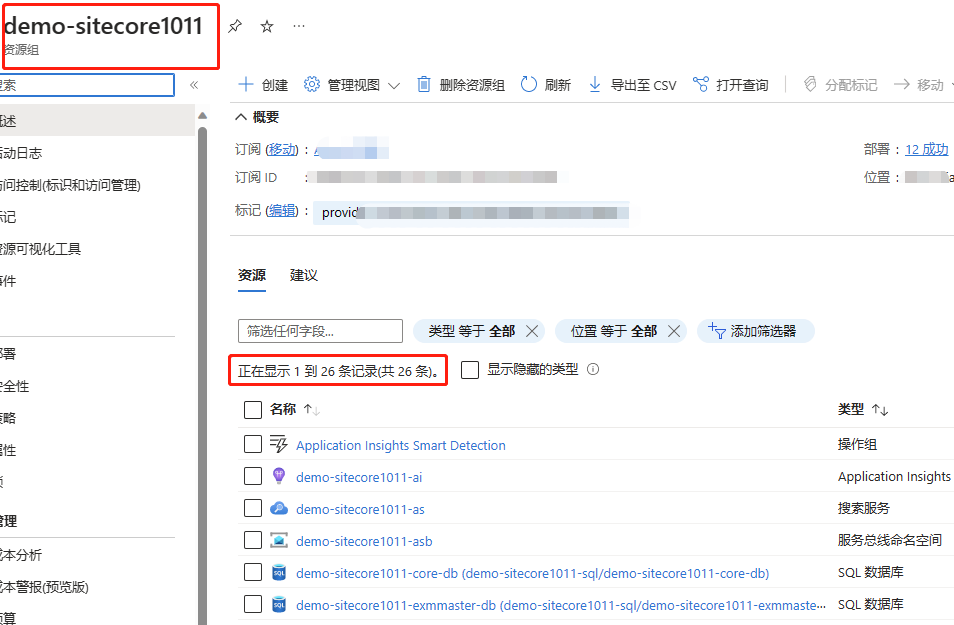
找到demo-sitecore1011-single APP Service(Azure APP Service)
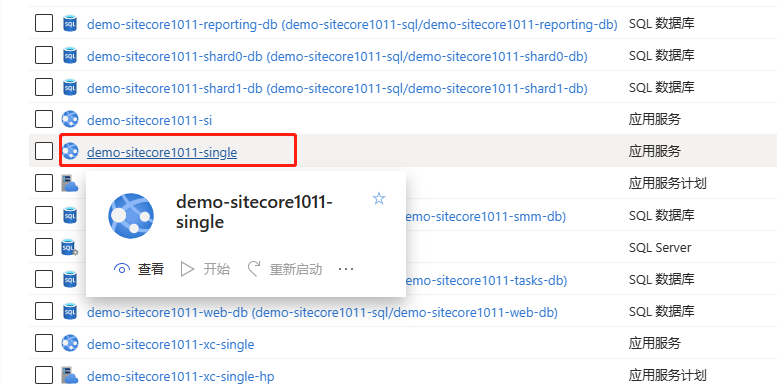
单击 默认域 的链接

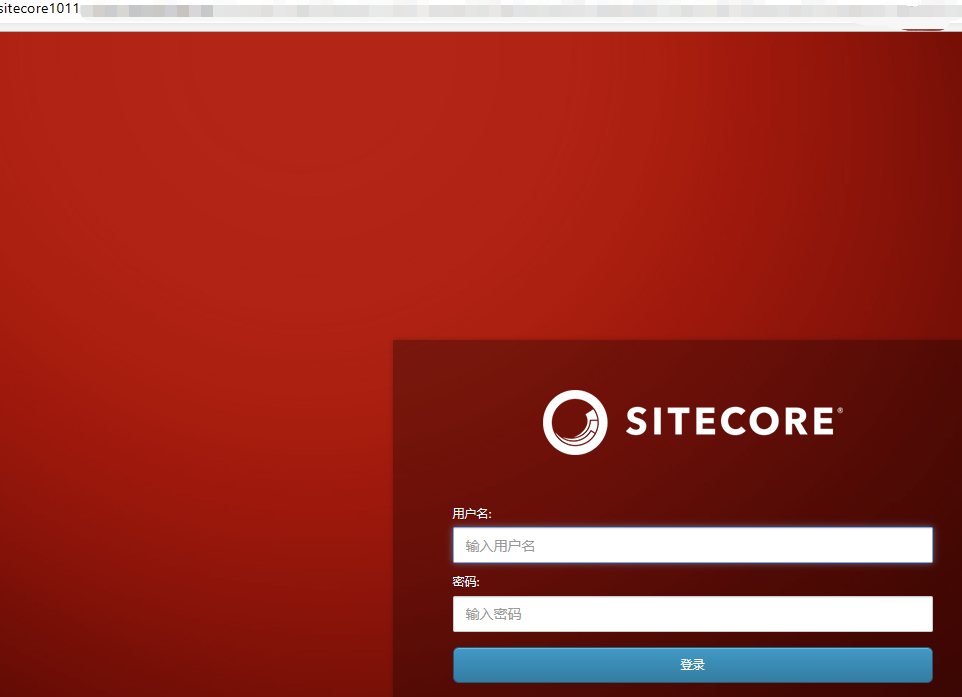
打开了Sitecore欢迎页,即表明成功!

在此链接后输入 /sitecore 进入管理后台:
用户名输入admin
密码输入azuredeploy.parameters.json文件中
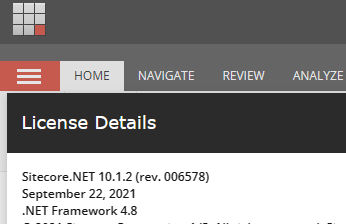
进入管理后台,验证Sitecore版本为:
作者:hangwei
出处:http://www.cnblogs.com/hangwei/
关于作者:专注于开源平台,分布式系统的架构设计与开发、数据库性能调优等工作。如有问题或建议,请多多赐教!
版权声明:本文版权归作者和博客园共有,欢迎转载,但未经作者同意必须保留此段声明,且在文章页面明显位置给出原文链接。
如果您觉得文章对您有帮助,可以点击文章右下角“推荐”一下。您的鼓励是作者坚持原创和持续写作的最大动力!

 浙公网安备 33010602011771号