

Android 第三方库FlycoTabLayout
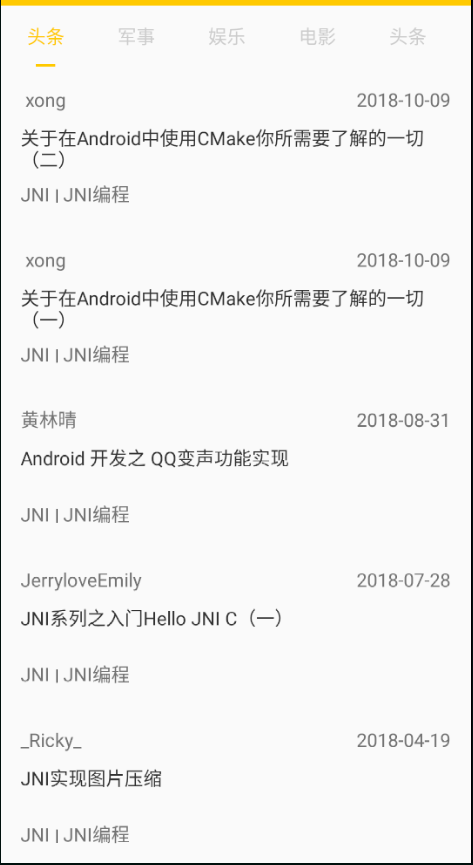
效果图
1、导入
implementation 'com.flyco.tablayout:FlycoTabLayout_Lib:2.1.2@aar' //TabLayout第三方库
gitup地址:https://github.com/H07000223/FlycoTabLayout

2、使用
xml布局:
    <!--tl_indicator_color:指示器的颜色-->
    <!--tl_indicator_height:指示器的高度-->
    <!--tl_indicator_width:指示器的宽度-->
    <!--tl_textUnselectColor:Tab未选中时字体的颜色-->
    <!--tl_textSelectColor:Tab选中时字体的颜色-->
    <!--tl_textsize:字体大小-->
    <!--tl_indicator_width_equal_title:设置指示器宽度与文本宽度一致-->
    <!--tl_tab_space_equal:设置Tab大小等分-->
    <!--tl_divider_color:分割线的颜色-->
    <!--tl_divider_width:分割线的宽度-->
<com.flyco.tablayout.SlidingTabLayout
android:id="@+id/styleChoice_tab"
android:layout_width="match_parent"
android:layout_height="?attr/actionBarSize"
app:tl_indicator_color="@color/theme"
app:tl_indicator_height="2dp"
app:tl_tab_space_equal="true"
    app:tl_indicator_width="15dp"
    app:tl_textSelectColor="@color/theme"
    app:tl_textUnselectColor="@color/bottom_navigation_normal" />
activity:
public class MainActivity extends AppCompatActivity {
    private ViewPager mViewPager;
    private SlidingTabLayout slidingTabLayout;
    private ArrayList<Fragment> mFragments;

    @Override
    protected void onCreate(Bundle savedInstanceState) {
        super.onCreate(savedInstanceState);
        setContentView(R.layout.activity_main);

        slidingTabLayout = findViewById(R.id.stl_main);
        mViewPager = findViewById(R.id.vp_main);
        mFragments = new ArrayList<>();
        mFragments.add(new FirstFragment());
        mFragments.add(new SecondFragment());
        mFragments.add(new ThirdFragment());
//      无需编写适配器,一行代码关联TabLayout与ViewPager
        slidingTabLayout.setViewPager(mViewPager, new String[]{"未支付账单", "支付中账单", "历史账单"}, this, mFragments);
    }
}

最后:
借鉴文章:https://www.jianshu.com/p/74a9f501eceb/
 浙公网安备 33010602011771号