OpenDayLight——HelloWorld
OpenDayLight——HelloWorld
既然学习OpenDayLight编程这个鬼,就得像学语言一样来一个HelloWorld来试试水,经过几天的折腾,总算成功输出HelloWorld了,这里记录下整个过程以供后续参考。
一、实验环境描述
本次实验是在win7 64位+8G内存环境下实现;java版本为1.8.0_131;maven版本为3.5.0;这些安装过程就不记录了!
二、构建项目
1、执行如下命令构建项目;
mvn archetype:generate -DarchetypeGroupId=org.opendaylight.controller -DarchetypeArtifactId=opendaylight-startup-archetype -DarchetypeRepository=http://nexus.opendaylight.org/content/repositories/opendaylight.release -DarchetypeCatalog=remote -DarchetypeVersion=1.3.0-Carbon

图 1
2、按下回车后,一会屏幕中需要你输入一些如下信息,需要你输入的:
Define value for property 'groupId': org.opendaylight.hello
Define value for property 'artifactId': hello
[INFO] Using property: version = 0.1.0-SNAPSHOT
Define value for property 'package' org.opendaylight.hello: :
Define value for property 'classPrefix' Hello: : hello
Define value for property 'copyright': no
[INFO] Using property: copyrightYear = 2017
Confirm properties configuration:
groupId: org.opendaylight.hello
artifactId: hello
version: 0.1.0-SNAPSHOT
package: org.opendaylight.hello
classPrefix: hello
copyright: No
copyrightYear: 2017
 Y: : Y
如图2所示:
图 2
3、输入完成后,按下回车等待片刻即可出现如下页面,则完成项目框架的生成:
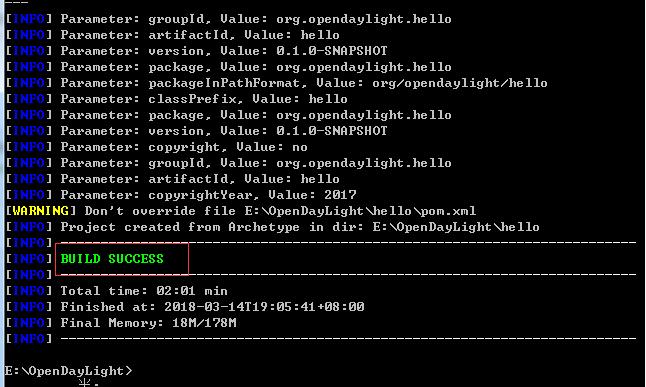
图 3
4、输入如下命令构建项目,命令第一次执行过程很长,笔者需要执行3个小时。执行成功后如图4所示
mvn clean install -DskipTests

图 4
三、添加HelloWorld RPC API
1、编辑api/src/main/yang/hello.yang文件,增加如下内容:
module hello {
    yang-version 1;
    namespace "urn:opendaylight:params:xml:ns:yang:hello";
    prefix "hello";

    revision "2015-01-05" {
        description "Initial revision of hello model";
    }
    rpc hello-world {
        input {
            leaf name {
                type string;
            }
        }
        output {
            leaf greeting {
                type string;
            }
        }
    }
}
增加完之后执行如下指令,生成相应的接口文件:
mvn clean install -DskipTests
执行成功后,如图5所示:
图 5
修改如上的yang文件后,生成如下几个类
impl/src/main/java/org/opendaylight/hello/impl/helloProvider.java
impl/src/main/resources/org/opendaylight/blueprint/impl-blueprint.xml
api/target/classes/org/opendaylight/yang/gen/v1/urn/opendaylight/params/xml/ns/yang/hello/rev150105/HelloService.java
2、绑定MD-SAL
在impl/src/main/resources/org/opendaylight/blueprint/impl-blueprint.xml中添加如下代码
<?xml version="1.0" encoding="UTF-8"?>
<!-- vi: set et smarttab sw=4 tabstop=4: -->
<!--
Copyright © 2017 no and others. All rights reserved.

This program and the accompanying materials are made available under the
terms of the Eclipse Public License v1.0 which accompanies this distribution,
and is available at http://www.eclipse.org/legal/epl-v10.html
-->
<blueprint xmlns="http://www.osgi.org/xmlns/blueprint/v1.0.0"
  xmlns:odl="http://opendaylight.org/xmlns/blueprint/v1.0.0"
  odl:use-default-for-reference-types="true">

  <reference id="dataBroker"
    interface="org.opendaylight.controller.md.sal.binding.api.DataBroker"
    odl:type="default" />

  <reference id="rpcRegistry"
             interface="org.opendaylight.controller.sal.binding.api.RpcProviderRegistry"/>

  <bean id="provider"
    class="org.opendaylight.hello.impl.helloProvider"
    init-method="init" destroy-method="close">
    <argument ref="dataBroker" />
    <argument ref="rpcRegistry" />
  </bean>

</blueprint>
在impl/src/main/java/org/opendaylight/hello/impl/目录下新建HelloWorldImpl.java文件,代码如下,注释不可省略,否则编译报错:
/*
 * Copyright © 2017 no and others.  All rights reserved.
 *
 * This program and the accompanying materials are made available under the
 * terms of the Eclipse Public License v1.0 which accompanies this distribution,
 * and is available at http://www.eclipse.org/legal/epl-v10.html
 */

package org.opendaylight.hello.impl;
import java.util.concurrent.Future;
import org.opendaylight.yang.gen.v1.urn.opendaylight.params.xml.ns.yang.hello.rev150105.HelloService;
import org.opendaylight.yang.gen.v1.urn.opendaylight.params.xml.ns.yang.hello.rev150105.HelloWorldInput;
import org.opendaylight.yang.gen.v1.urn.opendaylight.params.xml.ns.yang.hello.rev150105.HelloWorldOutput;
import org.opendaylight.yang.gen.v1.urn.opendaylight.params.xml.ns.yang.hello.rev150105.HelloWorldOutputBuilder;
import org.opendaylight.yangtools.yang.common.RpcResult;
import org.opendaylight.yangtools.yang.common.RpcResultBuilder;
public class HelloWorldImpl implements HelloService{
    @Override
    public Future<RpcResult<HelloWorldOutput>> helloWorld(HelloWorldInput input) {
        HelloWorldOutputBuilder helloBuilder = new HelloWorldOutputBuilder();
        helloBuilder.setGreeting("Hello " + input.getName());
        return RpcResultBuilder.success(helloBuilder.build()).buildFuture();
    }
}
在impl/src/main/java/org/opendaylight/hello/impl/目录下修改helloProvider文件,增加如下代码
/*
 * Copyright © 2017 no and others.  All rights reserved.
 *
 * This program and the accompanying materials are made available under the
 * terms of the Eclipse Public License v1.0 which accompanies this distribution,
 * and is available at http://www.eclipse.org/legal/epl-v10.html
 */
package org.opendaylight.hello.impl;

import org.opendaylight.controller.md.sal.binding.api.DataBroker;
import org.opendaylight.controller.sal.binding.api.BindingAwareBroker.RpcRegistration;
import org.opendaylight.controller.sal.binding.api.RpcProviderRegistry;
import org.opendaylight.yang.gen.v1.urn.opendaylight.params.xml.ns.yang.hello.rev150105.HelloService;
import org.slf4j.Logger;
import org.slf4j.LoggerFactory;

public class helloProvider {

    private static final Logger LOG = LoggerFactory.getLogger(helloProvider.class);
    private final DataBroker dataBroker;
    private final RpcProviderRegistry rpcProviderRegistry;
    private RpcRegistration<HelloService> serviceRegistration;

    public helloProvider(final DataBroker dataBroker, RpcProviderRegistry rpcProviderRegistry) {
        this.dataBroker = dataBroker;
        this.rpcProviderRegistry = rpcProviderRegistry;
    }

    /**
     * Method called when the blueprint container is created.
     */
    public void init() {
        serviceRegistration = rpcProviderRegistry.addRpcImplementation(HelloService.class, new HelloWorldImpl());
        LOG.info("helloProvider Session Initiated");
    }

    /**
     * Method called when the blueprint container is destroyed.
     */
    public void close() {
        serviceRegistration.close();
        LOG.info("helloProvider Closed");
    }
}
四、编译及验证
1、执行如下指令,对刚才所修改的代码进行编译
mvn clean install -DskipTests
2、编译完成后,启动OpenDayLight,如图6所示:
F:\OpenDayLight\hello\karaf\target\assembly\bin>karaf
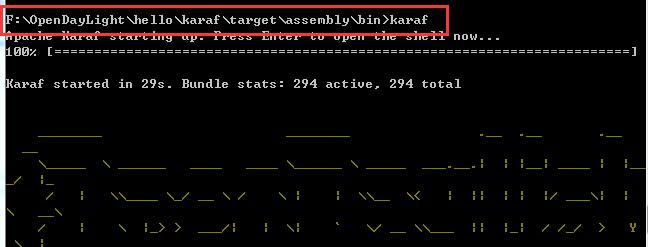
图 6
3、在浏览器中输入如下地址(账号密码:admin\admin)
http://localhost:8181/apidoc/explorer/index.html
显示如图7所示,找到新增的hello
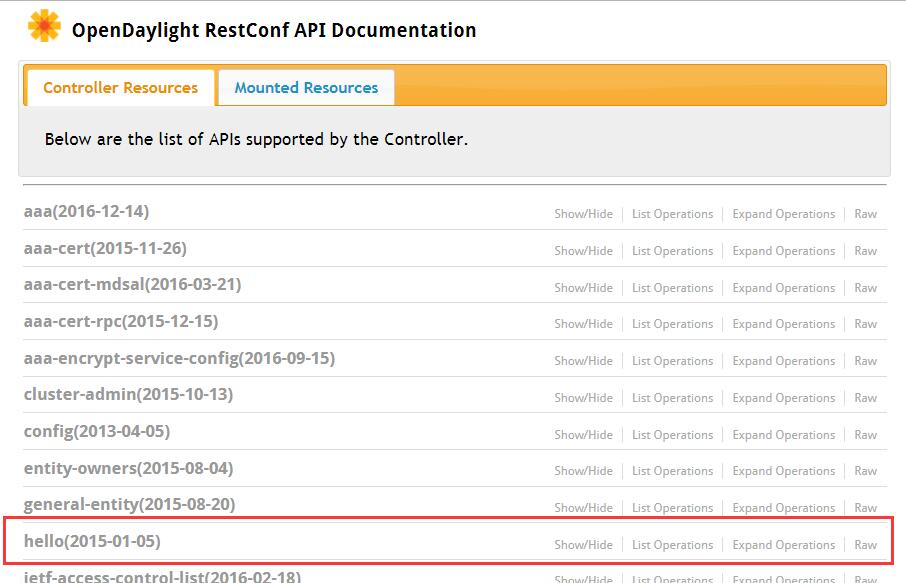
图 7
4、双击hello栏,如图8显示

图 8
5、在Value中输入如下的值后,点击Try it out,返回如图9结果,即验证HelloWorld成功。
{"hello:input": { "name":"hello"}}
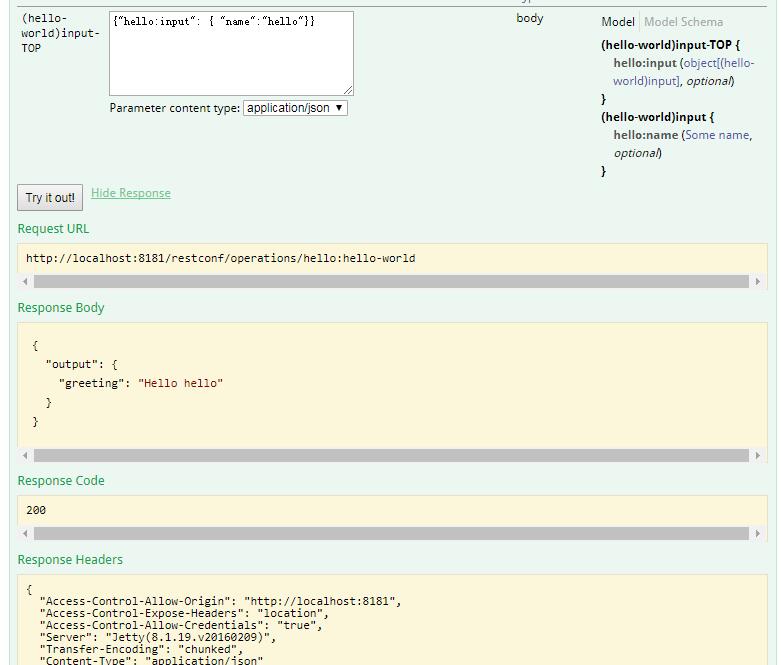
图 9

 浙公网安备 33010602011771号