
Spark大数据分析与实战:Spark Streaming编程初级实践Spark Streaming编程初级实践
一、安装Hadoop和Spark
具体的安装过程在我以前的博客里面有,大家可以通过以下链接进入操作:
** 提示:如果IDEA未构建Spark项目,可以转接到以下的博客: **
二、启动Hadoop与Spark
查看3个节点的进程
master slave1  slave2
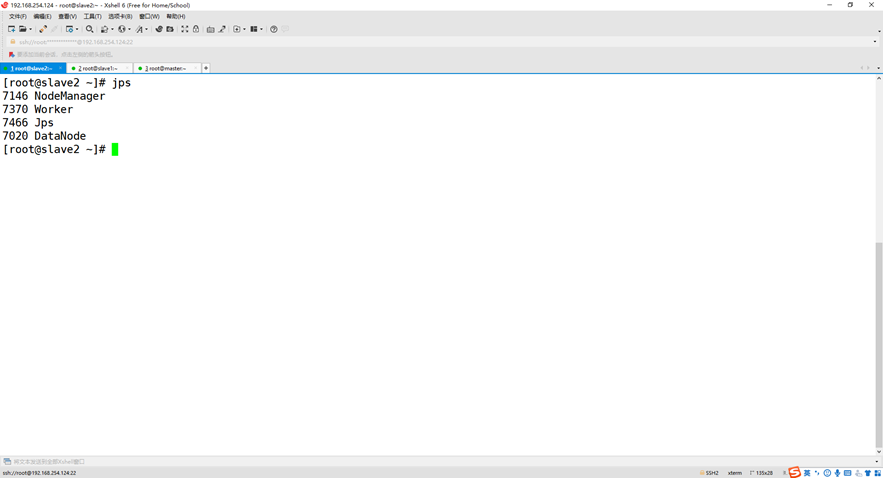
三、使用 Avro 数据源测试 Flume
Avro 可以发送一个给定的文件给 Flume,Avro 源使用 AVRO RPC 机制。请对 Flume的相关配置文件进行设置,从而可以实现如下功能:在一个终端中新建一个文件helloworld.txt(里面包含一行文本“Hello World”),在另外一个终端中启动 Flume 以后,可以把 helloworld.txt 中的文本内容显示出来。
1、创建agent文件
cd /usr/flume/apache-flume-1.7.0-bin/conf
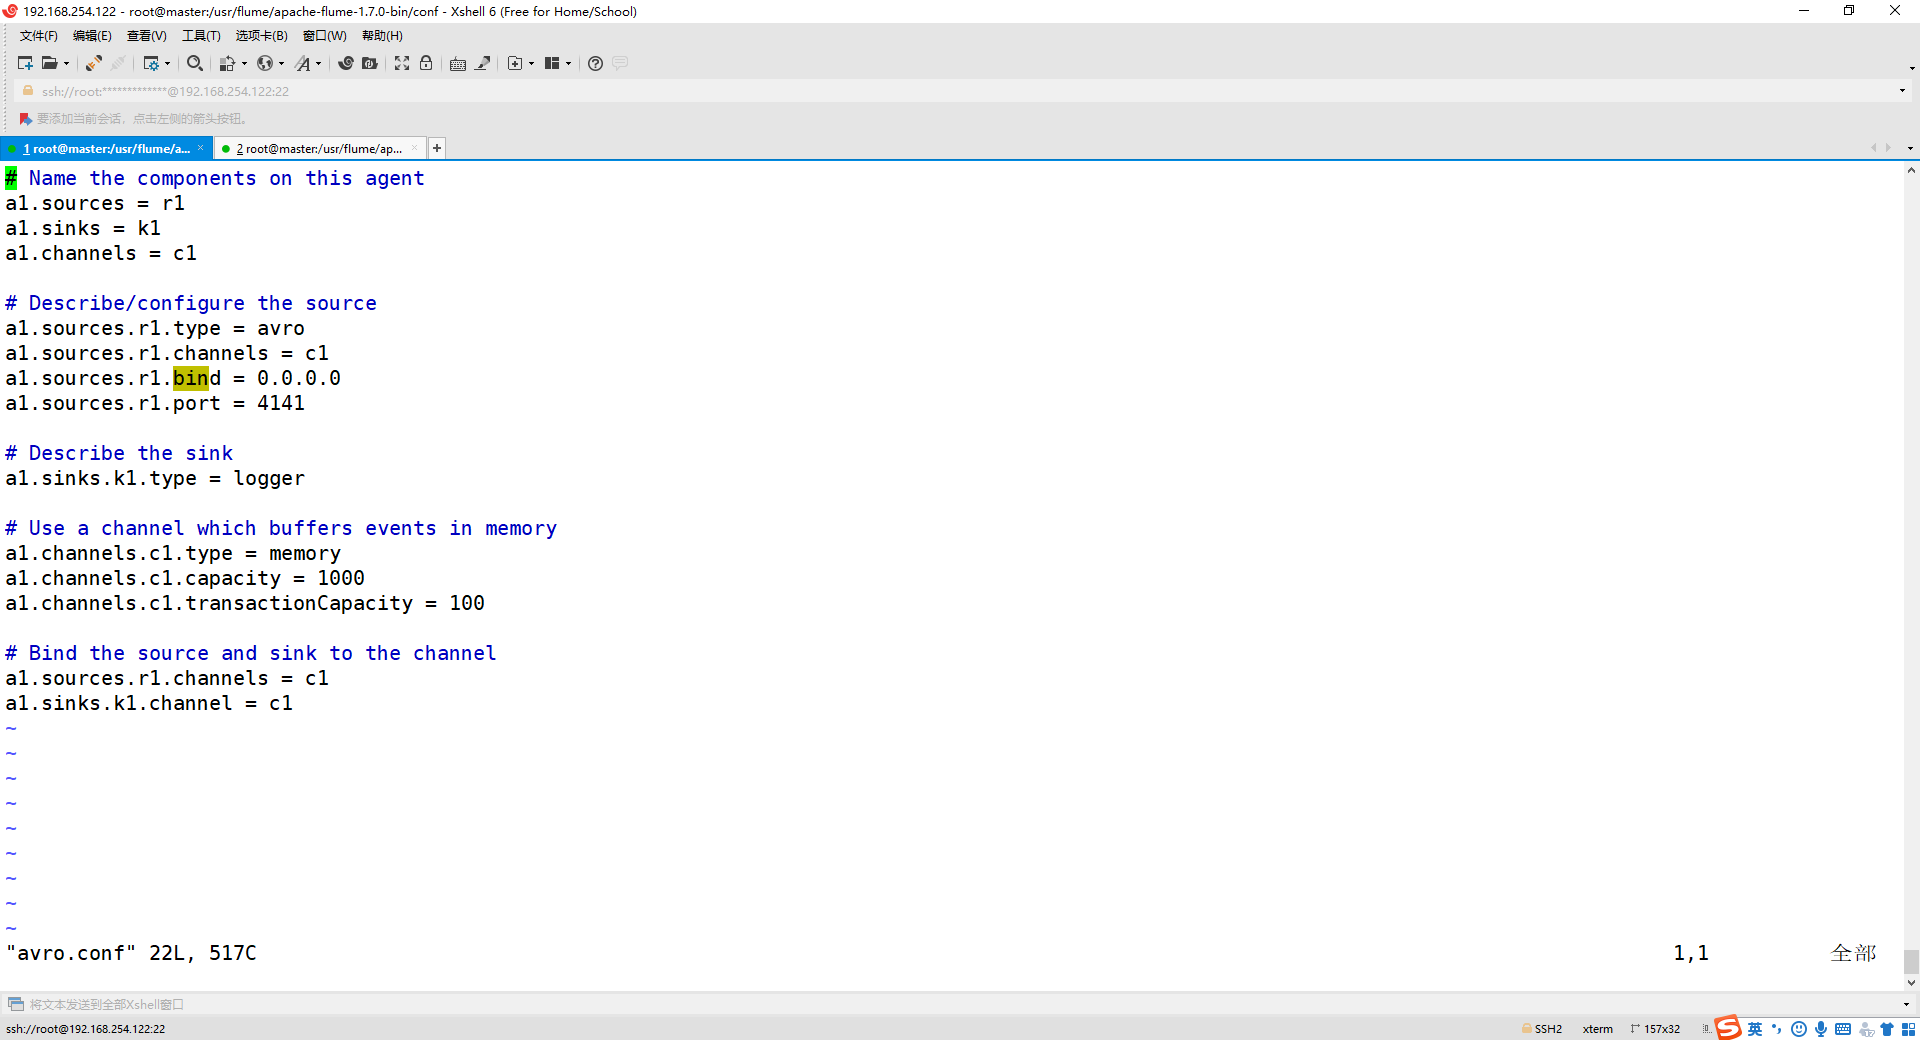
vim avro.conf
添加内容如下:
    # Name the components on this agent
    a1.sources = r1
    a1.sinks = k1
    a1.channels = c1

    # Describe/configure the source
    a1.sources.r1.type = avro
    a1.sources.r1.channels = c1
    a1.sources.r1.bind = 0.0.0.0
    a1.sources.r1.port = 4141

    # Describe the sink
    a1.sinks.k1.type = logger

    # Use a channel which buffers events in memory
    a1.channels.c1.type = memory
    a1.channels.c1.capacity = 1000
    a1.channels.c1.transactionCapacity = 100

    # Bind the source and sink to the channel
    a1.sources.r1.channels = c1
    a1.sinks.k1.channel = c1
2、启动 flume agent (即打开日志控制台):
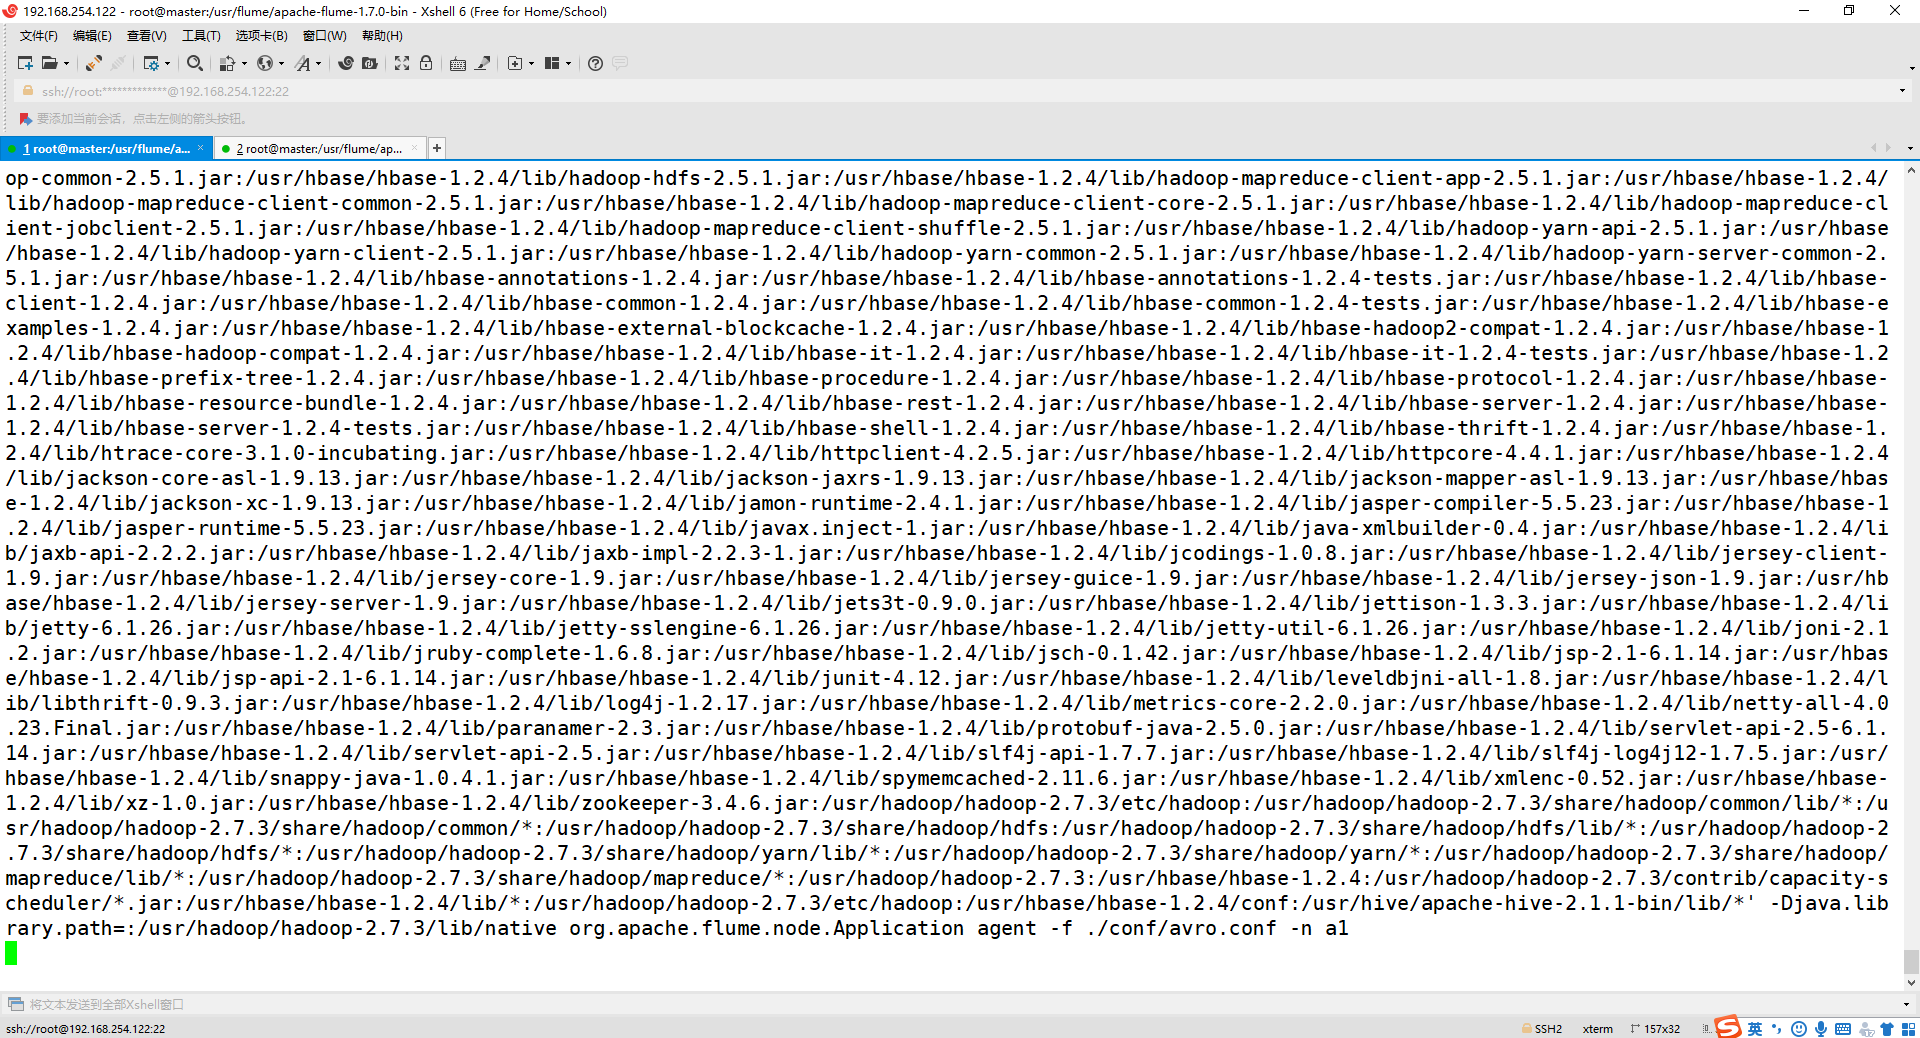
    cd /usr/flume/apache-flume-1.7.0-bin/
    ./bin/flume-ng agent agent -c conf/ -f ./conf/avro.conf -n a1 -Dflume.root.logger=INFO,console
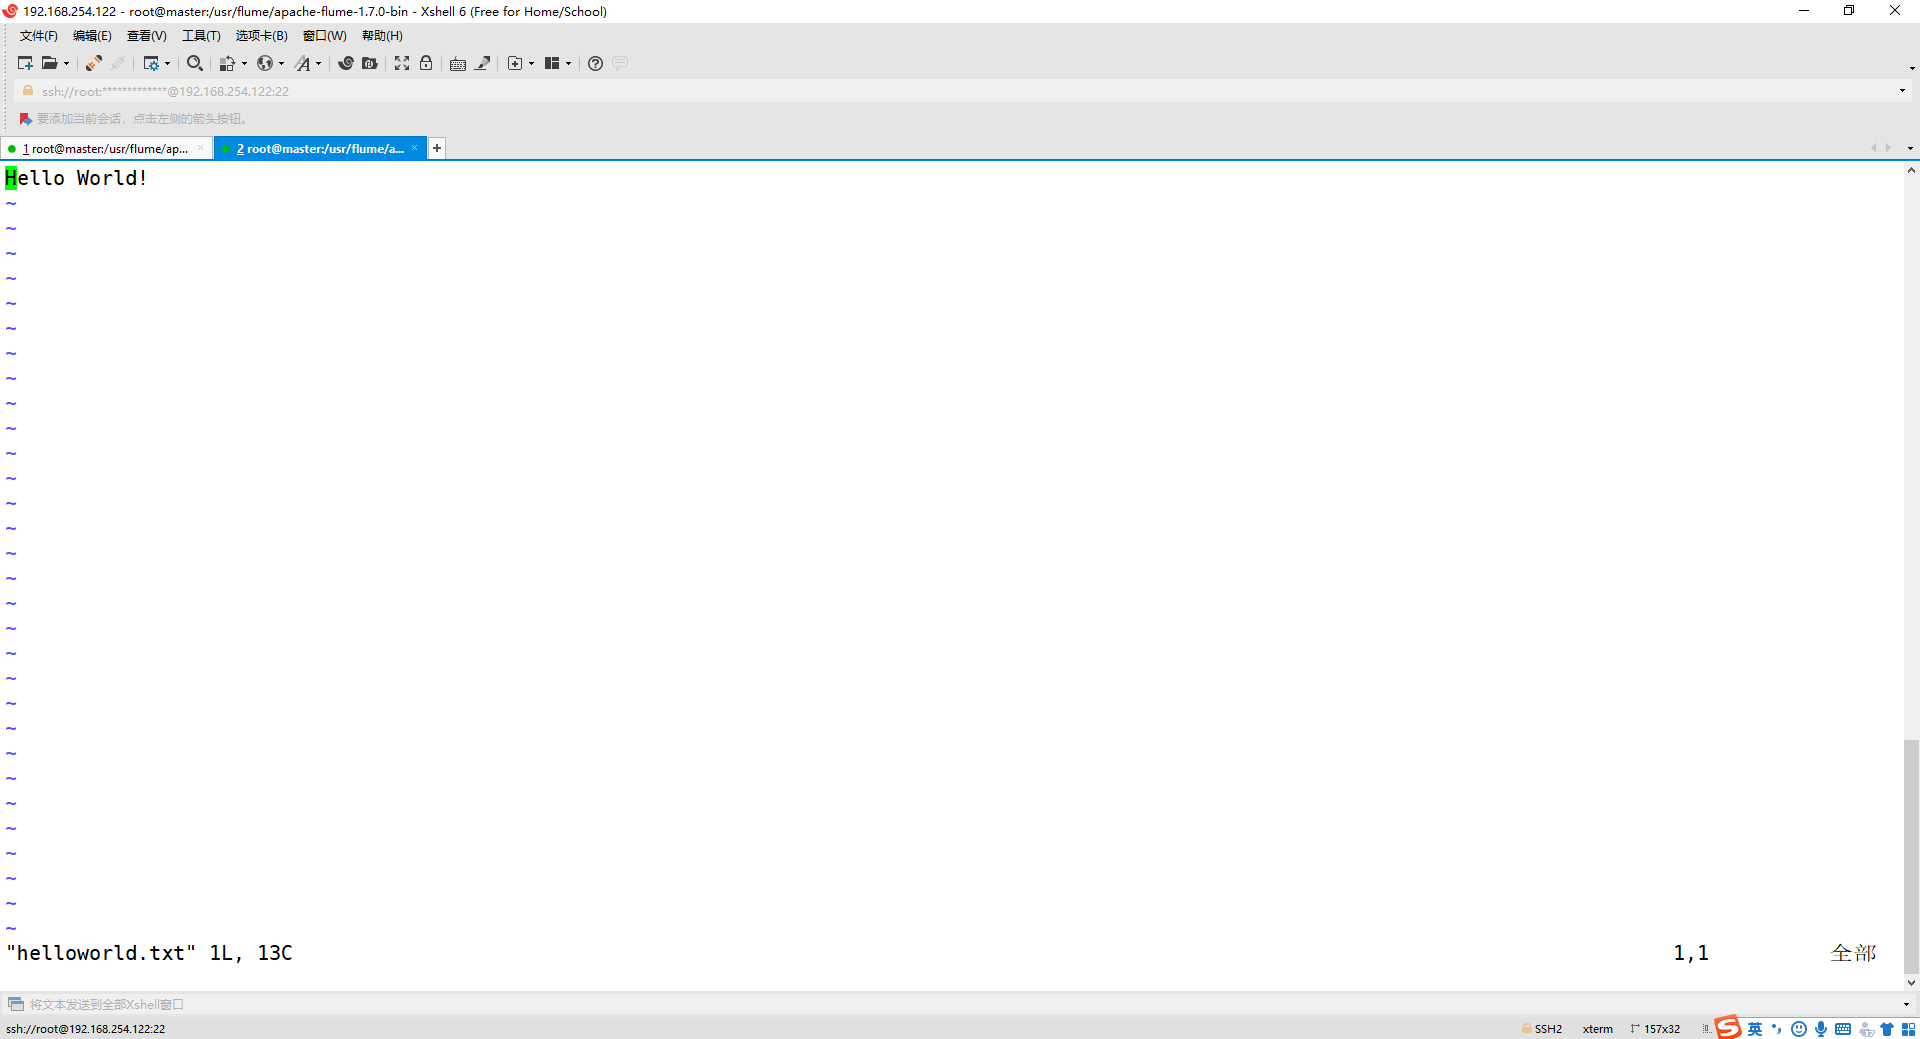
3、新建一个终端,新建一个文件helloworld.txt(里面包含一行文本“Hello World!”)
    cd /usr/flume/apache-flume-1.7.0-bin/
    vim helloworld.txt
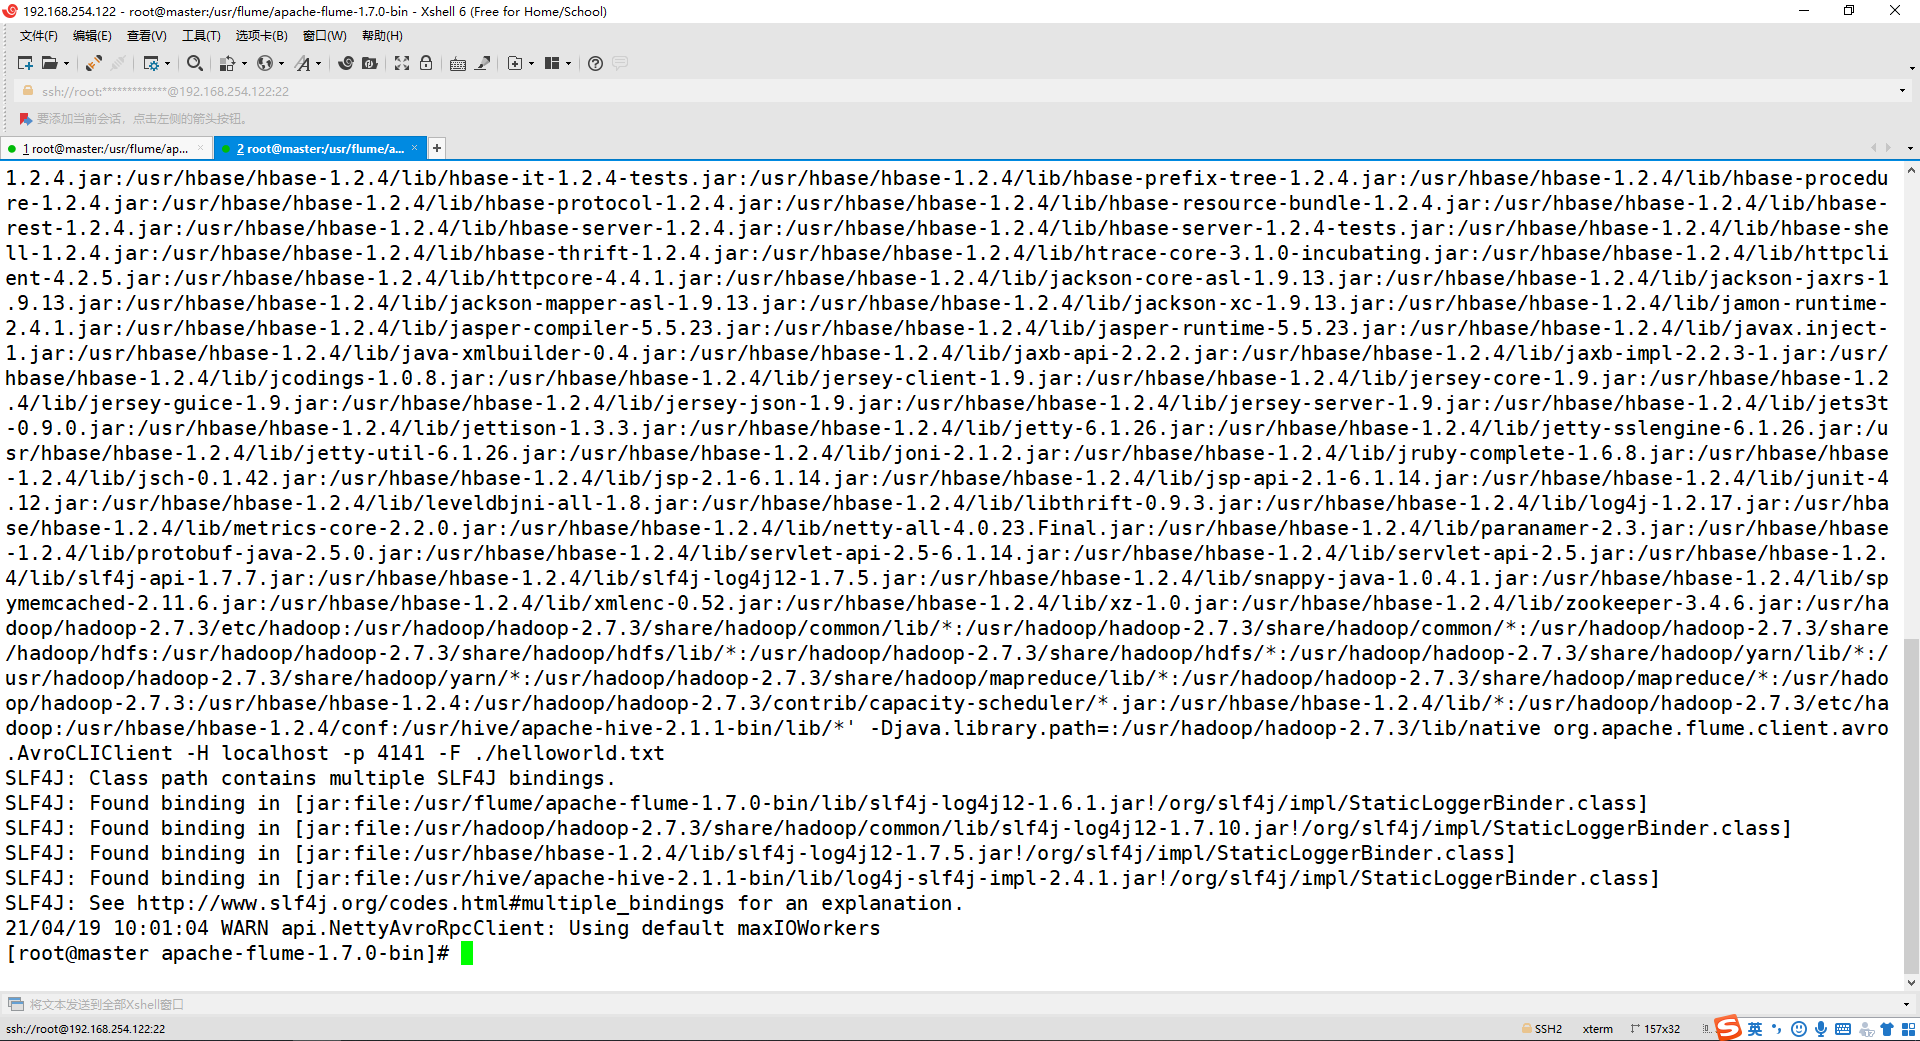
4、在另外一个终端中启动 Flume 以后,使用avro-client发送文件
    cd /usr/flume/apache-flume-1.7.0-bin/
    ./bin/flume-ng avro-client -H localhost -p 4141 -F ./helloworld.txt
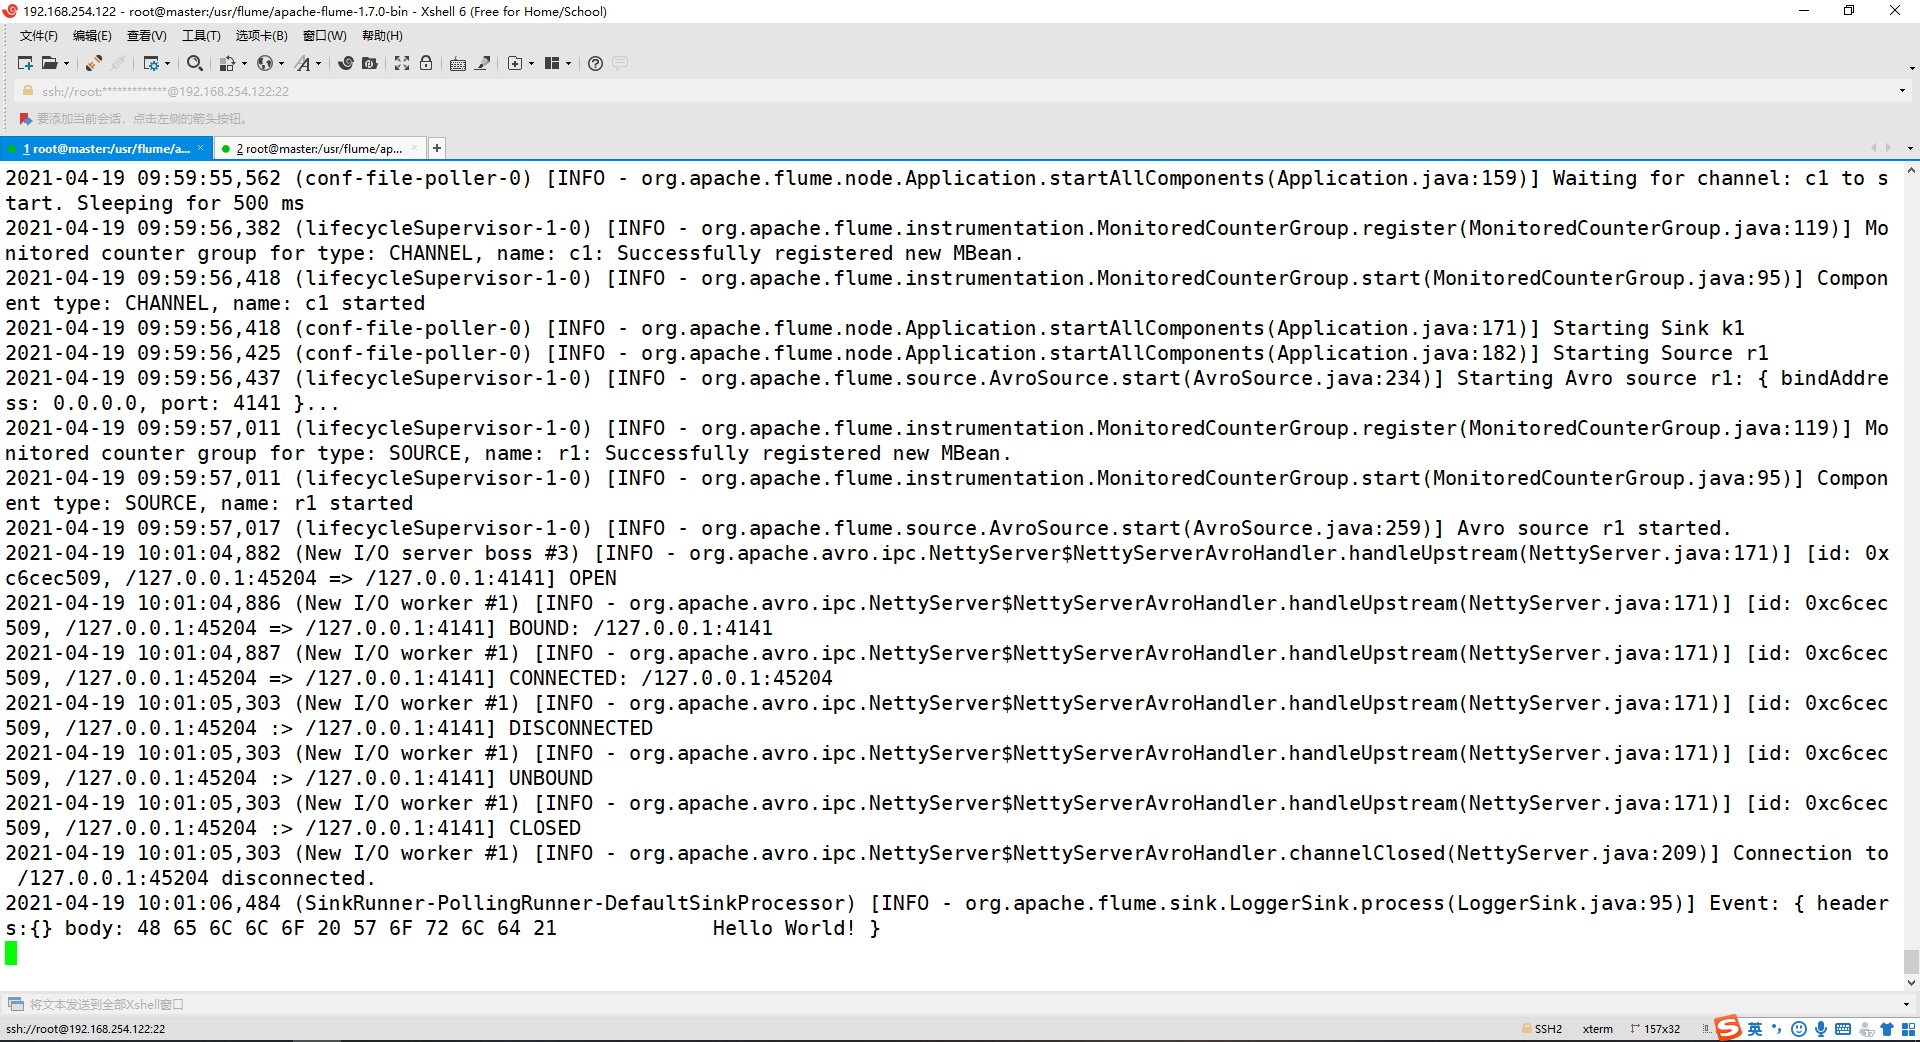
5、观看第一个终端显示 helloworld.txt 文本中的内容
四、使用 netcat 数据源测试 Flume
请对Flume的相关配置文件进行设置,从而可以实现如下功能:在一个Linux终端(这里称为“Flume终端”)中,启动Flume,在另一个终端(这里称为“Telnet终端”)中,输入命令“telnet localhost 44444”,然后,在Telnet终端中输入任何字符,让这些字符可以顺利地在Flume终端中显示出来。
1、创建agent文件
cd /usr/flume/apache-flume-1.7.0-bin/conf/
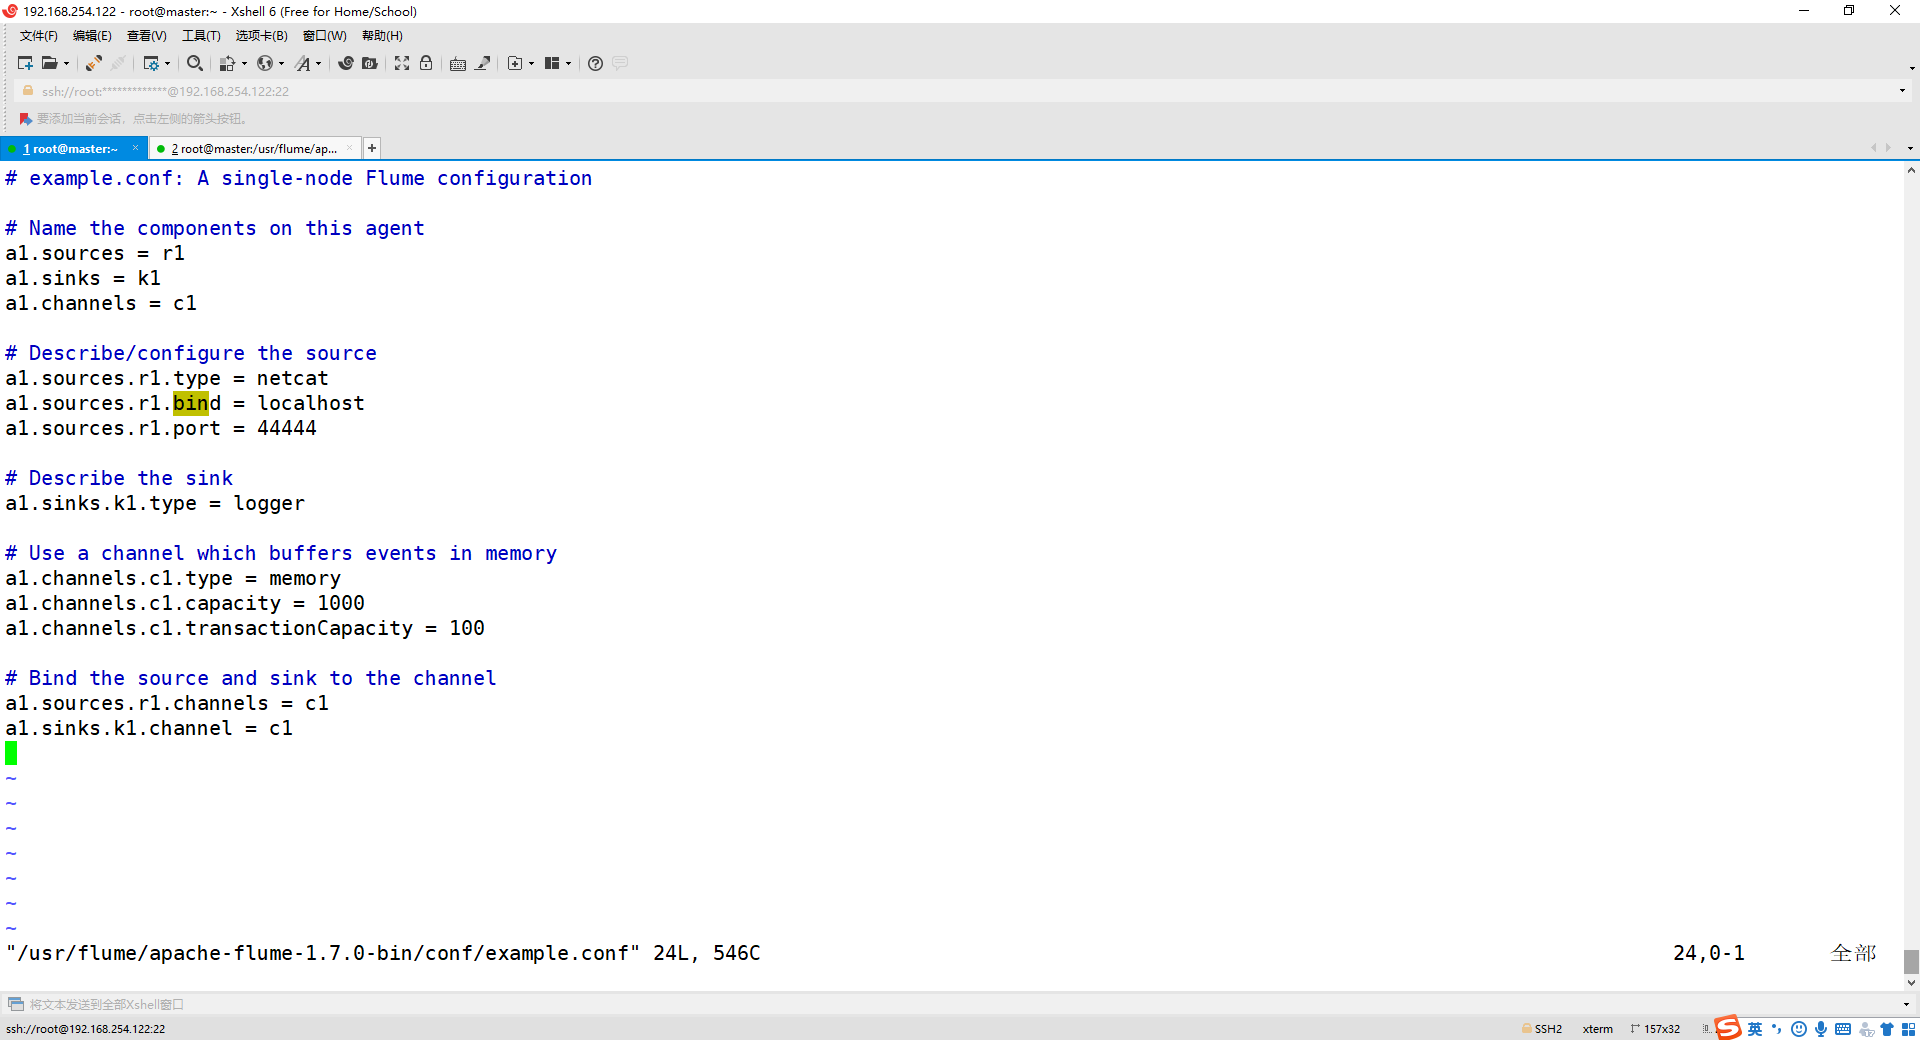
vim example.conf
添加以下内容:
    # example.conf: A single-node Flume configuration

    # Name the components on this agent
    a1.sources = r1
    a1.sinks = k1
    a1.channels = c1

    # Describe/configure the source
    a1.sources.r1.type = netcat
    a1.sources.r1.bind = localhost
    a1.sources.r1.port = 44444

    # Describe the sink
    a1.sinks.k1.type = logger

    # Use a channel which buffers events in memory
    a1.channels.c1.type = memory
    a1.channels.c1.capacity = 1000
    a1.channels.c1.transactionCapacity = 100

    # Bind the source and sink to the channel
    a1.sources.r1.channels = c1
    a1.sinks.k1.channel = c1
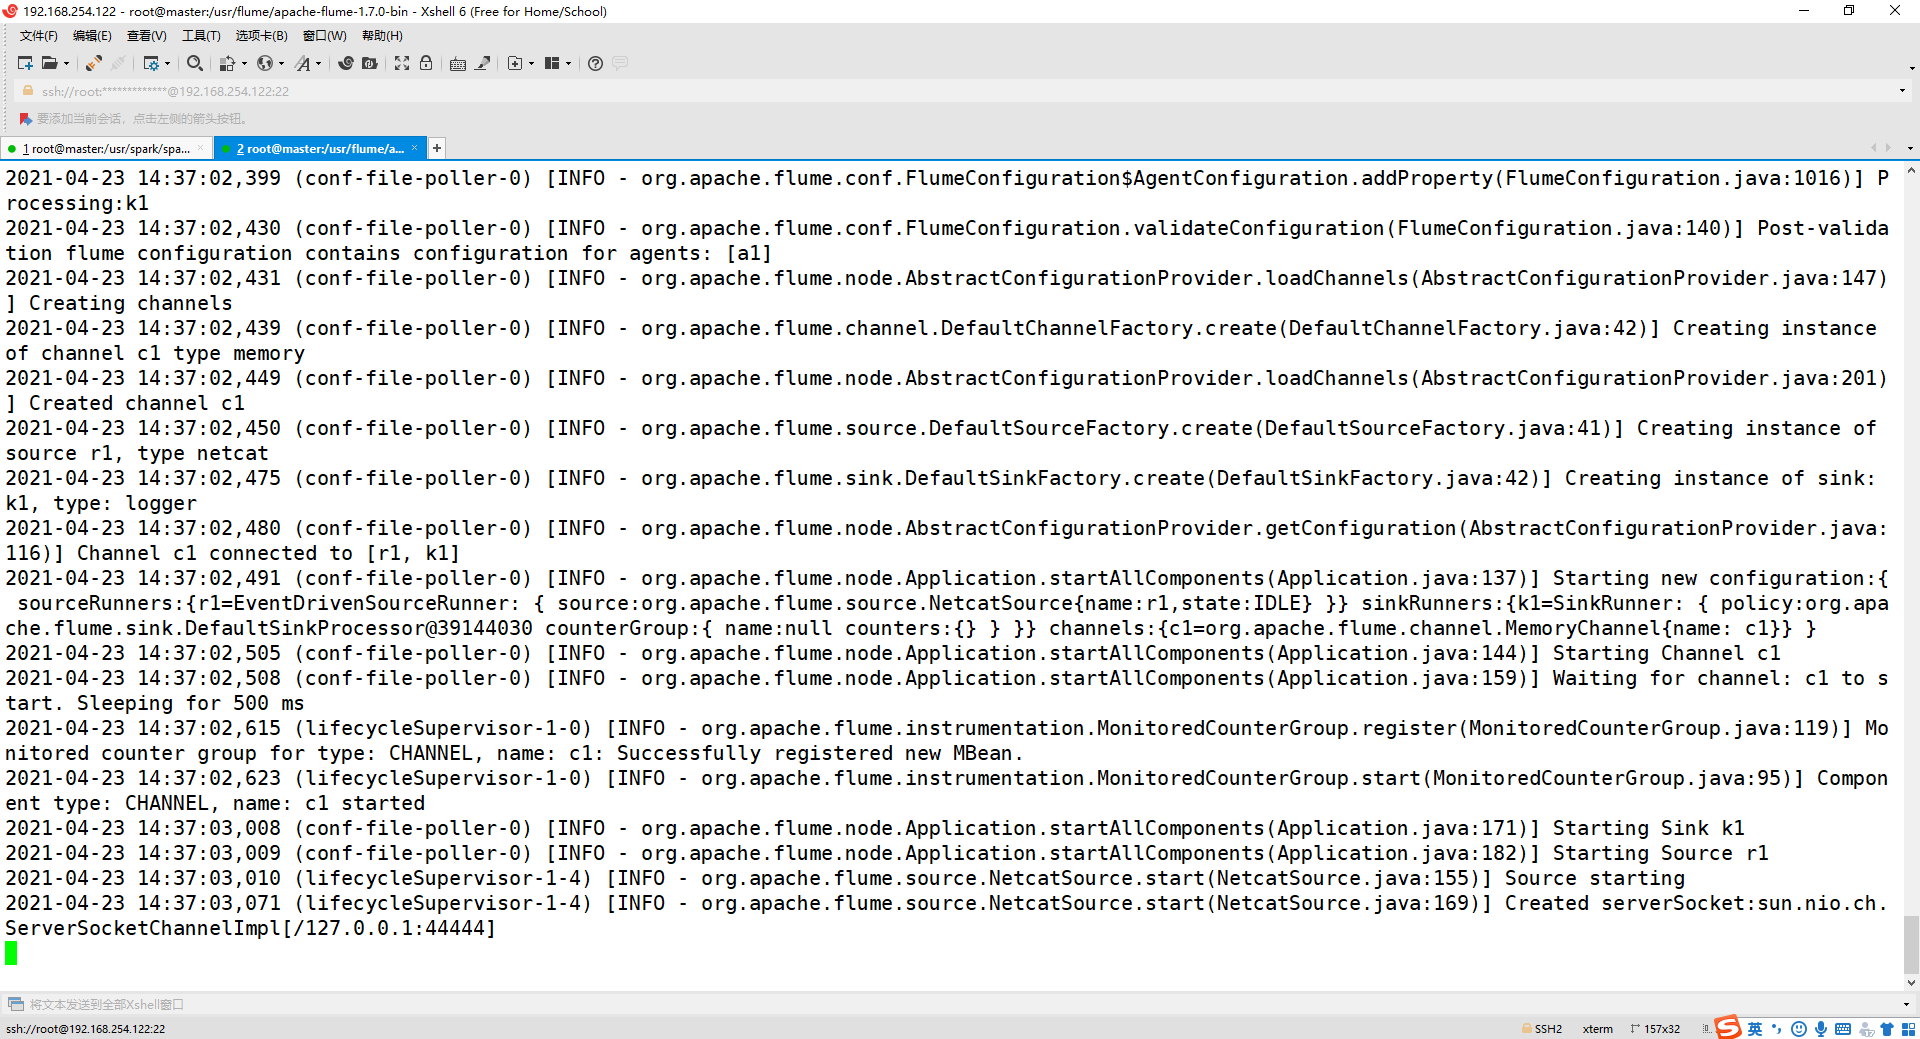
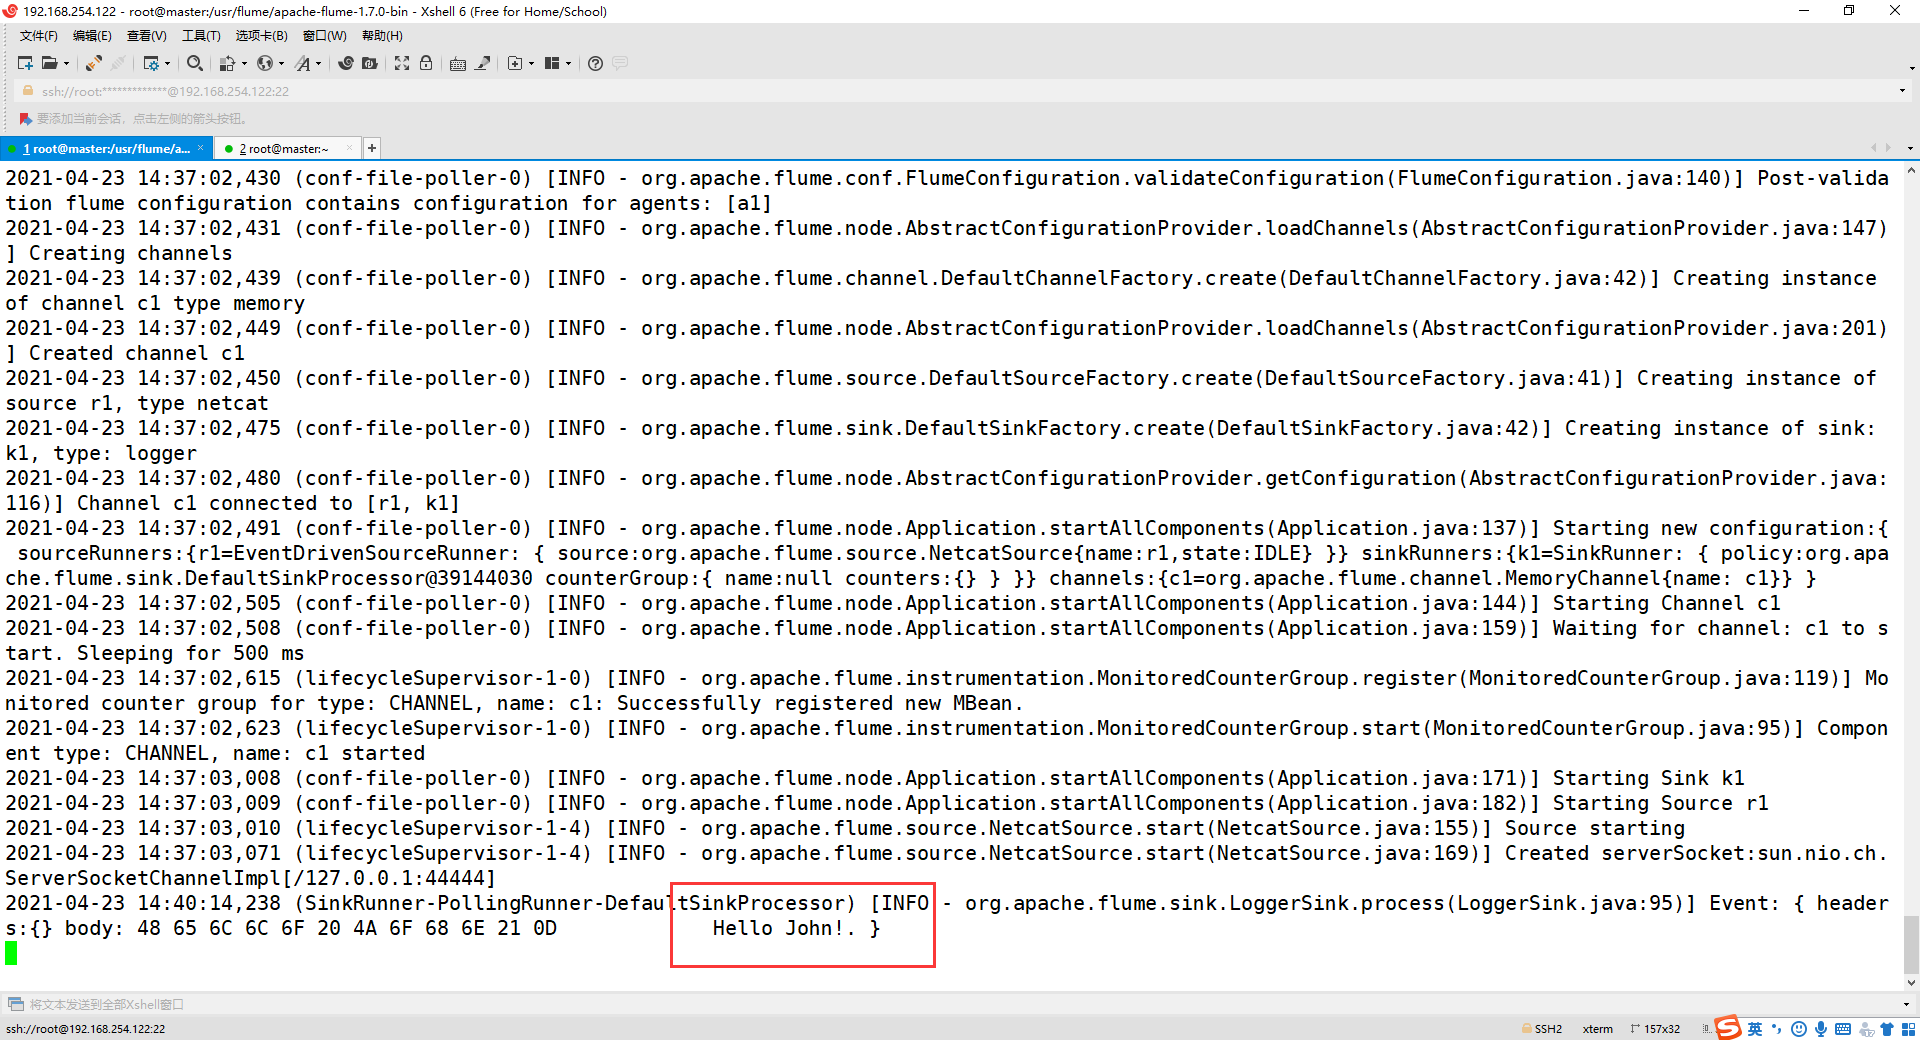
2、启动 flume agent (即打开日志控制台):
    cd /usr/flume/apache-flume-1.7.0-bin/
    bin/flume-ng agent --conf conf --conf-file conf/example.conf --name a1 -Dflume.root.logger=INFO,console
3、再打开一个终端,进入主机
telnet localhost 44444
** 发现出错,原因没有 telnet 命令,所以下载 telnet **
4、下载 telnet
    yum -y install telnet-server.x86_64
    yum -y install telnet.x86_64
    yum -y install xinetd.x86_64
5、设置开机自启
chkconfig telnet on
6、修改配置文件
vim /etc/xinetd.d/telnet
** 注意,在 centos7 以前的版本有这个配置文件,以后的版本没有,可以新建并修改如下: **
    # default: yes
    # description: The telnet server servestelnet sessions; it uses \
    #      unencrypted username/password pairs for authentication.
    service telnet

    {
      flags           = REUSE
      socket_type     = stream
      wait            = no
      user            = root
      server          =/usr/sbin/in.telnetd
      log_on_failure  += USERID
      disable         = no
    }
如有则修改,第一次修改,此文件若不存在,可自己vim创建修改,修改 disable = yes 为 disable = no
7、开启service,发现没有service,于是下载
yum install initscripts -y
8、下载完成,执行命令
systemctl restart xinetd.service
9、再次输入命令
telnet localhost 44444
10、测试结果
在第二个终端输入想要发送的字符
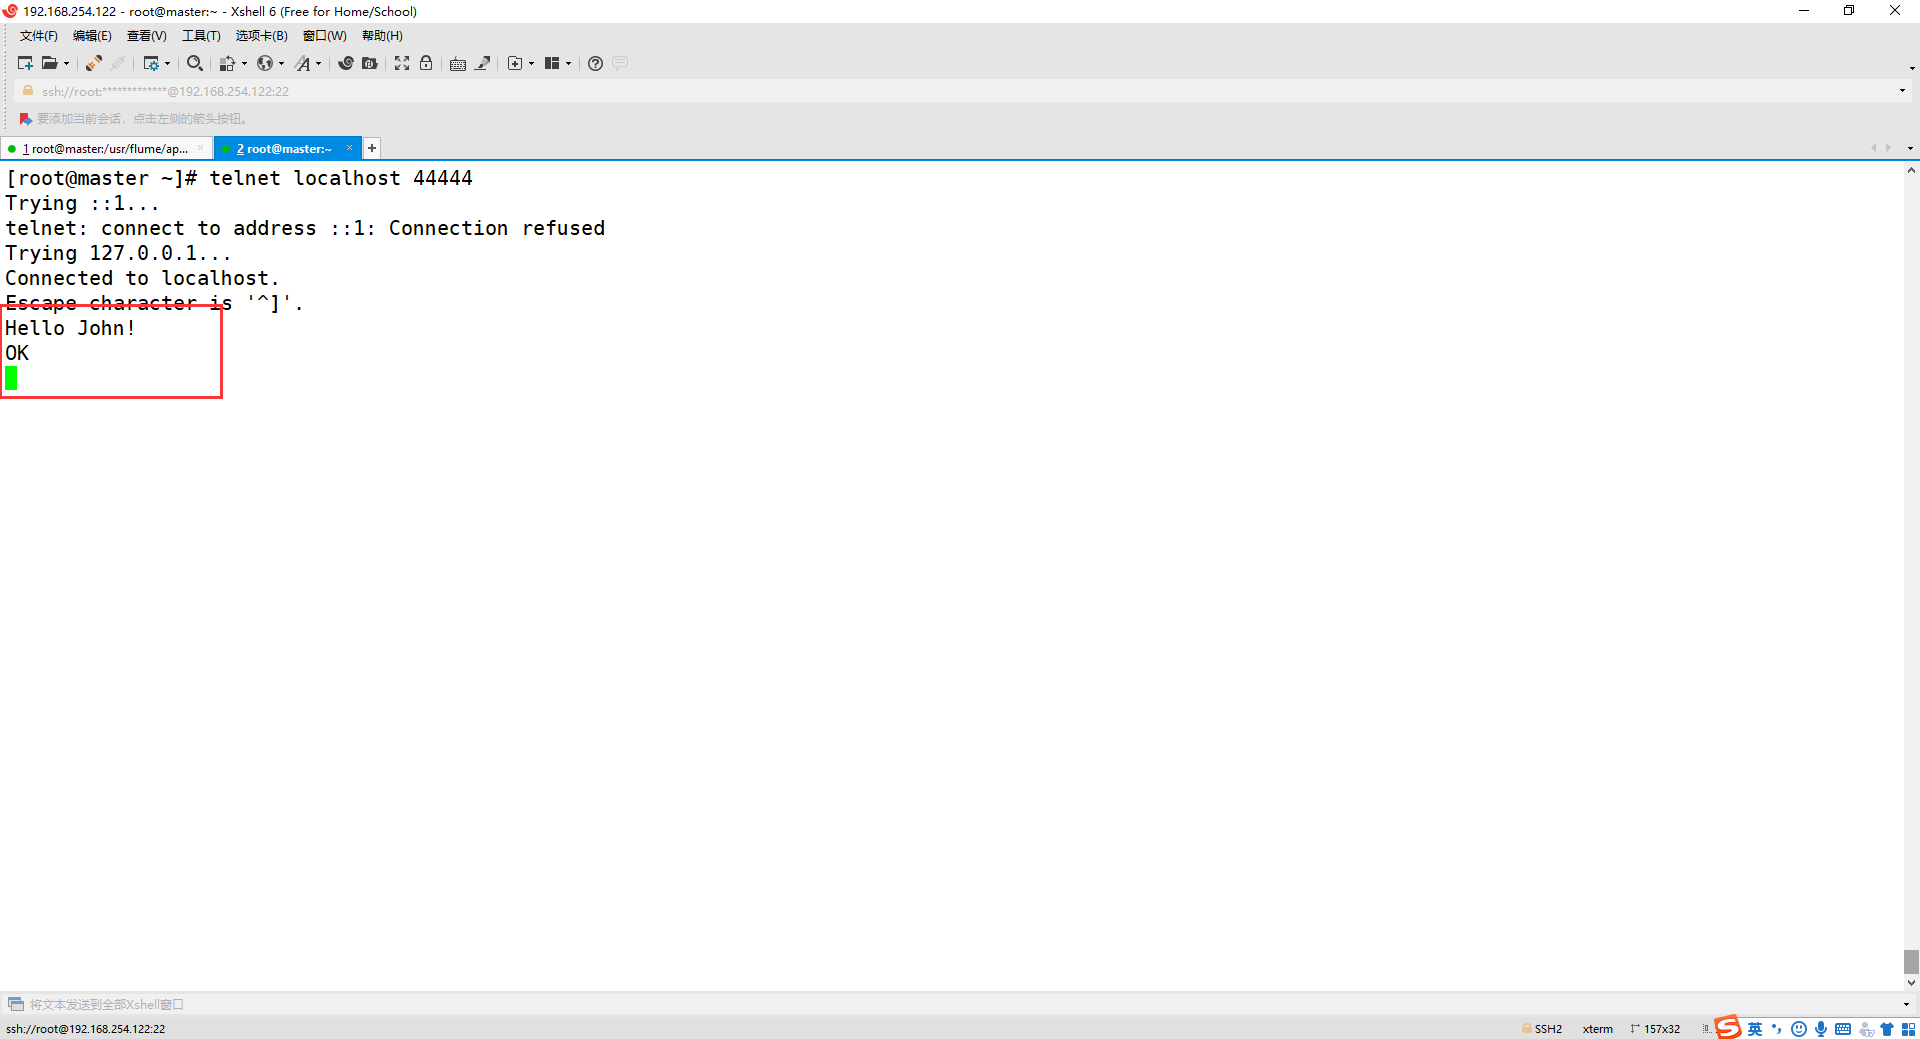
观看第一个终端的消息,如下有第二个终端发送的消息即可!
五、使用 Flume 作为 Spark Streaming 数据源
Flume是非常流行的日志采集系统,可以作为Spark Streaming的高级数据源。请把Flume Source设置为netcat类型,从终端上不断给Flume Source发送各种消息,Flume把消息汇集到Sink,这里把Sink类型设置为avro,由Sink把消息推送给Spark Streaming,由自己编写的Spark Streaming应用程序对消息进行处理。
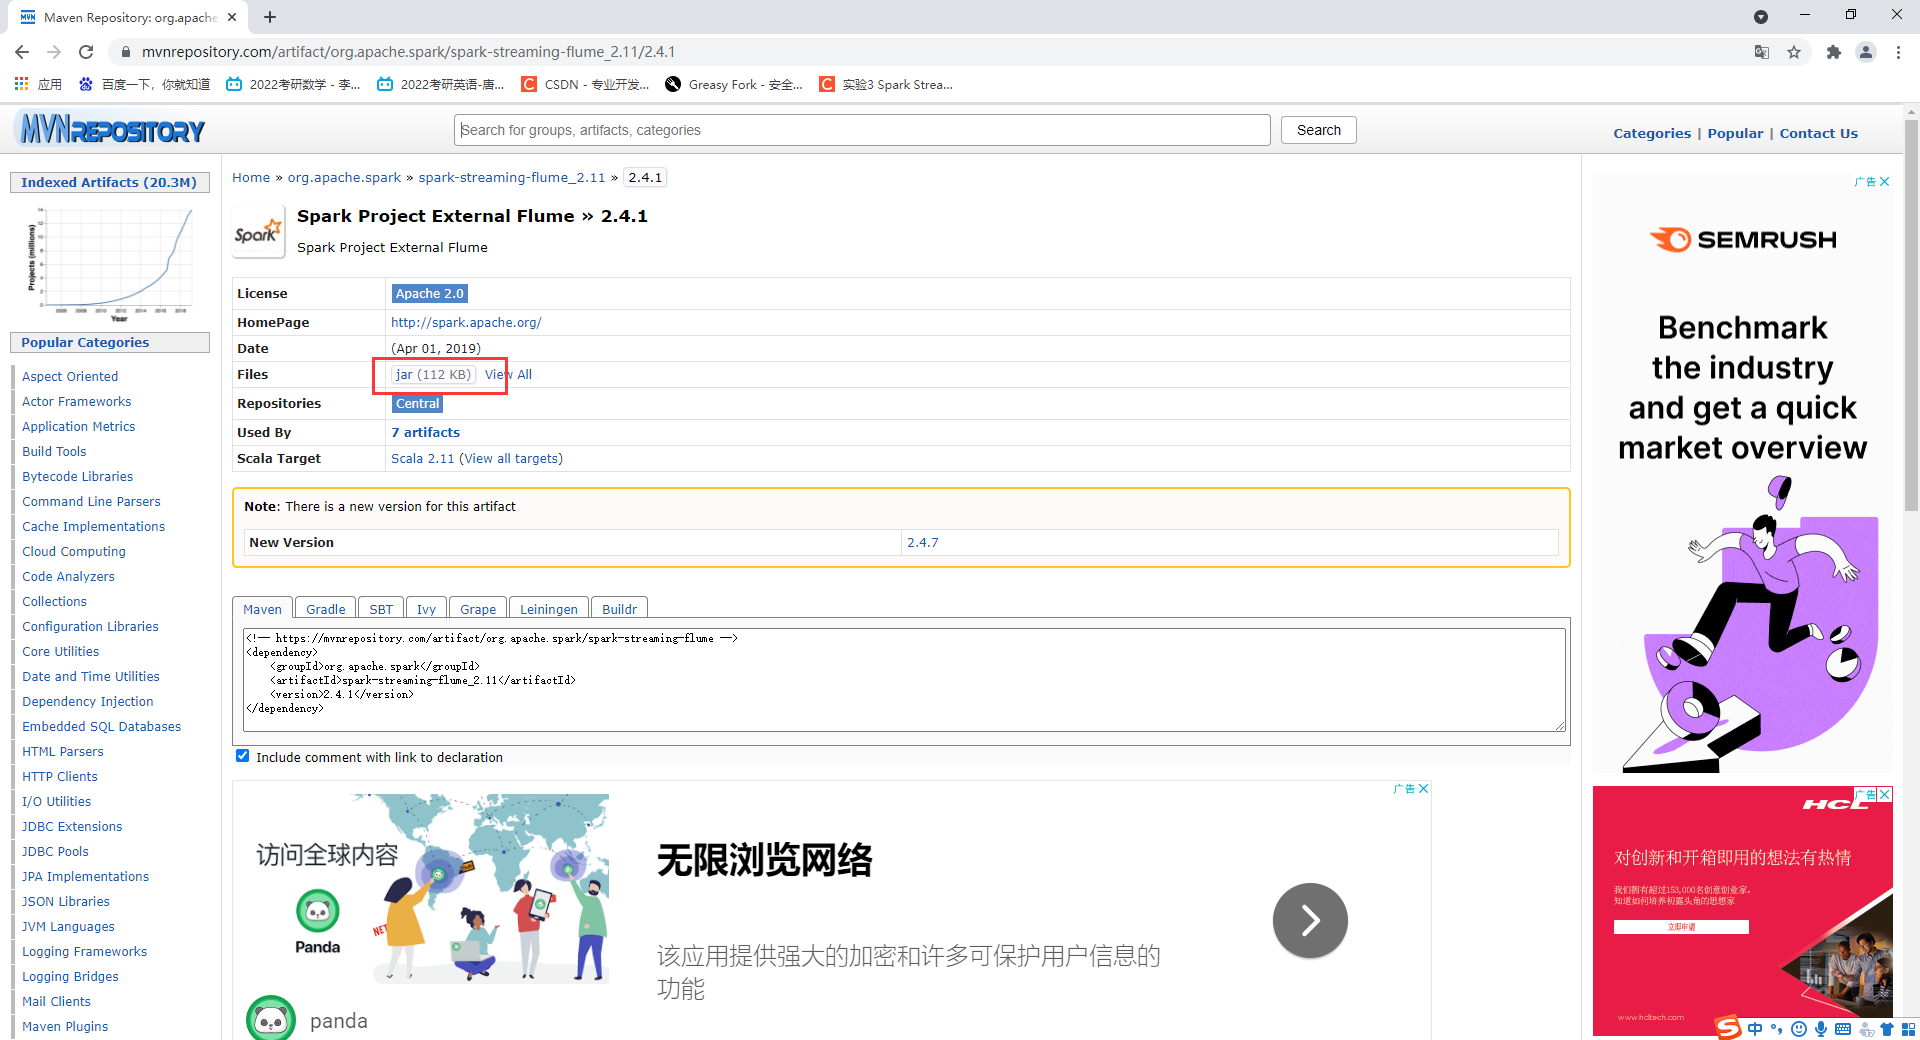
1、下载spark-streaming的jar包
** 我下载的是spark-streaming-flume_2.11-2.4.1.jar 注意要下载对应的版本:2.11代表的是scala的版本,2.4.1代表的是spark的版本! **
spark-streaming-flume下载链接:https://pan.baidu.com/s/1PCHelkFRJC-tqEV3KewQNw 提取码:oz4l
** 或者 **
在官网下载,地址如下: https://mvnrepository.com/artifact/org.apache.spark/spark-streaming- flume_2.11/2.4.1
将下载的安装包通过Xftp传输到Linux虚拟机中
2、将下载的jar包导入spark的jars目录下
进入jars目录,新建flume文件夹并将
    cd /usr/spark/spark-2.4.1-bin-hadoop2.7/jars/
    mkdir flume
    cp /opt/software/spark-streaming-flume_2.11-2.4.7.jar /usr/spark/spark-2.4.1-bin-hadoop2.7/jars/flume/
将flume的lib目录下的jar包,复制到spark的jars下
\cp -rf /usr/flume/apache-flume-1.7.0-bin/lib/* /usr/spark/spark-2.4.1-bin-hadoop2.7/jars/
** 注意,在复制过来以后,确认是否覆盖原有的包,我选择的是替换,在复制过后可能会出现多个版本的jar包冲突,需要将冲突的包删去。 **
** 这里我用了\cp强制覆盖原来的文件,就不需要一个个确定! **
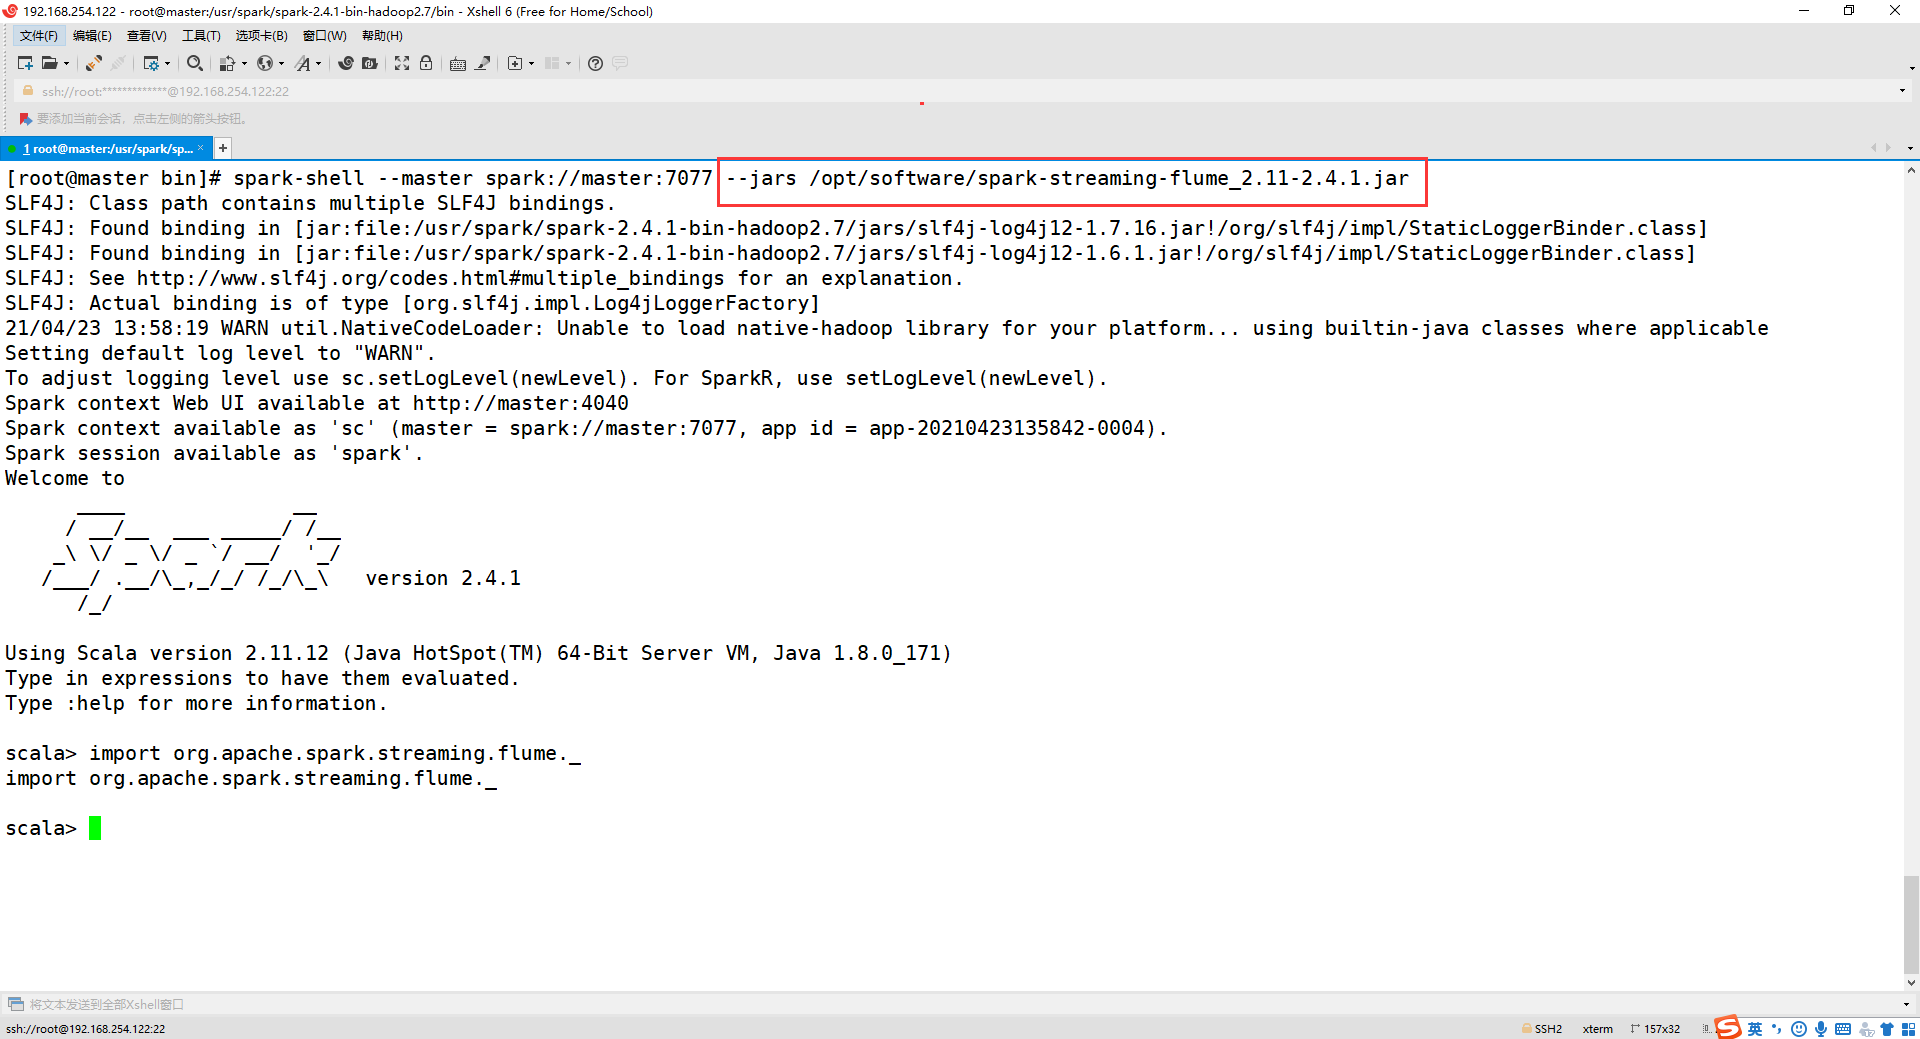
进入spark-shell,输入
import org.apache.spark.streaming.flume._
结果如下即可: 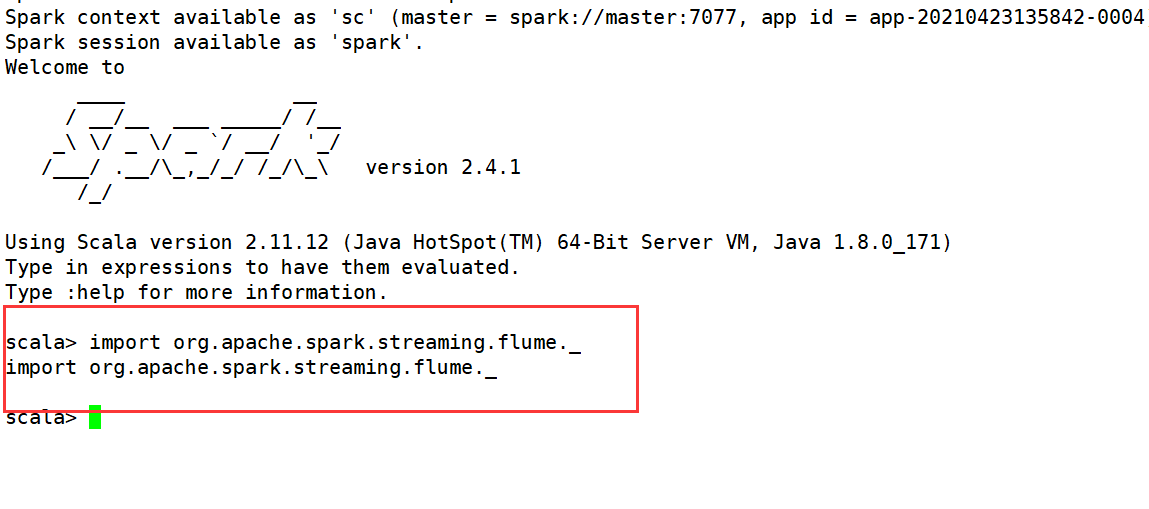
** 这里的话,本人并没有操作以上步骤,只是在要导包的时候,在命令后加入下面的代码,效果和以上操作差不多! **
--jars /opt/software/spark-streaming-flume_2.11-2.4.1.jar
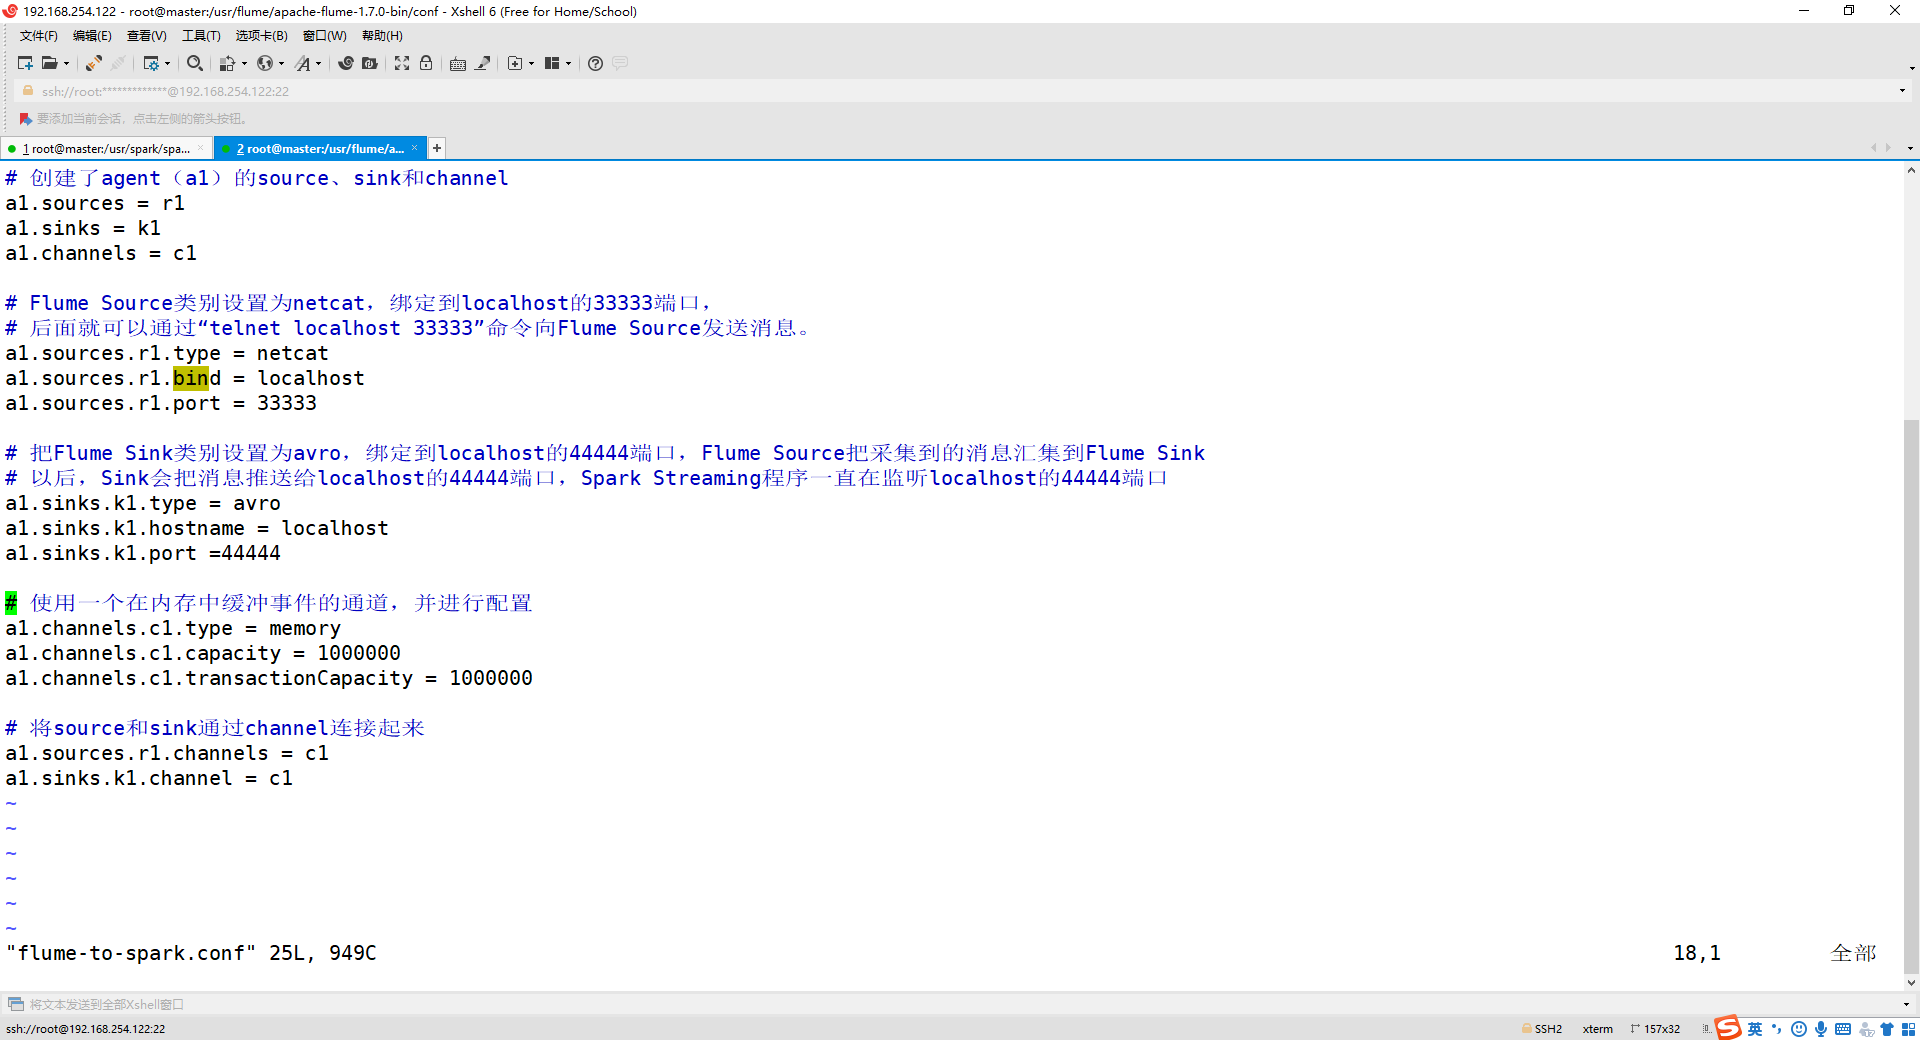
3、配置 flume-to-spark.conf 文件
    cd /usr/flume/apache-flume-1.7.0-bin/conf/
    vim flume-to-spark.conf
** 如果没有 flume-to-spark.conf 文件,就新建! **
添加以下内容:
    # 创建了agent(a1)的source、sink和channel
    a1.sources = r1
    a1.sinks = k1
    a1.channels = c1

    # Flume Source类别设置为netcat,绑定到localhost的33333端口,
    # 后面就可以通过“telnet localhost 33333”命令向Flume Source发送消息。
    a1.sources.r1.type = netcat
    a1.sources.r1.bind = localhost
    a1.sources.r1.port = 33333

    # 把Flume Sink类别设置为avro,绑定到localhost的44444端口,Flume Source把采集到的消息汇集到Flume Sink
    # 以后,Sink会把消息推送给localhost的44444端口,Spark Streaming程序一直在监听localhost的44444端口
    a1.sinks.k1.type = avro
    a1.sinks.k1.hostname = localhost
    a1.sinks.k1.port =44444

    # 使用一个在内存中缓冲事件的通道,并进行配置
    a1.channels.c1.type = memory
    a1.channels.c1.capacity = 1000000
    a1.channels.c1.transactionCapacity = 1000000

    # 将source和sink通过channel连接起来
    a1.sources.r1.channels = c1
    a1.sinks.k1.channel = c1
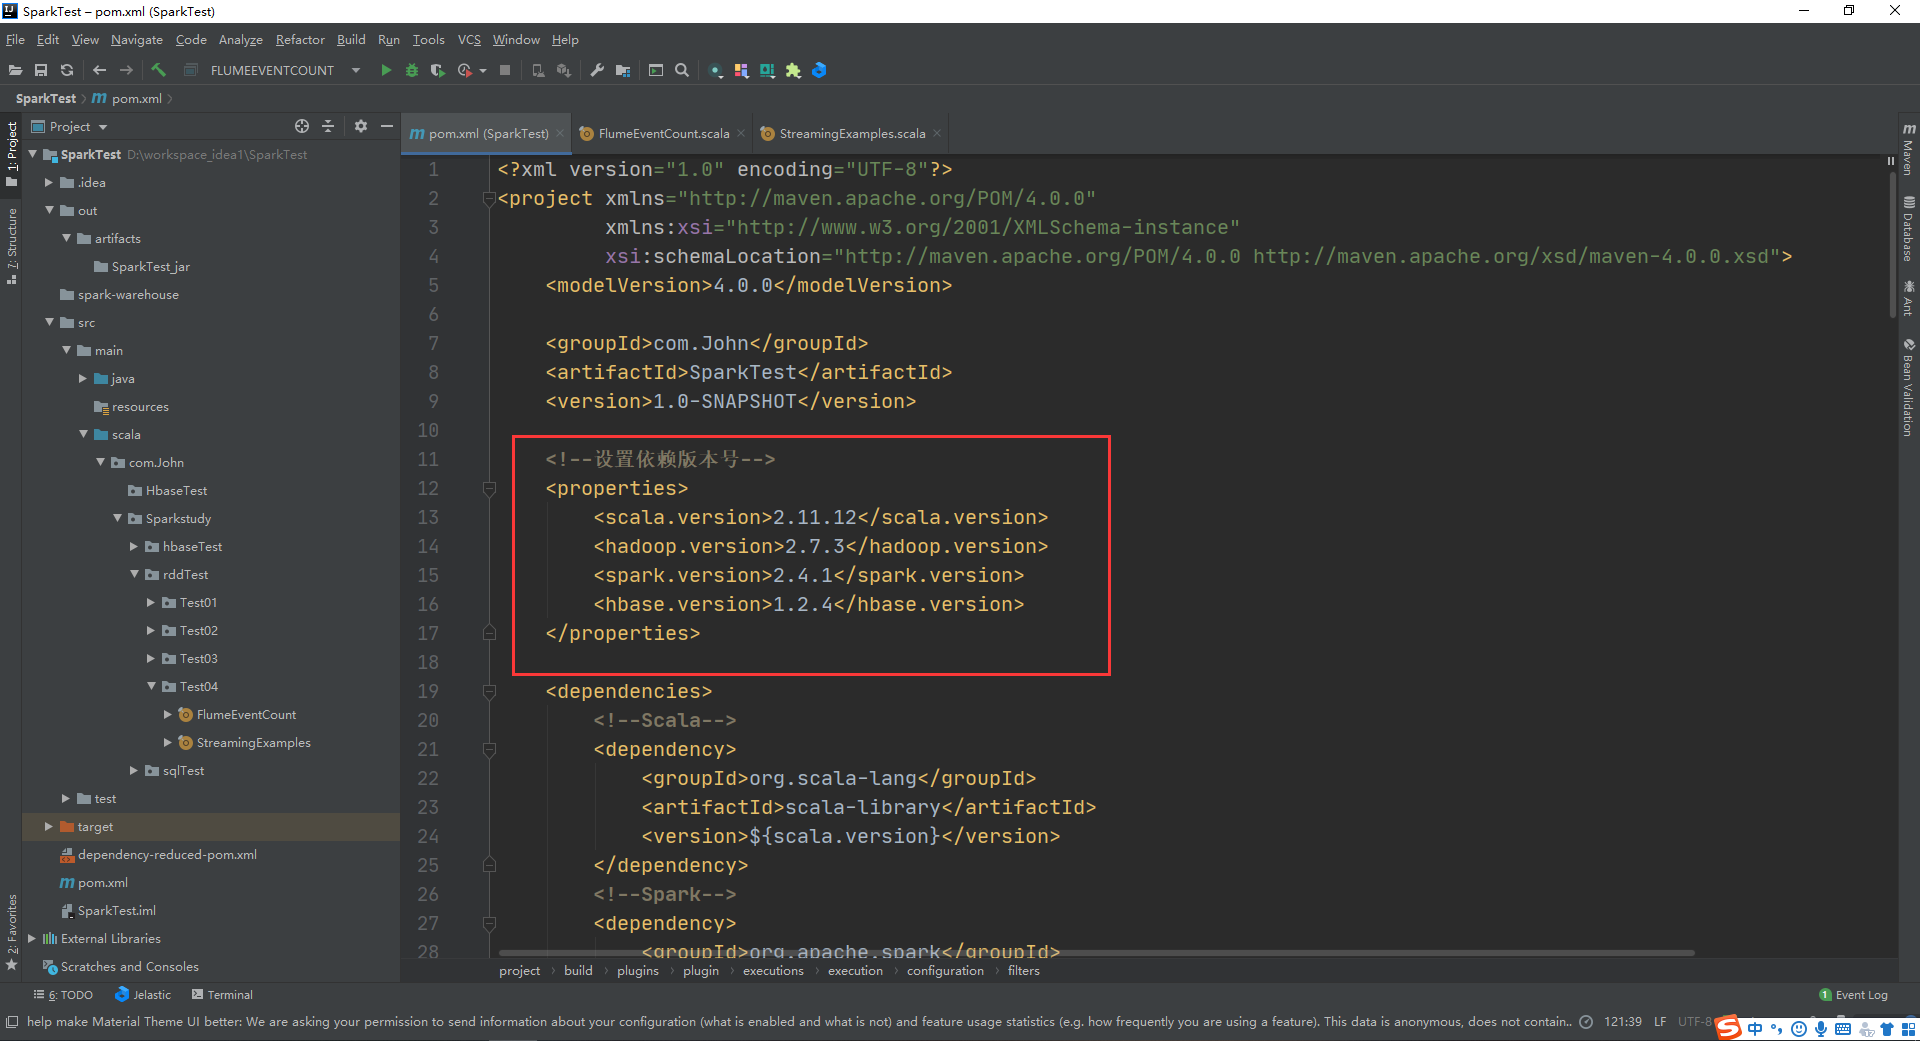
4、使用在IDEA中编写spark-streaming程序并打包
修改 pom 文件,添加依赖:
    <?xml version="1.0" encoding="UTF-8"?>
    <project xmlns="http://maven.apache.org/POM/4.0.0"
             xmlns:xsi="http://www.w3.org/2001/XMLSchema-instance"
             xsi:schemaLocation="http://maven.apache.org/POM/4.0.0 http://maven.apache.org/xsd/maven-4.0.0.xsd">
        <modelVersion>4.0.0</modelVersion>

        <groupId>com.John</groupId>
        <artifactId>SparkTest</artifactId>
        <version>1.0-SNAPSHOT</version>

        <!--设置依赖版本号-->
        <properties>
            <scala.version>2.11.12</scala.version>
            <hadoop.version>2.7.3</hadoop.version>
            <spark.version>2.4.1</spark.version>
            <hbase.version>1.2.4</hbase.version>
        </properties>

        <dependencies>
            <!--Scala-->
            <dependency>
                <groupId>org.scala-lang</groupId>
                <artifactId>scala-library</artifactId>
                <version>${scala.version}</version>
            </dependency>
            <!--Spark-->
            <dependency>
                <groupId>org.apache.spark</groupId>
                <artifactId>spark-core_2.11</artifactId>
                <version>${spark.version}</version>
            </dependency>
            <dependency>
                <groupId>org.apache.spark</groupId>
                <artifactId>spark-sql_2.11</artifactId>
                <version>${spark.version}</version>
            </dependency>
            <dependency>
                <groupId>org.apache.spark</groupId>
                <artifactId>spark-streaming-flume_2.11</artifactId>
                <version>${spark.version}</version>
            </dependency>
            <dependency>
                <groupId>org.apache.spark</groupId>
                <artifactId>spark-streaming_2.11</artifactId>
                <version>${spark.version}</version>
            </dependency>
            <dependency>
                <groupId>mysql</groupId>
                <artifactId>mysql-connector-java</artifactId>
                <version>5.1.47</version>
            </dependency>
            <!--Hadoop-->
            <dependency>
                <groupId>org.apache.hadoop</groupId>
                <artifactId>hadoop-client</artifactId>
                <version>${hadoop.version}</version>
            </dependency>
            <!--hbase-->
            <dependency>
                <groupId>org.apache.hbase</groupId>
                <artifactId>hbase-server</artifactId>
                <version>${hbase.version}</version>
            </dependency>
            <dependency>
                <groupId>org.apache.hbase</groupId>
                <artifactId>hbase-client</artifactId>
                <version>${hbase.version}</version>
            </dependency>
            <dependency>
                <groupId>org.apache.spark</groupId>
                <artifactId>spark-mllib_2.11</artifactId>
                <version>${spark.version}</version>
            </dependency>
        </dependencies>

        <build>
            <sourceDirectory>src/main/scala</sourceDirectory>
            <testSourceDirectory>src/test/scala</testSourceDirectory>

            <plugins>
                <plugin>
                    <groupId>net.alchim31.maven</groupId>
                    <artifactId>scala-maven-plugin</artifactId>
                    <version>3.2.2</version>
                    <executions>
                        <execution>
                            <goals>
                                <goal>compile</goal>
                                <goal>testCompile</goal>
                            </goals>
                            <configuration>
                                <args>
                                    <arg>-dependencyfile</arg>
                                    <arg>${project.build.directory}/.scala_dependencies</arg>
                                </args>
                            </configuration>
                        </execution>
                    </executions>
                </plugin>

                <plugin>
                    <groupId>org.apache.maven.plugins</groupId>
                    <artifactId>maven-shade-plugin</artifactId>
                    <version>2.4.3</version>
                    <executions>
                        <execution>
                            <phase>package</phase>
                            <goals>
                                <goal>shade</goal>
                            </goals>
                            <configuration>
                                <filters>
                                    <filter>
                                        <artifact>*:*</artifact>
                                        <excludes>
                                            <exclude>META-INF/*.SF</exclude>
                                            <exclude>META-INF/*.DSA</exclude>
                                            <exclude>META-INF/*.RSA</exclude>
                                        </excludes>
                                    </filter>
                                </filters>
                                <transformers>
                                    <transformer implementation="org.apache.maven.plugins.shade.resource.ManifestResourceTransformer">
                                    </transformer>
                                </transformers>
                            </configuration>
                        </execution>
                    </executions>
                </plugin>
                <plugin>
                    <groupId>org.apache.maven.plugins</groupId>
                    <artifactId>maven-compiler-plugin</artifactId>
                    <configuration>
                        <source>6</source>
                        <target>6</target>
                    </configuration>
                </plugin>
            </plugins>
        </build>
    </project>
要注意的是,这里依赖的版本要与你的hadoop、scala、spark版本相适应!
接下来就是导包时间,慢慢等待!
5、新建工程文件
(1)FlumeEventCount.scala
    package com.John.Sparkstudy.rddTest.Test04
    import org.apache.spark.SparkConf
    import org.apache.spark.storage.StorageLevel
    import org.apache.spark.streaming._
    import org.apache.spark.streaming.flume._


    /**
     * @author John
     * @Date 2021/4/22 23:06
     */
    object FlumeEventCount {
      def main(args: Array[String]) {
        // if (args.length < 2) {
        // System.err.println(
        // "Usage: FlumeEventCount <host> <port>")
        // System.exit(1)
        // }
        StreamingExamples.setStreamingLogLevels()
        // val Array(host, IntParam(port)) = args
        val host = "localhost"
        val port = 44444
        val batchInterval = Milliseconds(2000)
        // Create the context and set the batch size
        val sparkConf = new SparkConf().setAppName("FlumeEventCount").setMaster("local[2]")
        val ssc = new StreamingContext(sparkConf, batchInterval)
        // Create a flume stream
        val stream = FlumeUtils.createStream(ssc, host, port, StorageLevel.MEMORY_ONLY_SER_2)
        // Print out the count of events received from this server in each batch
        stream.count().map(cnt => "Received " + cnt + " flume events." ).print()
        ssc.start()
        ssc.awaitTermination()
      }
    }
(2)StreamingExamples.scala
    package com.John.Sparkstudy.rddTest.Test04
    import org.apache.log4j.{Level, Logger}
    import org.apache.spark.internal.Logging

    /**
     * @author John
     * @Date 2021/4/22 23:06
     */
    object StreamingExamples extends Logging {
      /** Set reasonable logging levels for streaming if the user has not configured log4j. */
      def setStreamingLogLevels() {
        val log4jInitialized = Logger.getRootLogger.getAllAppenders.hasMoreElements
        if (!log4jInitialized) {
          // We first log something to initialize Spark's default logging, then we override the
          // logging level.
          logInfo("Setting log level to [WARN] for streaming example." +

            " To override add a custom log4j.properties to the classpath.")
          Logger.getRootLogger.setLevel(Level.WARN)
        }
      }
    }
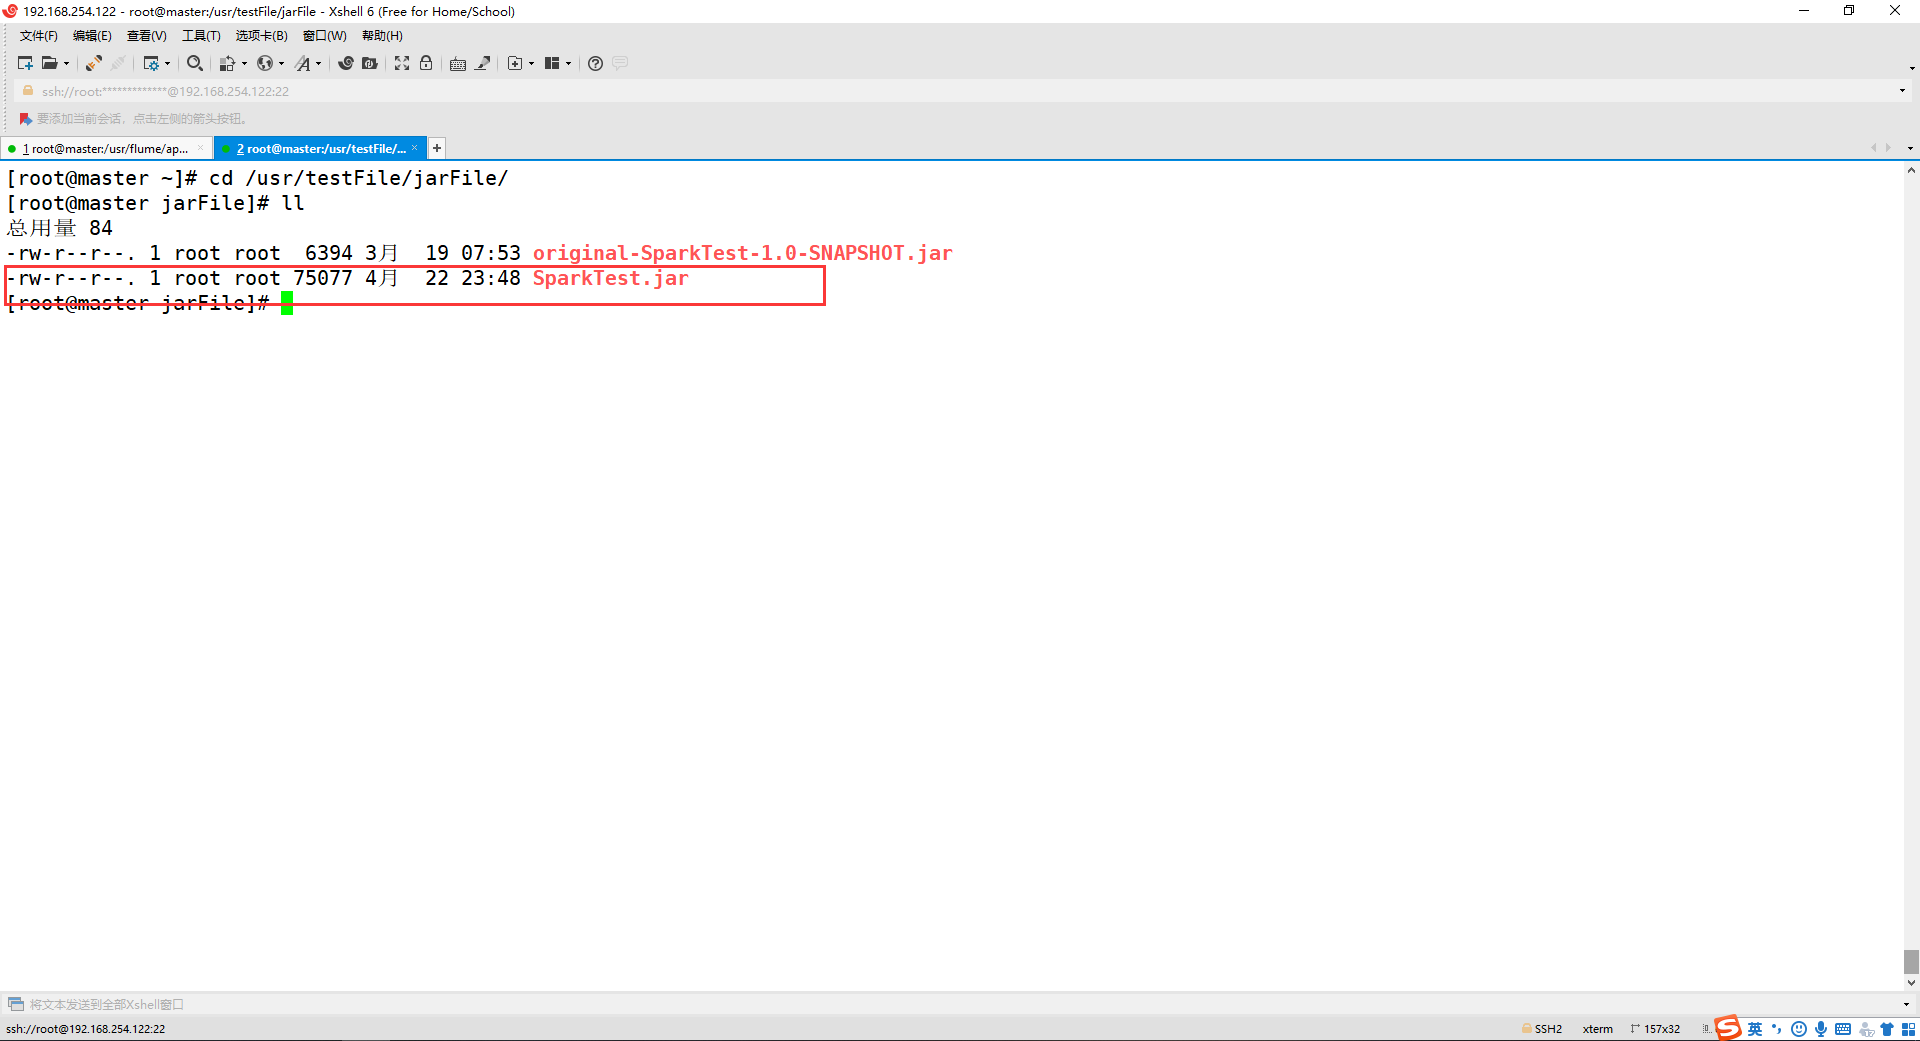
将程序打包,根据打包步骤File->Project Structure->Artifacts->"+"->JAR->From modules with dependencies 浏览选择主类 FlumeEventCount 注意,选择过主类过后,只保留jar包和output 其他的删去,如下 按住 shift 点击第一个便可以批量删除。 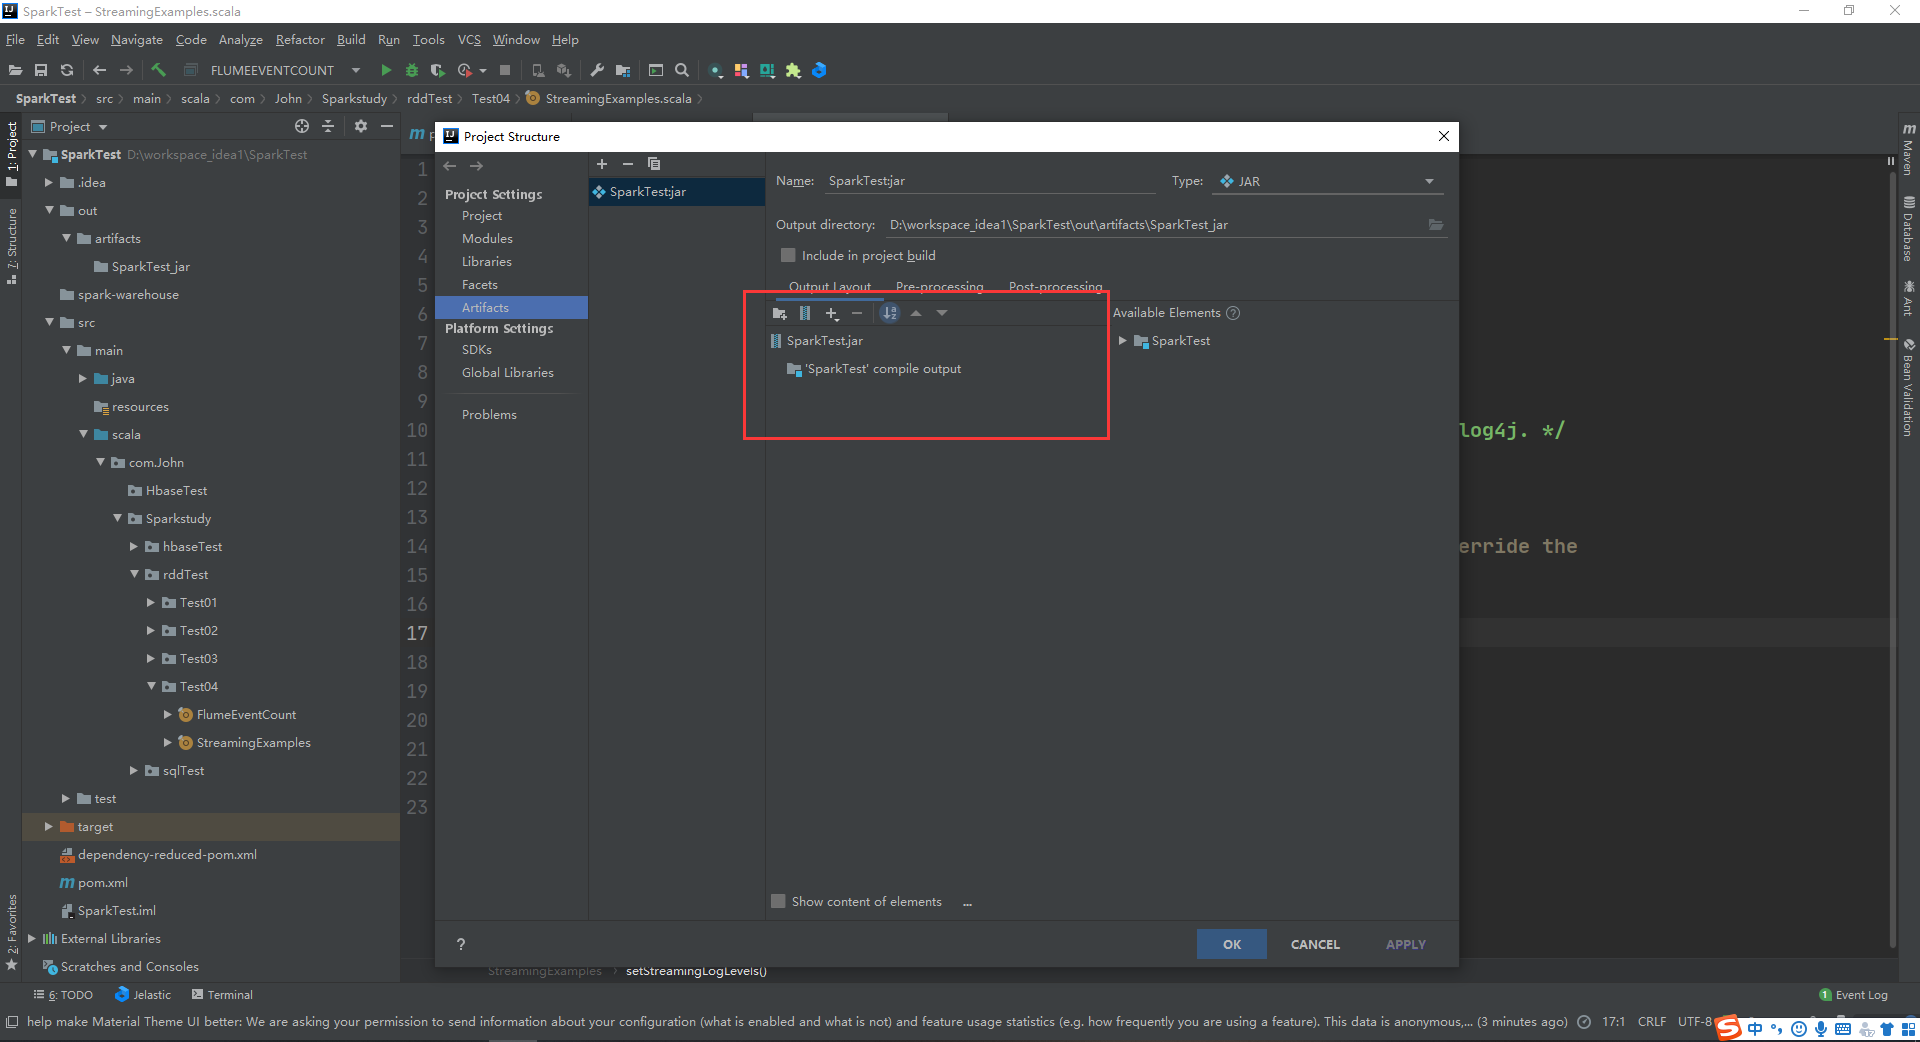
之后 build->build Artifacts->build 打成jar包,将jar包传入主机的 /usr/testFile/jarFile/ 目录下 具体目录根据自己的实际情况来定! 
6、测试结果
(1) 打开第一个终端,输入以下命令
这里的参数表示:
–jar 导入scala程序需要的jar包,如果第二步没有操作就可以这样
–class 主类
–master 指定的节点
路径 通过idea的sbt打成的jar包位置
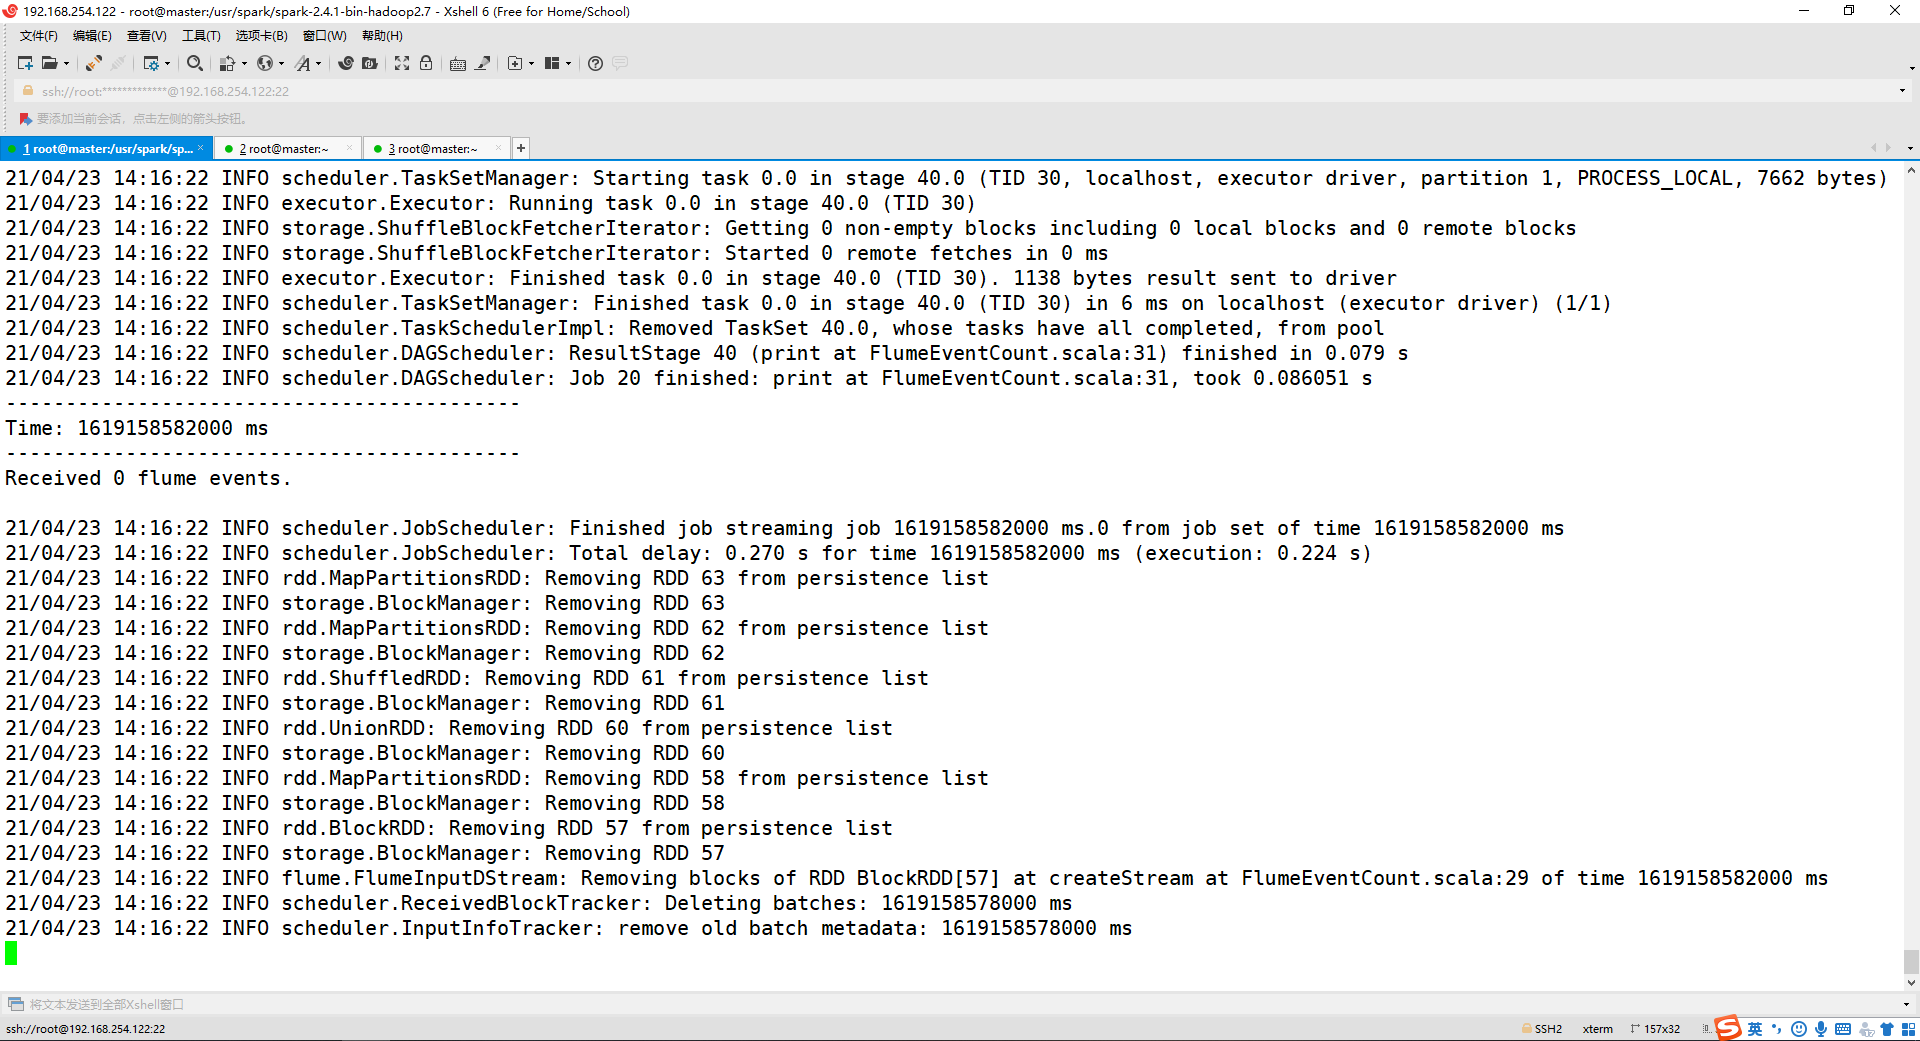
    cd /usr/spark/spark-2.4.1-bin-hadoop2.7/
    bin/spark-submit --jars /opt/software/spark-streaming-flume_2.11-2.4.1.jar  --class com.John.Sparkstudy.rddTest.Test04.FlumeEventCount --master spark://master:7077 /usr/testFile/jarFile/SparkTest.jar
出现以下情况,不断的滚动即成功!
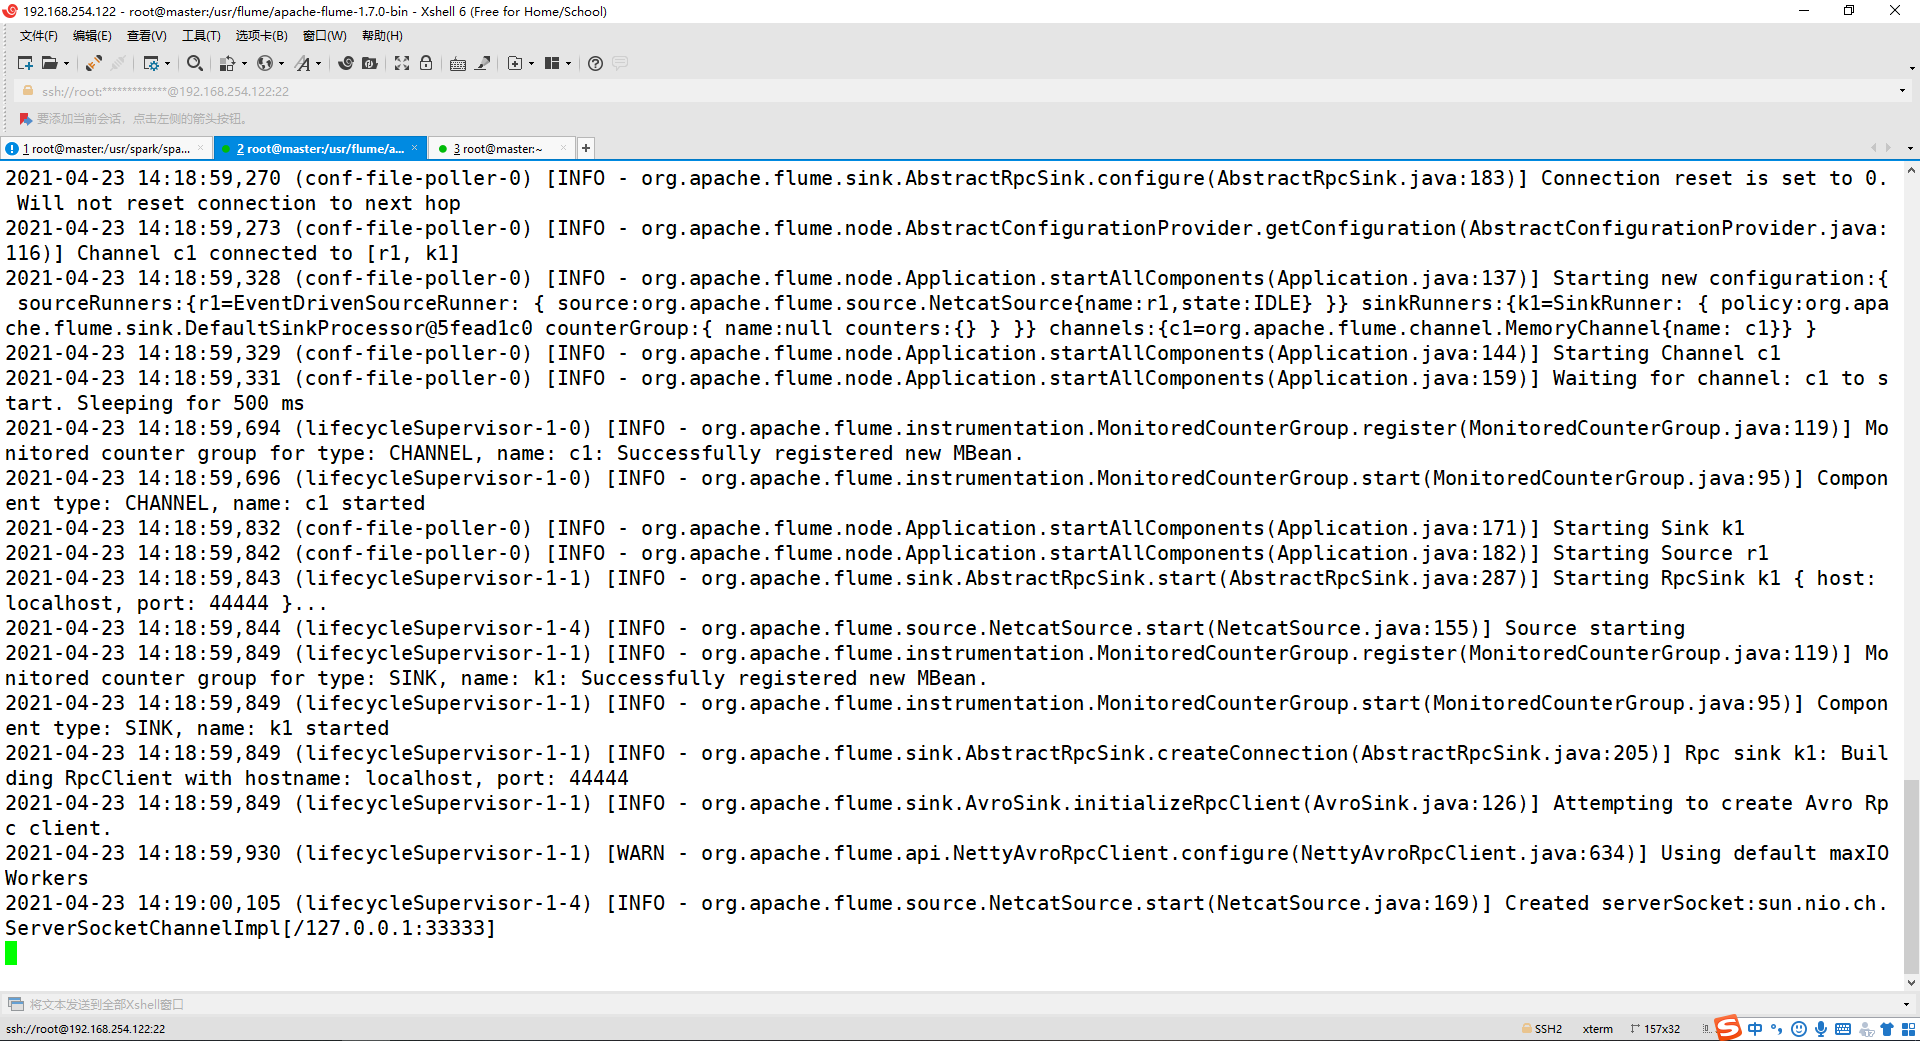
(2) 打开第二个终端,输入以下命令
    cd /usr/flume/apache-flume-1.7.0-bin/
    bin/flume-ng agent --conf /usr/flume/apache-flume-1.7.0-bin/conf/ --conf-file /usr/flume/apache-flume-1.7.0-bin/conf/flume-to-spark.conf --name a1 -Dflume.root.logger=INFO,console
出现以下情况即成功!
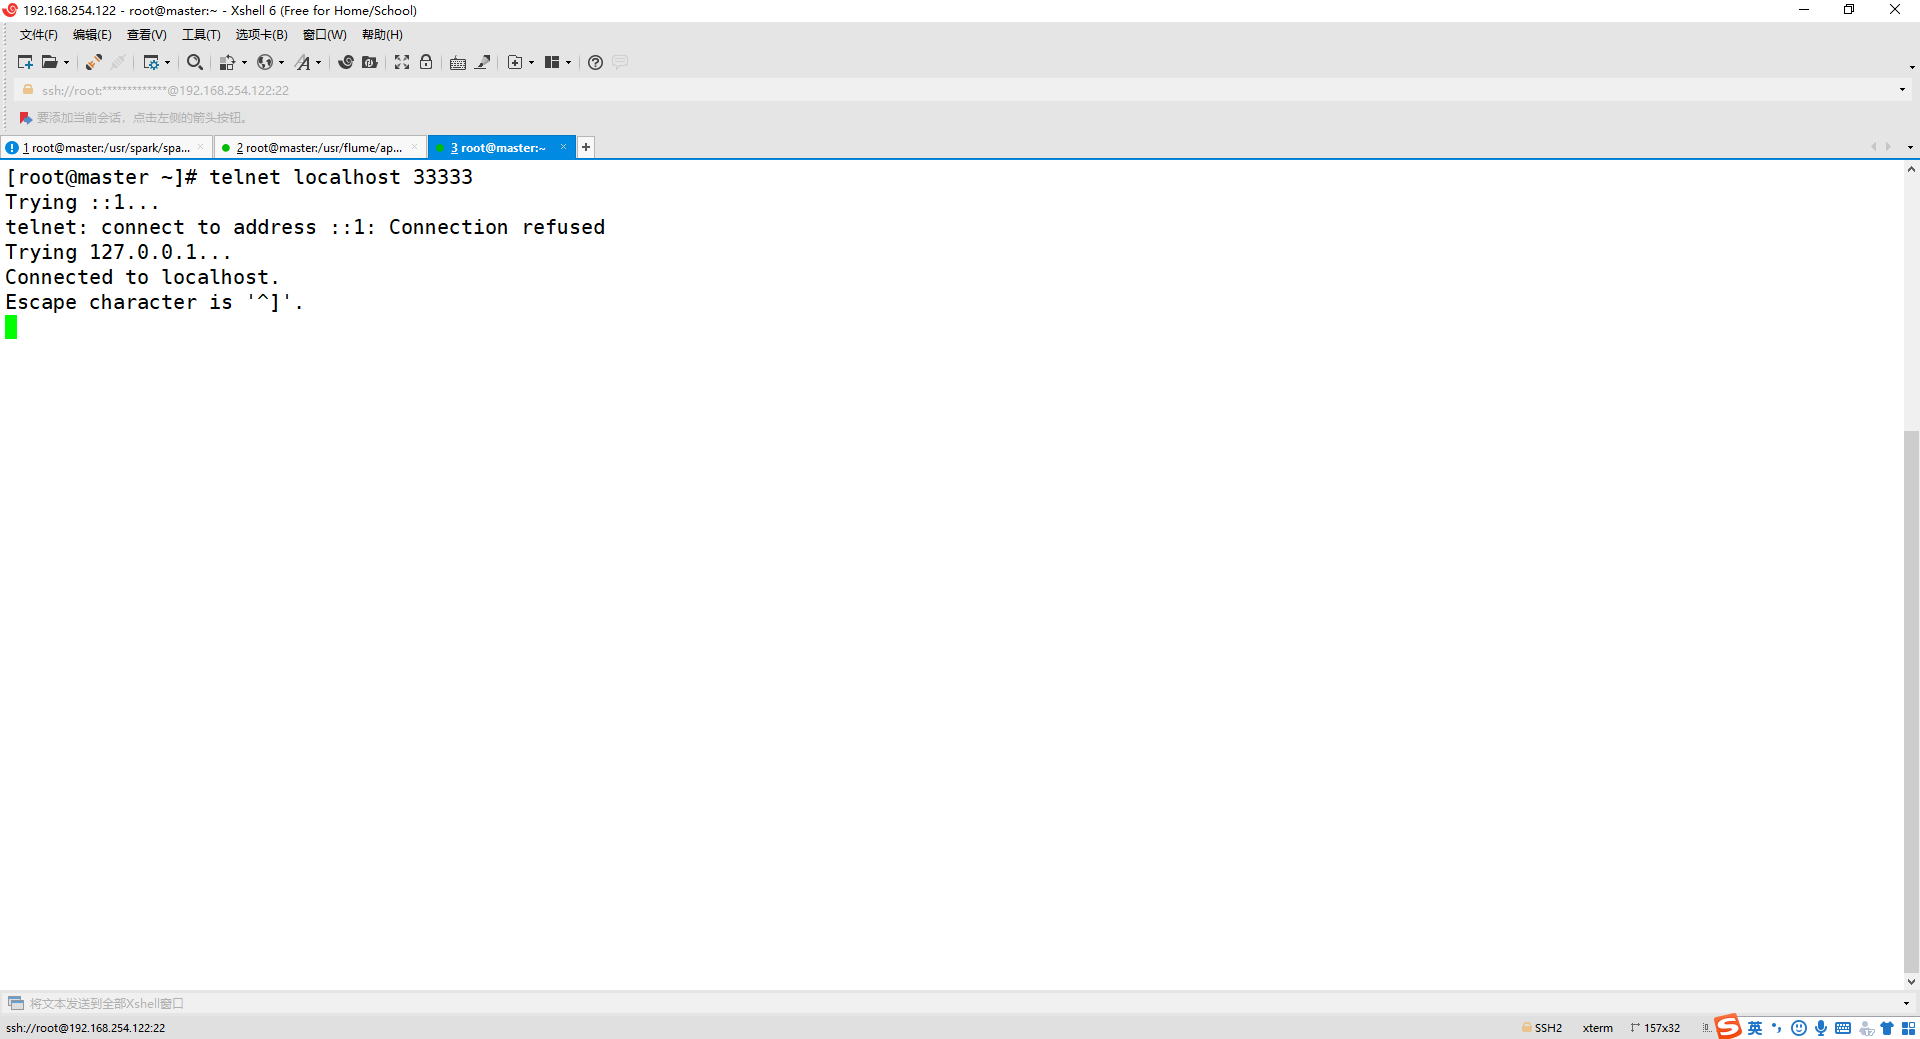
(3) 打开第三个终端,输入以下命令
telnet localhost 33333
出现以下的情况就可以输入消息!
(4) 输入任意字符
Hello John!
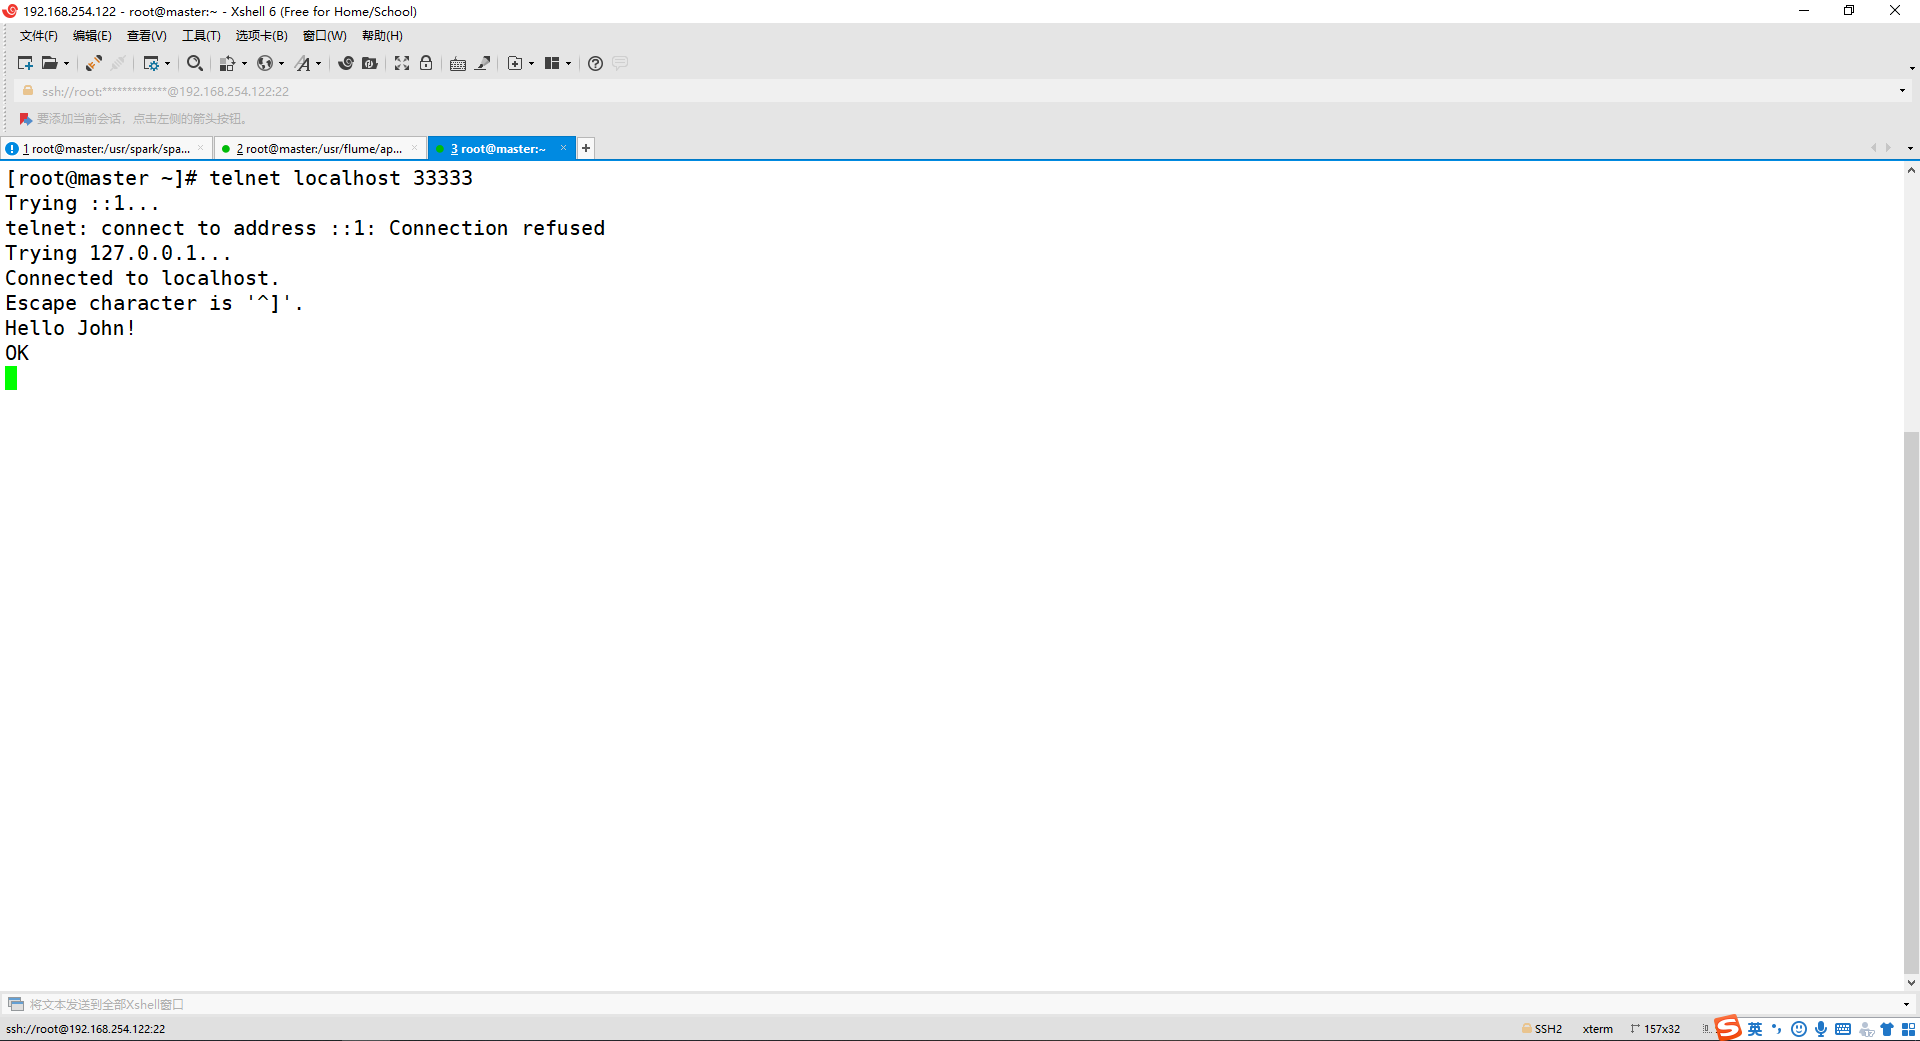
第一个终端可以显示结果就代表成功啦! 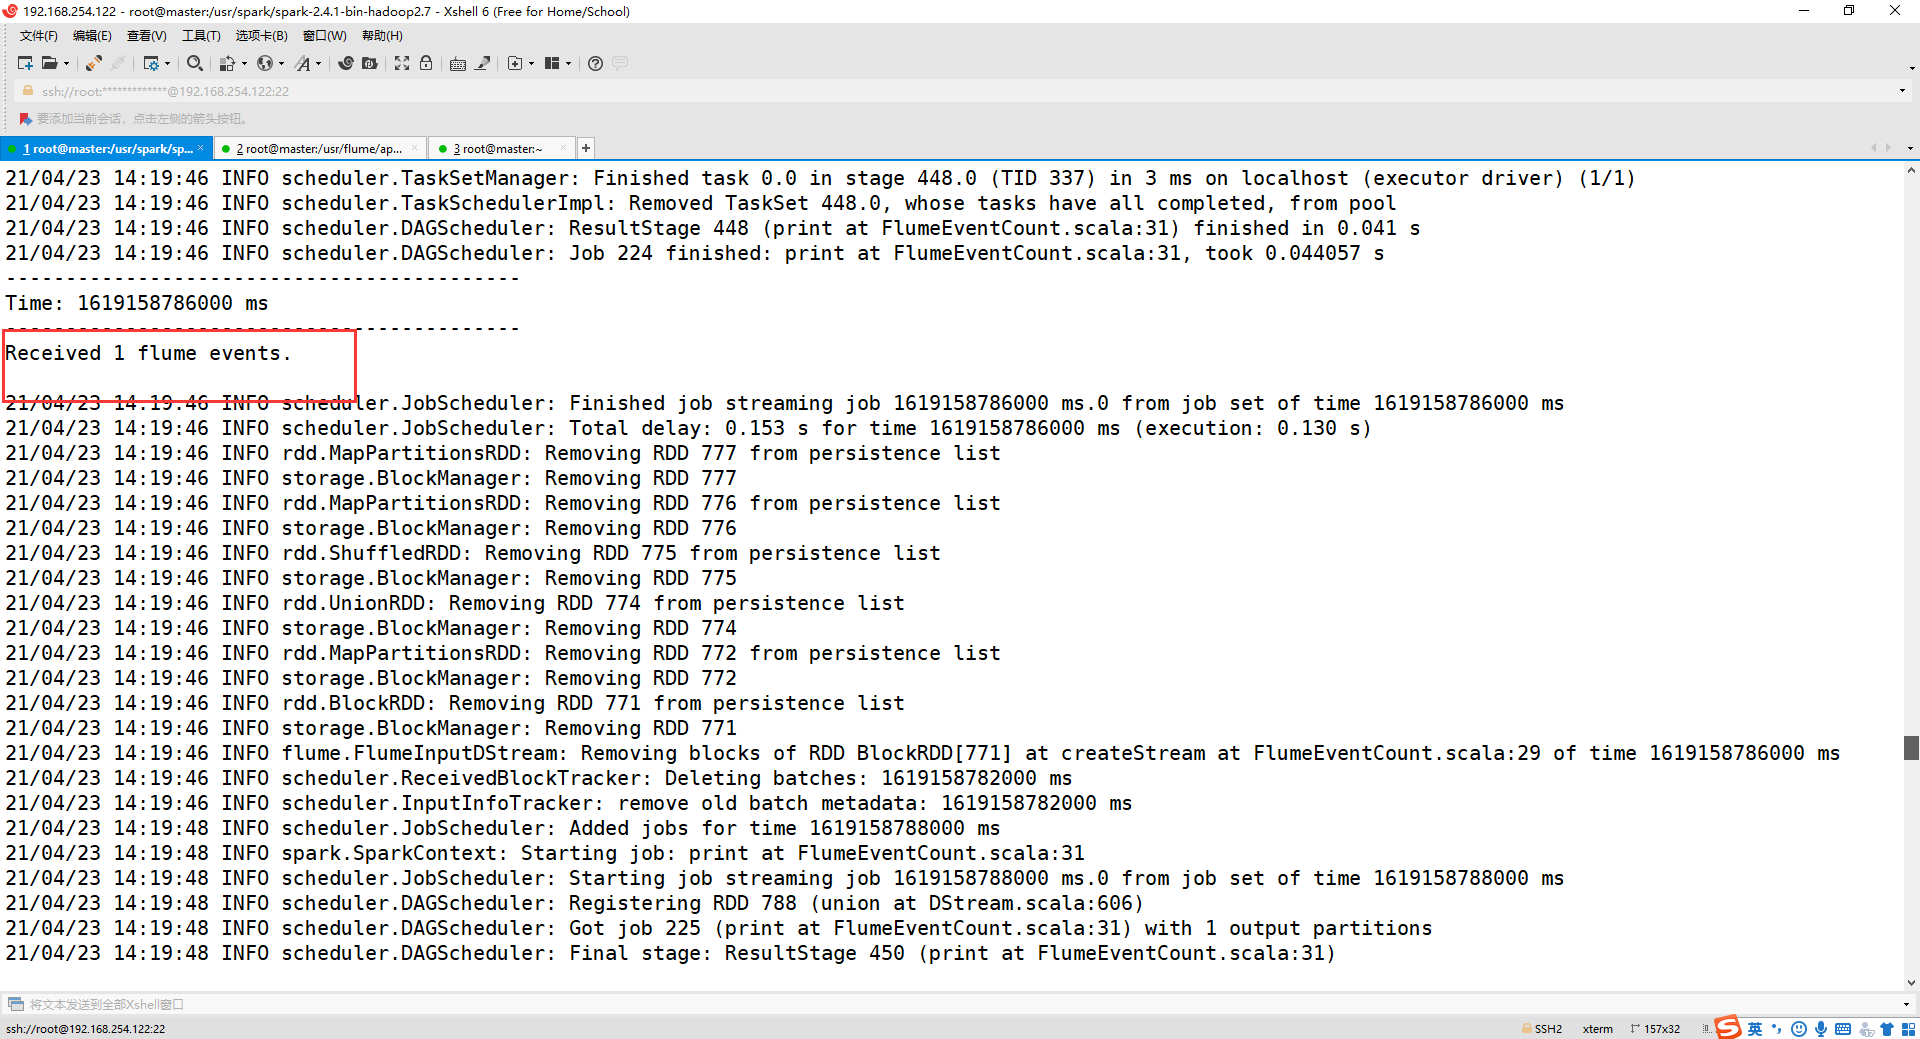

 浙公网安备 33010602011771号