Udemy - Nuxt JS with Laravel API - Building SSR Vue JS Apps 笔记7 Nuxt - The unique parts
Installing and Using Plugins
安装一个 vue scrollto 插件,主要是在底部增加一个滚动到顶部的按钮。
要能够支持双端渲染的。
执行:
npm install vue-scrollto
记得安装完成后执行
npm run dev
新建plugins/scrollto.js文件:
import Vue from 'vue';
import VueScrollTo from 'vue-scrollto';

Vue.use(VueScrollTo);
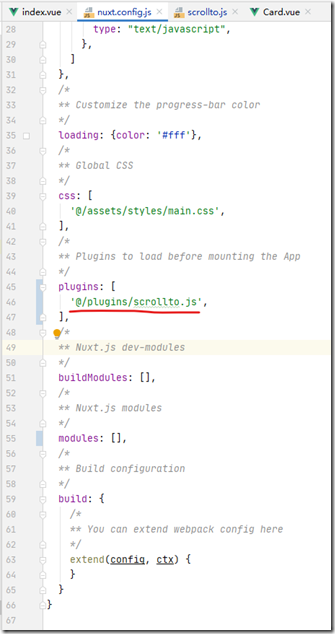
nuxt.config.js修改如下:【全局注册】
注册完成即可使用。
posts/index.vue代码如下:
<template>
  <div>
    <h2>Making API request - the Vue way</h2>
    <div class="container row">
      <Card class="ml-auto mr-auto" v-for="post in posts" :key="post.id" :post="post"></Card>
      <button class="btn btn-danger" v-scroll-to="'body'">Back to Top</button>
    </div>
  </div>
</template>

<script>
  import axios from 'axios';
  import Card from "../../components/Card";

  import {mapGetters} from 'vuex';

  export default {
    name: "index.vue",
    components: {
      Card,
    },
    // data() {
    //   return {
    //     posts: [],
    //   }
    // },
    computed: {
      ...mapGetters(['posts']),
      // allPosts() {
      //   return this.$store.getters.posts;
      // }
    },
    // mounted() {
    //   axios.get('https://jsonplaceholder.typicode.com/todos')
    //     .then(response => {
    //       console.log(response);
    //       this.posts = response.data;
    //     })
    //     .catch(function (error) {
    //       console.log(error);
    //     })
    // },
    // async asyncData(context) {
    //   let {data} = await axios.get('https://jsonplaceholder.typicode.com/posts');
    //   return {posts: data};
    // },

    // async asyncData({store}) {
    //   let {data} = await axios.get('https://jsonplaceholder.typicode.com/posts');
    //   store.dispatch('setPosts', data);
    // },
    async fetch({store}) {
      let {data} = await axios.get('https://jsonplaceholder.typicode.com/posts');
      store.dispatch('setPosts', data);
    },
    head: {
      title: 'List of posts',
    }
  }
</script>

<style scoped>

</style>
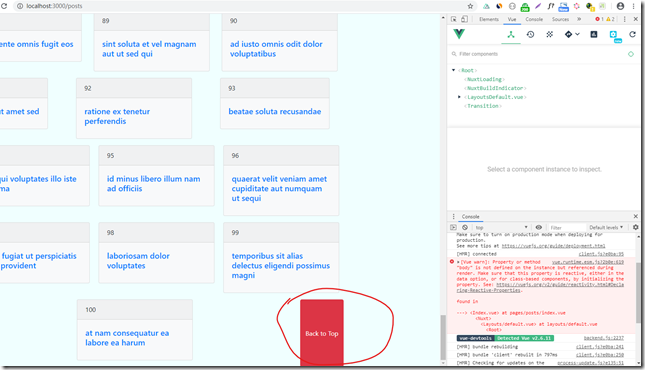
按钮:
点击就会回到body标签的顶部。
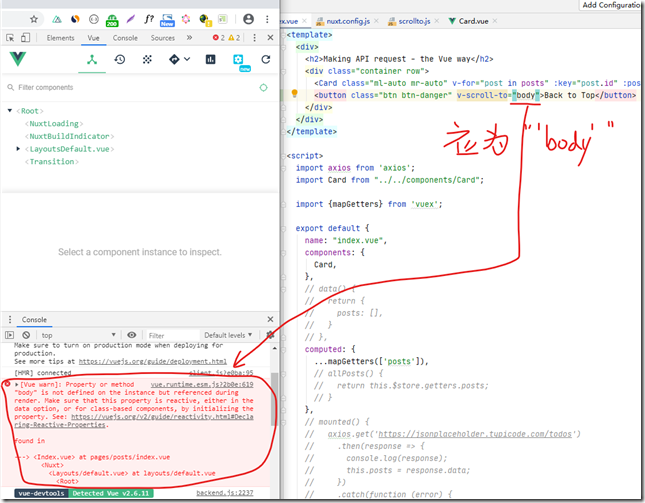
注意使用 “’body’”而不是”body”,否则如下错误
接下来示例一个只能在client端渲染运行的plugin
NO SSR Component
安装 vue-select 插件。
执行:
npm i vue-select
新建plugins/vueselect.js
import Vue from 'vue';
import vSelect from 'vue-select';

Vue.component('v-select',vSelect);
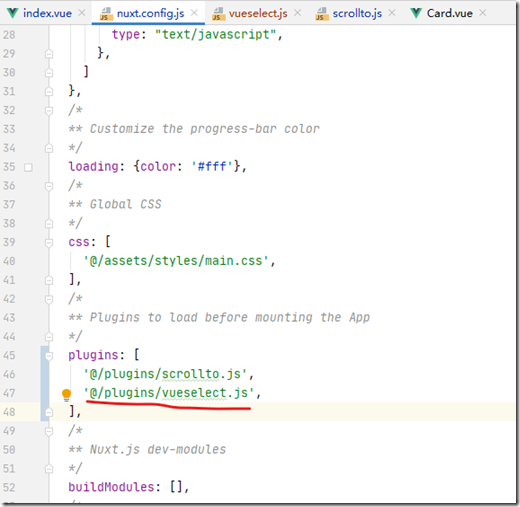
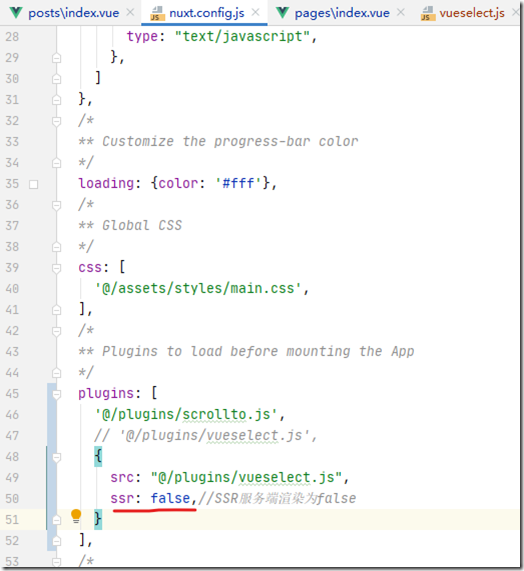
修改nuxt.config.js 【注册】
或者如果只在client side的插件这样修改:
注册完成即可使用。
修改pages/index.vue文件
<template>
  <div>
    <h1>Hello World!</h1>
    <v-select v-model="selected" placeholder="Select Category" :options="['foo','bar']"></v-select>
  </div>
</template>
<script>
  export default {
    data() {
      return {
        selected: '',
      }
    }
  }
</script>
如果不开启服务端渲染。修改pages/index.vue文件
<template>
  <div>
    <h1>Hello World!</h1>
    <no-ssr>
      <v-select v-model="selected" placeholder="Select Category" :options="['foo','bar']"></v-select>
    </no-ssr>
  </div>
</template>
<script>
  export default {
    data() {
      return {
        selected: '',
      }
    }
  }
</script>
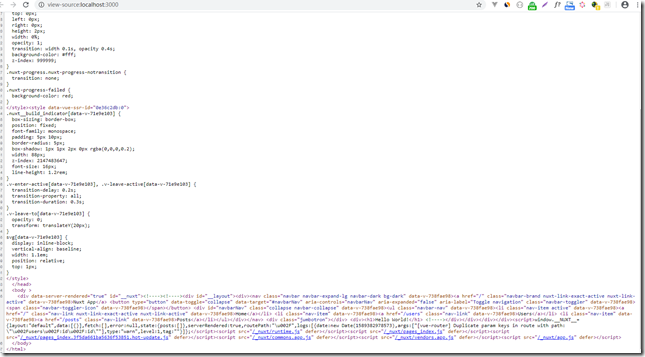
未开启服务端渲染,pagesource结果如下图:
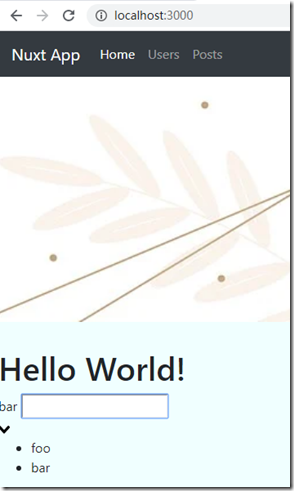
http://localhost:3000/ 效果如下:
Nuxt ServerInit Method
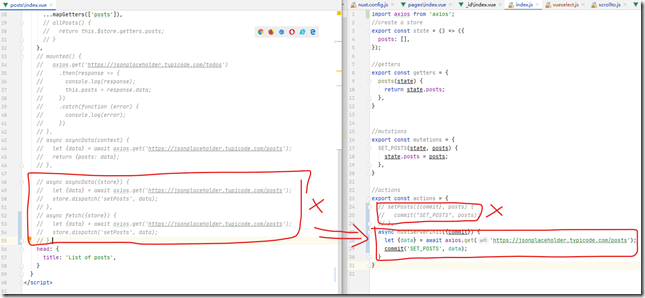
接下来我们直接在store/index.js中使用actions 在整个程序启动的时候就加载需要的posts数据,
而不是单从pages/posts/index.vue页面加载刷新的时候才加载需要的posts数据。
所以删除pages/posts/index.vue页面 中的 fetch数据【或者axios.get数据】逻辑
<template>
  <div>
    <h2>Making API request - the Vue way</h2>
    <div class="container row">
      <Card class="ml-auto mr-auto" v-for="post in posts" :key="post.id" :post="post"></Card>
      <button class="btn btn-danger" v-scroll-to="'body'">Back to Top</button>
    </div>
  </div>
</template>

<script>
  import axios from 'axios';
  import Card from "../../components/Card";

  import {mapGetters} from 'vuex';

  export default {
    name: "index.vue",
    components: {
      Card,
    },
    // data() {
    //   return {
    //     posts: [],
    //   }
    // },
    computed: {
      ...mapGetters(['posts']),
      // allPosts() {
      //   return this.$store.getters.posts;
      // }
    },
    // mounted() {
    //   axios.get('https://jsonplaceholder.typicode.com/todos')
    //     .then(response => {
    //       console.log(response);
    //       this.posts = response.data;
    //     })
    //     .catch(function (error) {
    //       console.log(error);
    //     })
    // },
    // async asyncData(context) {
    //   let {data} = await axios.get('https://jsonplaceholder.typicode.com/posts');
    //   return {posts: data};
    // },

    // async asyncData({store}) {
    //   let {data} = await axios.get('https://jsonplaceholder.typicode.com/posts');
    //   store.dispatch('setPosts', data);
    // },
    // async fetch({store}) {
    //   let {data} = await axios.get('https://jsonplaceholder.typicode.com/posts');
    //   store.dispatch('setPosts', data);
    // },
    head: {
      title: 'List of posts',
    }
  }
</script>

<style scoped>

</style>
然后 store/index.js 中:
import axios from 'axios';
//create a store
export const state = () => ({
  posts: [],
});

//getters
export const getters = {
  posts(state) {
    return state.posts;
  },
}


//mutations
export const mutations = {
  SET_POSTS(state, posts) {
    state.posts = posts;
  },
}

//actions
export const actions = {
  // setPosts({commit}, posts) {
  //   commit("SET_POSTS", posts);
  // },
  async nuxtServerInit({commit}) {
    let {data} = await axios.get('https://jsonplaceholder.typicode.com/posts');
    commit('SET_POSTS', data);
  }
}
即:
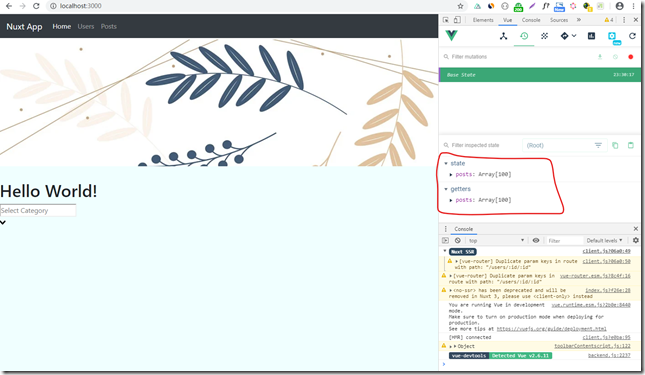
这样打开 http://localhost:3000/ ,但是即使不进入posts页面,vuex store中就已经有了数据:
Applying Transitions
即页面切换效果。
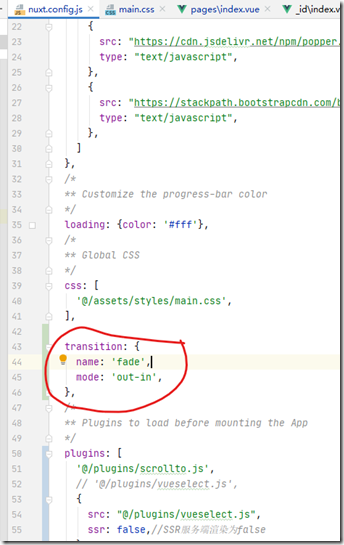
这里介绍全局切换效果设置:
nuxt.config.js中全局设置:
然后样式设置。
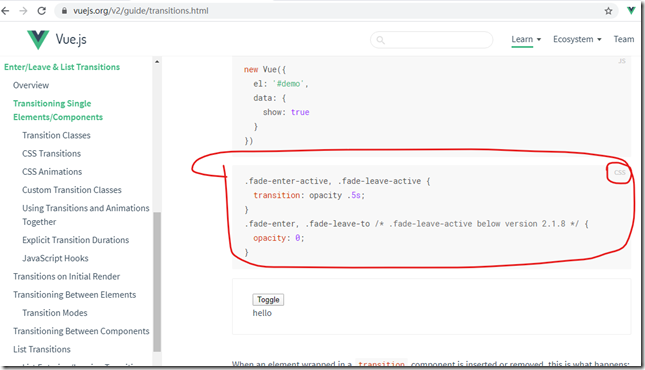
复制官方文档的
修改 assets/styles/main.css文件:
body {
  background-color: azure;
}

div.jumbotron {
  border-radius: 0;
  background-image: url("/cbimage.jpg");
  height: 300px;
  background-size: cover;
}

.fade-enter-active, .fade-leave-active {
  transition: opacity .5s;
}
.fade-enter, .fade-leave-to /* .fade-leave-active below version 2.1.8 */ {
  opacity: 0;
}
效果:
源代码:
https://github.com/dzkjz/nuxt-learning-lesson
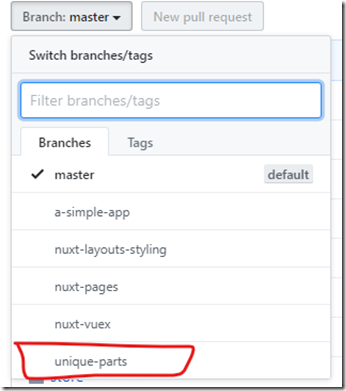
branch 选择




 浙公网安备 33010602011771号