Udemy - Nuxt JS with Laravel API - Building SSR Vue JS Apps 笔记4 Nuxt Layouts and Styling
Nuxt Child Component
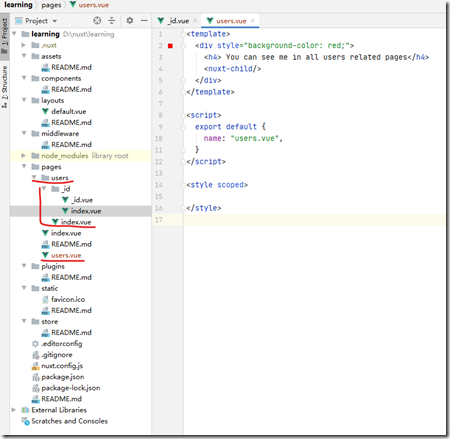
新建pages/users.vue文件,即与users文件夹相同层级且与users文件夹同名。
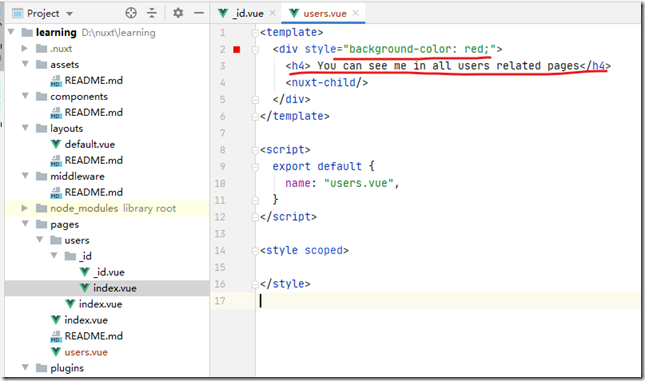
代码如下:注意nuxt-child
<template>
  <div style="background-color: red;">
    <h4> You can see me in all users related pages</h4>
    <nuxt-child/>
  </div>
</template>

<script>
  export default {
    name: "users.vue",
  }
</script>

<style scoped>

</style>
结构如下:
users文件夹中所有的与users相关的页面都在nuxt-child中渲染。
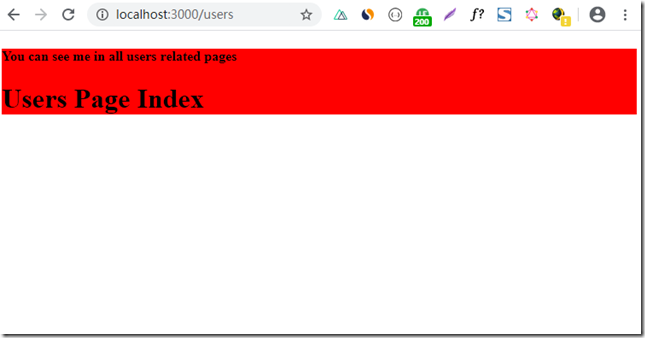
打开:http://localhost:3000/users 结果:
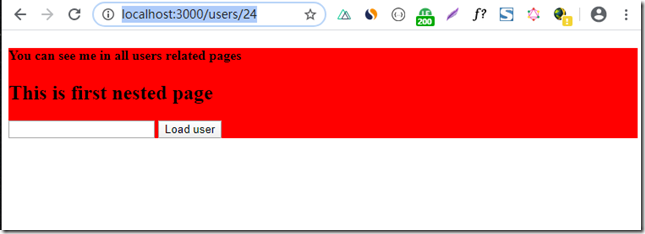
打开 http://localhost:3000/users/24 结果:
输入任意数字到输入框,点击load user结果:
可以看到所有的style背景色都是红色,且都是有 You can see me in all users related pages 这句话。
因为在users.vue中定义的。
定义在users.vue中的内容,会作为所有users route对应的页面的蒙板。
Using Bootstrap4 and jQuery
先删除上节中新建的users.vue文件。
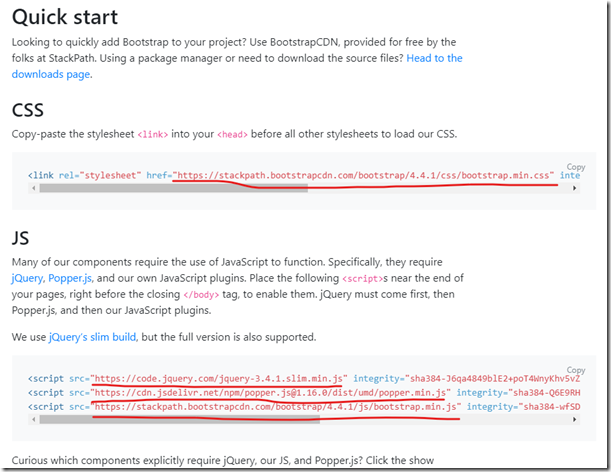
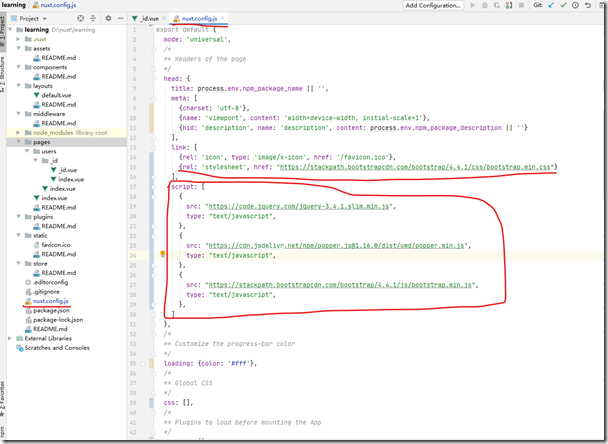
CDN方式:
copy一下。
或者参考:https://kaloraat.com/articles/how-to-use-jquery-in-nuxtjs
First way (easy)
Using CDN
Update the nuxt.config.js head section with the following code:head: { title: pkg.name, meta: [ { charset: "utf-8" }, { name: "viewport", content: "width=device-width, initial-scale=1" }, { hid: "description", name: "description", content: pkg.description } ], link: [ { rel: "icon", type: "image/x-icon", href: "/favicon.ico" }, { rel: "stylesheet", href: "https://stackpath.bootstrapcdn.com/bootstrap/4.1.3/css/bootstrap.min.css" } ], script: [ { src: "https://code.jquery.com/jquery-3.3.1.slim.min.js", type: "text/javascript" }, { src: "https://cdnjs.cloudflare.com/ajax/libs/popper.js/1.14.3/umd/popper.min.js", type: "text/javascript" }, { src: "https://stackpath.bootstrapcdn.com/bootstrap/4.1.3/js/bootstrap.min.js", type: "text/javascript" } ] },Second way:
Add jQuery as a plugin to Nuxt.js
Create a file called bootstrap.js inside plugins folder, which is in the root directory of your nuxt.js project. Paste the following code.// /plugins/bootstrap.js if (process.BROWSER_BUILD) { require("bootstrap"); }Install Bootstrap, jQuery and Popper.js
npm install --save bootstrap jquery popper.jsConfigure nuxt.config.js
- On top of your nuxt.config.js file, require webpack.
- load Bootstrap and jQuery from the node_modules folder
- Add them to vendor's array and configure jQuery as a webpack plugin
- Then inside module.exports object add or modify the existing build option with the following code.
// full code of nuxt.config.js

const webpack = require("webpack");

module.exports = {
  // load bootstrap and jquery
  css: ["~/node_modules/bootstrap/dist/css/bootstrap.css"],
  plugins: ["~plugins/bootstrap.js"],
  build: {
    /**
     * add external plugins
     */
    vendor: ["jquery", "bootstrap"],
    plugins: [
      new webpack.ProvidePlugin({
        $: "jquery"
      })
    ],
    /*
    ** Run ESLint on save
    */
    extend(config, { isDev, isClient }) {
      if (isDev && isClient) {
        config.module.rules.push({
          enforce: "pre",
          test: /\.(js|vue)$/,
          loader: "eslint-loader",
          exclude: /(node_modules)/
        });
      }
    }
  }
};
That's all. Now you can style your app the way you want using Bootstrap4 and jQuery.
采用CDN方式结果如图:
Creating Navigation
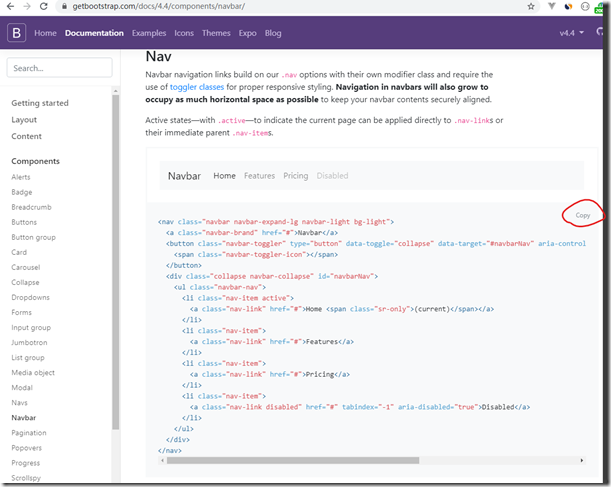
打开 https://getbootstrap.com/docs/4.4/components/navbar/ 复制:
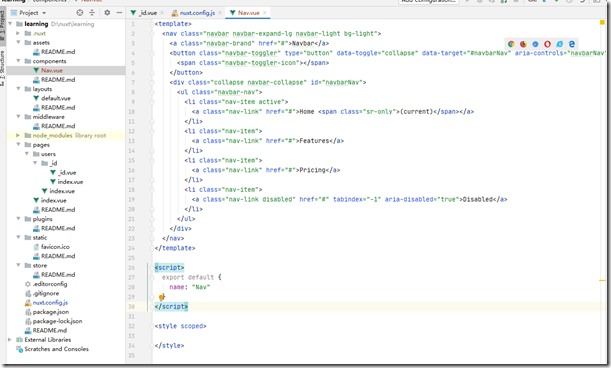
新建components/Nav.vue文件,粘贴上面copy的代码,结果:
修改后:
<template>
  <nav class="navbar navbar-expand-lg navbar-light bg-light">
    <a class="navbar-brand" href="#">Nuxt App</a>
    <button class="navbar-toggler" type="button" data-toggle="collapse" data-target="#navbarNav"
            aria-controls="navbarNav" aria-expanded="false" aria-label="Toggle navigation">
      <span class="navbar-toggler-icon"></span>
    </button>
    <div class="collapse navbar-collapse" id="navbarNav">
      <ul class="navbar-nav">
        <li class="nav-item active">
          <a class="nav-link" href="#">Home</a>
        </li>
        <li class="nav-item">
          <a class="nav-link" href="#">Features</a>
        </li>
      </ul>
    </div>
  </nav>
</template>

<script>
  export default {
    name: "Nav"
  }
</script>

<style scoped>

</style>
layouts/default.vue修改如下:
<template>
  <div>
    <Nav/>
    <nuxt/>
  </div>
</template>
<script>
  import Nav from "../components/Nav";

  export default {
    components: {
      Nav,
    }
  }
</script>
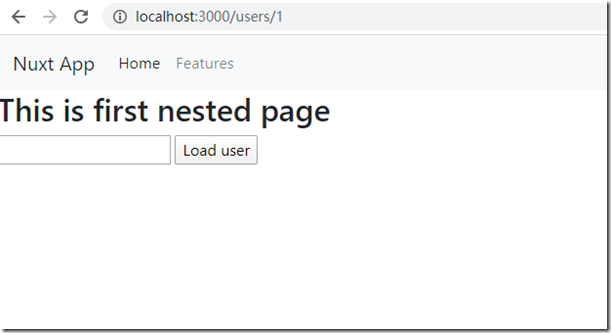
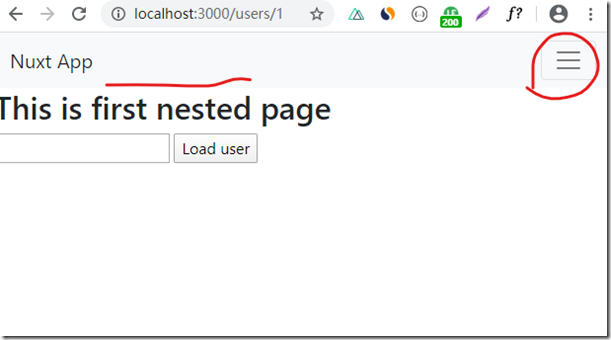
打开 http://localhost:3000/users/1 结果:
很方便的添加了一个Nav。
Custom Error Page
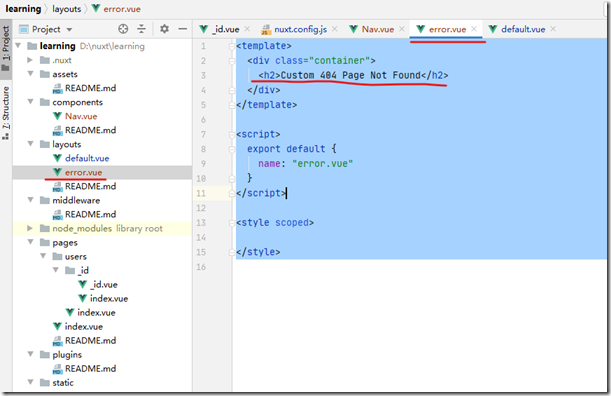
新建layouts/error.vue文件
<template>
  <div class="container">
    <h2>Custom 404 Page Not Found</h2>
  </div>
</template>

<script>
  export default {
    name: "error.vue"
  }
</script>

<style scoped>

</style>
效果如下:
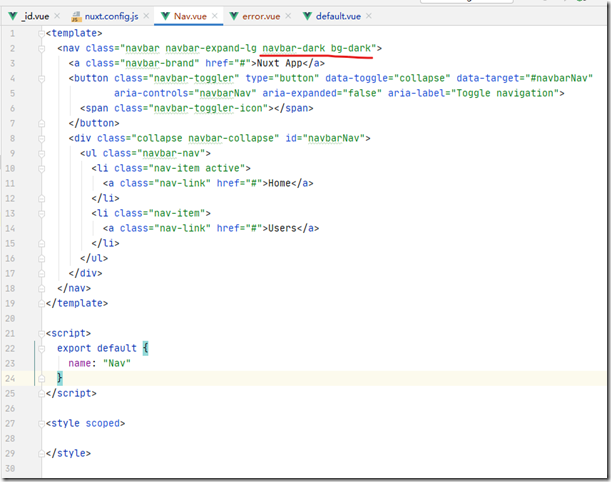
navbar颜色变了是因为Nav.vue文件中修改了
Nuxt Link
components/Nav.vue文件修改如下:
<template>
  <nav class="navbar navbar-expand-lg navbar-dark bg-dark">
    <a class="navbar-brand" href="#">Nuxt App</a>
    <button class="navbar-toggler" type="button" data-toggle="collapse" data-target="#navbarNav"
            aria-controls="navbarNav" aria-expanded="false" aria-label="Toggle navigation">
      <span class="navbar-toggler-icon"></span>
    </button>
    <div class="collapse navbar-collapse" id="navbarNav">
      <ul class="navbar-nav">
        <li class="nav-item active">
          <nuxt-link to="/" class="nav-link">Home</nuxt-link>
        </li>
        <li class="nav-item">
          <nuxt-link to="/users" class="nav-link">Users</nuxt-link>
        </li>
      </ul>
    </div>
  </nav>
</template>

<script>
  export default {
    name: "Nav"
  }
</script>

<style scoped>

</style>
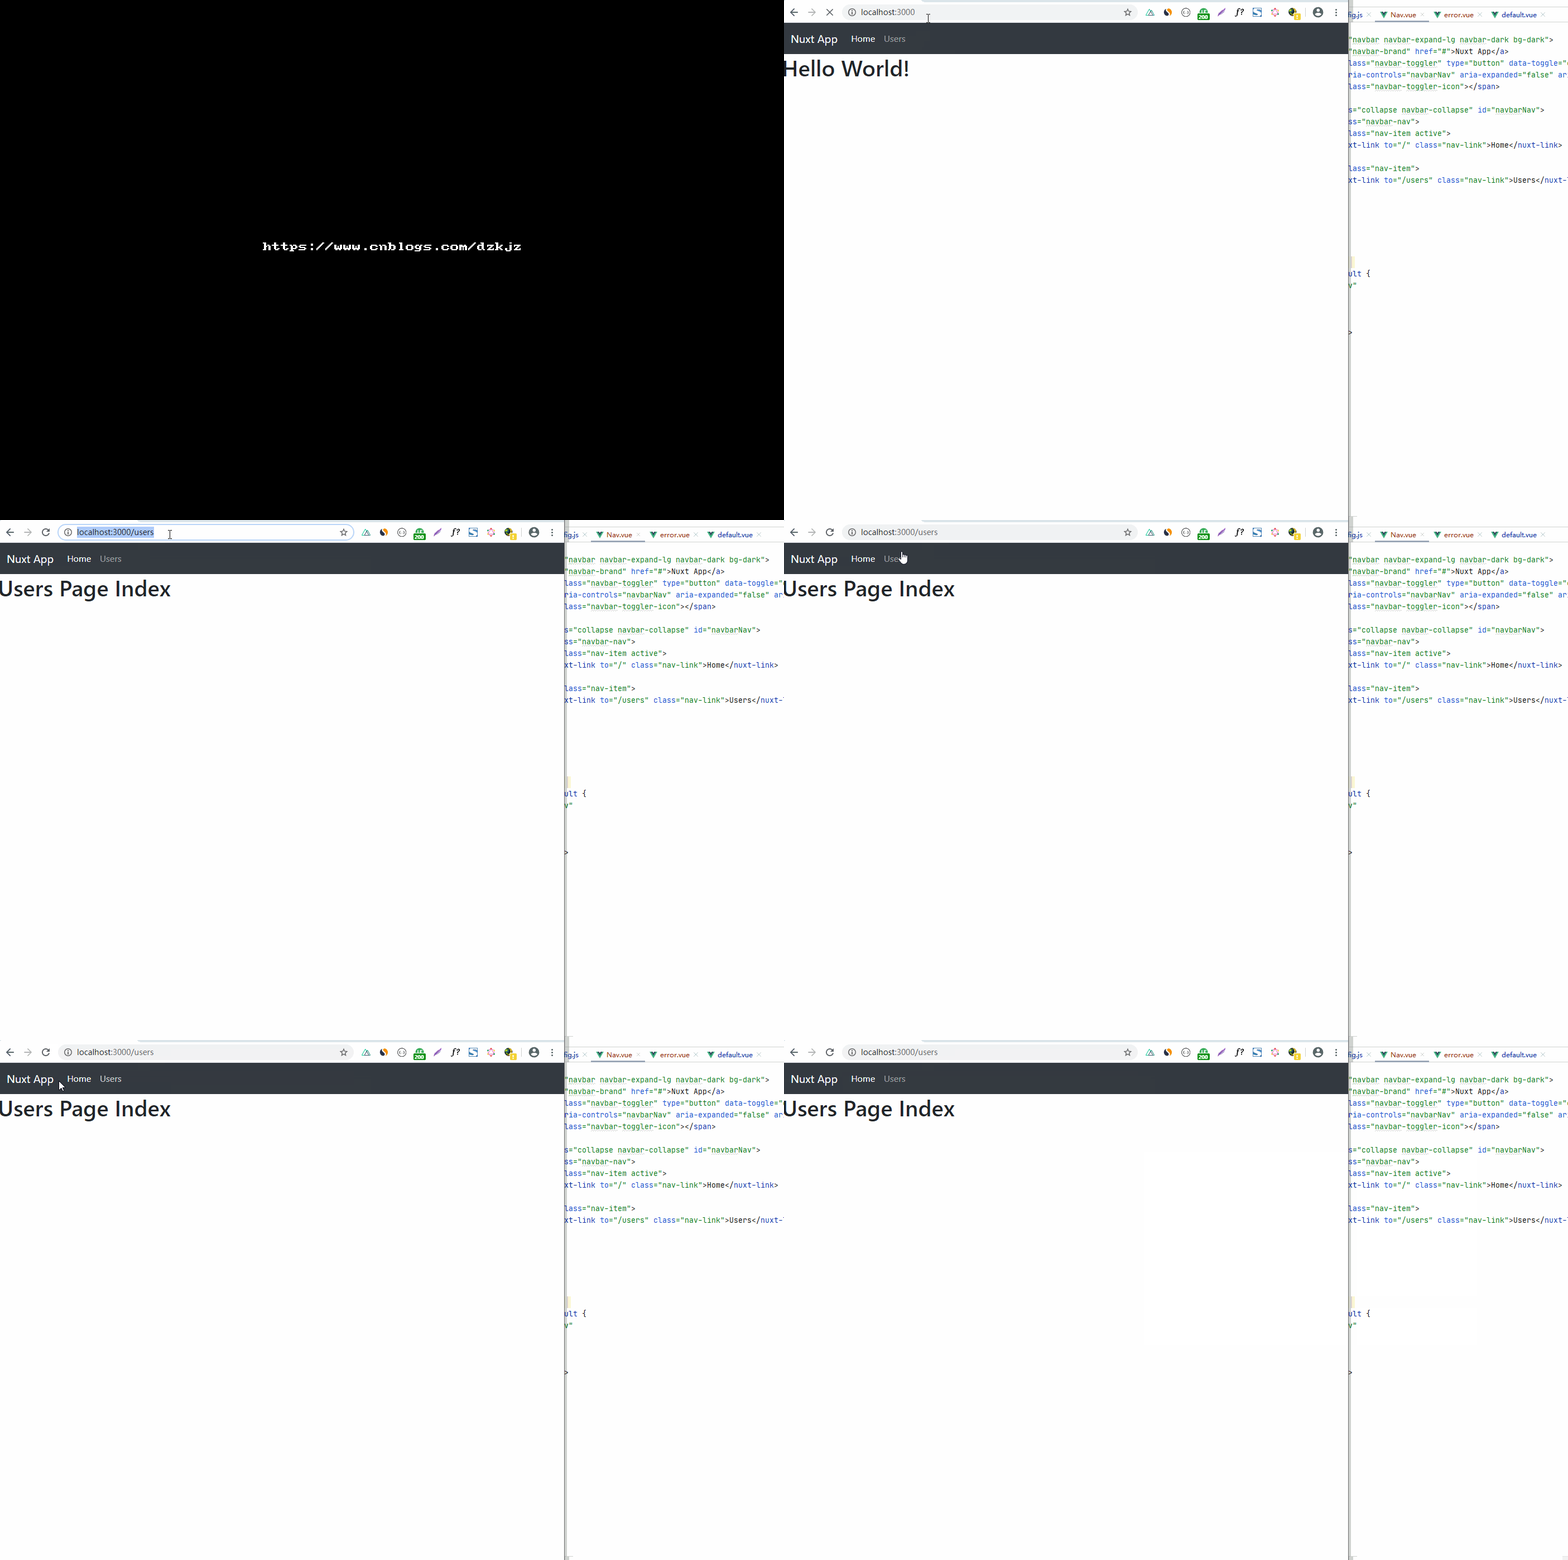
效果:
Using Your Own StyleSheet
新建assets/styles/main.css文件
body {
  background-color: red;
}
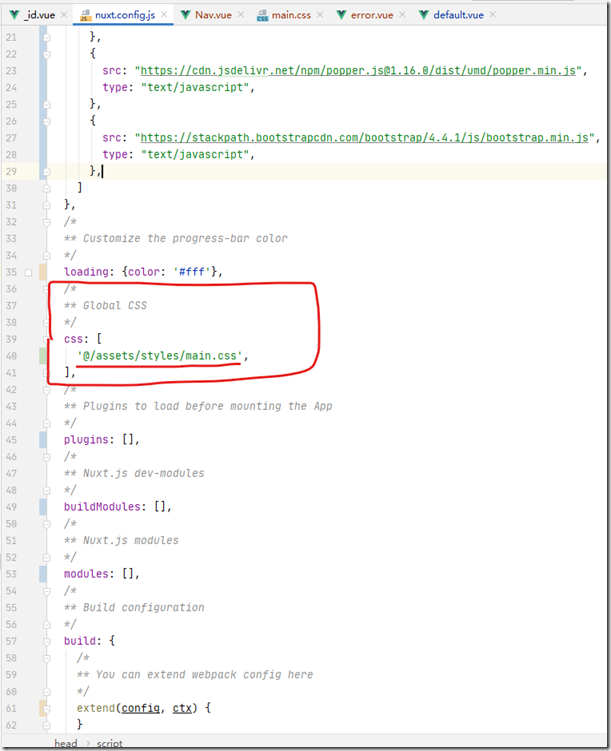
在nuxt.config.js中引用本文件:
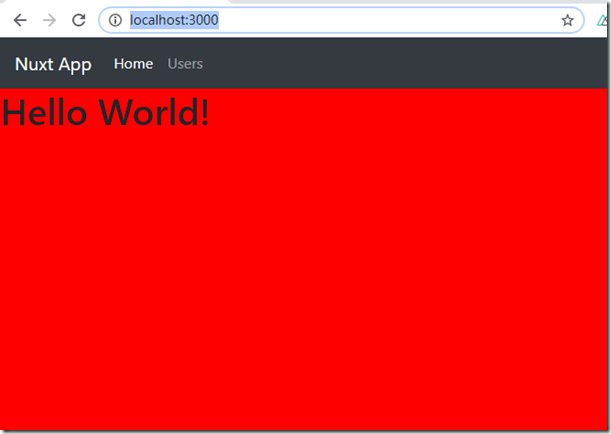
打开 http://localhost:3000/ 结果:
修改一下assets/styles/main.css文件:
body {
  background-color: azure;
}

div.jumbotron {
  border-radius: 0;
  background-image: url("https://cdn.pixabay.com/photo/2020/03/14/17/19/flower-4931280_960_720.jpg");
  height: 300px;
  background-size: cover;
}
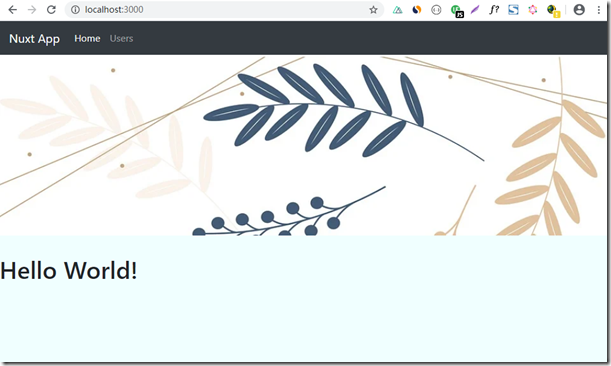
效果:





 浙公网安备 33010602011771号