
基于mykernel 2.0编写一个操作系统内核
实验要求:
- 按照https://github.com/mengning/mykernel 的说明配置mykernel 2.0,熟悉Linux内核的编译;
- 基于mykernel 2.0编写一个操作系统内核,参照https://github.com/mengning/mykernel提供的范例代码;
- 简要分析操作系统内核核心功能及运行工作机制。
实验目的:
- 理解Linux操作系统内核工作原理;
- 理解进程调度和中断机制
实验环境:ubuntu-18.04.3
实验步骤:
- 下载mykernel并编译。(我是直接将mykernel-2.0_for_linux-5.4.34.patch这个文件复制到了虚拟机上)依次执行以下命令即可(第一步省略)
wget https://raw.github.com/mengning/mykernel/master/mykernel-2.0_for_linux-5.4.34.patch
sudo apt install axel
axel -n 20 https://mirrors.edge.kernel.org/pub/linux/kernel/v5.x/linux-5.4.34.tar.xz
xz -d linux-5.4.34.tar.xz
tar -xvf linux-5.4.34.tar
cd linux-5.4.34
patch -p1 < ../mykernel-2.0_for_linux-5.4.34.patch
sudo apt install build-essential gcc-multilib  libncurses5-dev bison flex libssl-dev libelf-dev
sudo apt install qemu # install QEMU
make defconfig # Default configuration is based on 'x86_64_defconfig'
make -j$(nproc)
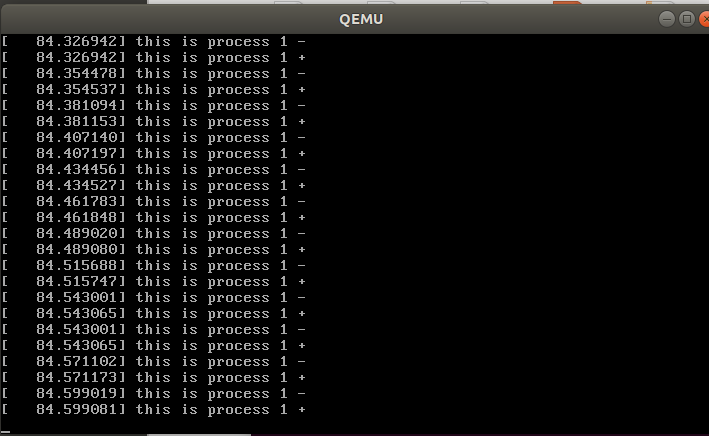
- 启动mykernel。通过命令:qemu-system-x86_64 -kernel arch/x86/boot/bzImage。可以看到:

- 打开mykernel目录,添加mypcb.h头文件,用来定义进程控制块。
#define MAX_TASK_NUM        4
#define KERNEL_STACK_SIZE   1024*2
/* CPU-specific state of this task */
struct Thread {
    unsigned long        ip;
    unsigned long        sp;
};

typedef struct PCB{
    int pid;
    volatile long state;    /* -1 unrunnable, 0 runnable, >0 stopped */
    unsigned long stack[KERNEL_STACK_SIZE];
    /* CPU-specific state of this task */
    struct Thread thread;
    unsigned long    task_entry;
    struct PCB *next;
}tPCB;

void my_schedule(void);
其中:pid代表进程号;state是进程状态,初始化值为-1,被调度时其值变为0;task_entry是进程入口函数;next指向下一个进程控制块;函数的声明 my_schedule,它的实现在my_interrupt.c中,在mymain.c中的各个进程函数会根据一个全局变量的状态来决定是否调用它,从而实现主动调度。
- 修改mymain.c,使其支持时间片进程切换。
#include <linux/types.h>
#include <linux/string.h>
#include <linux/ctype.h>
#include <linux/tty.h>
#include <linux/vmalloc.h>
#include "mypcb.h"

tPCB task[MAX_TASK_NUM];
tPCB * my_current_task = NULL;

volatile int my_need_sched = 0;

void my_process(void);

void __init my_start_kernel(void)

{
    int pid = 0;
    int i;

    /* Initialize process 0*/

    task[pid].pid = pid;
    task[pid].state = 0;/* -1 unrunnable, 0 runnable, >0 stopped */
    task[pid].task_entry = task[pid].thread.ip = (unsigned long)my_process;
    task[pid].thread.sp = (unsigned long)&task[pid].stack[KERNEL_STACK_SIZE-1];
    task[pid].next = &task[pid];

    /*fork more process */

    for(i=1;i<MAX_TASK_NUM;i++)
    {
        memcpy(&task[i],&task[0],sizeof(tPCB));
        task[i].pid = i;
        task[i].thread.sp = (unsigned long)(&task[i].stack[KERNEL_STACK_SIZE-1]);
        task[i].next = task[i-1].next;
        task[i-1].next = &task[i];
    }

    /* start process 0 by task[0] */

    pid = 0;
    my_current_task = &task[pid];
    asm volatile(
        "movq %1,%%rsp\n\t"     /* set task[pid].thread.sp to rsp */
        "pushq %1\n\t"             /* push rbp */
        "pushq %0\n\t"             /* push task[pid].thread.ip */
        "ret\n\t"                 /* pop task[pid].thread.ip to rip */
        :
        : "c" (task[pid].thread.ip),"d" (task[pid].thread.sp)    /* input c or d mean %ecx/%edx*/
    );
}

int i = 0;
void my_process(void)

{
    while(1)
    {
        i++;
        if(i%10000000 == 0)
        {
            printk(KERN_NOTICE "this is process %d -\n",my_current_task->pid);
            if(my_need_sched == 1)
            {
                my_need_sched = 0;
                my_schedule();
            }
            printk(KERN_NOTICE "this is process %d +\n",my_current_task->pid);
        }
    }
}
- 修改myinterrupt.c,使其完成进程切换。my_timer_handler用来记录时间片,时间片消耗完之后完成调度。
#include <linux/types.h>
#include <linux/string.h>
#include <linux/ctype.h>
#include <linux/tty.h>
#include <linux/vmalloc.h>

#include "mypcb.h"

extern tPCB task[MAX_TASK_NUM];
extern tPCB * my_current_task;
extern volatile int my_need_sched;
volatile int time_count = 0;

/*
 * Called by timer interrupt.
 * it runs in the name of current running process,
 * so it use kernel stack of current running process
 */
void my_timer_handler(void)
{
    if(time_count%1000 == 0 && my_need_sched != 1)
    {
        printk(KERN_NOTICE ">>>my_timer_handler here<<<\n");
        my_need_sched = 1;
    }
    time_count ++ ;
    return;
}

void my_schedule(void)
{
    tPCB * next;
    tPCB * prev;

    if(my_current_task == NULL
        || my_current_task->next == NULL)
    {
     return;
    }
    printk(KERN_NOTICE ">>>my_schedule<<<\n");
    /* schedule */
    next = my_current_task->next;
    prev = my_current_task;
    if(next->state == 0)/* -1 unrunnable, 0 runnable, >0 stopped */
    {
     my_current_task = next;
     printk(KERN_NOTICE ">>>switch %d to %d<<<\n",prev->pid,next->pid);
     /* switch to next process */
     asm volatile(
         "pushq %%rbp\n\t"      /* save rbp of prev */
         "movq %%rsp,%0\n\t"  /* save rsp of prev */
         "movq %2,%%rsp\n\t"     /* restore  rsp of next */
         "movq $1f,%1\n\t"       /* save rip of prev */
         "pushq %3\n\t"
         "ret\n\t"              /* restore  rip of next */
         "1:\t"                  /* next process start here */
         "popq %%rbp\n\t"
         : "=m" (prev->thread.sp),"=m" (prev->thread.ip)
         : "m" (next->thread.sp),"m" (next->thread.ip)
     );
    }
    return;
}
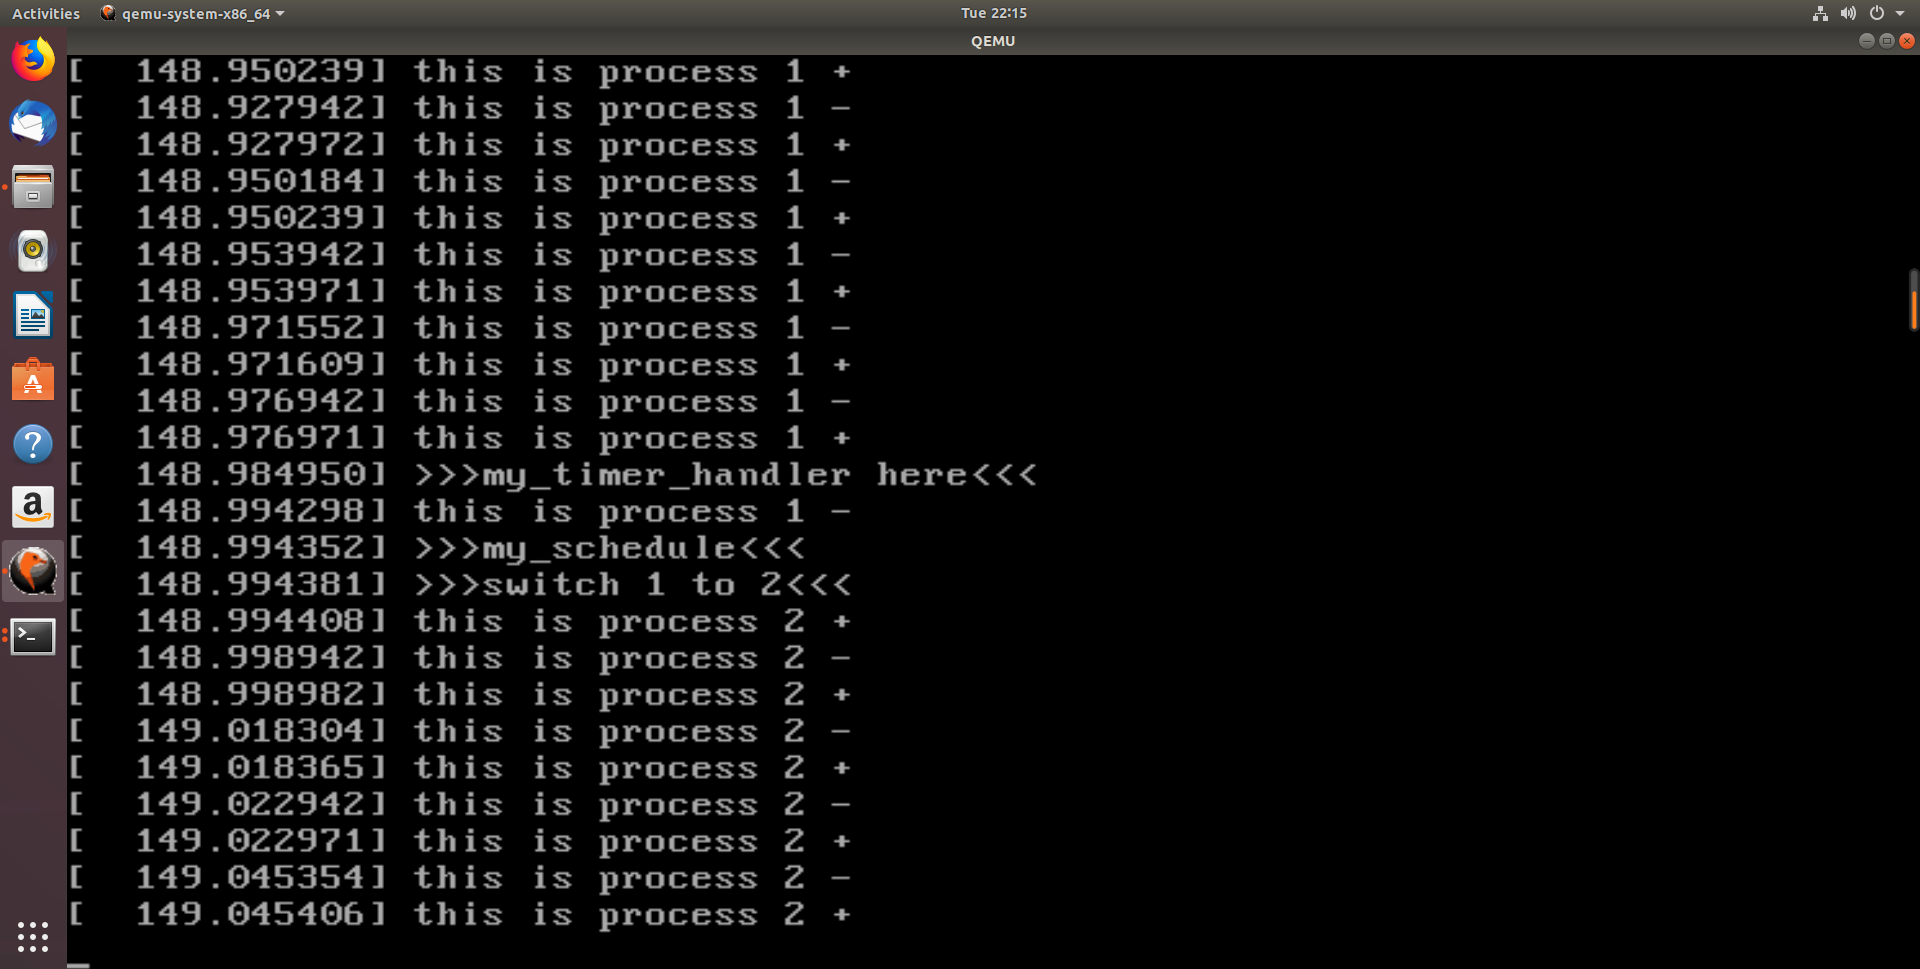
- 通过上面同样的方式,重新编译,可以看到:
实验总结:
本实验通过一个简单的进程调度程序的实现,让我们了解到了操作系统的工作原理以及操作系统的进程调度和中断机制。
