crypto加密-实战篇之非对称加密
生成密钥对(node服务端)
我们使用 node 内置的 crypto 模块即可,其说明如下
crypto.generateKeyPairSync(algorithm,options);
第一个参数algorithm:指定要生成的密钥对的算法类型。
第二个参数options:一个配置对象,用于指定生成密钥对时的具体参数。对于 RSA 密钥对,常见的配置选项包括:
modulusLength:必填,指定 RSA 密钥的模长(以位为单位)。常见的值有 1024、2048 和 4096。模长越大,安全性越高,但计算成本也越高。
publicExponent:非必填,指定公钥的指数。通常使用 65537(即十六进制的 0x10001),这是一个常用的公钥指数,因为它在计算上相对高效。
hash:非必填,指定哈希算法。对于 RSA-PSS,可以指定哈希算法,如 'sha256'。
通常情况下,我们会将产出的密钥对 对象转为字符串 并保存到文件,以便于持久化储存和传输!
const genKeyPair = () => {
  // 生成密钥对
  const keyPair = crypto.generateKeyPairSync("rsa", {
    modulusLength: 1024,
  });

  // 将密钥对转换为PEM格式的字符串
  const publicKeyStr = keyPair.publicKey
    .export({ type: "spki", format: "pem" })
    .toString();
  const privateKeyStr = keyPair.privateKey
    .export({ type: "pkcs8", format: "pem" })
    .toString();

  // 将密钥对字符串保存到文件中
  fs.outputFileSync("key-pair/publicKey.pem", publicKeyStr);
  fs.outputFileSync("key-pair/privateKey.pem", privateKeyStr);
};
genKeyPair();
关于导出一些参数解释:
type :参数指定了密钥的编码类型,即密钥的具体结构和内容。如spki/pkcs8 用于表示一种标准公钥和私钥信息格式,包含了密钥的算法标识符和密钥本身,其他type有的则不包含密钥算法标识 或 其他特性等等。
format:指定了密钥的输出方式。如字符串的 pem 和二进制的der等等!
注意导出参数是必填项!
使用公钥加密数据(web客户端)
转换为前端可用的密钥格式
前端在在拿到生成 pem 公钥文件(字符串)的时候,需要将其转换为前端的 公钥格式,即CryptoKey对象!
// 从(生成的)PEM内容(字符串)生成前端标准RSA公钥(CryptoKey对象)
const genPublicKeyFromPemStr = async (pemText) => {
    // 移除PEM头尾和换行符
    const pemHeader = "-----BEGIN PUBLIC KEY-----";
    const pemFooter = "-----END PUBLIC KEY-----";
    const pemContents = pemText
    .replace(pemHeader, "")
    .replace(pemFooter, "")
    .replace(/\s/g, "");

    // 将公钥字符串Base64解码
    const binaryDer = Uint8Array.from(atob(pemContents), (c) =>
    c.charCodeAt(0)
    );

    // 导入编码后的公钥注意,要和生成以及后端解密的算法参数保持一致)
    return await crypto.subtle.importKey(
    "spki",
    binaryDer,
    {
        name: "RSA-OAEP",
        hash: "SHA-256", // 指定内容的哈希算法
    },
    false,
    ["encrypt"]
    );
};


// 封装一个通用方法,加载文件
const loadFile = (filePath) => {
    const response = fetch(filePath).then((res) => res.text());
    return response;
};

// 这里就拿到了前端标准的密钥(此处是公钥)对象
 const publicKey = await genPublicKeyFromPemStr(pemStr);
这里解释下 crypto.subtle.importKey 的用法,注意 一定要和生成方以及解密方 ,三者保持一致
crypto.subtle.importKey(
    format, // 密钥的格式
    keyData, // 密钥数据
    algorithm, // 密钥的算法信息
    extractable, // 密钥是否可导出
    keyUsages // 密钥的用途
);
加密方法封装
在 Web Crypto API 中,加密和解密操作通常需要使用 ArrayBuffer 或其视图(如 Uint8Array)作为输入和输出,而不是直接使用字符串。这是因为加密算法在底层处理的是二进制数据,而不是文本数据。字符串需要先被转换为二进制格式,才能进行加密操作。
// 使用公钥加密
const encrypt = async (data, publicKey)=> {
    // 将内容字符串转换为ArrayBuffer,因为不支持字符串直接加密
    const encoder = new TextEncoder();
    const dataBuffer = encoder.encode(data);

    // 加密(注意,要和生成以及后端解密的算法参数保持一致)
    const encrypted = await crypto.subtle.encrypt(
        { name: "RSA-OAEP" },
        publicKey,
        dataBuffer
    );

    // 为了便于加密后数据的传输,我们还需将ArrayBuffer转换为Base64字符串
    const encryptedArray = new Uint8Array(encrypted);
    const base64String = btoa(String.fromCharCode(...encryptedArray));
    return base64String;
}
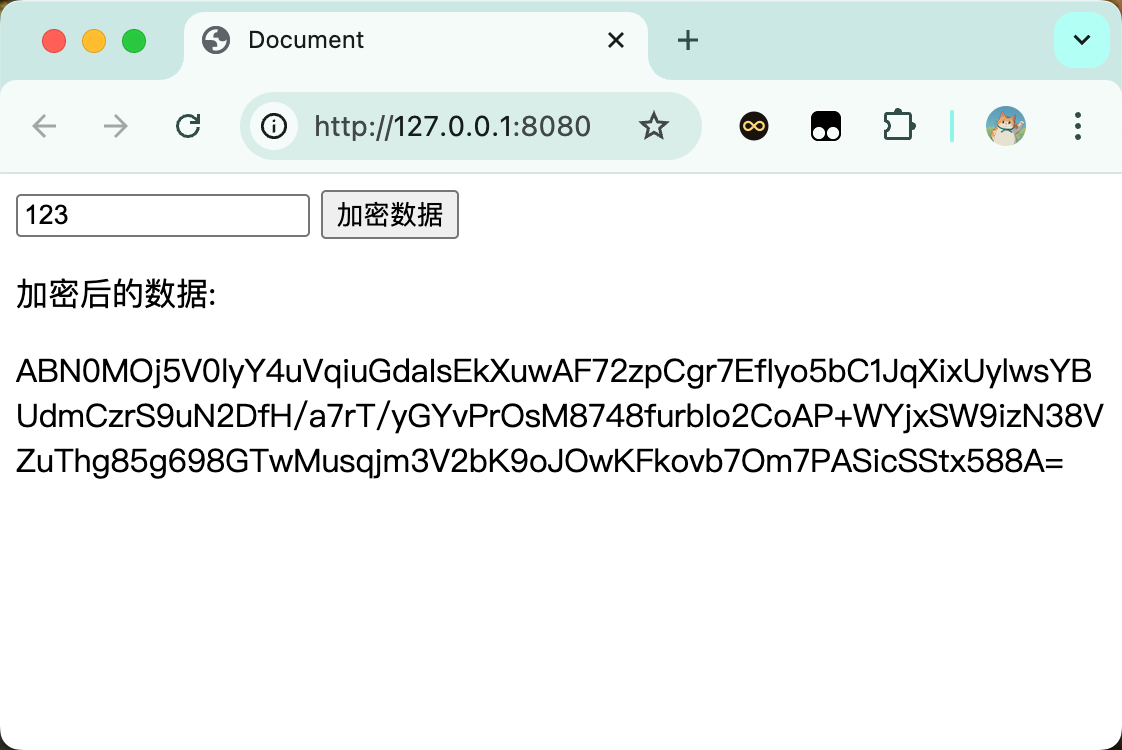
加密个数据试试
<input type="text" />
    <button>加密数据</button>

    <div class="encrypted-data">
      <p>加密后的数据:</p>
      <p class="encrypted-data-content"></p>
    </div>

    <script>
      // ...省略前几个方法

      const input = document.querySelector("input");
      const button = document.querySelector("button");
      const encryptedDataContent = document.querySelector(
        ".encrypted-data-content"
      );

      button.addEventListener("click", async () => {
        const pemStr = await loadFile("./key-pair/publicKey.pem");
        const publicKey = await genPublicKeyFromPemStr(pemStr);
        const content = input.value;
        const encryptedData = await encrypt(content, publicKey);
        encryptedDataContent.innerText = encryptedData;
      });
    </script>
使用私钥解密数据(node服务端)
// 使用私钥解密
export const decrypt = (encryptedData) => {
  let privateKey = fs.readFileSync("key-pair/privateKey.pem", "utf8");
  // 将PEM格式的私钥字符串转换为KeyObject
  privateKey = crypto.createPrivateKey(privateKey);
 // 把前端传过来的 base64 字符串还原为buffer(加解密只能操作文件,而非字符串)
  const buffer = Buffer.from(encryptedData, "base64");
  // 开始解密 - 指定与前端相同的填充方式和哈希算法
  const decrypted = crypto.privateDecrypt(
    {
      key: privateKey,
      padding: crypto.constants.RSA_PKCS1_OAEP_PADDING,
      oaepHash: "sha256", // // 指定内容的哈希算法(与前端的保持一致)
    },
    buffer
  );
  return decrypted.toString("utf8");
};


 浙公网安备 33010602011771号