


Windows11安装Miniconda
1. 下载地址
| 操作系统和芯片架构 | 文件 |
|---|---|
| MacOS Intel Chip | Miniconda3-latest-MacOSX-x86_64.sh |
| MacOS Apple Silicon | Miniconda3-latest-MacOSX-arm64.sh |
| Linux x86_64 | Miniconda3-latest-Linux-x86_64.sh |
| Linux aarch64 | Miniconda3-latest-Linux-aarch64.sh |
| Windows x86_64 | Miniconda3-latest-Windows-x86_64.exe |
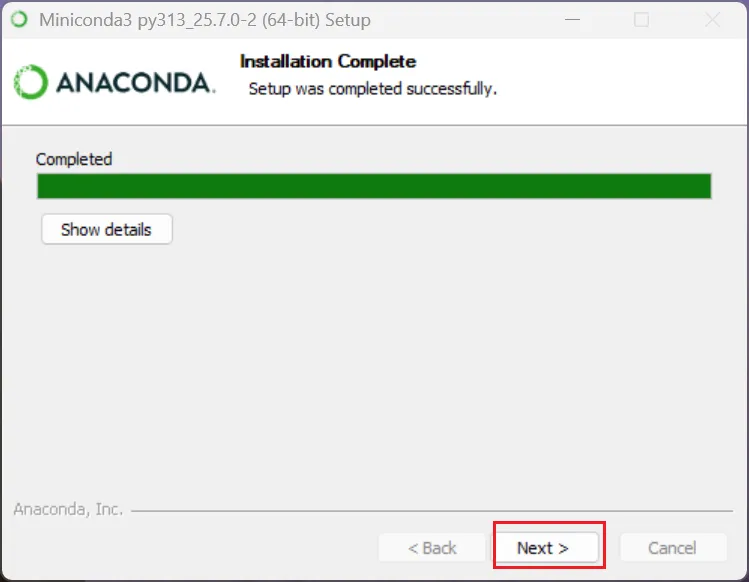
2. 安装步骤
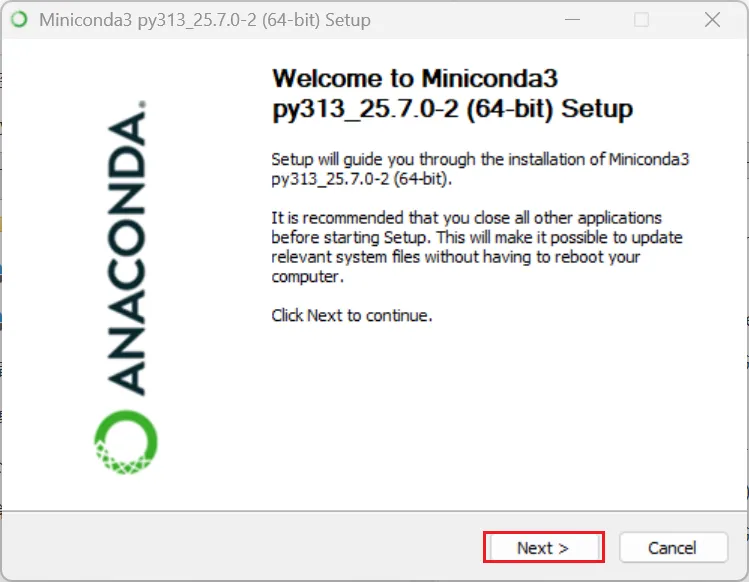
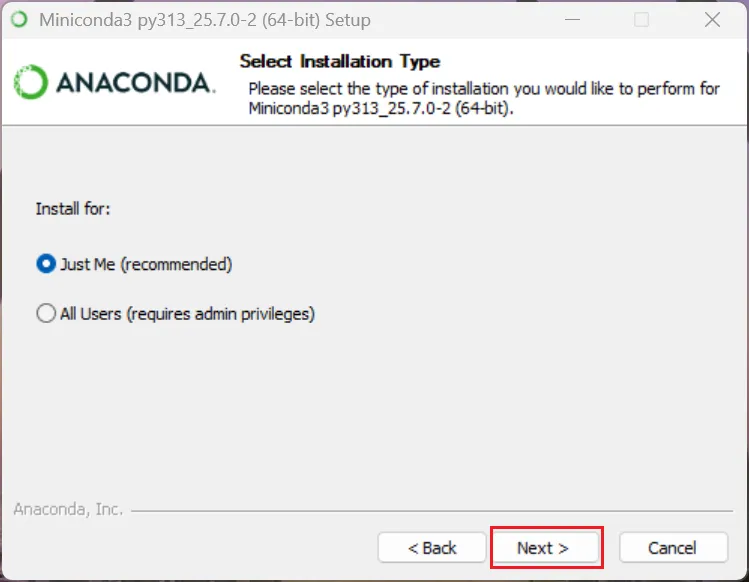
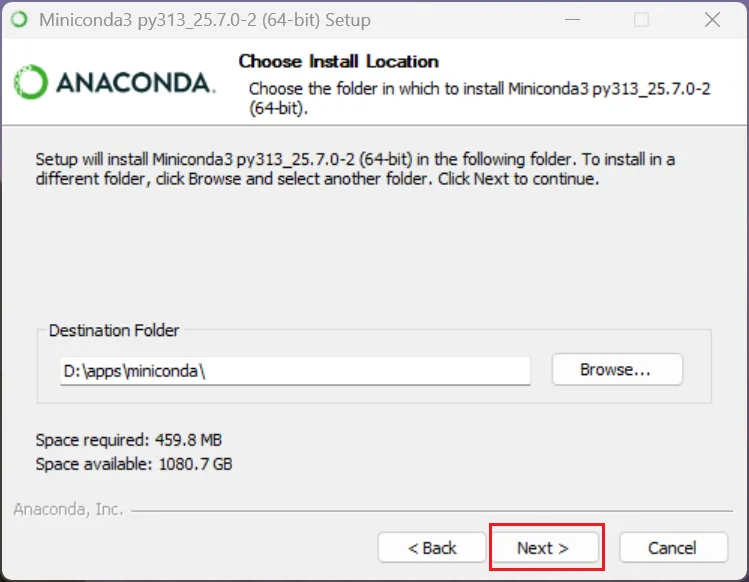
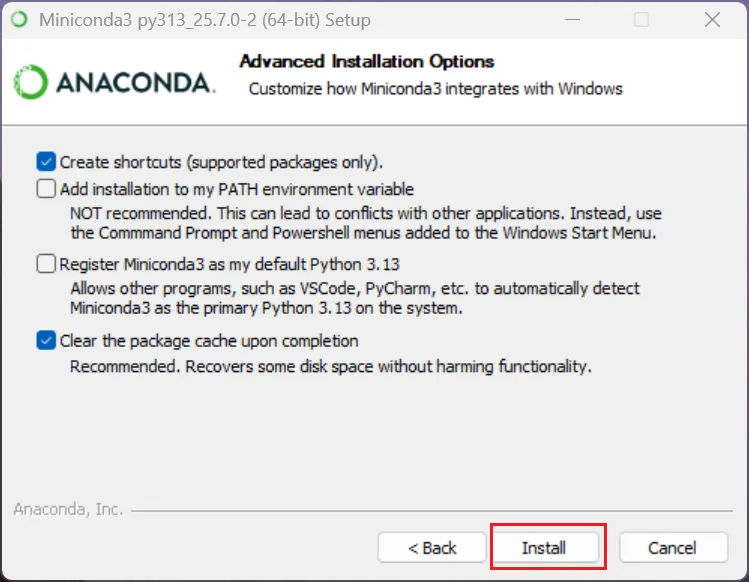
双击“Miniconda3-latest-Windows-x86_64.exe”


3. 配置镜像加速
创建 C:\Users\username\.condarc 文件(注意 username 是实际的用户名),内容如下:
channels:
  - defaults
default_channels:
  - https://mirrors.tuna.tsinghua.edu.cn/anaconda/pkgs/main
  - https://mirrors.tuna.tsinghua.edu.cn/anaconda/pkgs/r
  - https://mirrors.tuna.tsinghua.edu.cn/anaconda/pkgs/msys2
custom_channels:
  conda-forge: https://mirrors.tuna.tsinghua.edu.cn/anaconda/cloud
  pytorch: https://mirrors.tuna.tsinghua.edu.cn/anaconda/cloud
anaconda_channels:
  - https://repo.anaconda.com/pkgs/main
  - https://repo.anaconda.com/pkgs/r
auto_activate_base: false
show_channel_urls: true
创建 C:\Users\username\pip\pip.ini文件(注意 username 是实际的用户名),内容如下:
[global]
index-url = https://pypi.tuna.tsinghua.edu.cn/simple
[install]
trusted-host = pypi.tuna.tsinghua.edu.cn
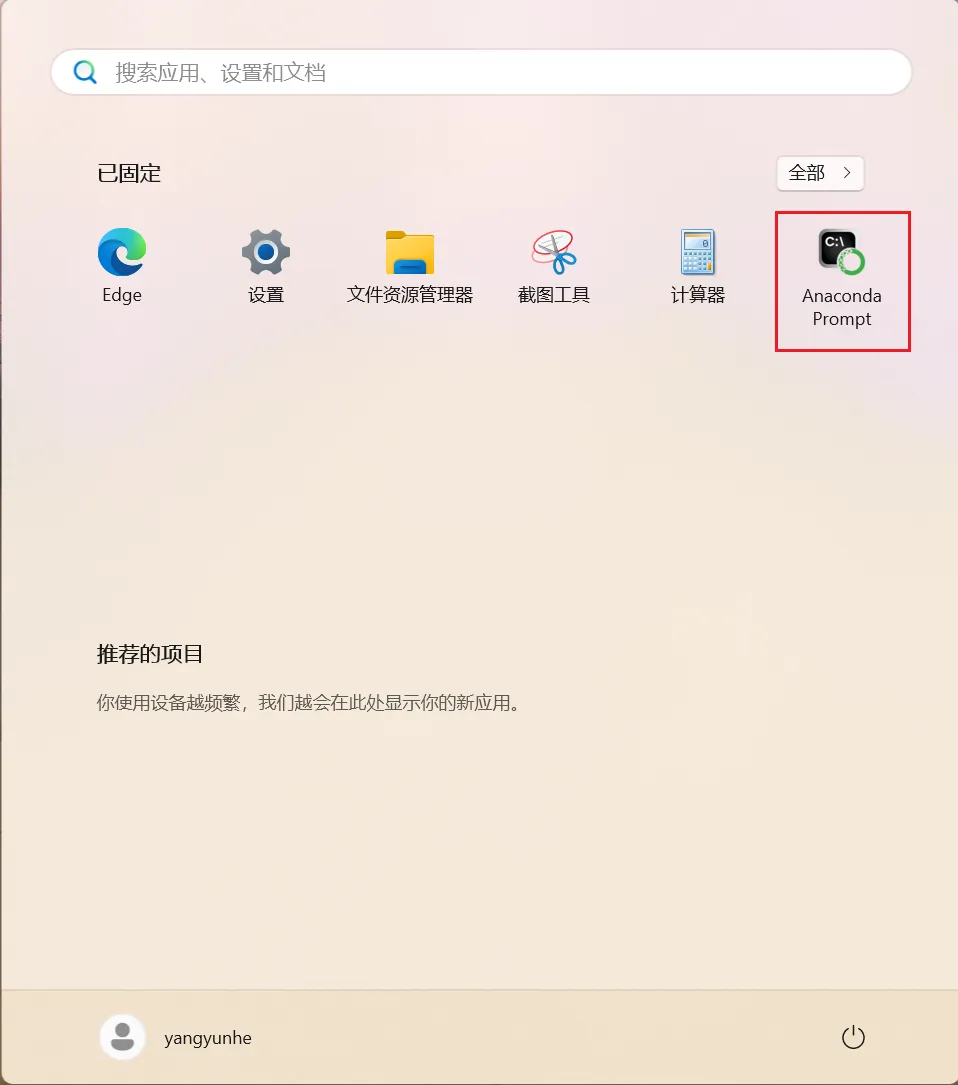
4. 测试
以下命令在 Anaconda Prompt 命令行窗口执行。
# 查看 python 版本
(base) C:\Users\yangyunhe>python -V
Python 3.13.5

# 创建虚拟环境
((base) C:\Users\yangyunhe>conda create -n testenv python=3.11

# 激活虚拟环境
(base) C:\Users\yangyunhe>conda activate testenv

# 查看 python 版本
(testenv) C:\Users\yangyunhe>python -V
Python 3.11.14

# 查看现有的环境(* 代表目前生效的环境)
(testenv) C:\Users\yangyunhe>conda env list

# conda environments:
#
base                   D:\apps\miniconda
testenv              * D:\apps\miniconda\envs\testenv

# 切换环境
(testenv) C:\Users\yangyunhe>conda activate base

# 删除环境
(base) C:\Users\yangyunhe>conda env remove -n testenv

# 设置不自动启用 base 环境
(base) C:\Users\yangyunhe>conda config --set auto_activate_base false


 浙公网安备 33010602011771号