
(原)Ubuntu安装TensorRT
转载请注明出处:
https://www.cnblogs.com/darkknightzh/p/11129472.html
参考网址:
https://docs.nvidia.com/deeplearning/sdk/tensorrt-install-guide/index.html
https://arleyzhang.github.io/articles/7f4b25ce/
https://docs.nvidia.com/deeplearning/sdk/cudnn-install/index.html
1 说明
1.1 直接使用deb安装的。不过不记得之前cuda驱动是如何安装的了。网上说cuda驱动和TensorRTF都是deb安装的才行。。。
1.2 安装环境是ubuntu 16.04.1+anaconda(python3.6.8)+cuda9.0+cudnn7.5
2 安装步骤
2.1 sudo dpkg -i nv-tensorrt-repo-ubuntu1604-cuda9.0-trt5.1.5.0-ga-20190427_1-1_amd64.deb
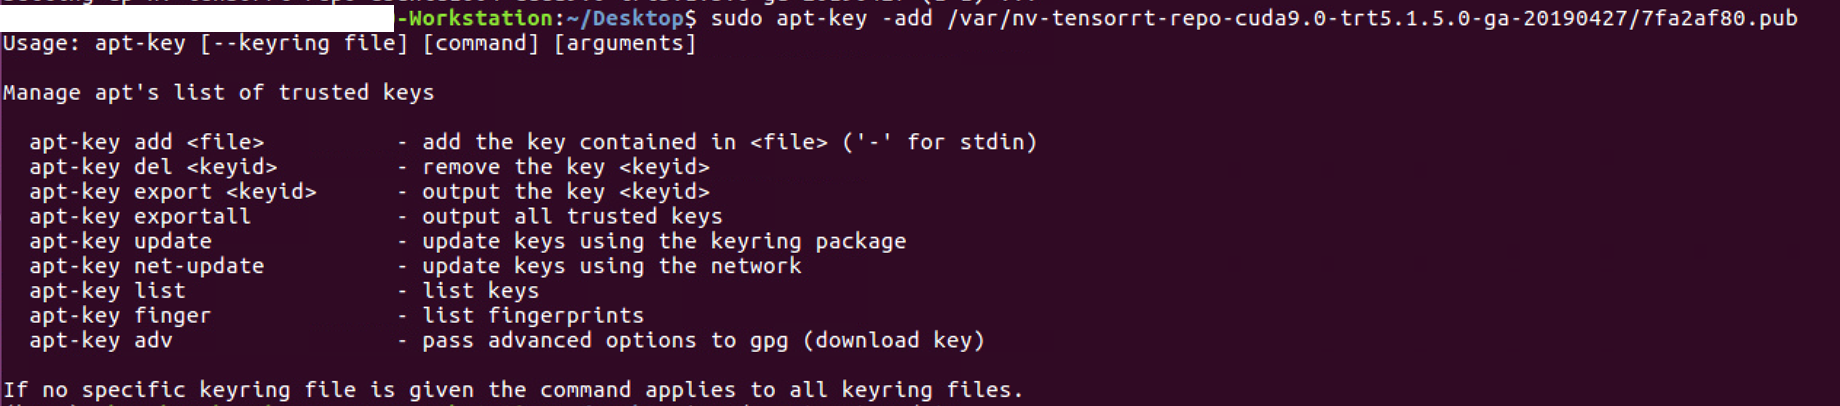
2.2 sudo apt-key -add /var/nv-tensorrt-repo-cuda9.0-trt5.1.5.0-ga-20190427/7fa2af80.pub
2.3 sudo apt-get update
2.4 sudo apt-get install tensorrt
至此,TensorRTF安装完成。
2.5 通过下面命令检查一下是否安装成功:
dpkg -l | grep TensorRT

2.6 通过下面命令安装(不知道是啥,反正安装就对了):
sudo apt-get install python3-libnvinfer-dev

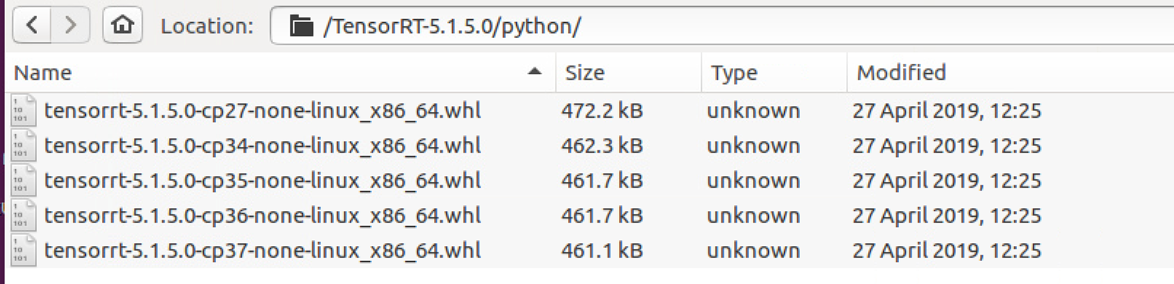
2.7 到上面,python里面无法import tensorrt。直接使用ubuntu自带的archive manager打开nv-tensorrt-repo-ubuntu1604-cuda9.0-trt5.1.5.0-ga-20190427_1-1_amd64.deb文件,可以看到里面有python3.6的XXX。通过下面命令安装该whl文件。
pip install tensorrt-5.1.5.0-cp36-none-linux_x86_64.whl

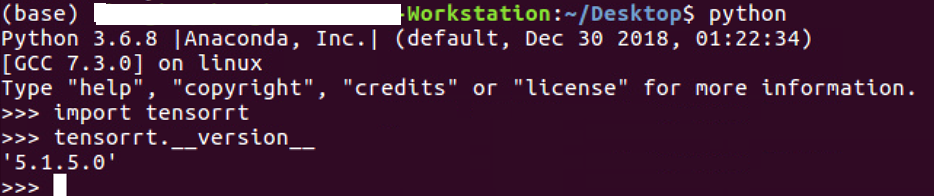
2.8 验证python能否导入tensorrt(此处成功):
2.9 安装PyCUDA。
PyCUDA允许python直接访问CUDA的API。
首先保证nvcc在PATH路径中。而后输入:
pip install 'pycuda>=2017.1.1'
2.10 验证程序能否运行(见下面网址)
https://arleyzhang.github.io/articles/7f4b25ce/
可以把 tensorrt 文件夹拷贝到用户目录下,方便自己修改测试例程中的代码。
进入 samples 文件夹直接 make,会在 bin 目录中生成可执行文件,可以一一进行测试学习。
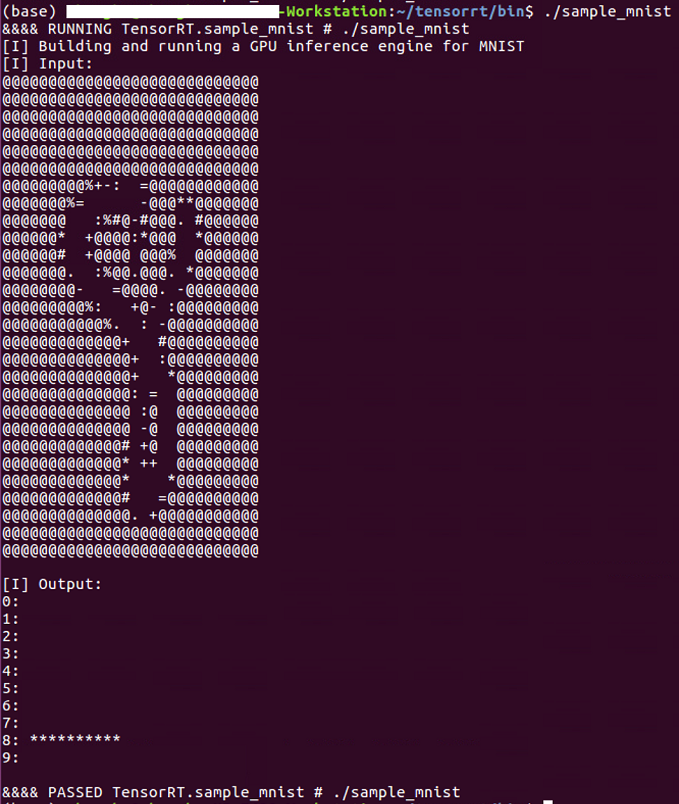
运行了sample_mnist,结果如下:
3 卸载
具体见网址:
https://docs.nvidia.com/deeplearning/sdk/tensorrt-install-guide/index.html#uninstalling
sudo apt-get purge "libnvinfer*"
pip uninstall tensorrt
4 其他
4.1 cudnn使用deb安装:
说明:不建议使用这种方式安装。
Navigate to your <cudnnpath> directory containing cuDNN Debian file.
Install the runtime library, for example:
sudo dpkg -i libcudnn7_7.0.3.11-1+cuda9.0_amd64.deb
Install the developer library, for example:
sudo dpkg -i libcudnn7-devel_7.0.3.11-1+cuda9.0_amd64.deb
Install the code samples and the cuDNN Library User Guide, for example:
sudo dpkg -i libcudnn7-doc_7.0.3.11-1+cuda9.0_amd64.deb
4.2 使用tar文件安装
Navigate to your <cudnnpath> directory containing the cuDNN Tar file.
Unzip the cuDNN package.
tar -xzvf cudnn-9.0-linux-x64-v7.tgz
Copy the following files into the CUDA Toolkit directory, and change the file permissions.
sudo cp cuda/include/cudnn.h /usr/local/cuda/include
sudo cp cuda/lib64/libcudnn* /usr/local/cuda/lib64
sudo chmod a+r /usr/local/cuda/include/cudnn.h /usr/local/cuda/lib64/libcudnn*
4.3 测试cudnn是否安装成功
1)/usr/src/cudnn_samples_v7放到home文件夹下。
2)cd mnistCUDNN/
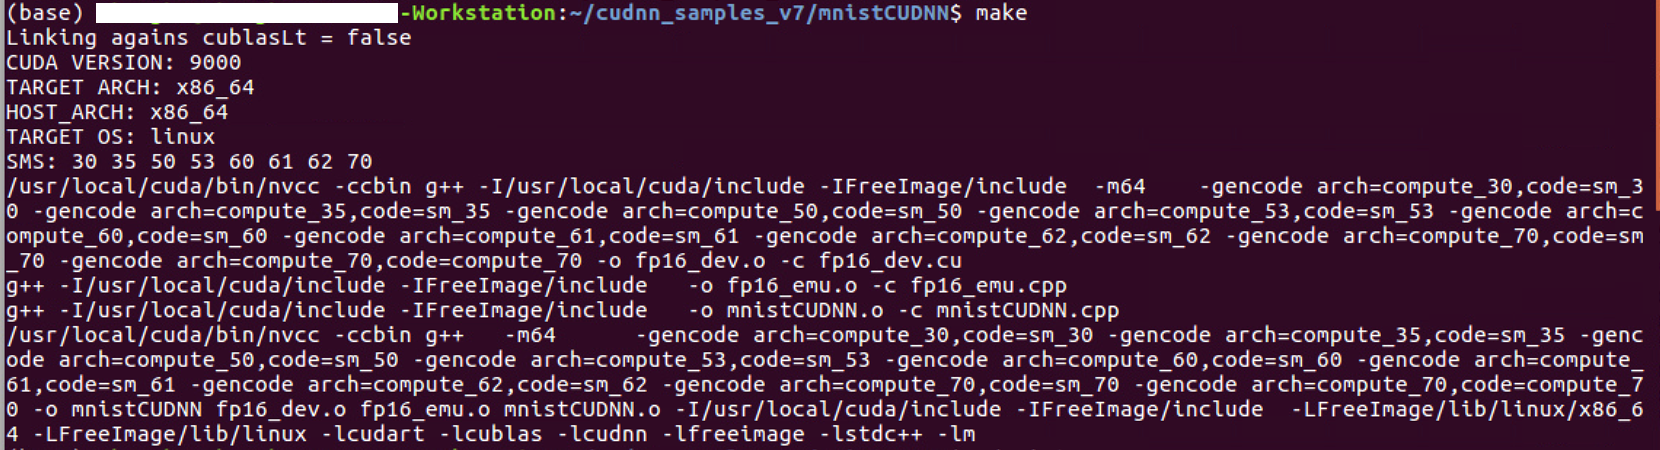
3)make
4)./mnistCUDNN

出错了。。。
原因是之前/usr/local/cuda中cudnn用的是7.4.2版本的。替换为7.5之后,运行成功。(实际上在/usr/lib/x86_64-linux-gnu中有刚刚使用deb装上的7.5版本的cudnn,但是程序未能找到。不知道目前有两套相同版本的cudnn,以后会不会出问题吧。。。所以不建议使用deb安装,位置不可控)

posted on 2019-07-03 22:20 darkknightzh 阅读(14675) 评论(0) 收藏 举报


 浙公网安备 33010602011771号