<七>用户界面的增删改查
这个其实太简单了,nfine已经有成型的代码实现,像我这种懒汉来说,默默搬砖就好了。
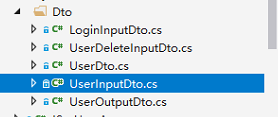
新增删除inputdto:UserDeleteInputDto,新增修改inputdto:UserInputDto。新增搜索inputdto:UserSearchInputDto为什么有三个?
因为每个输入dto有数据有效性验证,删除,查询,新增等输入的参数和参数的有效性验证字段不一样,不能混用。
先搞定前端,nfine已经帮我们搞定好了数据绑定的问题,只需要修改一下接口路径就ok,看代码是不是贼简单:
  $(function () {
        gridList();
    })
    function gridList() {
        var $gridList = $("#gridList");
        $gridList.dataGrid({
            url: "/SystemManage/Role/GetGridJson",
            height: $(window).height() - 96,
            colModel: [
                { label: "主键", name: "F_Id", hidden: true, key: true },
                { label: '角色名称', name: 'F_FullName', width: 150, align: 'left' },
                { label: '角色编号', name: 'F_EnCode', width: 150, align: 'left' },
                {
                    label: '角色类型', name: 'F_Type', width: 80, align: 'left',
                    formatter: function (cellvalue) {
                        return top.clients.dataItems["RoleType"][cellvalue] == undefined ? "" : top.clients.dataItems["RoleType"][cellvalue]
                    }
                },
                {
                    label: '归属机构', name: 'F_OrganizeId', width: 150, align: 'left',
                    formatter: function (cellvalue, options, rowObject) {
                        return top.clients.organize[cellvalue] == null ? "" : top.clients.organize[cellvalue].fullname;
                    }
                },
                {
                    label: '创建时间', name: 'F_CreatorTime', width: 80, align: 'left',
                    formatter: "date", formatoptions: { srcformat: 'Y-m-d', newformat: 'Y-m-d' }
                },
                {
                    label: "有效", name: "F_EnabledMark", width: 60, align: "center",
                    formatter: function (cellvalue) {
                        return cellvalue == 1 ? "<i class=\"fa fa-toggle-on\"></i>" : "<i class=\"fa fa-toggle-off\"></i>";
                    }
                },
                { label: '备注', name: 'F_Description', width: 300, align: 'left' }
            ]
        });
        $("#btn_search").click(function () {
            $gridList.jqGrid('setGridParam', {
                postData: { keyword: $("#txt_keyword").val() },
            }).trigger('reloadGrid');
        });
    }
    function btn_add() {
        $.modalOpen({
            id: "Form",
            title: "新增角色",
            url: "/SystemManage/Role/Form",
            width: "550px",
            height: "570px",
            btn: null
        });
    }
    function btn_edit() {
        var keyValue = $("#gridList").jqGridRowValue().F_Id;
        $.modalOpen({
            id: "Form",
            title: "修改角色",
            url: "/SystemManage/Role/Form?keyValue=" + keyValue,
            width: "550px",
            height: "570px",
            btn: null
        });
    }
    function btn_delete() {
        $.deleteForm({
            url: "/SystemManage/Role/DeleteForm",
            param: { keyValue: $("#gridList").jqGridRowValue().F_Id },
            success: function () {
                $.currentWindow().$("#gridList").trigger("reloadGrid");
            }
        })
    }
来看后端controller的实现
/// <summary>
        /// 分页查询用户列表
        /// </summary>
        /// <param name="pagination">分页类</param>
        /// <param name="keyword">查询关键字</param>
        /// <returns></returns>
        public UserOutputDto GetUserList(Pagination pagination, string keyword)
        {
            List<SysUserEntity> userEntityList = _sysUserRepository.GetUserListByPage(pagination, keyword);
            List<UserDto> userDtoList = AutoMapper.Mapper.Map<List<UserDto>>(userEntityList);
            UserOutputDto outputDto = new UserOutputDto();
            outputDto.UserDtoList = userDtoList;
            return outputDto;
        }

        public UserOutputDto GetForm(string keyword)
        {
            SysUserEntity userEntityList = _sysUserRepository.Get(keyword);
            UserDto userDtoList = AutoMapper.Mapper.Map<UserDto>(userEntityList);
            UserOutputDto outputDto = new UserOutputDto();
            outputDto.UserDtoSingle = userDtoList;
            return outputDto;
        }

        public void SubmitForm(UserInputDto userInputDto, UserInfo userinfo)
        {
            if (!string.IsNullOrEmpty(userInputDto.Id)) //更新
            {
                SysUserEntity entity = _sysUserRepository.Get(userInputDto.Id);
                entity.UserName = userInputDto.UserName;
                entity.TrueName = userInputDto.TrueName;
                entity.QQ = userInputDto.QQ;
                entity.PhoneNumber = userInputDto.PhoneNumber;
                if (!string.IsNullOrEmpty(userInputDto.RoleId))
                {
                    SysRole2UserEntity roleEntity = _sysRole2UserRepository.GetAll().Where(t => t.SysRoleId.Equals(userInputDto.Id)).FirstOrDefault();
                    if (roleEntity != null)
                    {
                        roleEntity.SysRoleId = userInputDto.RoleId;
                        _sysRole2UserRepository.Update(roleEntity);
                    }
                    else
                    {
                        roleEntity = new SysRole2UserEntity();
                        roleEntity.Id = Guid.NewGuid().ToString();
                        roleEntity.SysRoleId = userInputDto.RoleId;
                        roleEntity.SysUserId = entity.Id;
                        _sysRole2UserRepository.Insert(roleEntity);
                    }
                }
                _sysUserRepository.Update(entity);
            }
            else
            {
                SysUserEntity entity = AutoMapper.Mapper.Map<SysUserEntity>(userInputDto);
                entity.Id = Guid.NewGuid().ToString();
                entity.Password = Common.Utils.Md5.GetMD5("123456");
                entity.CreatePerson = userinfo.UserID;
                entity.CreateTime = DateTime.Now;
                _sysUserRepository.Insert(entity);

                SysRole2UserEntity roleEntity = new SysRole2UserEntity();
                roleEntity.Id = Guid.NewGuid().ToString();
                roleEntity.SysRoleId = userInputDto.RoleId;
                roleEntity.SysUserId = entity.Id;
                _sysRole2UserRepository.Insert(roleEntity);
            }
        }

        public void DeleteForm(UserDeleteInputDto dto)
        {
            if (!string.IsNullOrEmpty(dto.Id))
                _sysUserRepository.Delete(dto.Id);
        }
这样用户界面就做好了。
其他菜单的增删改查也是同样的做法。重复的东西就不说了。
SubmitForm 函数里面涉及到了级联新增和修改,那么是一定要用事务做的,但是abp牛逼的地方就牛在仓储层和服务层的方法都默认在同一个工作单元里面执行,所以,一起失败,一起成功。
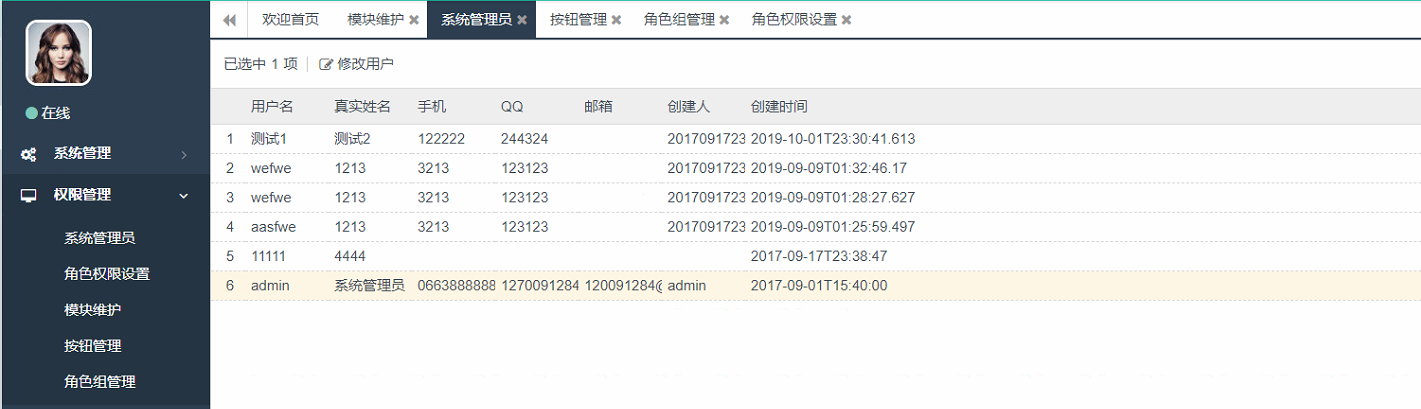
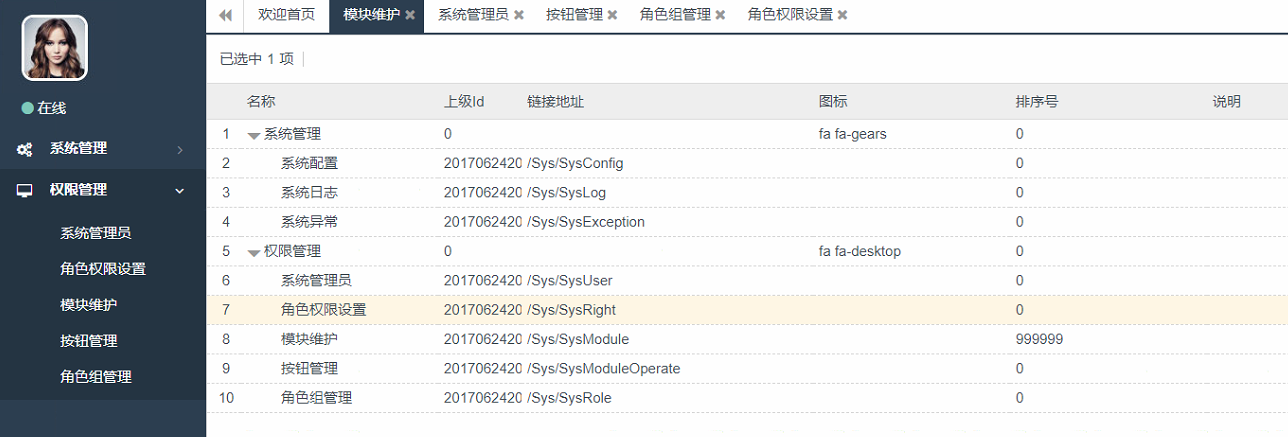
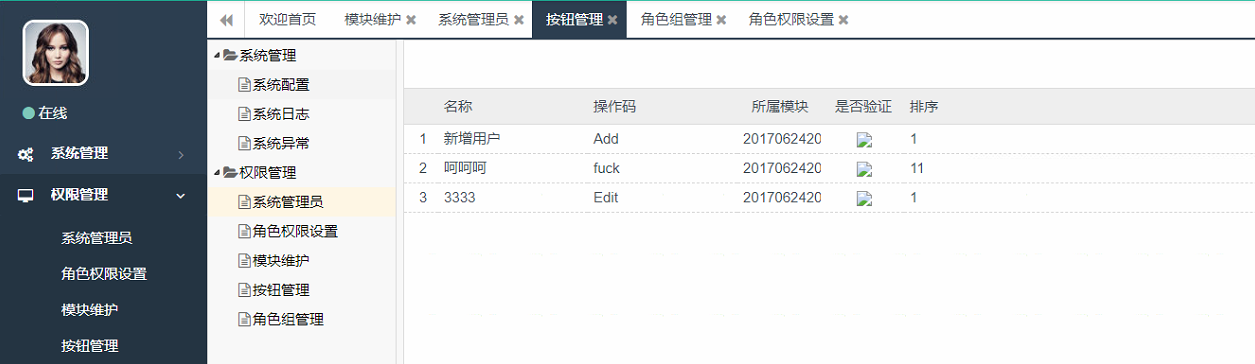
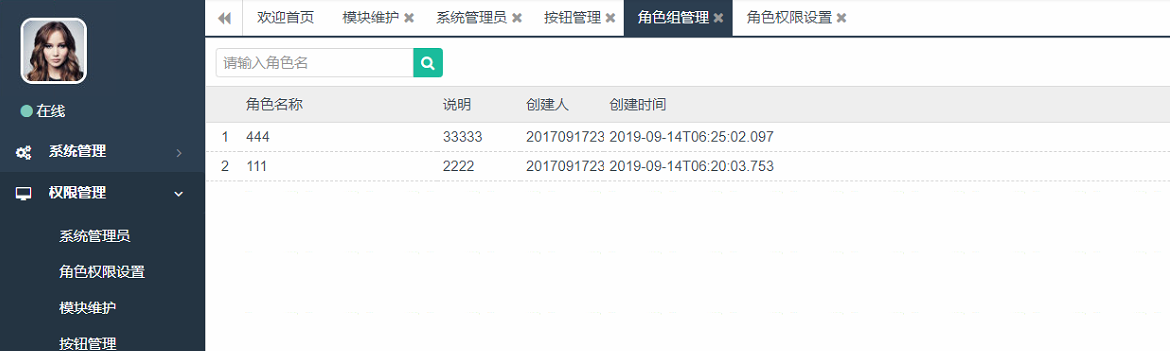
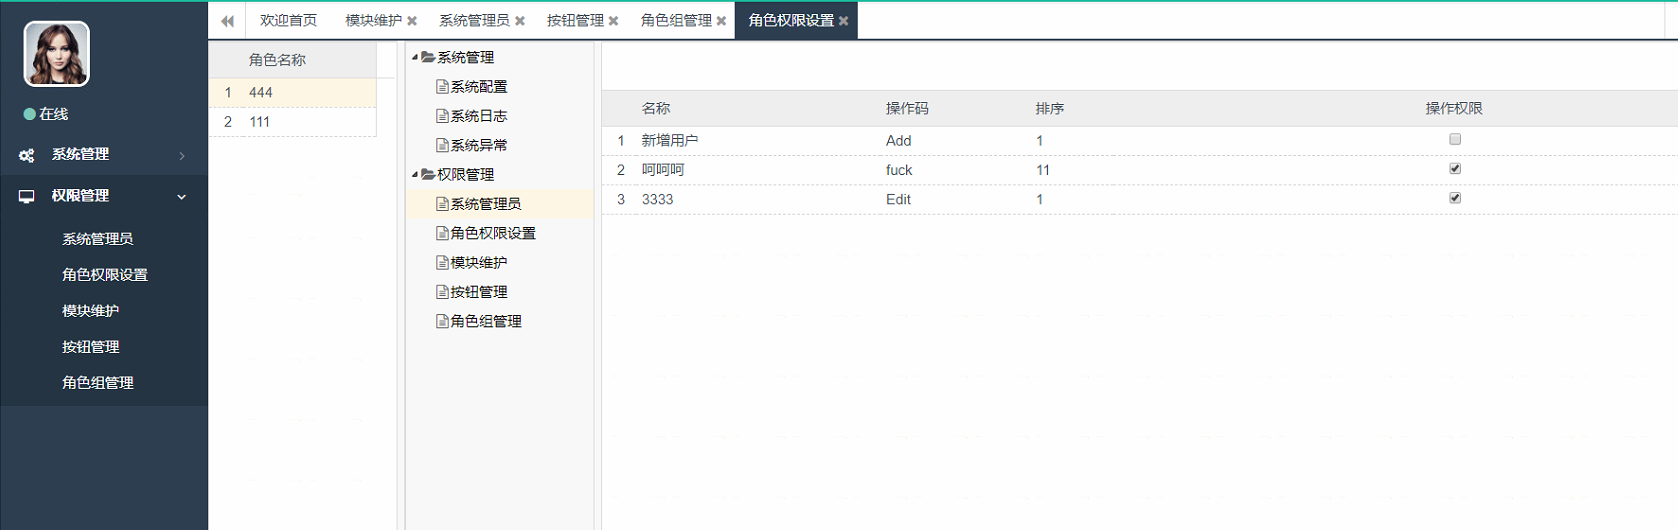
把所有页面的增删改查弄完后的界面图:
这样权限系统就完成了,虽然只是abp的一点皮毛,,但是快速掌握abp的开发也算是足够了。
当然高大上的东西还没有用到,比如 缓存, 事件总线,工作者和实时通知这些都还没用到,只用到了点皮毛,但是,有空再说吧。这个东西有空再搞吧,谁让我是个懒汉呢 。
,这个算是练手的demo,熟悉下框架的开发 规则。后面vnext才是重要的。
下一个会拿vnext来练手,当然不会是权限系统了,不想搞了,到时候直接拿这个移植就好哈哈哈。可能会采用vue+iviewadmin前后端分离来做。
这就结束了。。。。。。。

 浙公网安备 33010602011771号