编译安装vsftpd-3.0.2
编译安装vsftpd
首先下载源码包(我一般喜欢放在/home/test)

解压:tar -zxvf vsftpd-3.0.2.tar.gz
进入目录进行编译
cd vsftpd-3.0.2
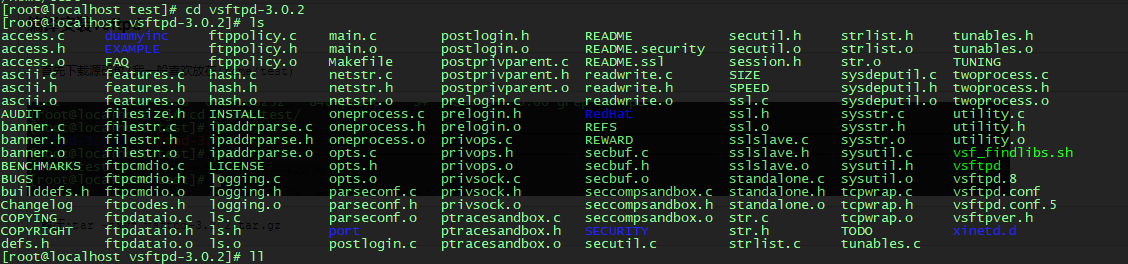
编译之前记得gcc c++已经安装(低级错误)还有几个依赖yum一下呗
yum install libcap tcp_wrappers tcp_wrappers_devel
编译安装
make && make install
编译安装成功,启动文件在/usr/local/sbin

然后就到配置文件
新建目录
mkdir -p /etc/vsftpd
新建配置文件vsftpd.conf或者把源码的配置文件cp过来
touch /etc/vsftpd/vsftpd.conf
cp /home/test/vsftpd-3.0.2/vsftpd.conf /etc/vsftpd/
新建启动脚本(没有也可以,可以目录启动)把脚本扔进/etc/init.d/下
#!/bin/bash
#
# vsftpd This shell script takes care of starting and stopping
#             standalone vsftpd.
#
# chkconfig: - 60 50
# description: Vsftpd is a ftp daemon, which is the program \
#              that answers incoming ftp service requests.
# processname: vsftpd
# config: /etc/vsftpd.conf
# Source function library.
. /etc/rc.d/init.d/functions
# Source networking configuration.
. /etc/sysconfig/network
# Check that networking is up.
[ ${NETWORKING} = "no" ] && exit 0
[ -x /usr/local/sbin/vsftpd ] || exit 0
RETVAL=0
prog="vsftpd"
start() {
        # Start daemons.
        if [ -d /etc ] ; then
                for i in `ls /etc/vsftpd/vsftpd.conf`; do
                        site=`basename $i .conf`
                        echo -n $"Starting $prog for $site: "
                        /usr/local/sbin/vsftpd $i &
                        RETVAL=$?
                        [ $RETVAL -eq 0 ] && {
                           touch /var/lock/subsys/$prog
                           success $"$prog $site"
                        }
                        echo
                done
        else
                RETVAL=1
        fi
        return $RETVAL
}
stop() {
        # Stop daemons.
        echo -n $"Shutting down $prog: "
        killproc $prog
        RETVAL=$?
        echo
        [ $RETVAL -eq 0 ] && rm -f /var/lock/subsys/$prog
        return $RETVAL
}
# See how we were called.
case "$1" in
start)
        start
        ;;
stop)
        stop
        ;;
restart|reload)
        stop
        start
        RETVAL=$?
        ;;
condrestart)
        if [ -f /var/lock/subsys/$prog ]; then
            stop
            start
            RETVAL=$?
        fi
        ;;
status)
        status $prog
        RETVAL=$?
        ;;
*)
        echo $"Usage: $0 {start|stop|restart|condrestart|status}"
        exit 1
esac
exit $RETVAL
授予执行权
chmod +x vsftpd
加入服务
chkconfig --add vsftpd
开机启动
chkconfig vsftpd on
或者
chkconfig vsftpd 2345 on
下面是/etc/vsftpd/下的文件
chroot_list vsftpd.conf vsftpd.conf_bck vuser_conf vuser_passwd.db vuser_passwd.txt welcome.txt
首先配置vsftpd.conf
anonymous_enable=NO

local_enable=YES

local_root=/home/test

chroot_list_enable=YES

chroot_list_file=/etc/vsftpd/chroot_list

ascii_upload_enable=YES
ascii_download_enable=YES

pam_service_name=vsftpd

guest_enable=YES
guest_username=ftpadmin

user_config_dir=/etc/vsftpd/vuser_conf
allow_writeable_chroot=YES

banner_file=/etc/vsftpd/welcome.txt
接着chroot_list
test1
ftpadmin
vsftpd
然后welcome.txt
Hello, Welcome to vsftpd !!
跟着vuser_passwd.txt
test
test
test1
test1
test2
test2
这里还有一步, 生成db密码文件
db_load –T –t hash –f /etc/vsftpd/vuser_passwd.txt /etc/vsftpd/vuser_passwd.db
最后新建vuser_conf文件夹
mkdir vuser_conf
里面放的是用户限制

举个例子: test用户的
local_root=/opt/var/ftp1    #test用户能进入的目录
write_enable=YES
anon_umask=022
anon_world_readable_only=NO
anon_upload_enable=YES
anon_mkdir_write_enable=YES
anon_other_write_enable=YES
已经完成的差不多了, 最后就是开放21端口
iptables -I INPUT -p tcp --dport 21 -j ACCEPT
保存这个规则
service iptables save
重启这个防火墙
service iptables restart
最后尝试连接:账号test密码test
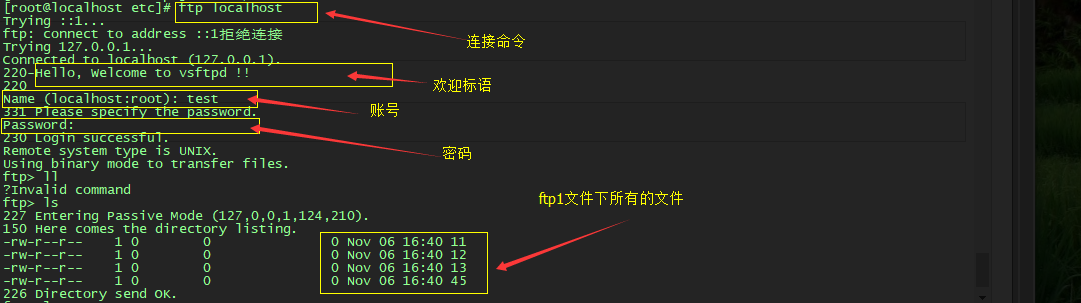
验证一下test指定的目录下/opt/var/ftp1是否是这几个文件

接下来是外网连接
我使用的是ftp小黄
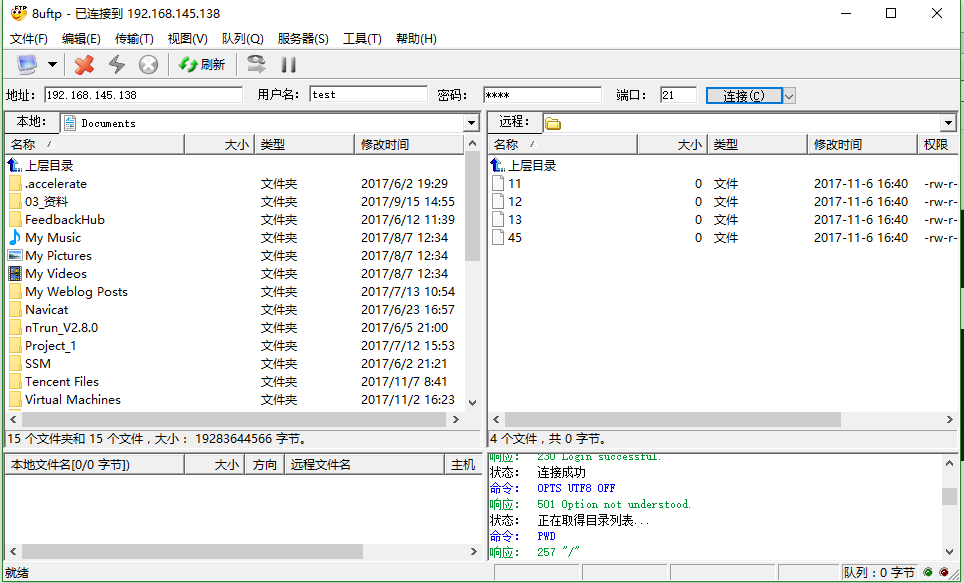
第一次连接的时候我的情况是这样的
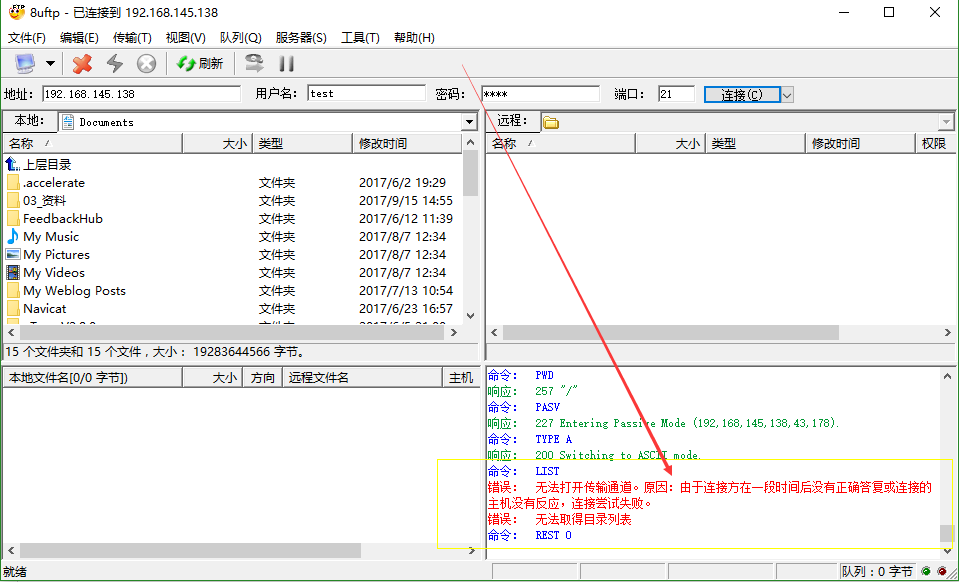
然后我取消PASV验证
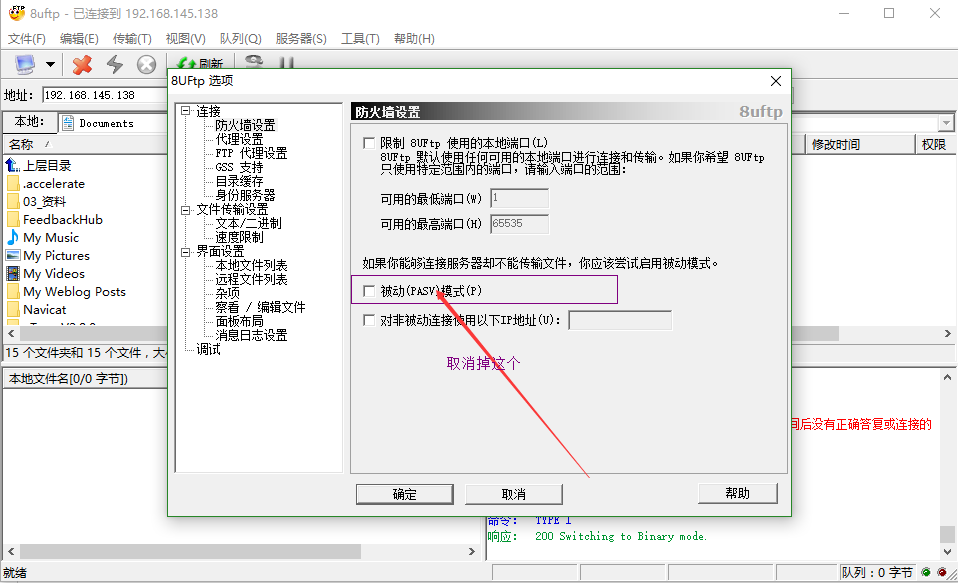
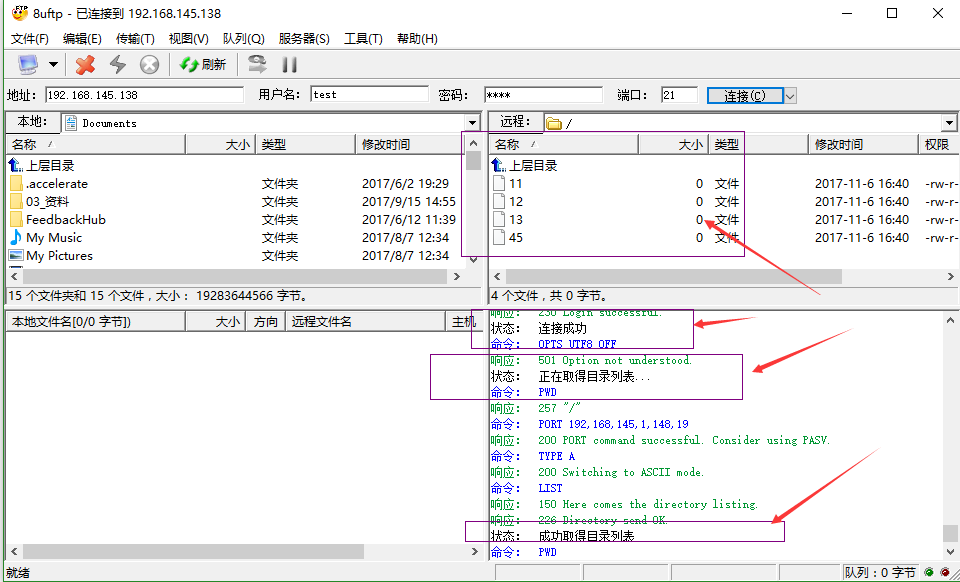
最后是这样的, 连接成功!
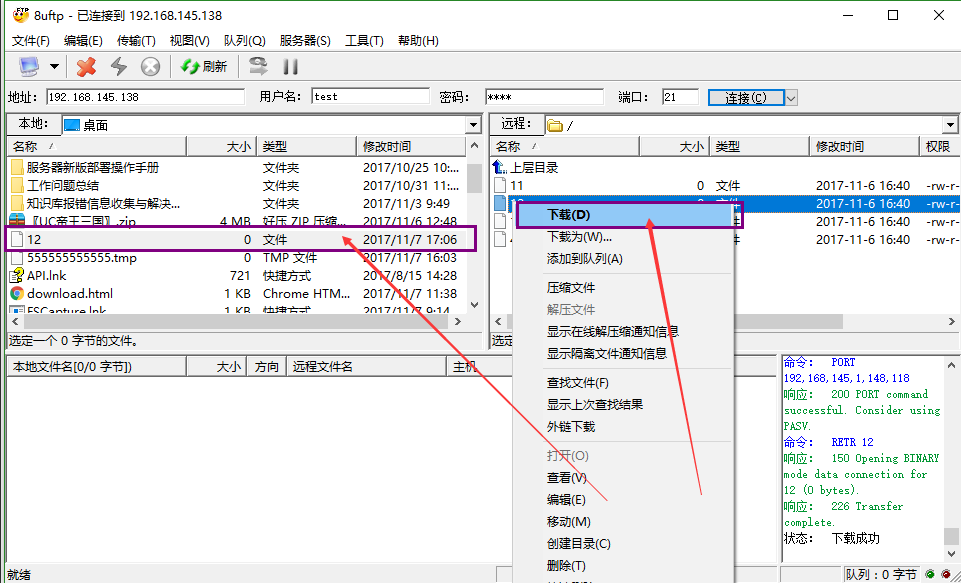
尝试下载文件

 浙公网安备 33010602011771号