


windows下redis的启动与安装
一、启动redis
1.redis的安装
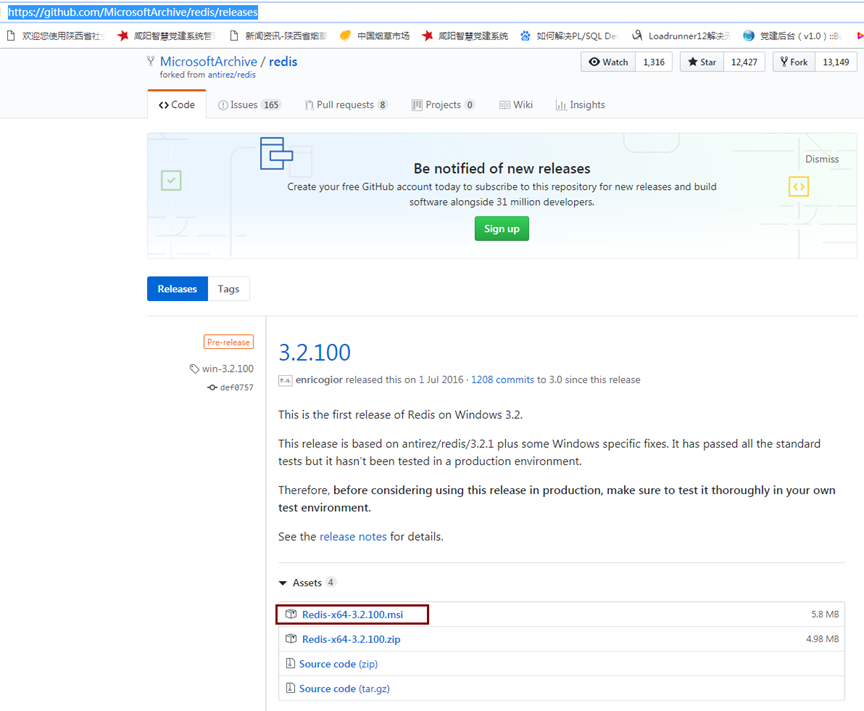
1.1.先下载redis,到https://github.com/MicrosoftArchive/redis/releases,下载Redis-x64-3.2.100.msi
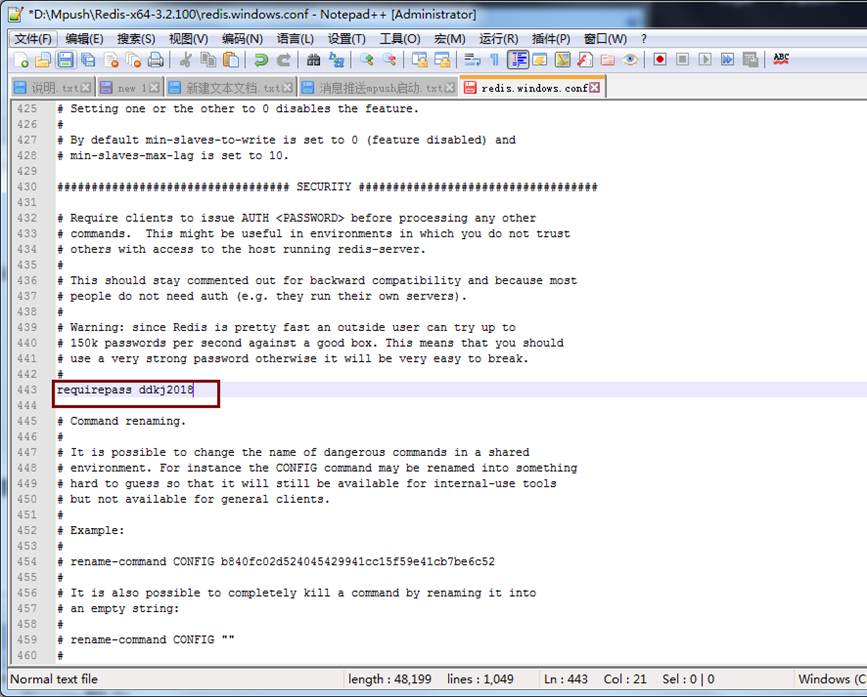
1.9.安装完成后,在刚才安装中所选择的目录,如上图: 进入此文件夹下可修改redis的相关配置,可以在文件“redis.windows.conf”中修改,使用记事本打开这个文件修改保存即可。
注意:以井号(#)开头的行都是注释
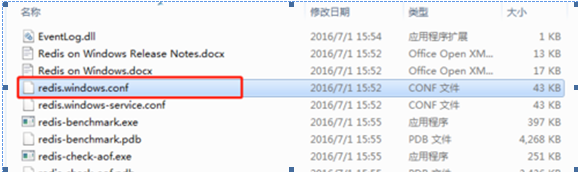
【redis主机地址】默认绑定server本机,此时bind可以省略(bind 127.0.0.1)

【redis链接密码】默认redis没有链接密码,可以通过以下命令设置(requirepass 123),密码设置为abcd2020

2.redis的启动
- 打开位置为:C:\skhbEnvironment\redis
- 点击cmd
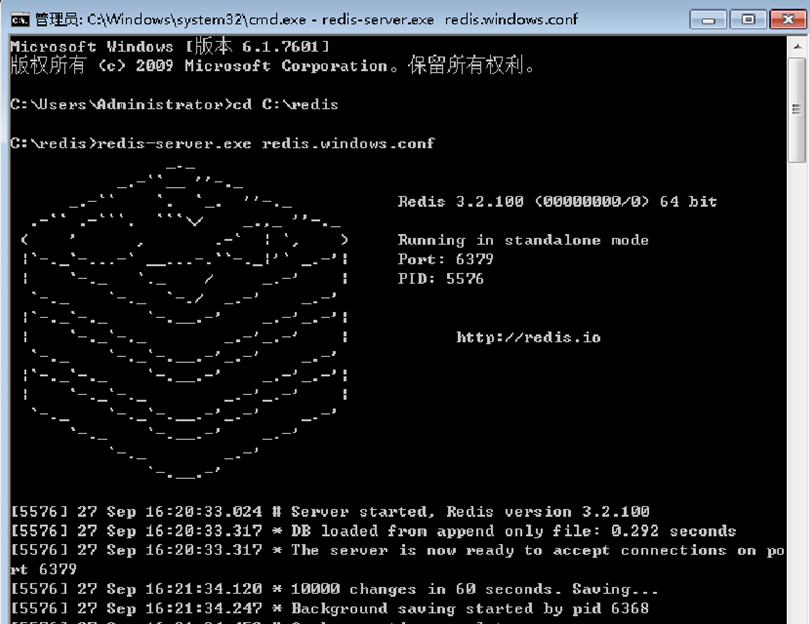
输入:cd C:\redis
输入:redis-server.exe redis.windows.conf,即就是
C:\redis>redis-server.exe redis.windows.conf
启动成功,如下图:
redis如果启动错误,报错如下:
10 Jun 11:37:13.018 # Creating Server TCP listening socket 127.0.0.1:6379: bind: No error
解决办法:
# for connections from all the network interfaces available on the server.
# It is possible to listen to just one or multiple selected interfaces using
# the "bind" configuration directive, followed by one or more IP addresses.
#
# Examples:
#
# bind 192.168.1.100 10.0.0.1
# bind 127.0.0.1 ::1
#
# ~~~ WARNING ~~~ If the computer running Redis is directly exposed to the
# internet, binding to all the interfaces is dangerous and will expose the
# instance to everybody on the internet. So by default we uncomment the
# following bind directive, that will force Redis to listen only into
# the IPv4 lookback interface address (this means Redis will be able to
# accept connections only from clients running into the same computer it
# is running).
#
# IF YOU ARE SURE YOU WANT YOUR INSTANCE TO LISTEN TO ALL THE INTERFACES
# JUST COMMENT THE FOLLOWING LINE.
# ~~~~~~~~~~~~~~~~~~~~~~~~~~~~~~~~~~~~~~~~~~~~~~~~~~~~~~~~~~~~~~~~~~~~~~~~
bind 127.0.0.1 //去掉#
# Protected mode is a layer of security protection, in order to avoid that
# Redis instances left open on the internet are accessed and exploited.
#
# When protected mode is on and if:
重新执行命令行
D:\redis>redis-server.exe redis.windows.conf
若仍报以下错误:
# Creating Server TCP listening socket 127.0.0.1:6379: bind: No error
按顺序输入如下命令就可以连接成功
1. redis-cli.exe
2. shutdown
3. exit
4. redis-server.exe redis.windows.conf
二、启动后台:
新的jar包 放在 C:/skhbsoft/ new
Java –jar s+Tab 回车(两次)
三、启动前台:
- Shift+鼠标右键,点击:在此处打开powershell
http-server
1.redis的安装
1.1.先下载redis,到https://github.com/MicrosoftArchive/redis/releases,下载Redis-x64-3.2.100.msi
1.2.双击Redis-x64-3.2.100.msi安装,进入Redis安装页面。此方法较快捷。
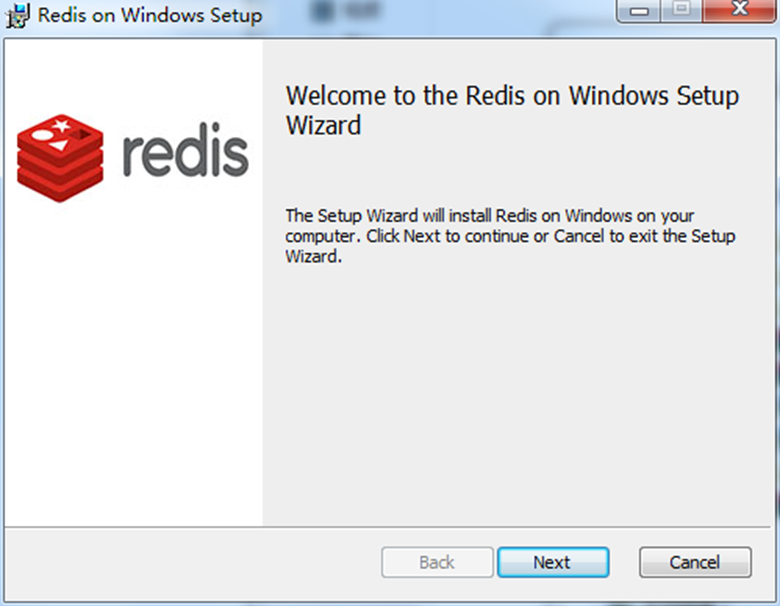
1.3.点击“Next”

1.4.修改安装路径,勾选将此安装加入到环境变量中,点击“Next”

1.5. 如果你没有安装其他的服务器,没有占有6379端口,端口就保持默认的6379,点击“Next”
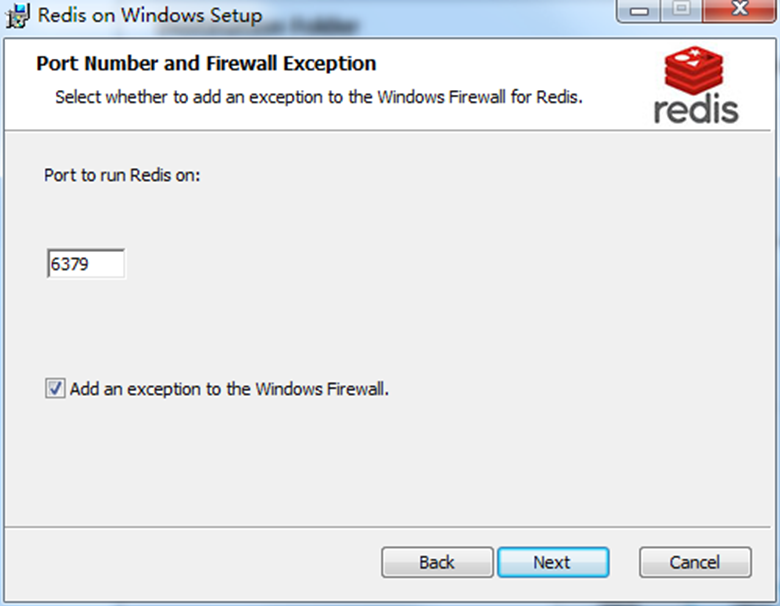
1.6.点击“Next”
1.7. 点击“Next”
1.8.点击“finish”, 安装完成。
1.9.安装完成后,(无需执行)在刚才安装中所选择的目录,如上图: 进入此文件夹下可修改redis的相关配置,可以在文件“redis.windows.conf”中修改,使用记事本打开这个文件修改保存即可。
注意:以井号(#)开头的行都是注释

【redis主机地址】默认绑定server本机,此时bind可以省略(bind 127.0.0.1)

5(无需执行)
【redis链接密码】默认redis没有链接密码,可以通过以下命令设置(requirepass 123),密码设置为yckj
2.redis的启动
打开位置为:C:\Program Files\Redis
点击cmd
输入:cd C:\Program Files\Redis
C:\Program Files\Redis >redis-server.exe redis.windows.conf
启动成功,如下图:
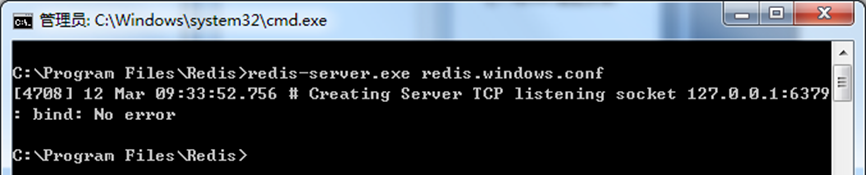
如果启动错误,报错如下:
10 Jun 11:37:13.018 # Creating Server TCP listening socket 127.0.0.1:6379: bind: No error
解决办法:
# for connections from all the network interfaces available on the server.
# It is possible to listen to just one or multiple selected interfaces using
# the "bind" configuration directive, followed by one or more IP addresses.
#
# Examples:
#
# bind 192.168.1.100 10.0.0.1
# bind 127.0.0.1 ::1
#
# ~~~ WARNING ~~~ If the computer running Redis is directly exposed to the
# internet, binding to all the interfaces is dangerous and will expose the
# instance to everybody on the internet. So by default we uncomment the
# following bind directive, that will force Redis to listen only into
# the IPv4 lookback interface address (this means Redis will be able to
# accept connections only from clients running into the same computer it
# is running).
#
# IF YOU ARE SURE YOU WANT YOUR INSTANCE TO LISTEN TO ALL THE INTERFACES
# JUST COMMENT THE FOLLOWING LINE.
# ~~~~~~~~~~~~~~~~~~~~~~~~~~~~~~~~~~~~~~~~~~~~~~~~~~~~~~~~~~~~~~~~~~~~~~~~
bind 127.0.0.1 //去掉#
# Protected mode is a layer of security protection, in order to avoid that
# Redis instances left open on the internet are accessed and exploited.
#
# When protected mode is on and if:
重新执行命令行
D:\redis>redis-server.exe redis.windows.conf
若仍报以下错误:
# Creating Server TCP listening socket 127.0.0.1:6379: bind: No error
按顺序输入如下命令就可以连接成功
1. redis-cli.exe
2. shutdown
3. exit
4. redis-server.exe redis.windows.conf
则redis安装成功!
3.文件安装(msi安装失败,可采用下面方法安装)
3.1下载地址
1、Github下载地址:https://github.com/MicrosoftArchive/redis/releases
2、百度网盘下载地址
https://pan.baidu.com/s/1z1_OdNVbtgyEjiktqgB83g 密码:kdfq
3.2安装过程
1.首先先把下载的压缩包解压到一个文件夹中

2.打开cmd指令窗口
3.输入你刚才解压的文件路径
4.然后输入redis-server
redis.windows.conf 命令
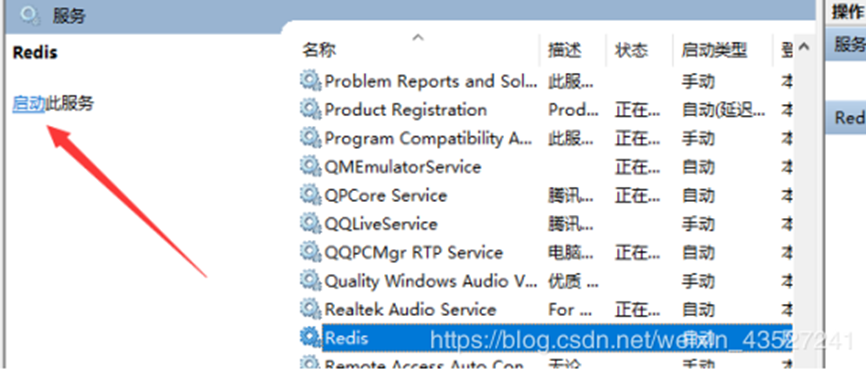
5.接下来部署Redis为windows下的服务
首先关掉上一个窗口再打开一个新的cmd命令窗口
然后输入指令redis-server --service-install redis.windows.conf

随后,进入右击此电脑–管理–服务和应用程序–服务 启动服务
4.Redis常用的指令
卸载服务:redis-server
--service-uninstall
开启服务:redis-server --service-start
停止服务:redis-server --service-stop
测试redis,通过cd到我们解压的目录,输入指令通过Set get指令查看是否成功
5. Redis缓存清理
进入redis的安装目录
双击redis-cli.exe
执行:dbsize
执行:flushall
退出
6.windows安装版本和非安装版本区别
非安装版本redis的配置文件名为:redis.windows.conf
安装版本redis的配置文件名为:redis.windows-server.conf
① #bind 127.0.0.1 注释掉,其它机子可以连接
② requirepass yckj2021

 浙公网安备 33010602011771号