
SpringBoot-Actuator(健康检查)
SpringBoot Actuator 健康监测
一、简介
actuator是springboot中的一个附加功能,官方是对它这样介绍的:
Spring Boot包含了许多附加功能,帮助您在将应用程序推送到生产环境时监视和管理它。您可以选择使用HTTP端点或与JMX一起管理和监视应用程序。
审核(Auditing)、运行状况(health)和度量收集(metrics gathering)也可以自动应用于您的应用程序。
二、简单使用
2.1、首先在springboot工程中引入依赖
<!-- 健康监测 -->
<dependency>
      <groupId>org.springframework.boot</groupId>
      <artifactId>spring-boot-starter-actuator</artifactId>
</dependency>
<!-- Web支持 -->
<dependency>
      <groupId>org.springframework.boot</groupId>
      <artifactId>spring-boot-starter-web</artifactId>
</dependency>
2.2、启动springboot项目
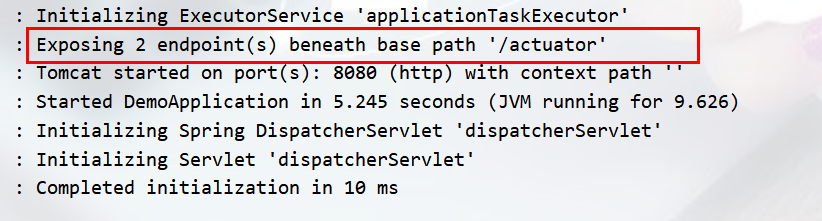
可以看到,默认暴露了两个endpoint,其实就是 health 和 info
打开地址:http://localhost:8080/actuator/info 或者 http://localhost:8080/actuator/health
2.3、application.yml自定义配置
这里配置了暴露所有endpoint,并配置访问路径(如 health):ip:8081/health
server:
  port: 8080
management:             # actuator
  server:
    port: 8081          # actuator access port
  endpoints:
    web:
      base-path: /      # root path
      exposure:
        include: "*"    # include all endpoint
三、自定义Endpoint
3.1、如上所示,首先引入健康监测依赖
3.2、编写自定义的Endpoint
@Configuration
@Endpoint(id = "demo-endpoint")
public class DemoEndpoint {

    @ReadOperation(produces = "application/json")
    public Map<String, Object> operation(){
        Map<String, Object> map = new HashMap<String, Object>();
        map.put("demo", "{demo: endpoint test}");
        return map;
    }
}
3.3、配置
management.endpoints.web.exposure.include=demo-endpoint
或
management.endpoints.web.exposure.include="*"
注意
a、@EndPoint中的id不能使用驼峰法,需要以-分割
b、Spring Boot会去扫描@Endpoint注解下的@ReadOperation, @WriteOperation, @DeleteOperation注解,分别对应生成Get/Post/Delete的Mapping。
注解中有个produces参数,可以指定media type, 如:application/json等。

 浙公网安备 33010602011771号