


Linux安装oracle 12C
安装虚拟系统CentOS6.5,分配给至少1G的内存,其他条件适当高些,具体参考官方文档
环境准备
vim /etc/profile
export JAVA_HOME=/opt/jdk1.7.0_79
export CLASSPATH=.:JAVA_HOME/lib/dt.jar:$JAVA_HOME/lib/tools.jar:
export PATH=$PATH:$JAVA_HOME/bin::$JAVA_HOME/jre/bin
vim /etc/sysconfig/network-scripts/ifcfg-eth0
DEVICE="eth0"
BOOTPROTO="static"
HWADDR="00:0C:29:4E:F7:94"
IPV6INIT="yes"
NM_CONTROLLED="yes"
ONBOOT="yes"
TYPE="Ethernet"
UUID="5f54dad9-eaa6-473f-bcf2-29248d67825e"
IPADDR=192.168.11.31
vi /etc/hosts
192.168.11.31 oracle001
vim /etc/sysconfig/network
NETWORKING=yes
HOSTNAME=oracle001
-- 关机本机防火墙
service iptables status
service iptables stop
chkconfig iptables off
-- 虚拟机启动镜像连接
-- 挂载yum源
cd /etc/yum.repos.d/
vim rhel-dvd.repo
[Server]
name=PackagesLib
baseurl=file:///mnt
enabled=1
gpgcheck=0
cp rhel-source.repo rhel-info.repo
vim rhel-info.repo
[rhel-info]
name=Red Hat Enterprise Linux - Info
baseurl=file:///mnt/Server
enabled=1
gpgcheck=0
mount /dev/cdrom /mnt/
cd /mnt/;ll
yum clean all
yum repolist all
yum install readline* -y
一、安装数据库:
1、安装依赖软件包


yum install binutils -y
yum install compat-libcap -y
yum install compat-libstdc++-33 -y
yum install compat-libstdc++-33.i686 -y
yum install gcc -y
yum install gcc-c++ -y
yum install glibc -y
yum install glibc.i686 -y
yum install glibc-devel -y
yum install glibc-devel.i686 -y
yum install ksh -y
yum install libgcc -y
yum install libgcc.i686 -y
yum install libstdc++ -y
yum install libstdc++.i686 -y
yum install libstdc++-devel -y
yum install libstdc++-devel.i686 -y
yum install libaio -y
yum install libaio.i686 -y
yum install libaio-devel -y
yum install libaio-devel.i686 -y
yum install libXext -y
yum install libXext.i686 -y
yum install libXtst -y
yum install libXtst.i686 -y
yum install libX11 -y
yum install libX11.i686 -y
yum install libXau -y
yum install libXau.i686 -y
yum install libxcb -y
yum install libxcb.i686 -y
yum install libXi -y
yum install libXi.i686 -y
yum install make -y
yum install sysstat -y
yum install unixODBC -y
yum install unixODBC-devel -y
yum install zlib-devel -y
yum -y install compat-libcap1-1.10
2、创建用户和组
[root@centos ~]# groupadd dba
[root@centos ~]# groupadd oinstall
[root@centos ~]# useradd -g oinstall -G dba oracle
[root@centos ~]# passwd oracle
3、创建oracle软件安装目录
[root@centos ~]# mkdir -p /u01/app/oracle[root@centos ~]# chown -R oracle:oinstall /u01
[root@centos ~]# chmod -R 775 /u01/
4、编辑/etc/sysctl.conf文件
kernel.shmmni = 4096
kernel.sem = 250 32000 100 128
net.ipv4.ip_local_port_range = 9000 65500
net.core.rmem_default = 4194304
net.core.rmem_max = 4194304
net.core.wmem_default = 262144
net.core.wmem_max = 1048586
fs.aio-max-nr = 1048576
fs.file-max = 6815744
使用下面的命令让内核参数更改生效,这样就无需重启计算机:
[root@centos ~]# sysctl -p
5、编辑/etc/security/limits.conf文件
[root@centos ~]# vim /etc/security/limits.conf
root用户修改,在末尾添加:
oracle soft nproc 2047
oracle hard nproc 16384
oracle soft nofile 1024
oracle hard nofile 65536
6、编辑/etc/pam.d/login文件
[root@centos ~]# vim /etc/pam.d/login
在文件末尾添加:
session    required     /lib/security/pam_limits.so
session    required     pam_limits.so
7、编辑/etc/profile文件(root用户修改)
[root@centos ~]# vim /etc/profiles
if [ $USER = "oracle" ];then
if [ $SHELL = "/bin/ksh" ];then
ulimit -p 16384
ulimit -n 65536
else
ulimit -u 16384 -n 65536
fi
fi
8、编辑/etc/hosts文件
[root@centos ~]# hostname
centos
[root@centos ~]# ifconfig eth0|grep "inet addr"
          inet addr:192.168.121.178  Bcast:192.168.121.255  Mask:255.255.255.0
[root@centos ~]# cat /etc/hosts
127.0.0.1   localhost localhost.localdomain localhost4 localhost4.localdomain4
::1         localhost localhost.localdomain localhost6 localhost6.localdomain6
192.168.11.1  centos                   #添加此行
9、用oracle用户身份编辑/home/oracle/.bash_profile
[root@centos ~]# su - oracle
[oracle@host ~]$ vim /home/oracle/.bash_profile
在末尾添加以下内容:
export TMP=/tmp;
export TMPDIR=$TMP;
export ORACLE_TERM=xterm
export ORACLE_BASE=/u01/app/oracle
export ORACLE_HOME=$ORACLE_BASE/product/12.1.0/db_1
export ORACLE_SID=orcl
export PATH=$ORACLE_HOME/bin:$PATH
使用下面的命令让设置生效:
[oracle@host ~]$ source /home/oracle/.bash_profile
10、上传文件到/home/oracle,并用oracle用户解压缩
文件权限中oracle为所有者:
[root@centos oracle]# ls /home/oracle/ -l
-rwxrw-rw-. 1 root   root     1361028723 6月   2 08:10 linuxamd64_12c_database_1of2.zip
-rwxrw-rw-. 1 root   root     1116527103 6月   2 08:09 linuxamd64_12c_database_2of2.zip
[root@centos oracle]# chown oracle /home/oracle linuxamd64_12c_database_1of2.zip
[root@centos oracle]# chown oracle /home/oracle linuxamd64_12c_database_2of2.zip
[root@centos oracle]# ls /home/oracle/ -l
-rwxrw-rw-. 1 oracle root     1361028723 6月   2 08:10 linuxamd64_12c_database_1of2.zip
-rwxrw-rw-. 1 oracle root     1116527103 6月   2 08:09 linuxamd64_12c_database_2of2.zip
切换成oracle用户解压:
[root@vn oracle]# su - oracle
[oracle@host ~]$ unzip linuxamd64_12c_database_1of2.zip
[oracle@host ~]$ unzip linuxamd64_12c_database_2of2.zip
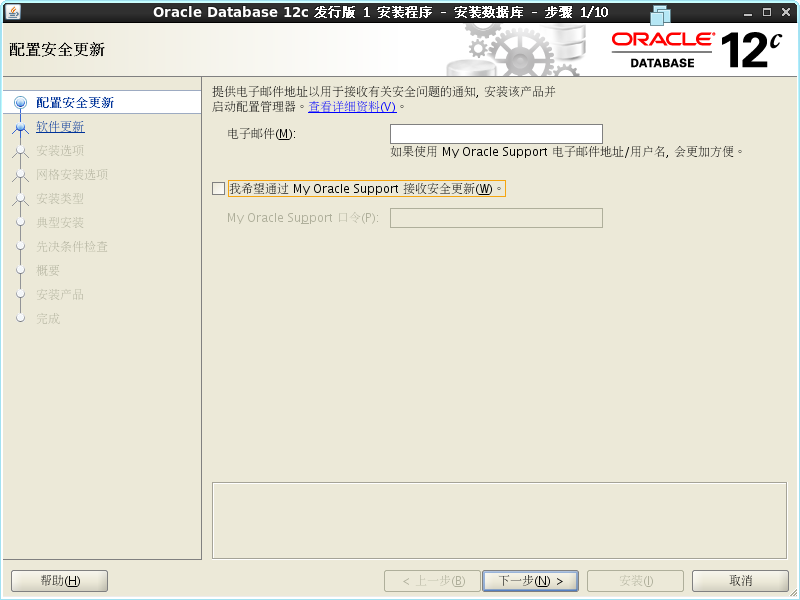
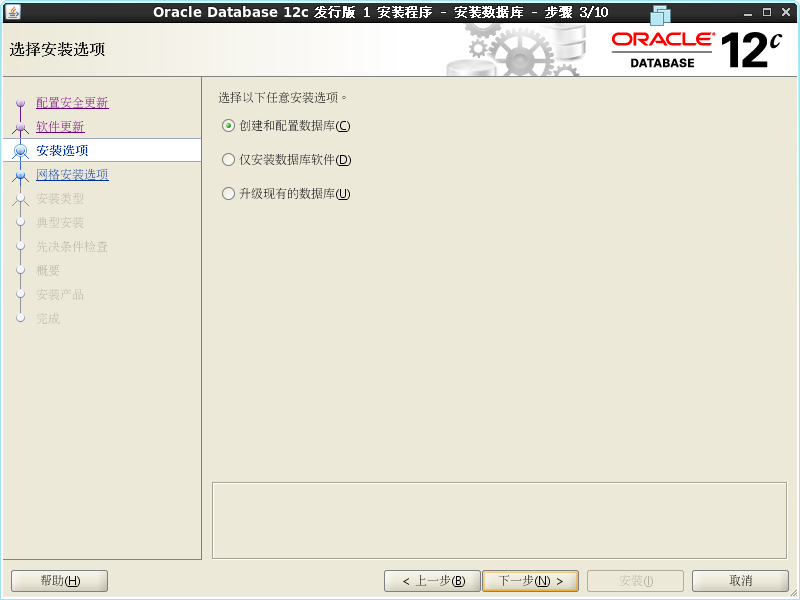
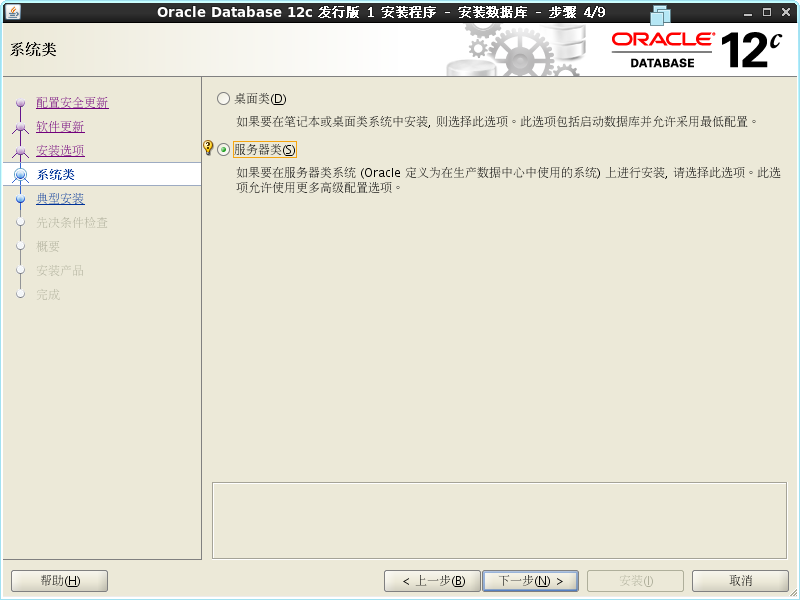
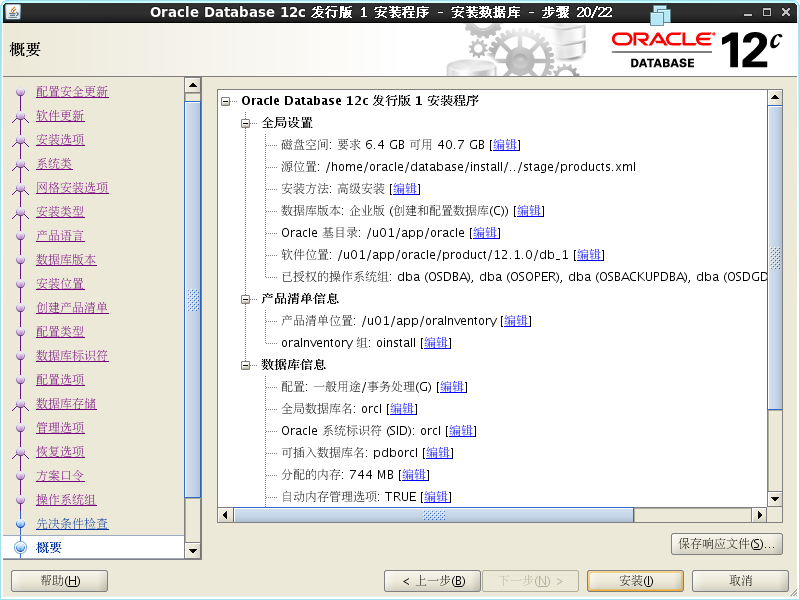
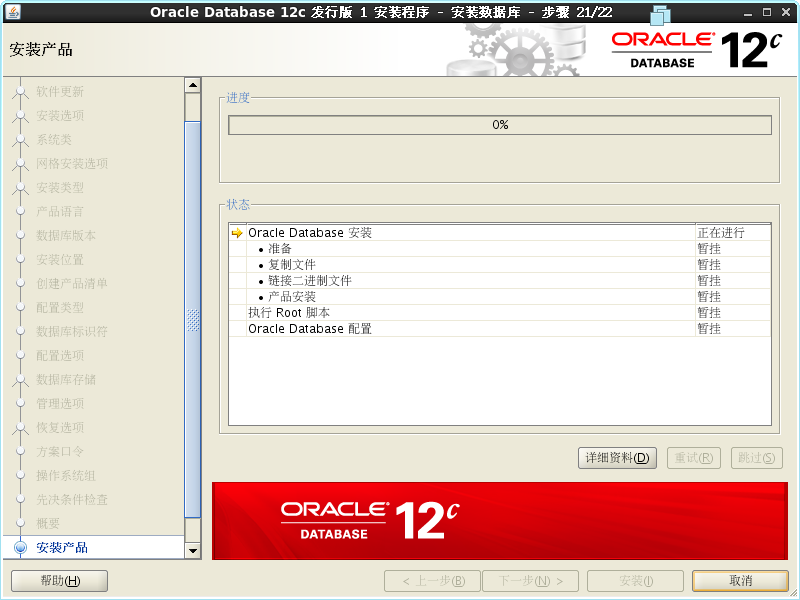
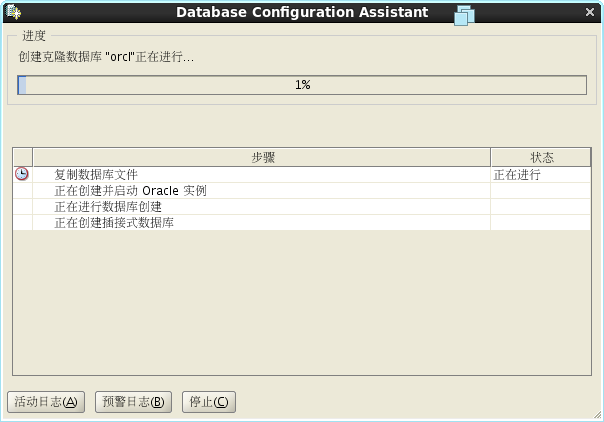
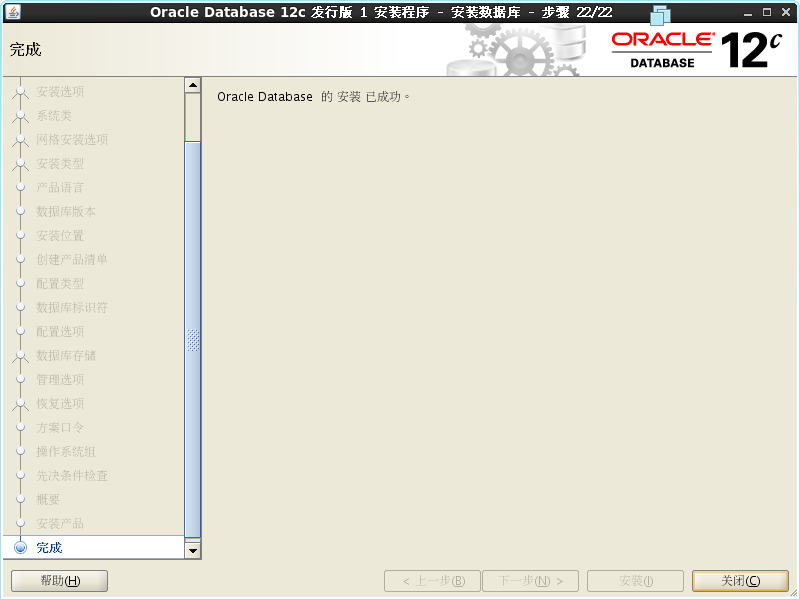
11、以oracle用户登录图形界面进行安装(此处需要从虚拟机执行,不能xshell执行)
[oracle@vn database]$ ./runInstaller
正在启动 Oracle Universal Installer...
检查临时空间: 必须大于 500 MB。 实际为 39610 MB 通过
检查交换空间: 必须大于 150 MB。 实际为 3999 MB 通过
检查监视器: 监视器配置至少必须显示 256 种颜色。 实际为 16777216 通过
准备从以下地址启动 Oracle Universal Installer /tmp/OraInstall2015-06-08_08-52-17PM. 请稍候...


/u01/app/oraInventory/orainstRoot.sh
/u01/app/oracle/product/12.1.0/db_1/root.sh
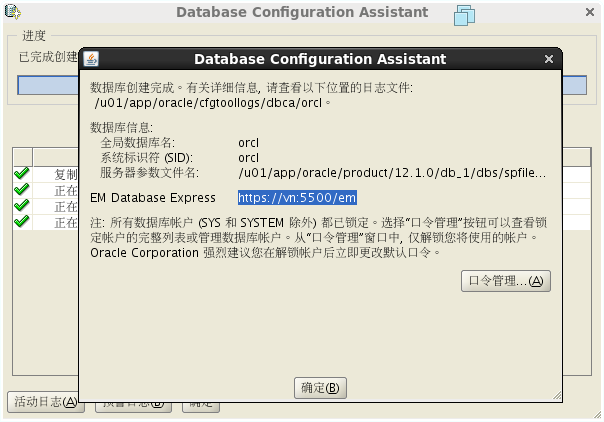

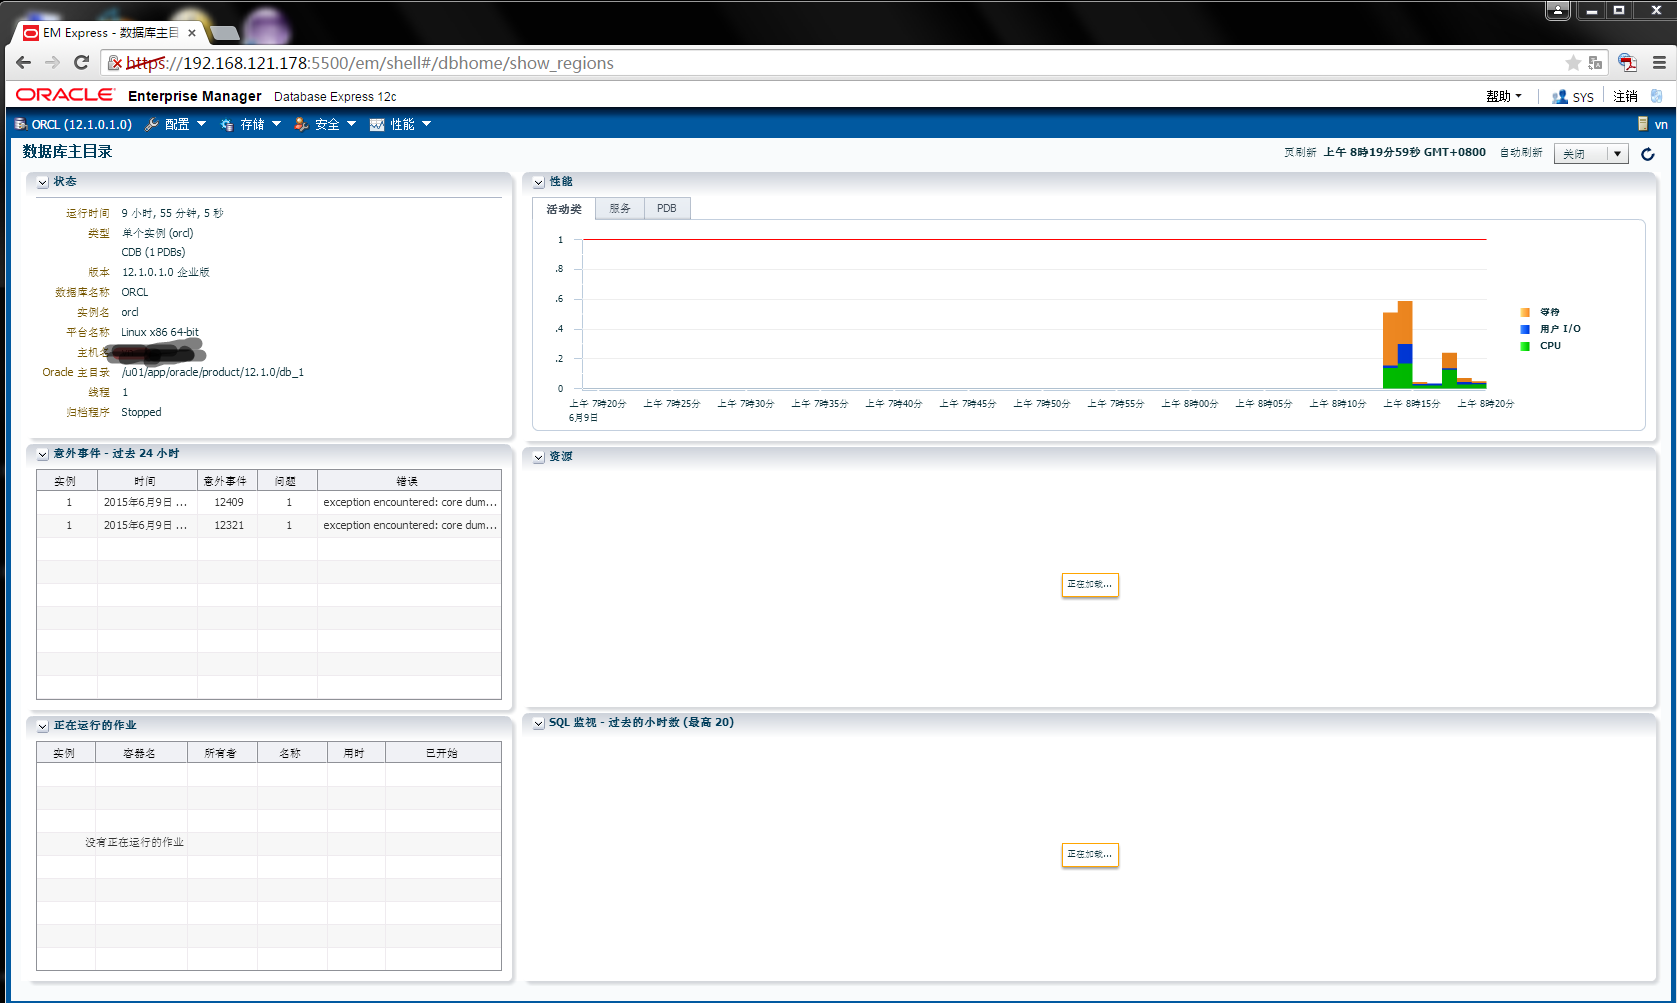
[oracle@host ~]$ sqlplus "sys /as sysdba"
SQL> startup
SQL> SELECT status from v$instance;
SQL> shutdown immediate;
Database closed.
Database dismounted.
ORACLE instance shut down.

 浙公网安备 33010602011771号