Github Pages + Jekyll 搭建项目wiki(完整版)
网站托管
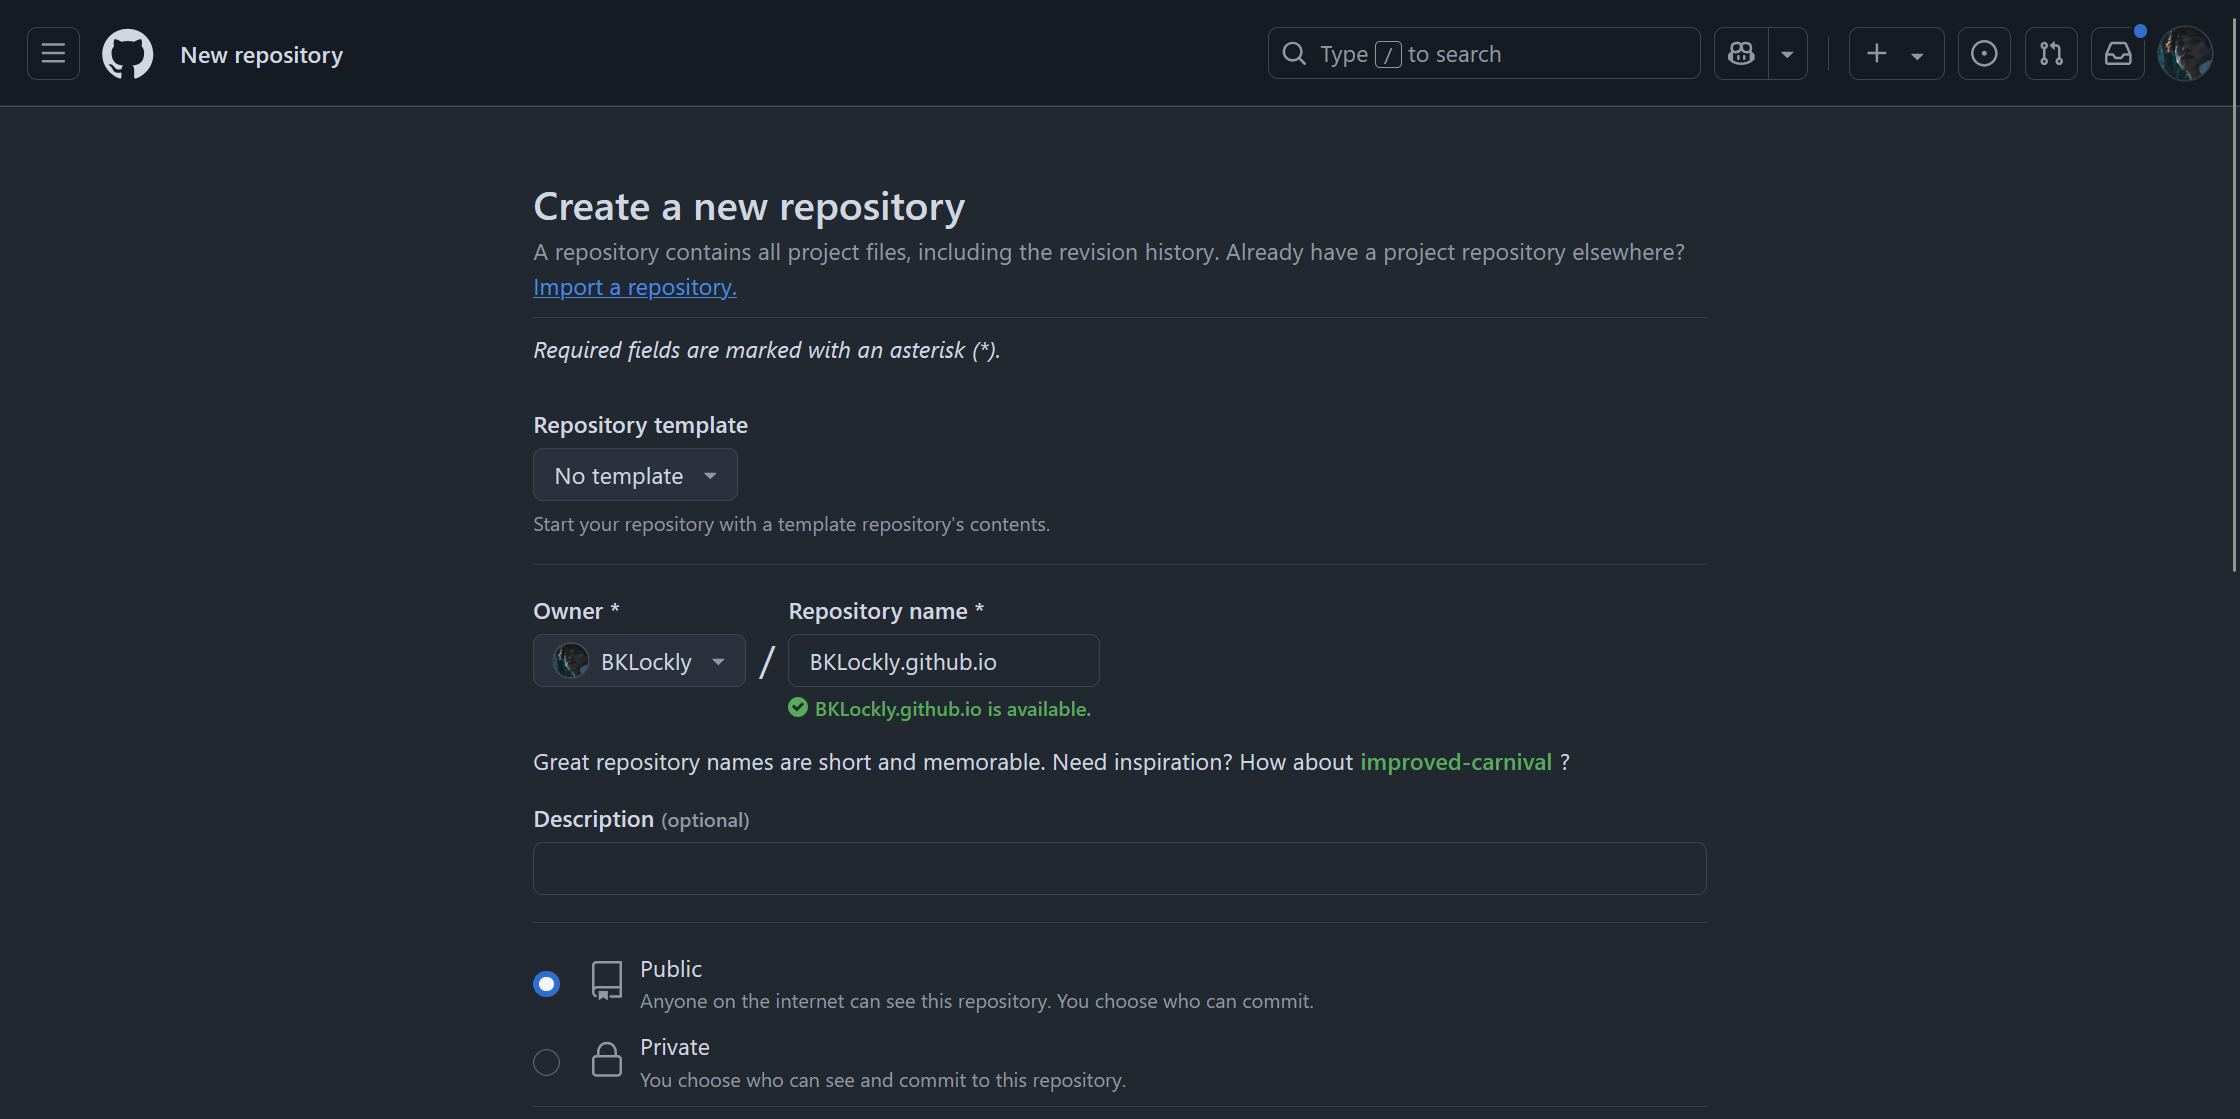
创建新仓库
创建以自己名字为前缀, .github.io为后缀的仓库
在仓库的Settings中的Pages里设置Build and deployment为Github Action
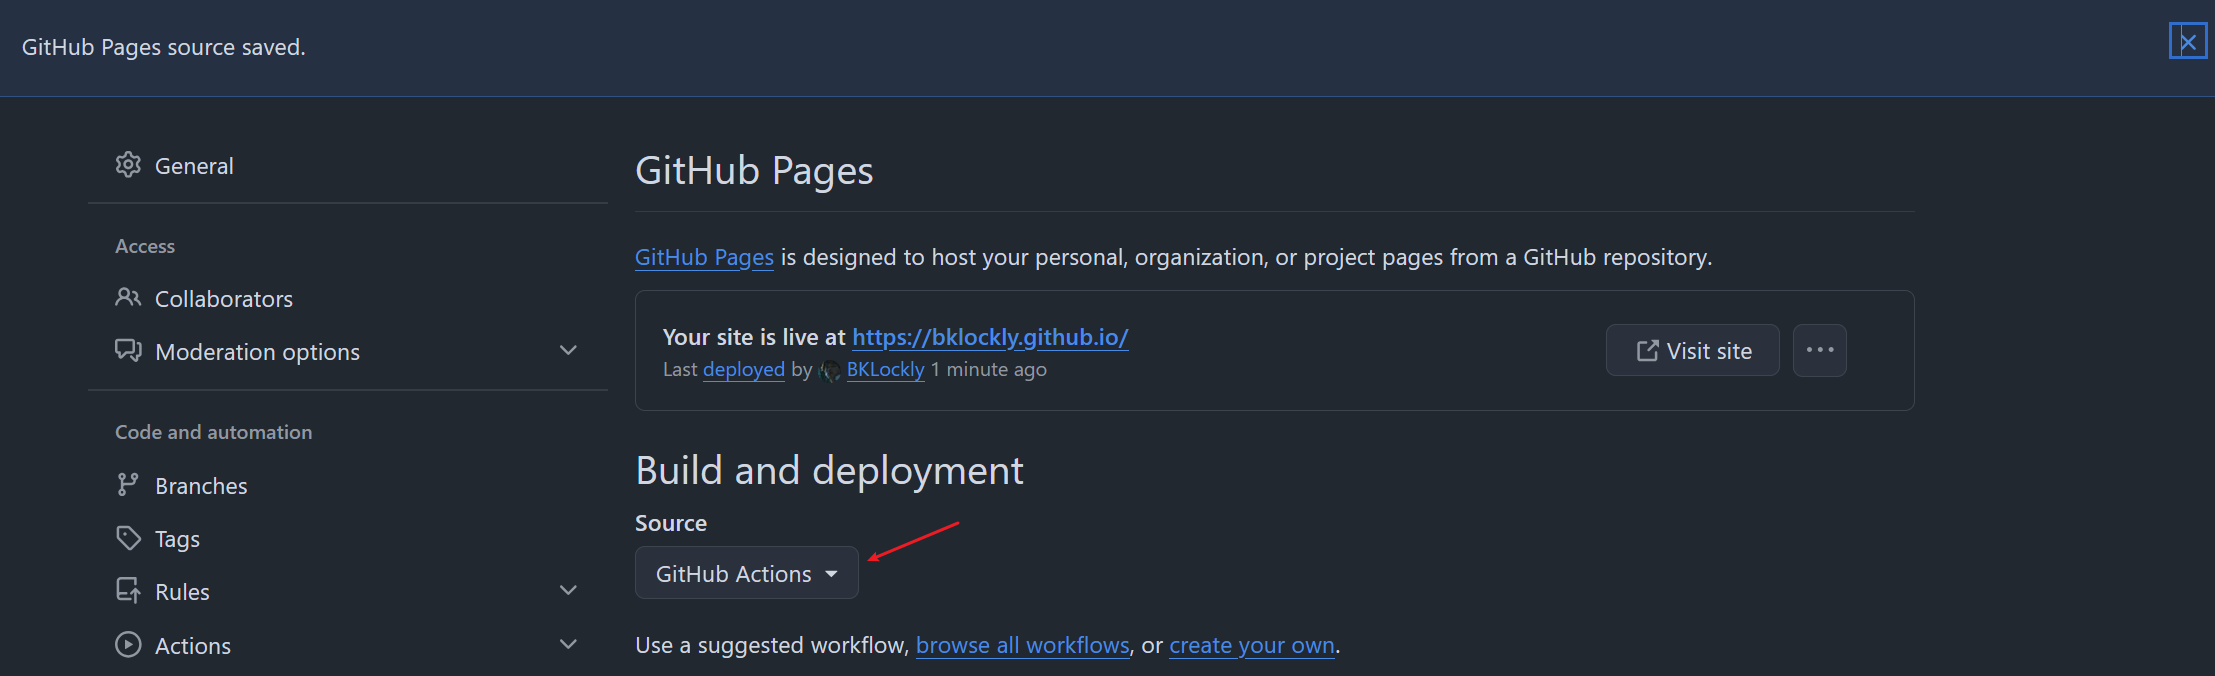
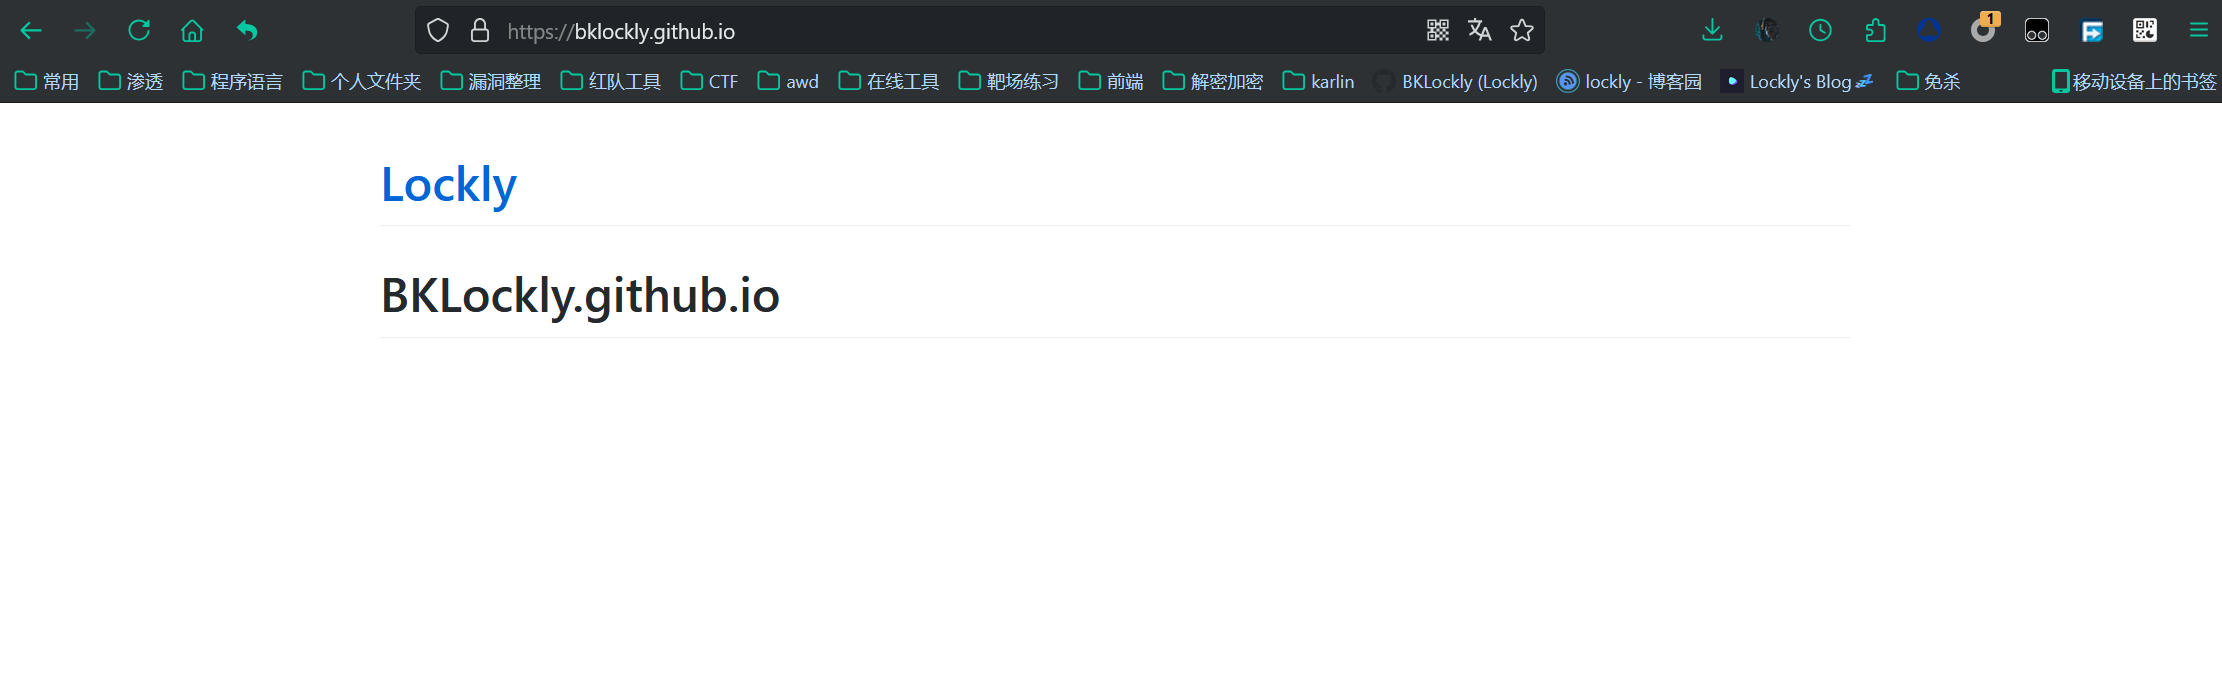
过一会即可跳转域名访问自己的页面
fork仓库
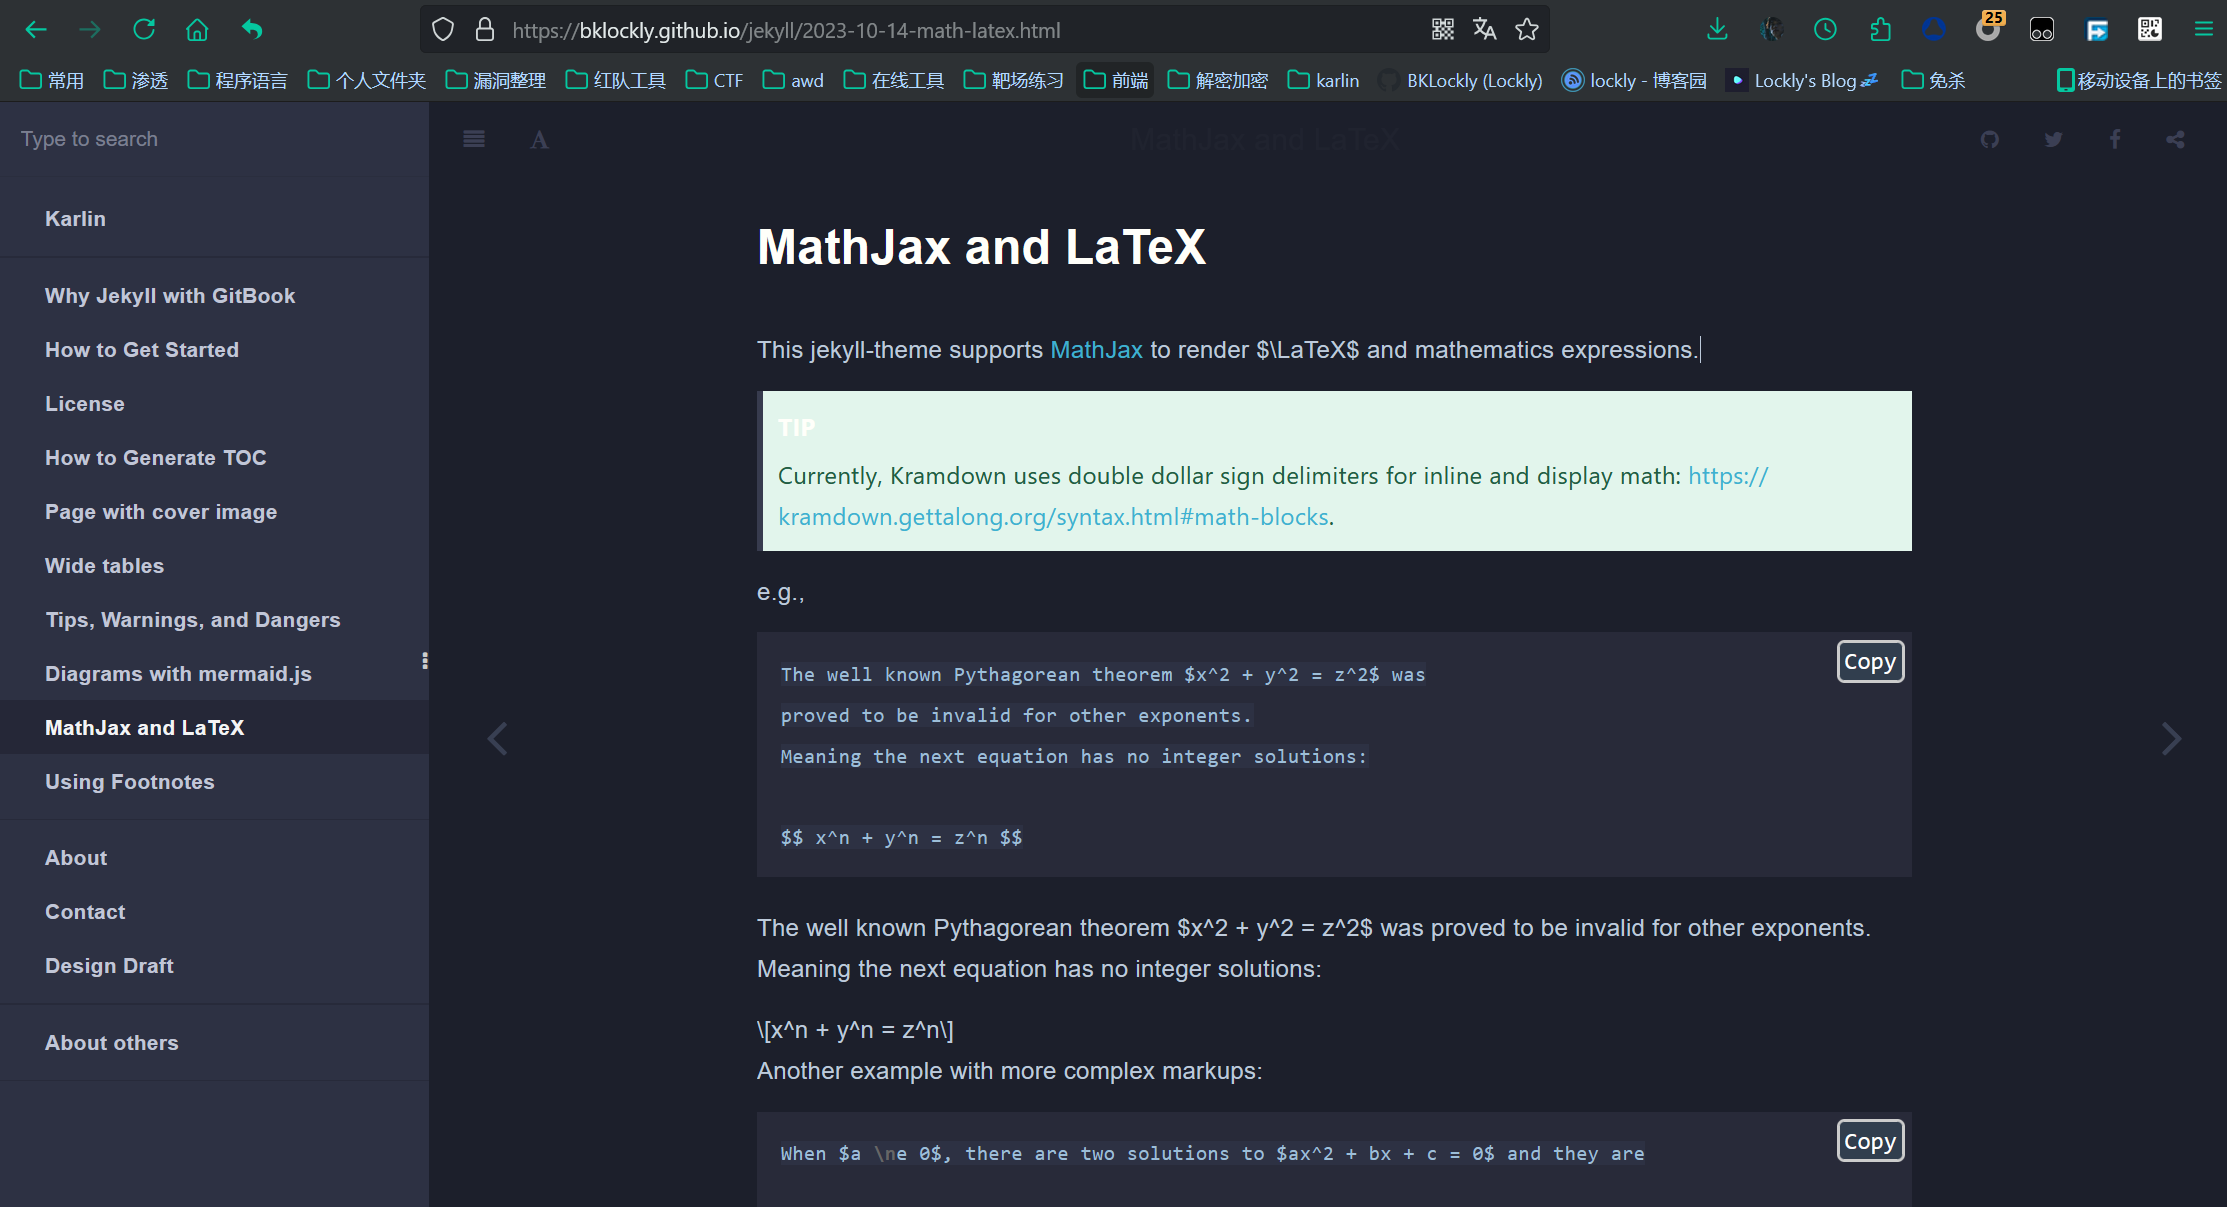
另外一种方法, 直接fork主题仓库,可以从官方主题这里获取更多。比如我使用的类似gitbook简约风格: sighingnow/jekyll-gitbook(使用了就给作者一个star), 然后把仓库名该成上述, 也是修改Build and deployment为Github Action, 等部署完毕:
本地调试
安装ruby
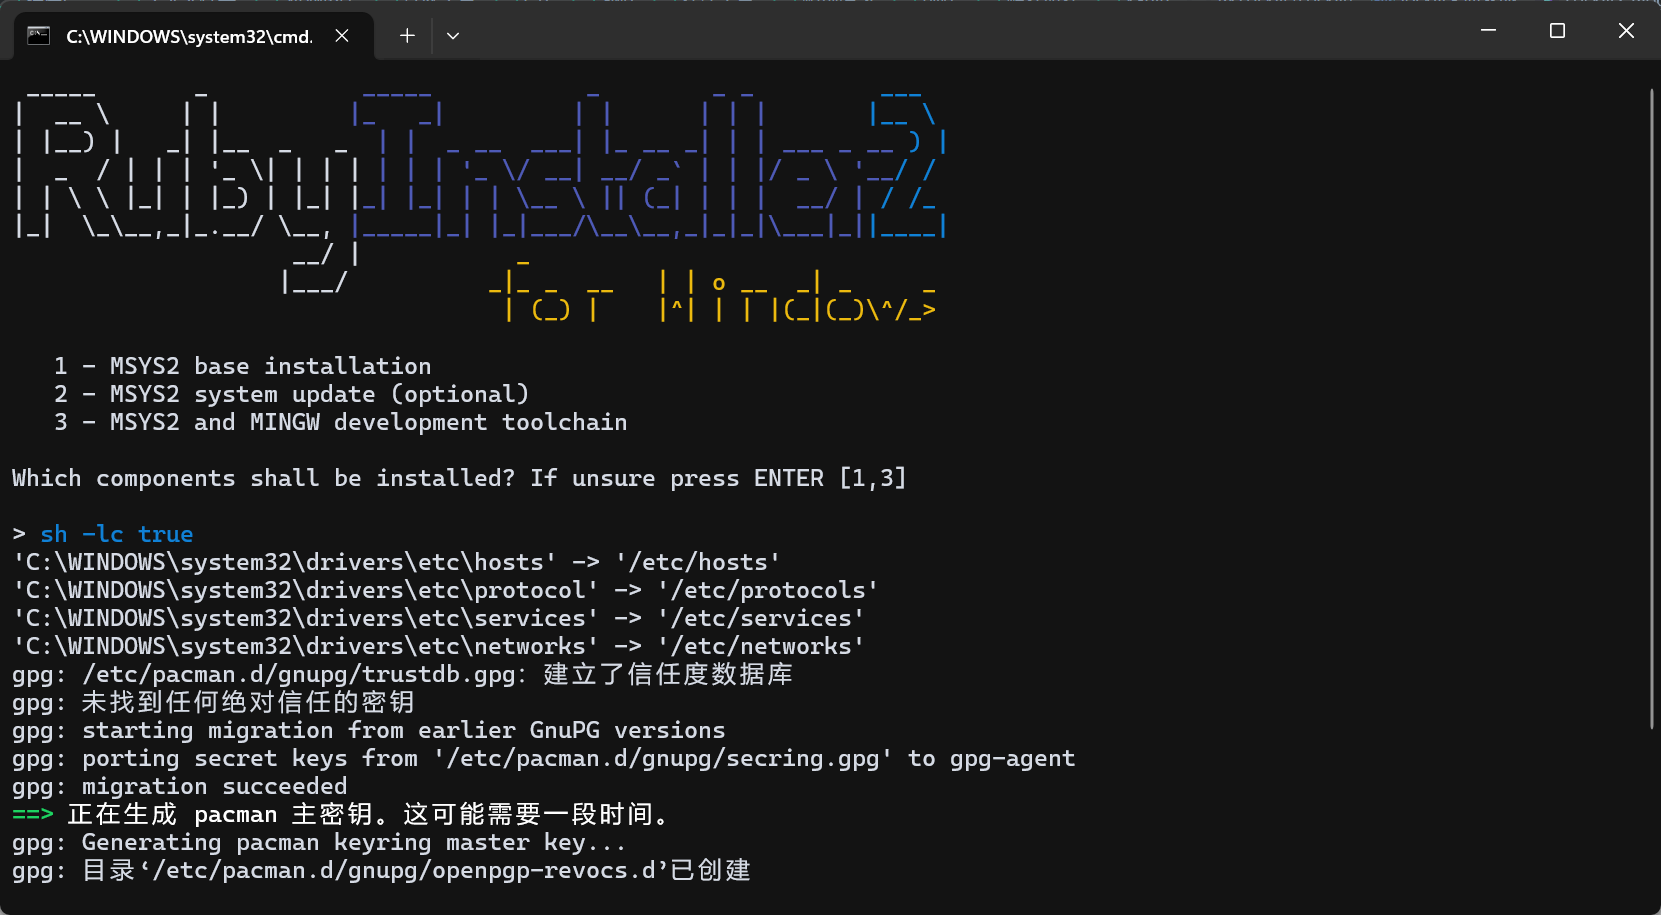
官网地址: rubyinstaller.org/downloads/, 下载后安装, 进入这里直接回车
安装RubyGems
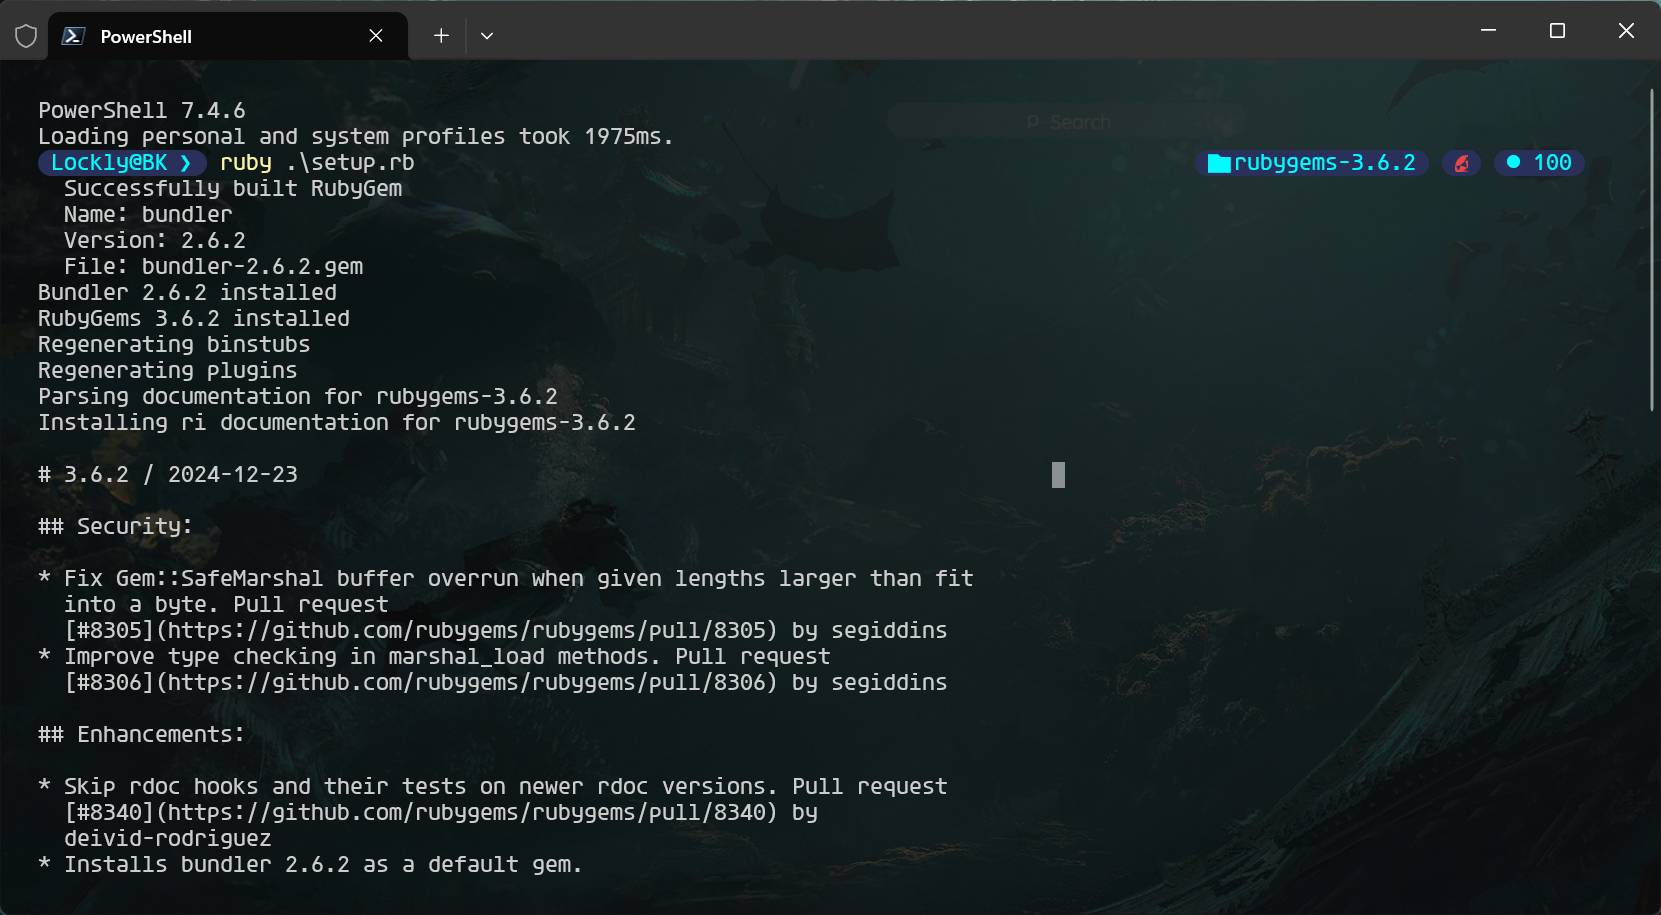
官网地址:https://rubygems.org/pages/download, 下载解压, 到其目录下执行
ruby .\setup.rb
完成后安装bundler,jekyll
gem install bundler
gem install jekyll
jekyll -v

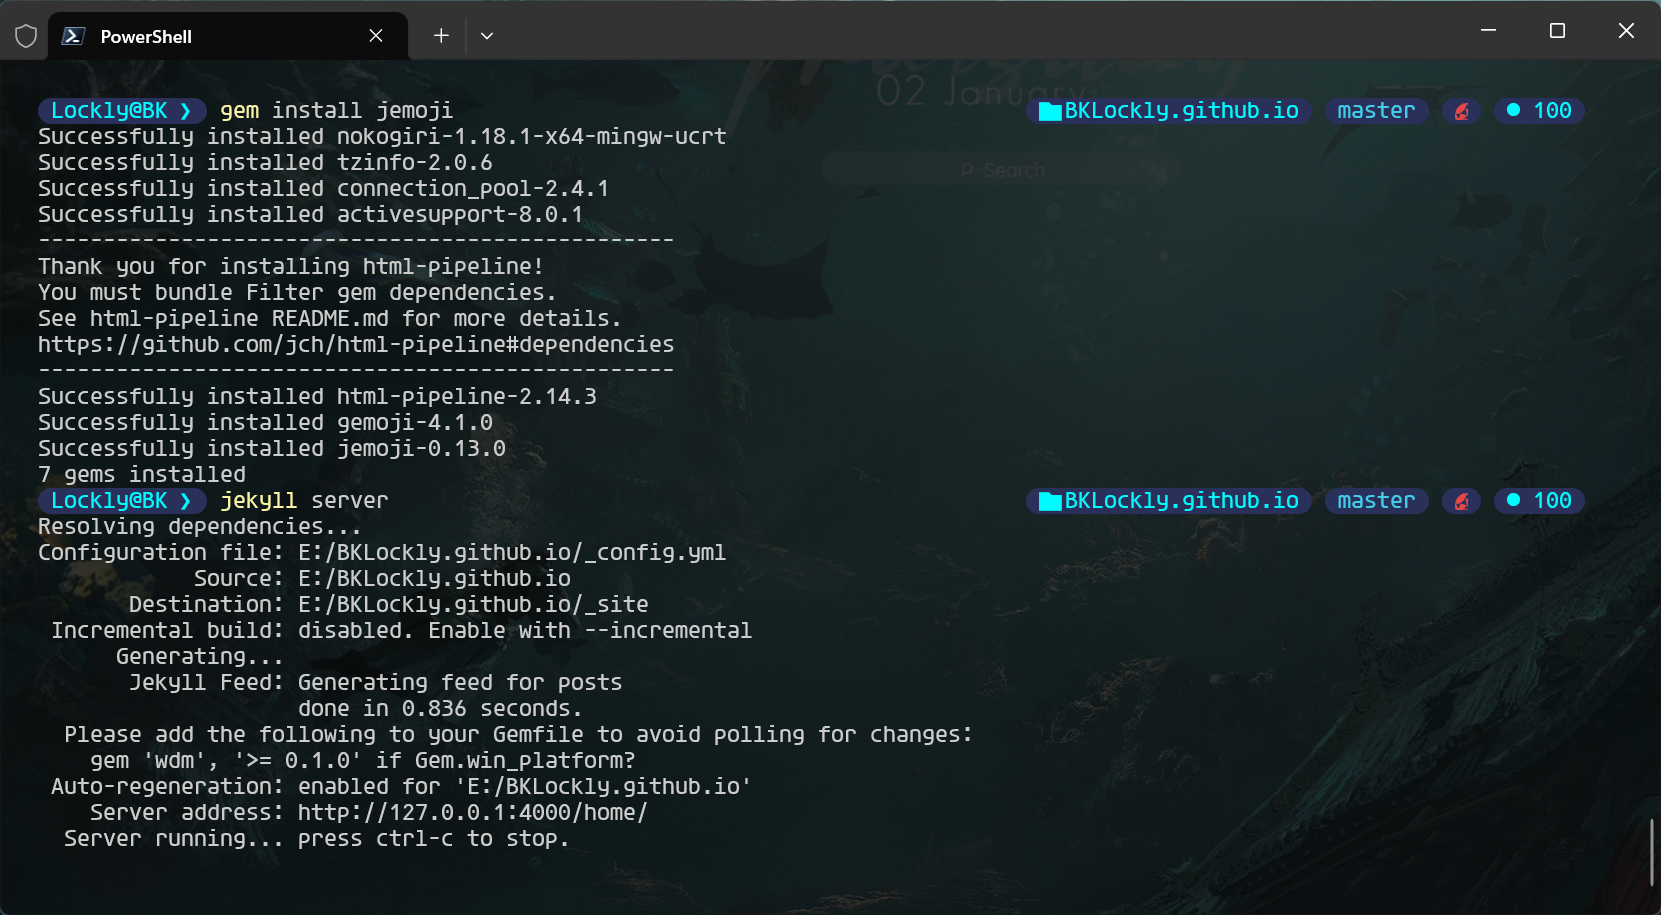
然后把自己的仓库拉下来,切换到目录下
jekyll server
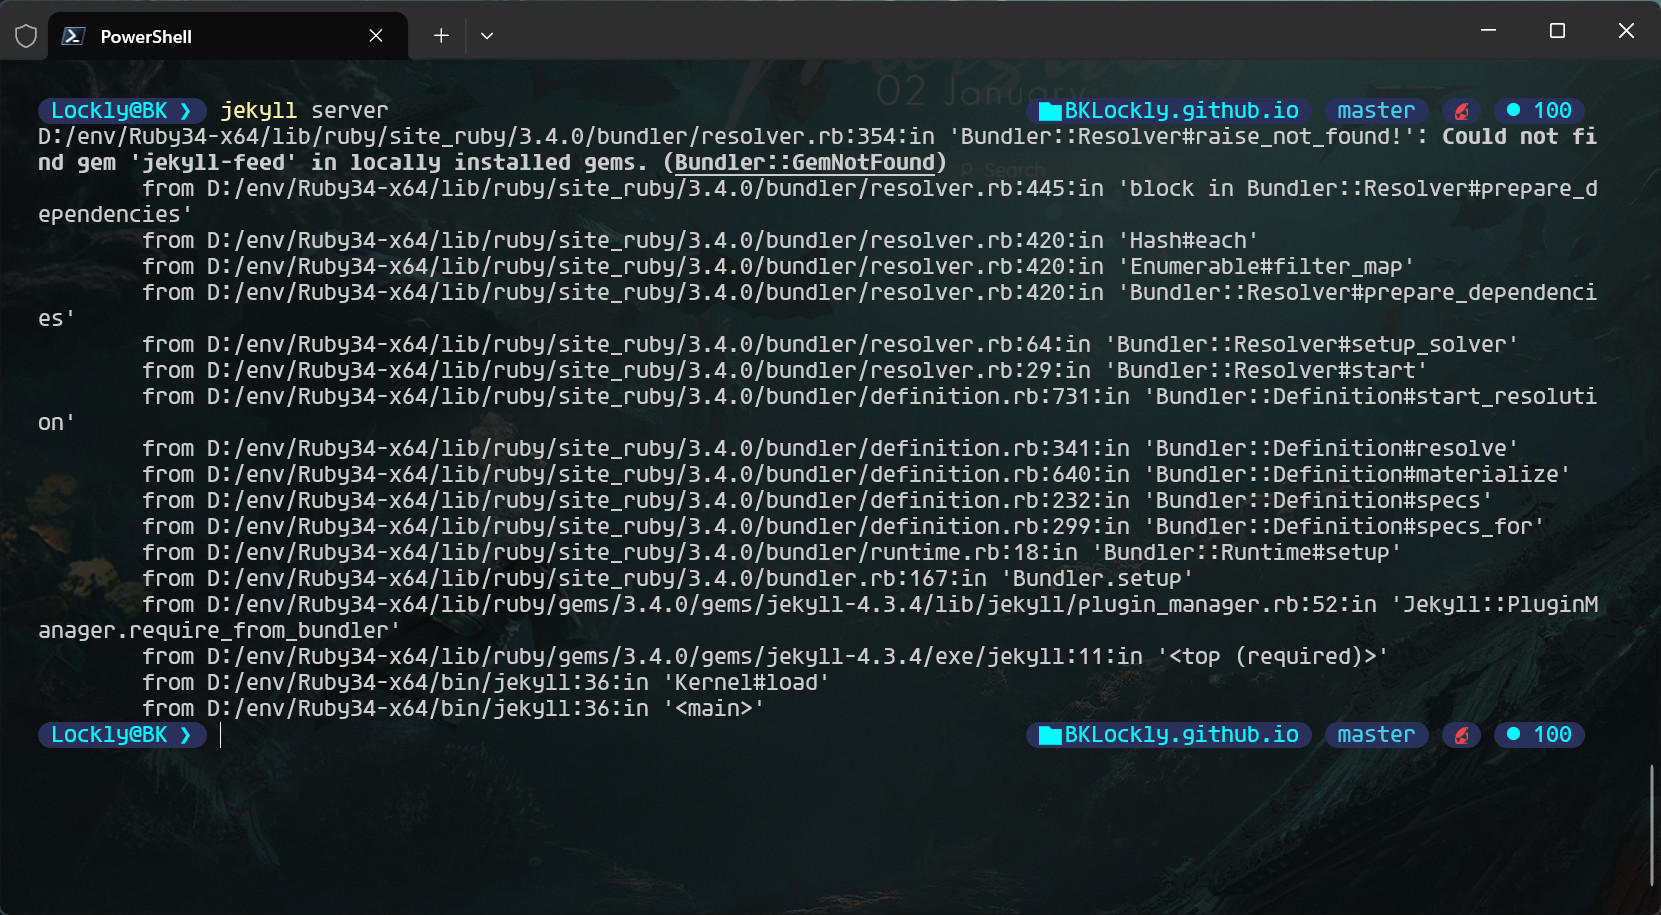
报错缺少jekyll-feed
gem install jekyll-feed
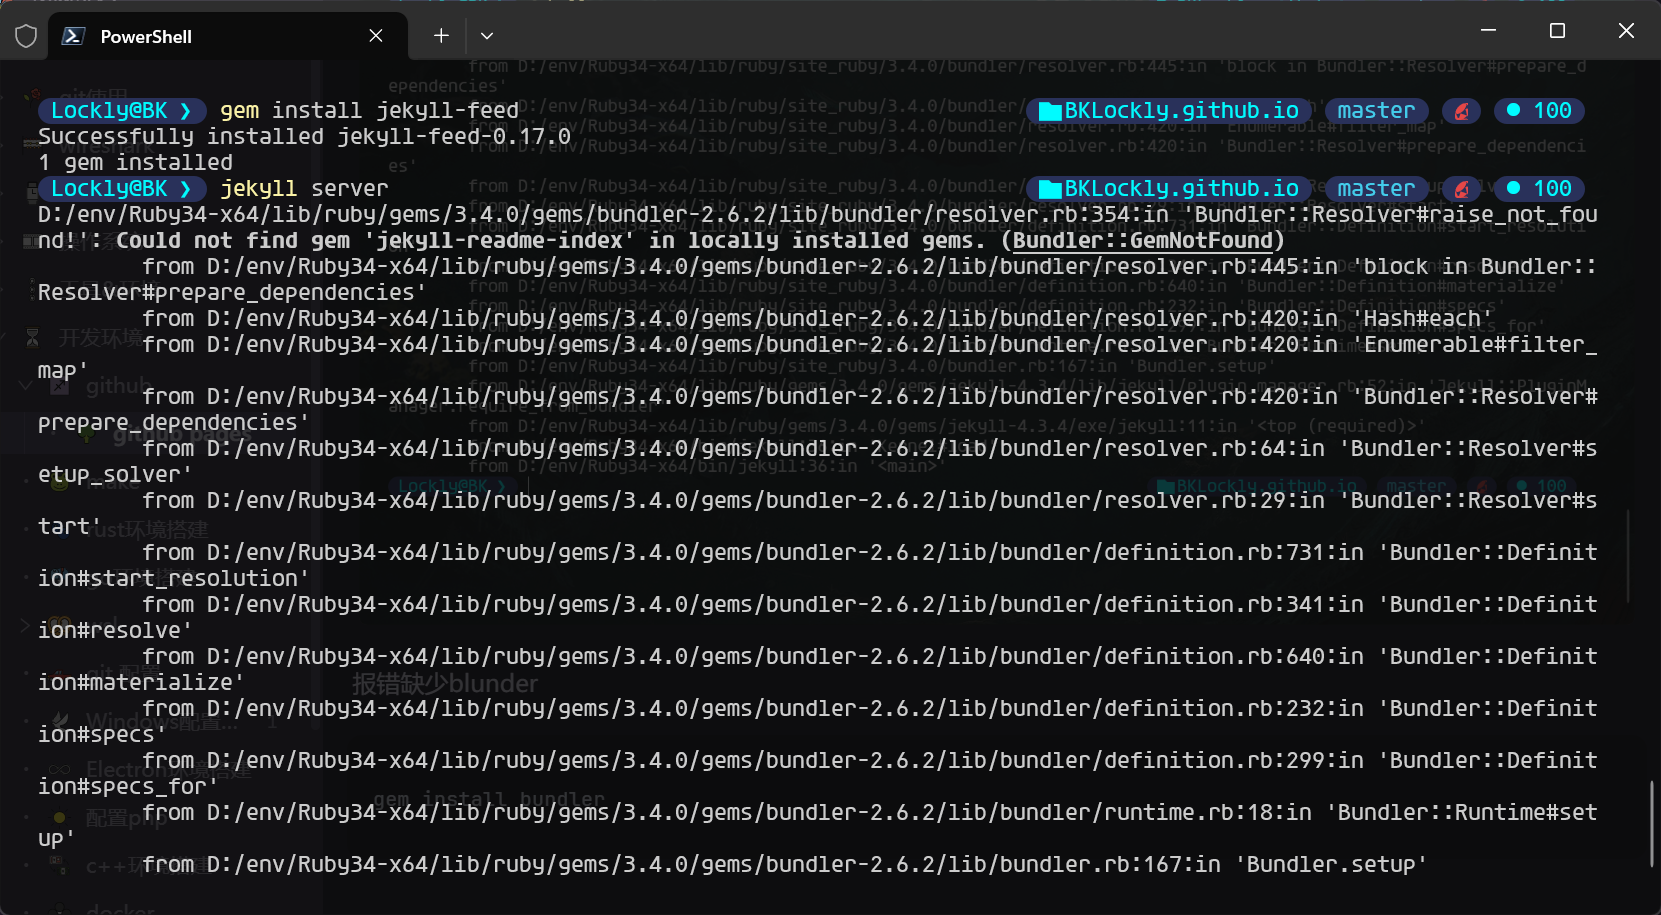
然后还缺少以下, 安装后再次运行成功
gem install jekyll-readme-index
gem install jemoji
gem install webrick
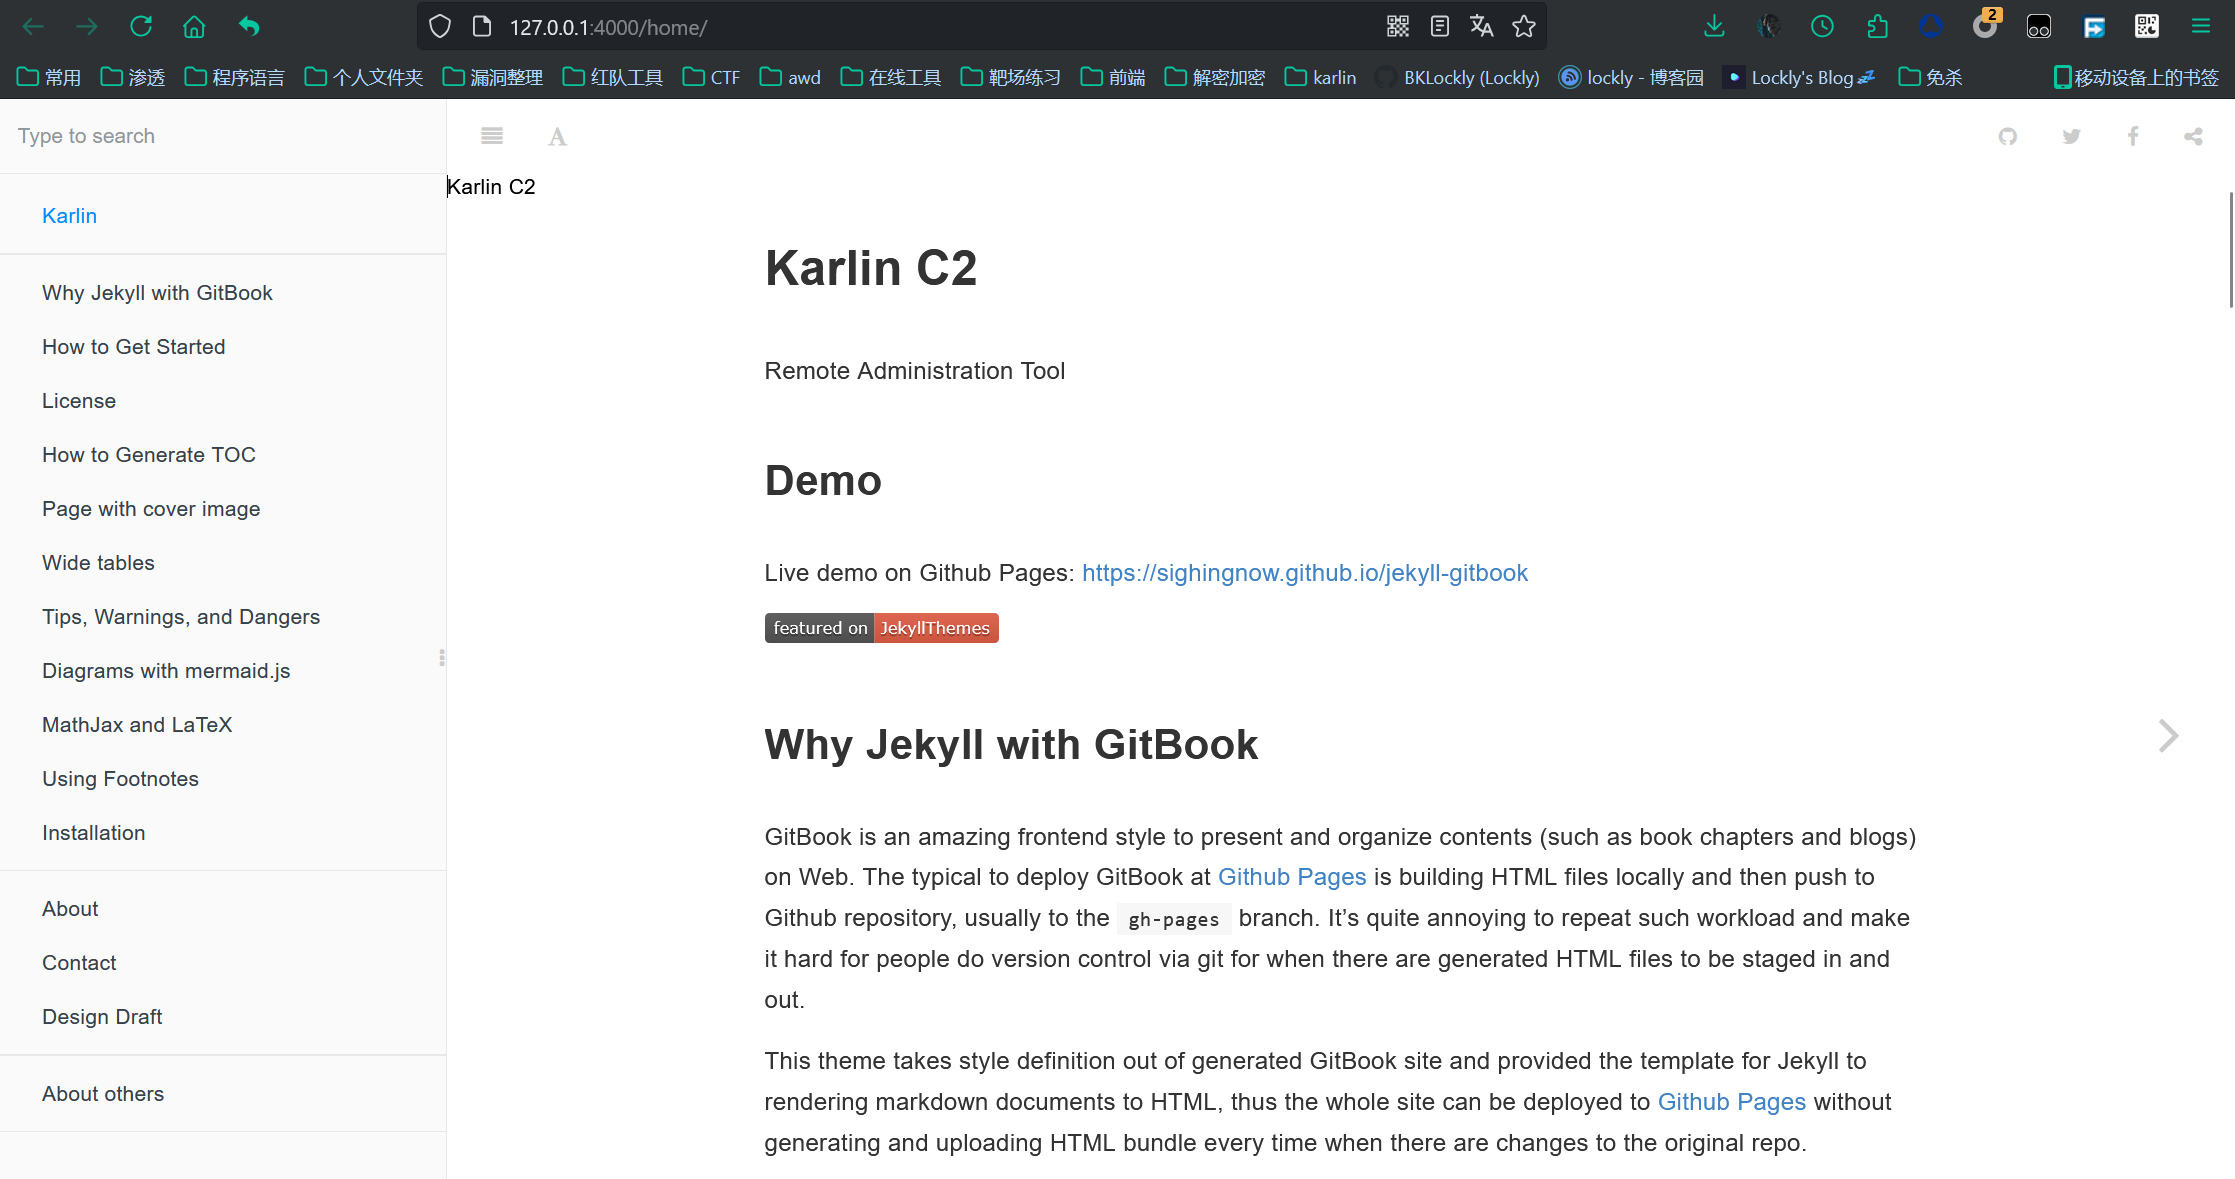
然后访问url:
修改
先调整_config.yaml, 如下是默认的, 可以看到我上面其实已经有了修改的, 以下自行修改
# Configurations
title:            Jekyll Gitbook
longtitle:        Jekyll Gitbook
author:           HE Tao
email:            sighingnow@gmail.com
description: >
  Build Jekyll site with the GitBook style.

version:          1.0
gitbook_version:  3.2.3

url:              'https://sighingnow.github.io'
baseurl:          '/jekyll-gitbook'
rss:              RSS

# bootstrap: use the remote theme for the site itself
remote_theme: sighingnow/jekyll-gitbook

toc:
  enabled: true
  h_min:   1
  h_max:   3

# customize the link favicon in header, will be {{site.baseurl}}/{{site.favicon_path}}
favicon_path:     /assets/gitbook/images/favicon.ico

# markdown render engine.
markdown:         kramdown
kramdown:
  auto_ids:               true
  input:                  GFM
  math_engine:            mathjax
  smart_quotes:           lsquo,rsquo,ldquo,rdquo
  toc_levels:             1..6
  syntax_highlighter:     rouge
  syntax_highlighter_opts:
    guess_lang:           true

syntax_highlighter_style: colorful

markdown_ext:             markdown,mkdown,mkdn,mkd,md

# Permalinks
permalink:                /:categories/:year-:month-:day-:title:output_ext

# Disqus comments
# disqushandler:            sighingnow

exclude:
  - _drafts

collections:
  pages:
    output: true
    permalink: /:collection/:path/
  others:
    output: true
    permalink: /:collection/:path/

ordered_collections:
  - posts
  - pages
  - others

page_width: 800px

destination:      ./_site
incremental:      false
regenerate:       true

plugins:
  - jekyll-feed
  - jekyll-readme-index
  - jemoji
添加文章
自己新建文章就要在根目录中的_posts目录下创建markdown, 这里的markdown命名必须要符合其规范, 名称前加上前缀yyyy-mm-dd, 比如: 2025-01-03-hi.md
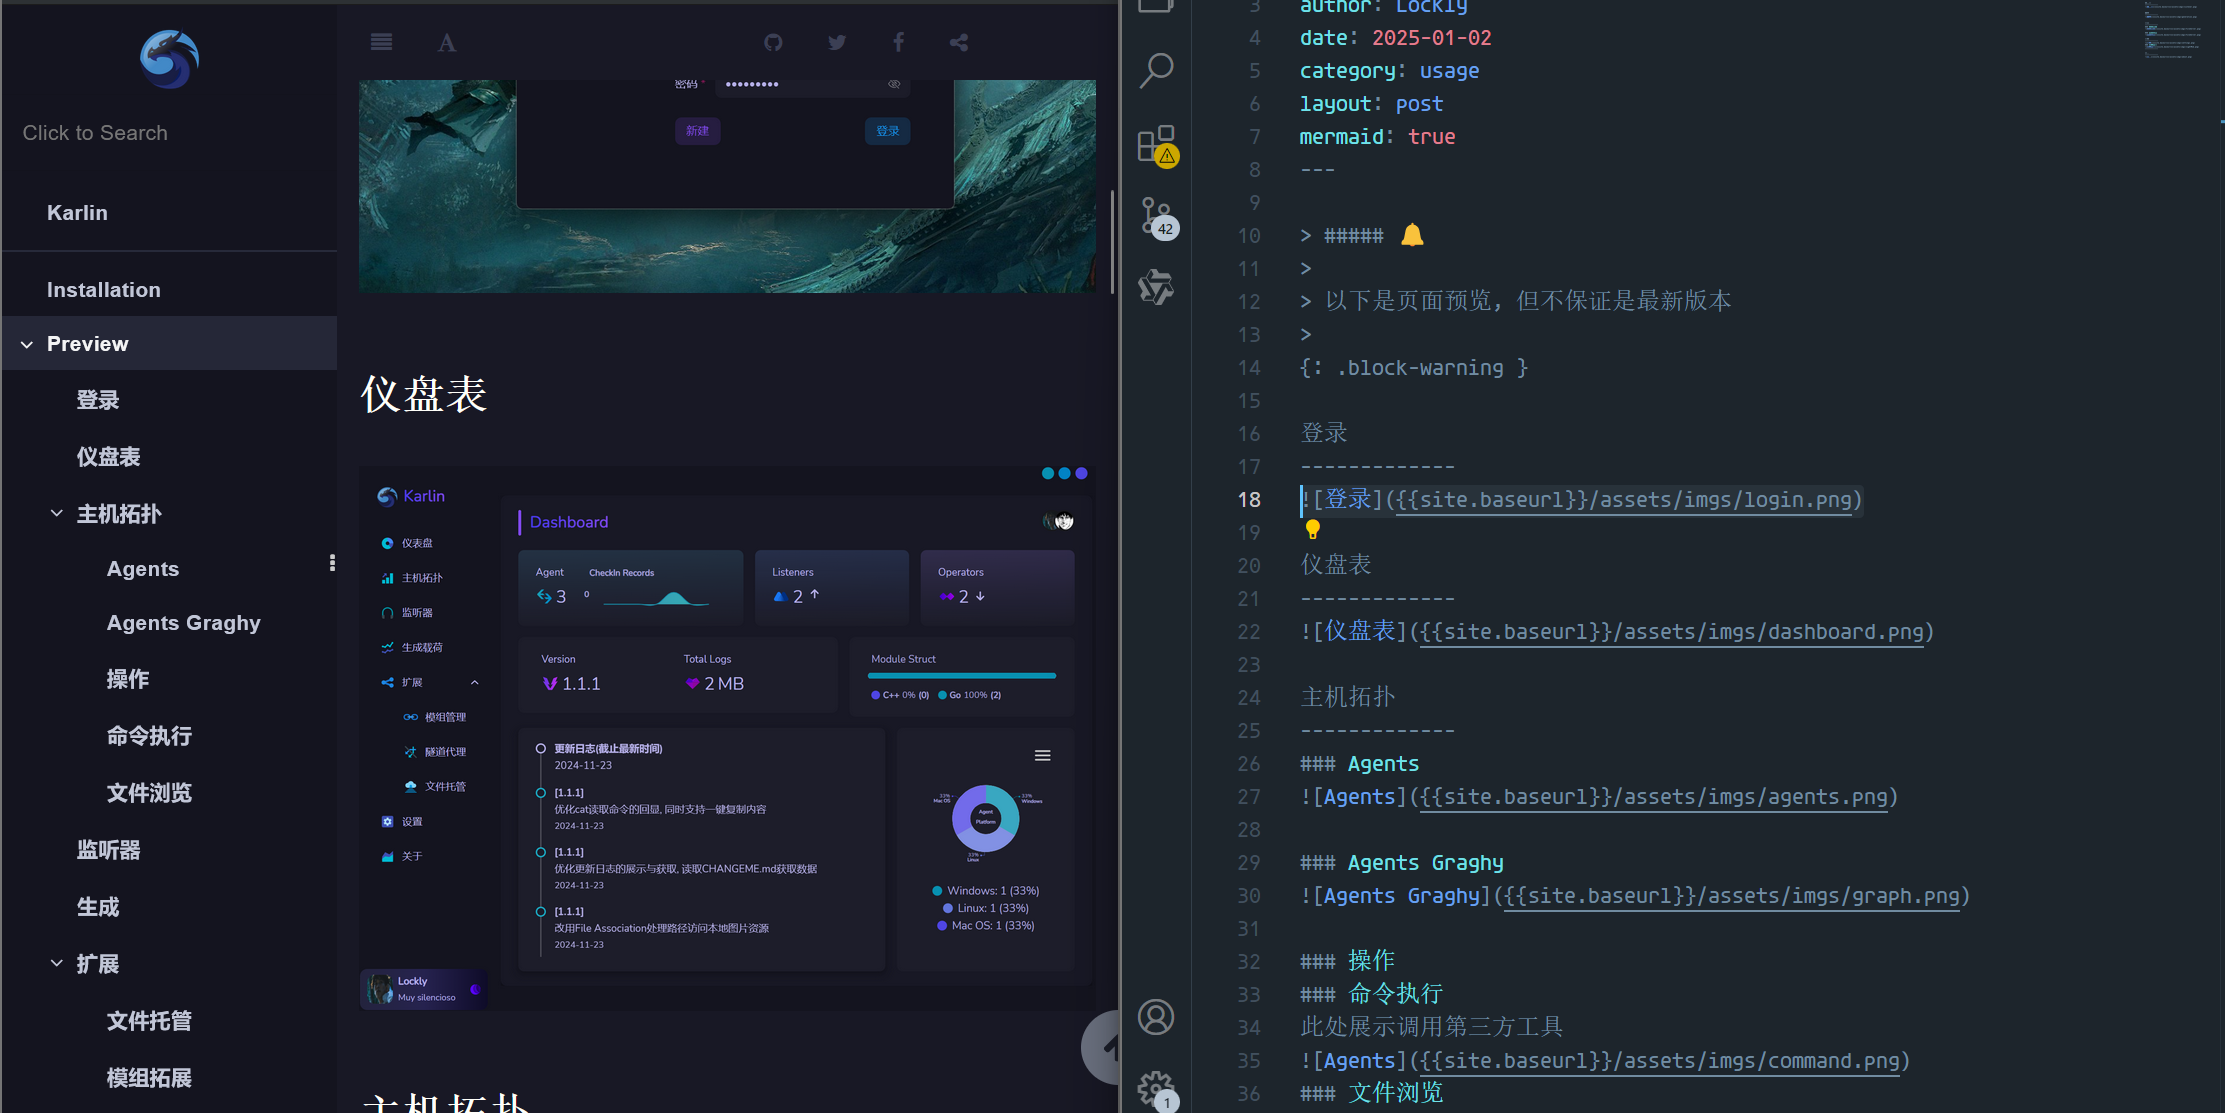
图片路径
比如现在在本地部署显示, 那么图片的url可以填写为http:.//127.0.0.1:4000/base/assets/imgs/1.png,其中base为上面的_config.yml中配置的baseurl, 但这样不方便, 可以使用这样的写法:
{{site.baseurl}}/assets/imgs/login.png
修改默认字体和主题
在./assets/gitbook/gitbook-plugin-fontsettings/fontsettings.js中,大约131~151行,将默认返回第三个主题,即id为2的dark主题, 字体则为id为1的Sans,修改为如下:
    // Default to first font-family
    function getFontFamilyId(configName) {
        // Search for plugin configured font family
        var configFamily = $.grep(FAMILIES, function(family) {
            return family.config == configName;
        })[0];
        // Fallback to default font family
        return (!!configFamily)? configFamily.id : 1;
    }

    // Return the correct id for a theme config key
    // Default to first theme
    function getThemeId(configName) {
        // Search for plugin configured theme
        var configTheme = $.grep(THEMES, function(theme) {
            return theme.config == configName;
        })[0];
        // Fallback to default theme
        return (!!configTheme)? configTheme.id : 0;
    }
侧边栏分类标题
在_includes\toc-date.html中直接找:<!-- <p>{{ collection.label }}</p> -->。共有两处这是作者注释掉的,这里取消注释后不是很好看,我修改了一下,先在第一处位置添加如下:
{% if collection.label == "posts" %}
	<li class="collection-header">USAGES</li>
{% else %}
	<li class="collection-header">{{ collection.label }}</li>
{% endif %}
<!-- 或者下面的这种,看自己的能不能接受文章那里显示POSTS-->
<li class="collection-header">{{ collection.label }}</li>
<!-- <p>{{ collection.label }}</p> -->
第二处修改为:
<li class="collection-header">{{ collection.label }}</li>

<!-- <p>{{ collection.label }}</p> -->
然后就是定义css,在assets\gitbook\custom-local.css中添加如下:
/* This file is kept intentionally blank inside the jekyll-github-theme
 * It gets imported at the end of custom.css
 * Its purpose is for users of the theme to be able to add css rules from a blank file
 *   these get simply added to the ones already active in the layout.
 */

 .collection-header {
    color: rgba(224, 224, 224, 0.438);
    font-weight: bold;
    margin-top: 10px;
    margin-bottom: 5px;
    font-size: 1.4rem;
    text-transform: uppercase;
    padding-left: 30px;
 }
侧边栏隐藏滚动条
在assets\gitbook\gitbook-plugin-expandable-chapters-small2\expandable-chapters-small.css中添加如下:
.book .book-summary {
  overflow-y: auto;
  height: 100%;
}

.book .book-summary::-webkit-scrollbar {
  display: none;
}

.book .book-summary {
  scrollbar-width: none;
}
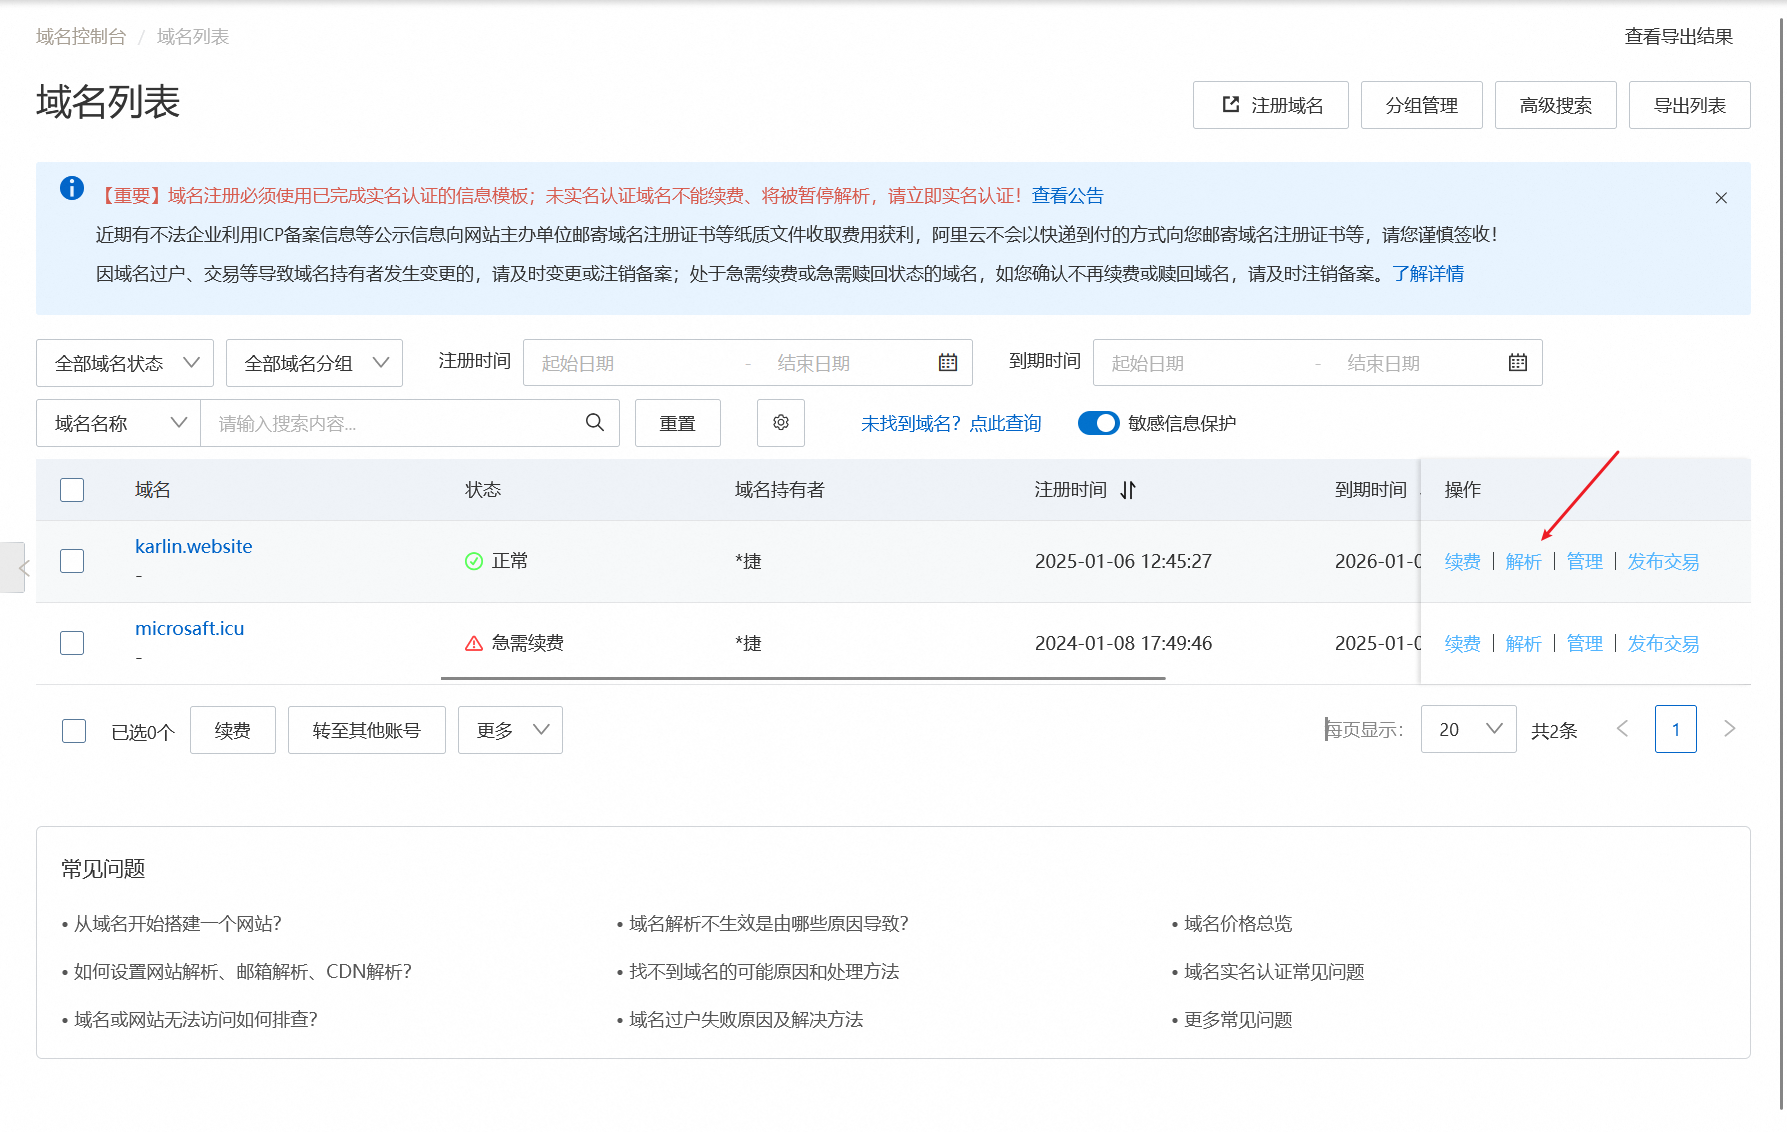
自定义域名
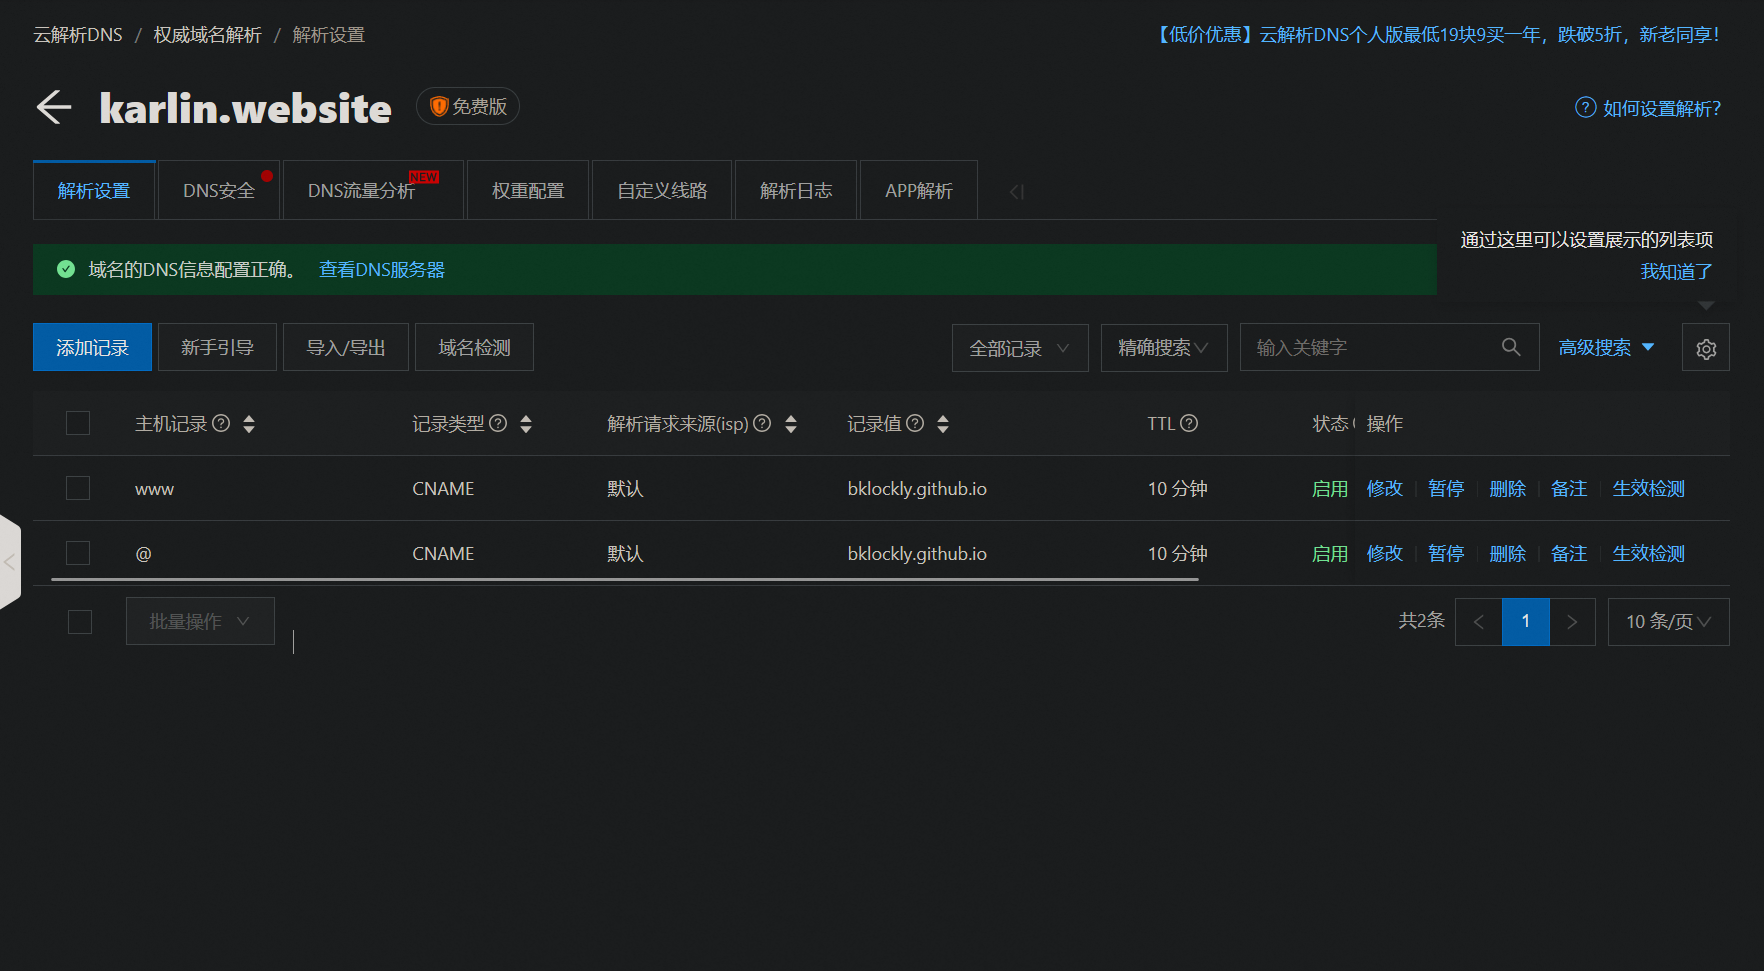
我用的是阿里云,先购买域名然后进入到管理先解析:
增加两条CNAME的解析:
-
一个是主机记录@,到username.github.io
-
一个是主机记录www,到username.github.io
比如我这里的配置:
之后在根目录下新建一个CNAME,没有后缀,然后填入自己买的域名即可。
CDN 加速
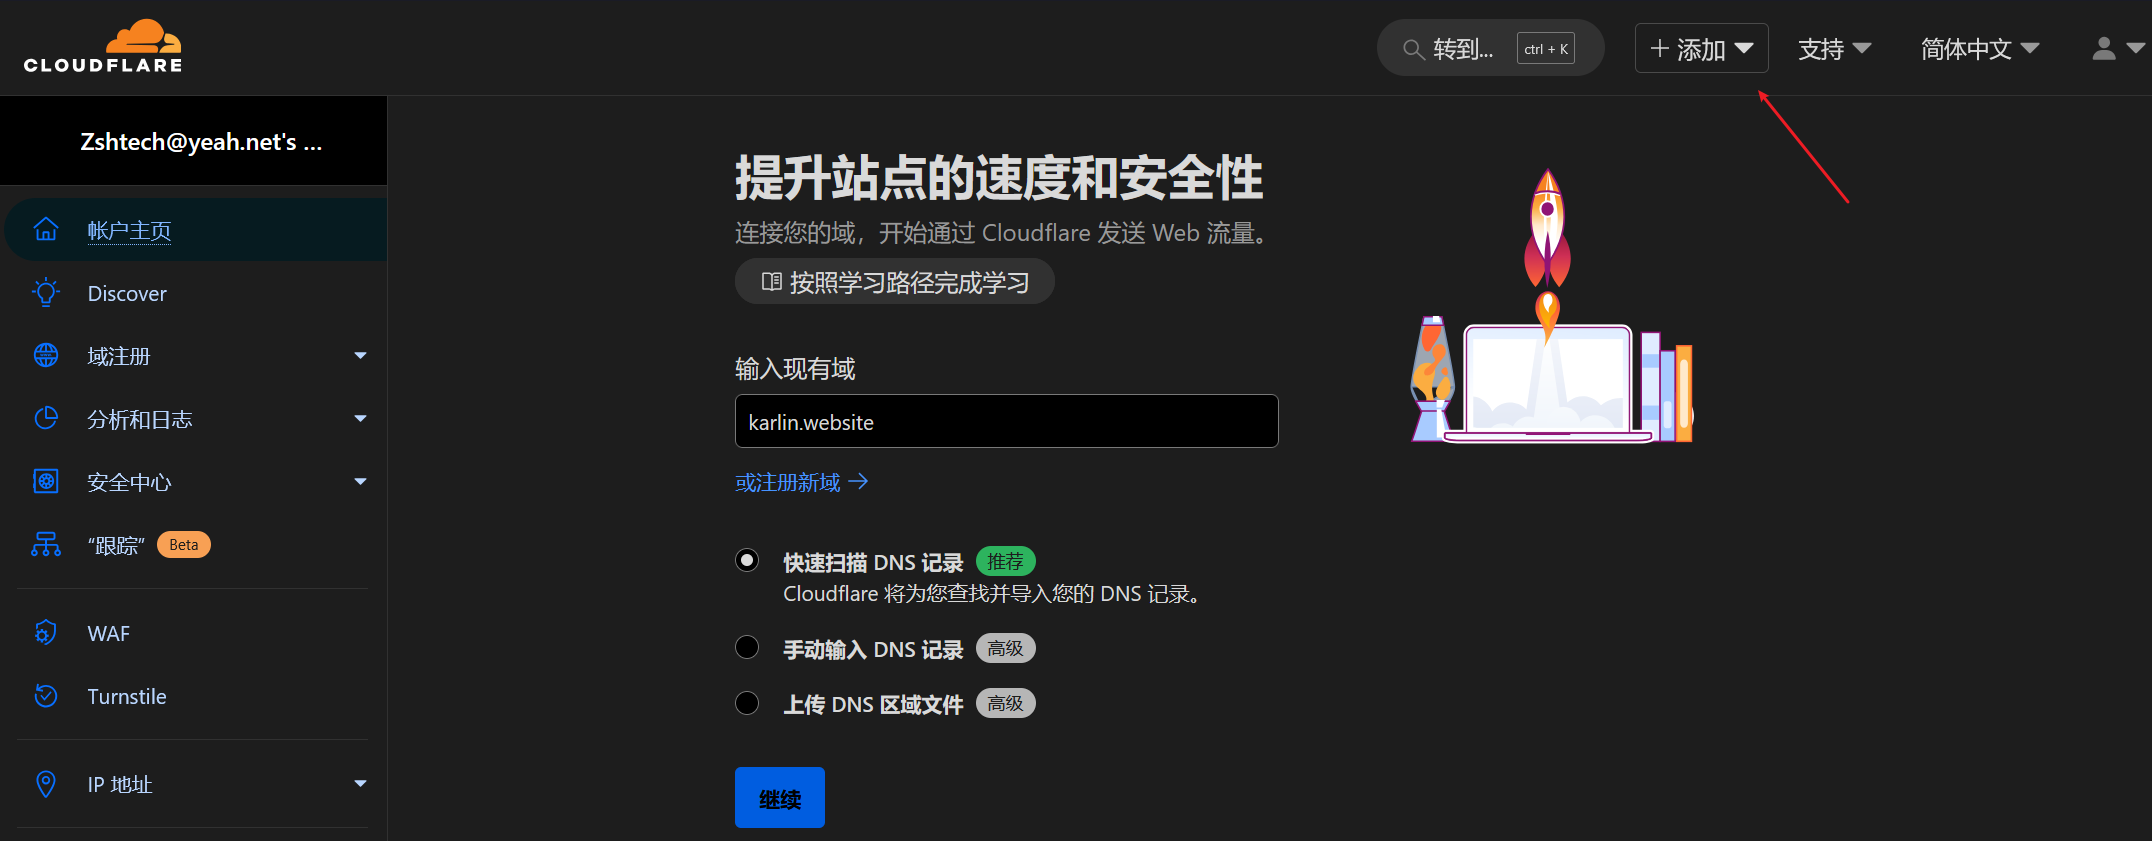
进入cloudfare, 注册账号选择添加现有域:
Cloudfare会自动扫描域名原有的DNS记录并复制,但是之前在阿里云已完成手动添加记录,所以需要全部删除,之后只需要手动添加A类型就可以。
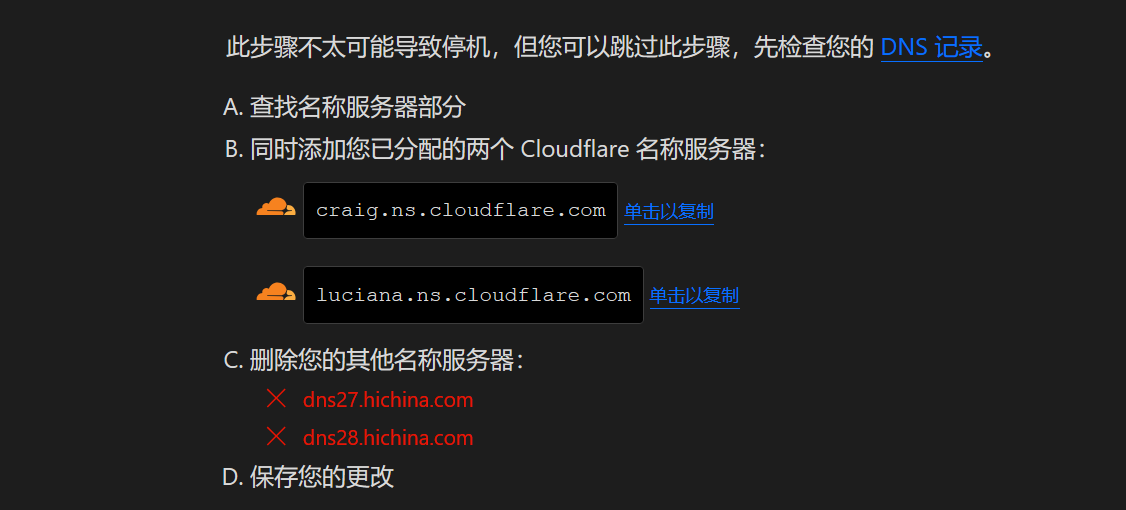
然后点击继续,选择免费计划,Cloudfare这里会提供名称服务器,将其复制过来。
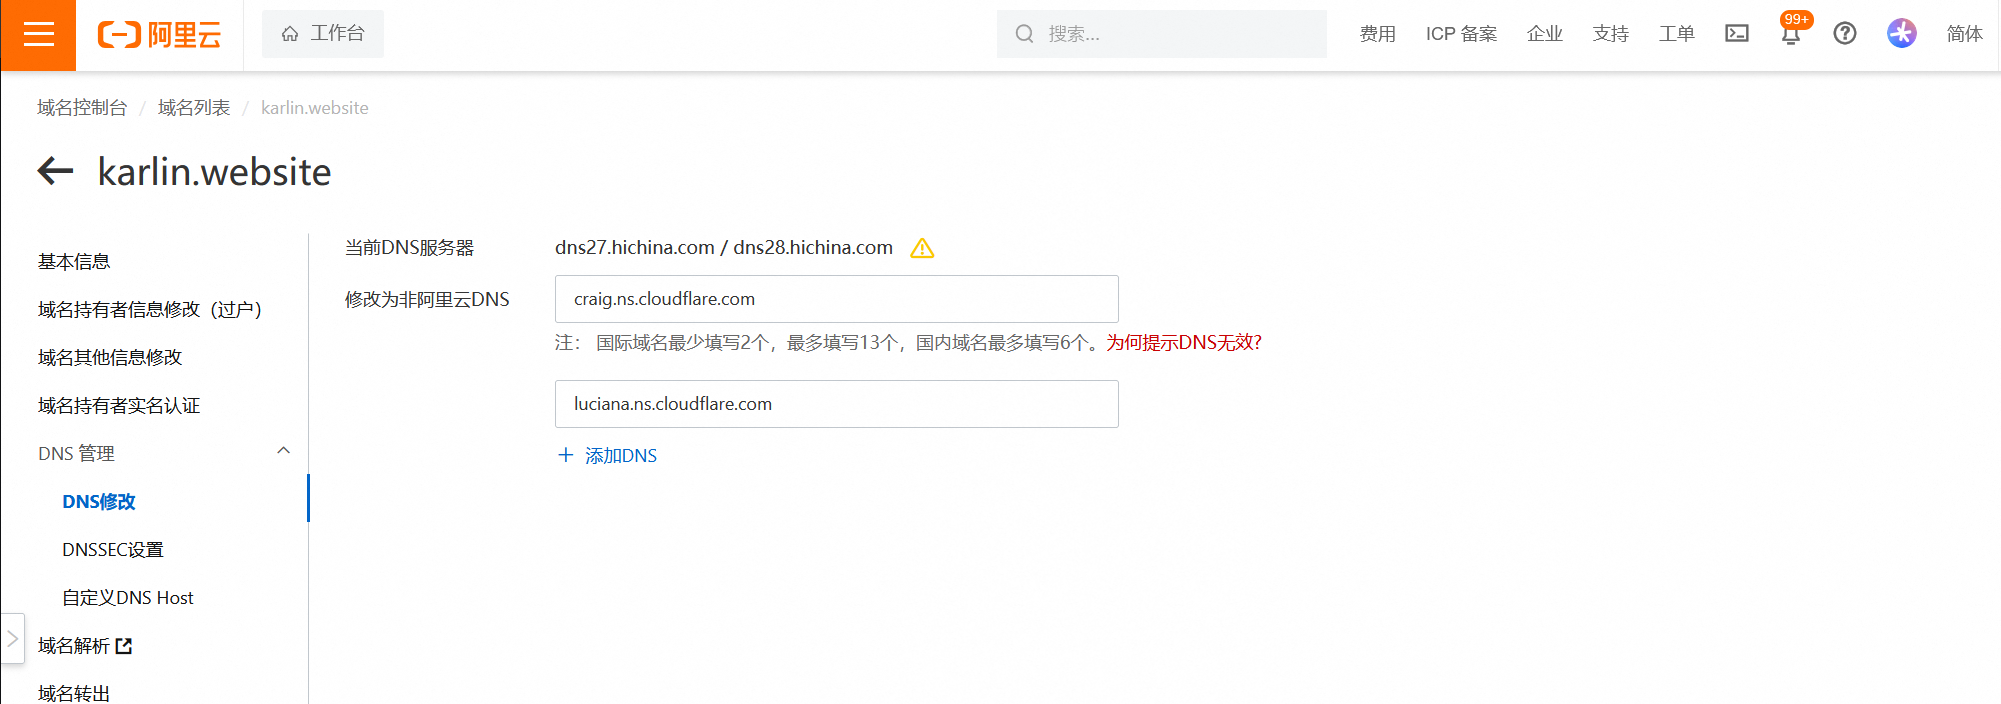
回到阿里云,在自己的域名那里进入管理,修改为非阿里云DNS,使用上面两个值替换。
之后会收到cloudfare的邮件提醒:
网站流量统计
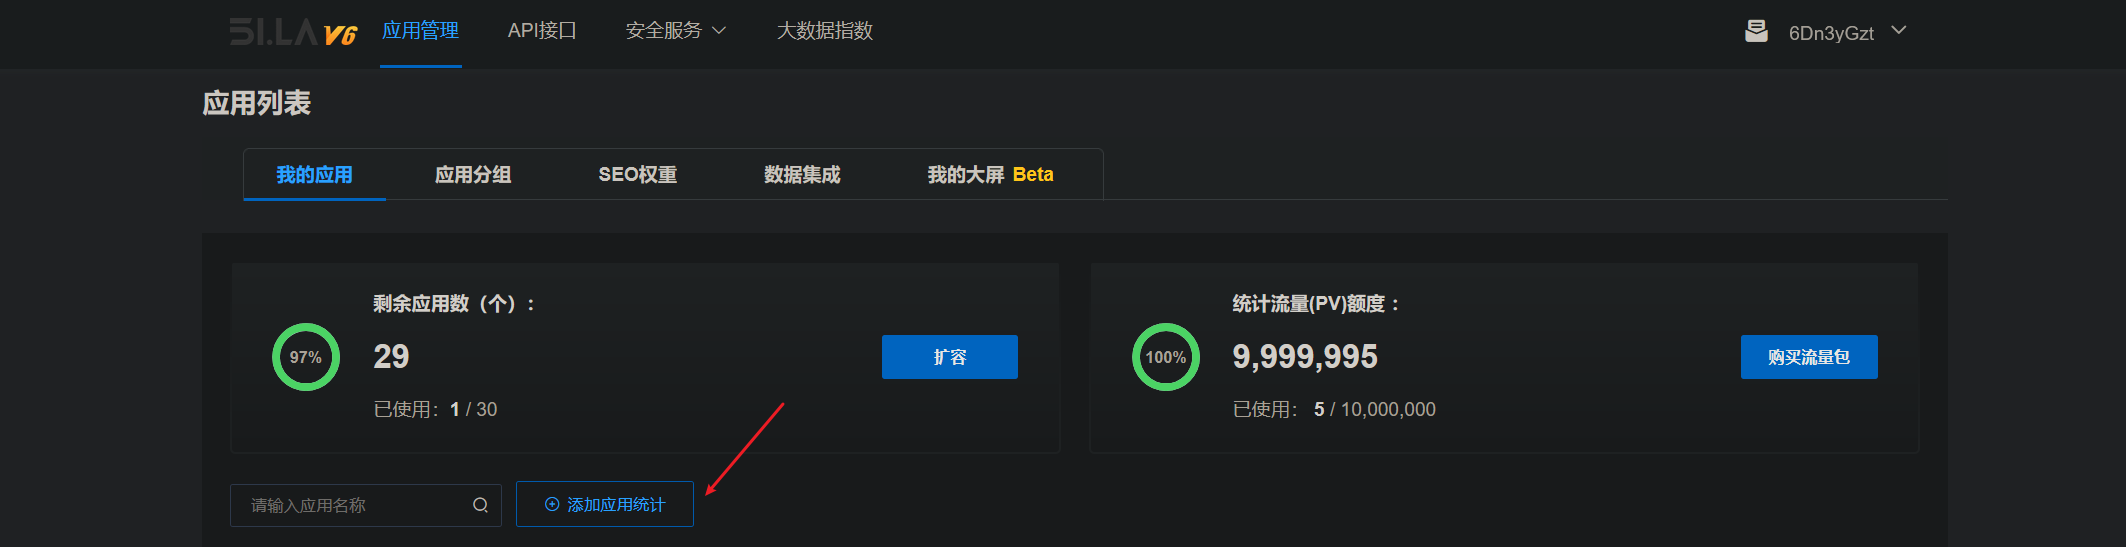
这个项目的配置中默认支持cnzz和google-analyze。但是吧一个现在要收费了,去注册甚至页面都没了。另外一个上不去而且都说对中文不友好。故最后选择了有30个免费应用的51la,打开官网注册账号,跟着向导进入添加应用统计,或者从用户管理进去:
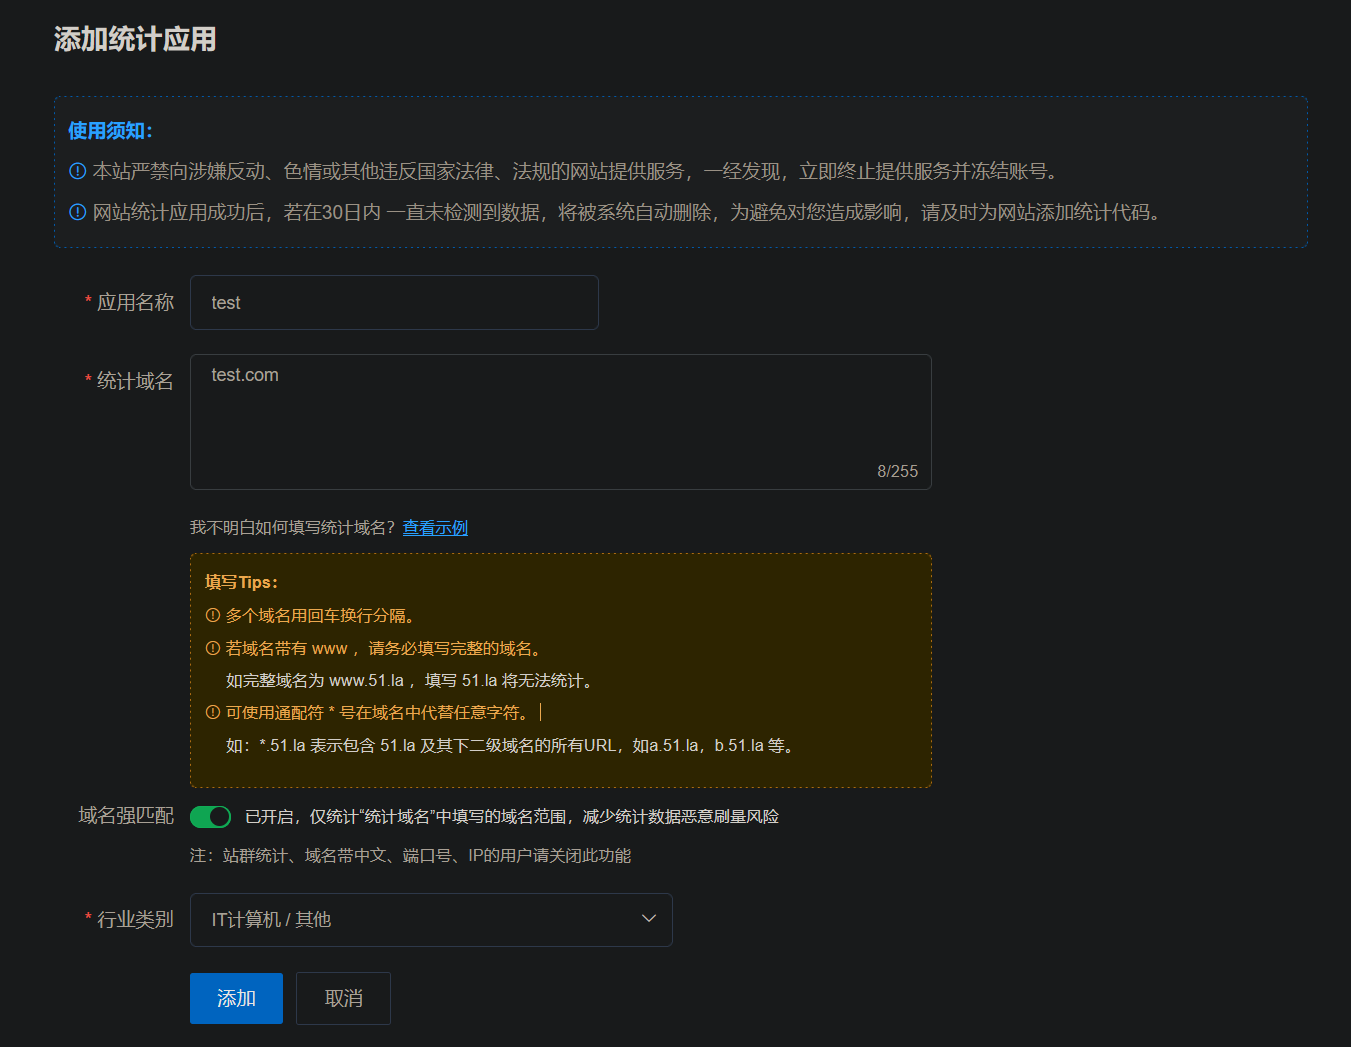
接着像这样填写(我已经创建了就随便填一下)。
接着选这个手动安装,点获取SDK追踪代码。
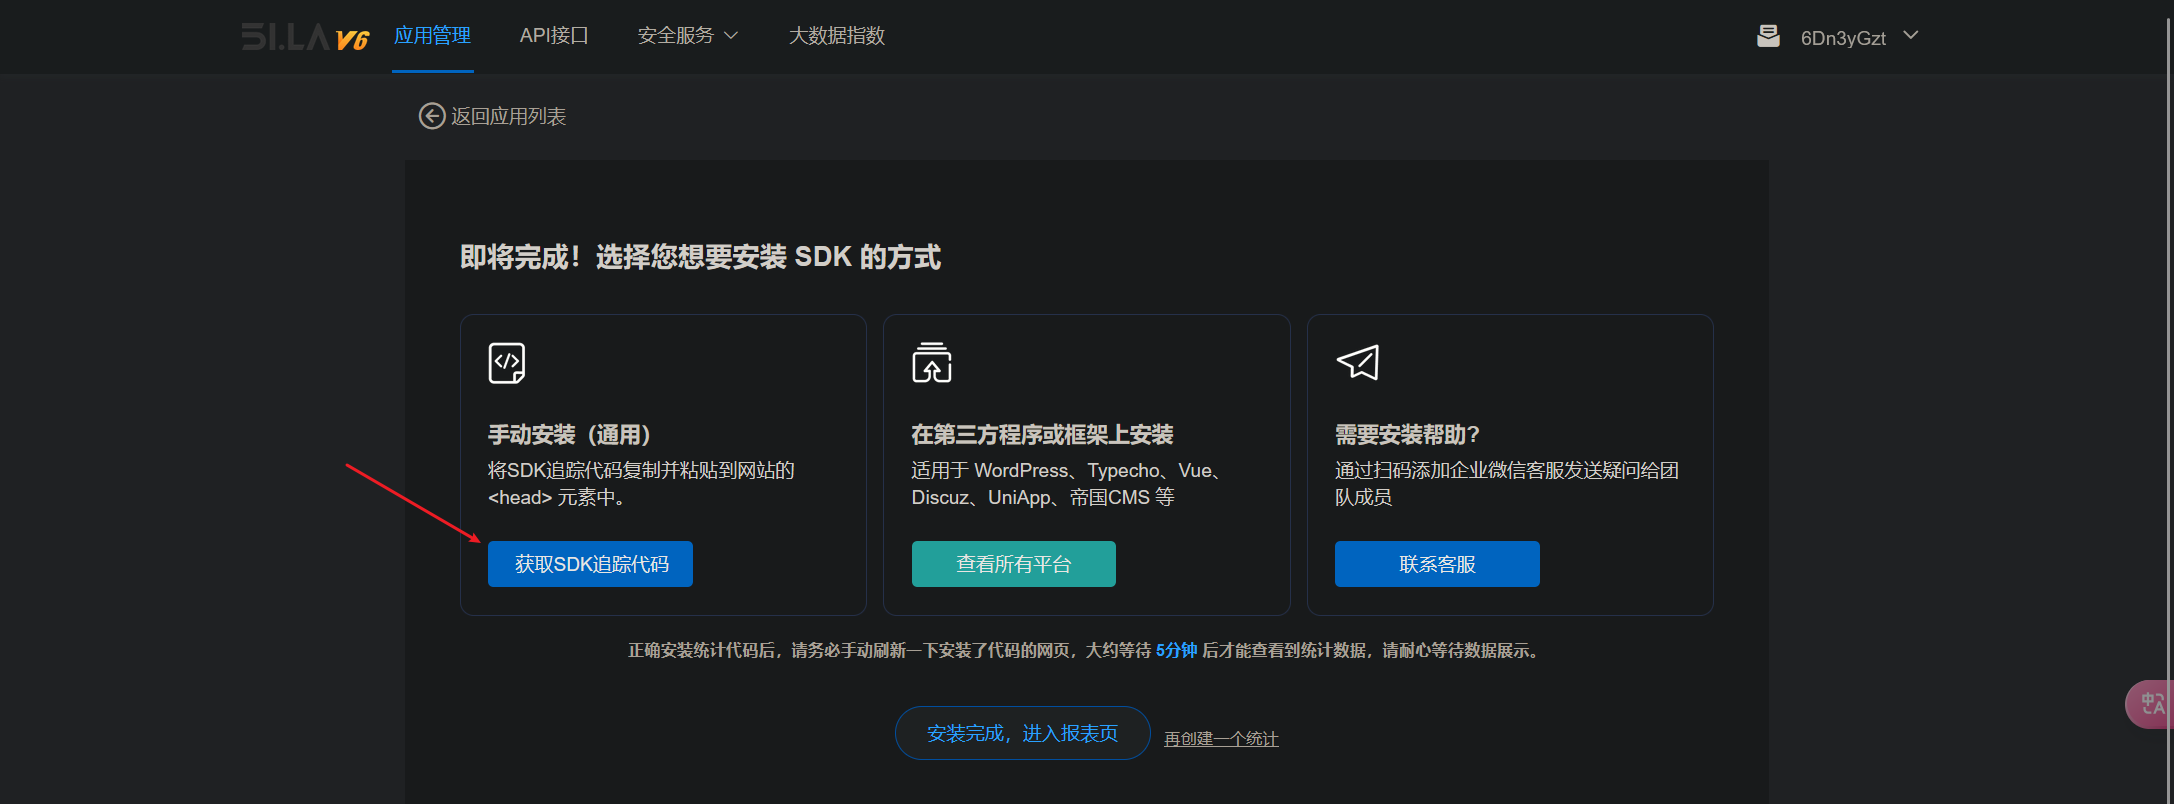
复制代码就行了,然后回到项目。
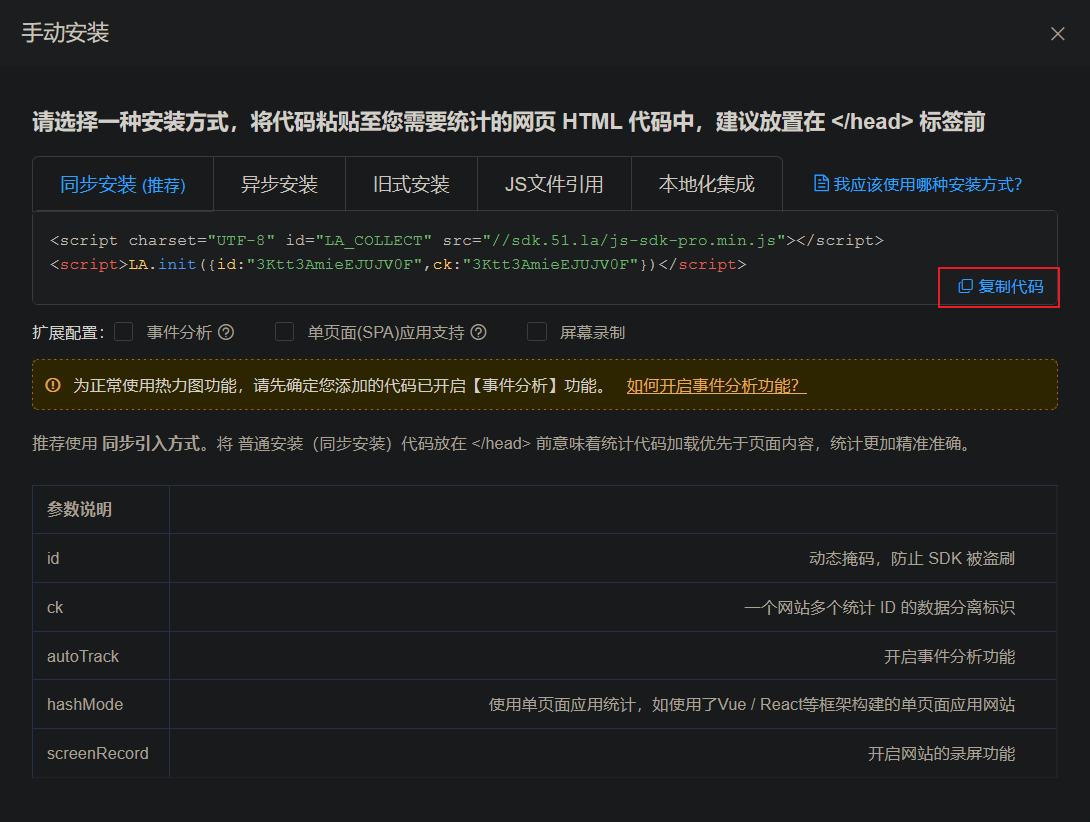
在_includes中新建一个51la.html,将复制的粘贴进去保存即可。然后再在_includes\footer.html中修改,引入51la.html(因为上面是直接复制的,我就直接不处理参数了)。
{%- if site.tracker -%}
    <!-- trackers -->
    {%- if site.tracker.google_analytics -%}
        <!-- google analytics -->
        {%- include google-analytics.html -%}
    {%- endif -%}
    {%- if site.tracker.cnzz -%}
        <!-- cnzz -->
        {%- include cnzz.html -%}
    {%- endif -%}
    {%- if site.tracker.51la -%}
        <!-- 51la -->
        {%- include 51la.html -%}
    {%- endif -%}
{%- endif -%}
这样子在_config.yml中直接添加一行启用它即可:
tracker:
  51la: true
部署
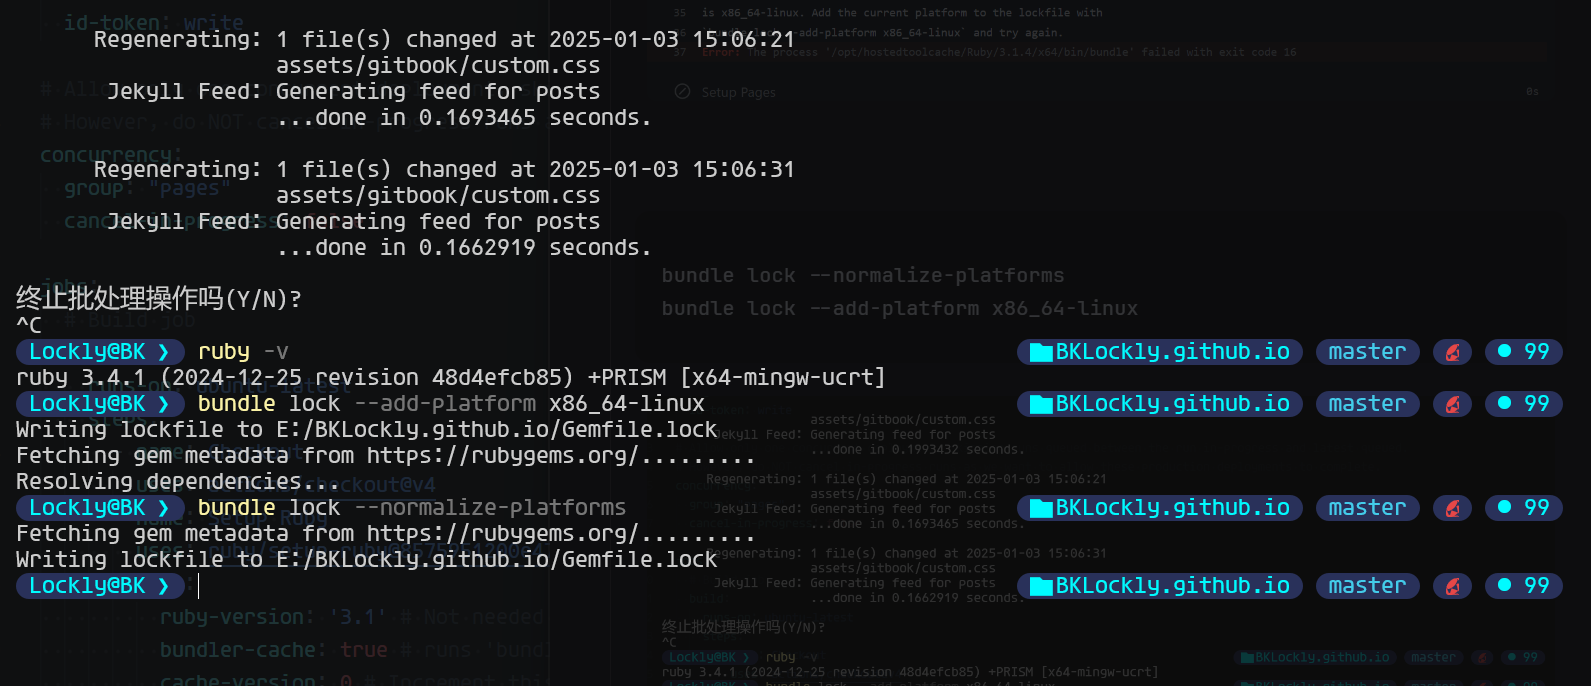
提交后用GitHub action部署时遇到了报错, 主要是这两个:
- 平台不匹配:
Gemfile.lock 文件中的平台信息需要更新。 - Ruby 版本不兼容:
activesupport-8.0.1 要求 Ruby 版本 >= 3.2.0,而当前使用的 Ruby 版本是 3.1.4。

需要修改_config.yml中的ruby-version, 从原来的3.1改为3.2.0。然后更新Gemfile.lock 文件以支持多个平台。
bundle lock --normalize-platforms
bundle lock --add-platform x86_64-linux
最后
调整了一些样式也可以参考一下: 传送门


 浙公网安备 33010602011771号