
Nuxt.js实践篇
追求完美,相信大家都是这样的。因为前后端分离的弊端性,在项目构建时,浏览器并不会捕捉到项目的内容,所以开始,笔者决定引入nuxt.js文件来配合vue完成Server Slider Render博客系统开发。服务端渲染以下简称SSR,不知道nuxt的童鞋可以去nuxt官网了解一哈。
声明:一下代码案例结合vue理解。
第三方插件的使用?
刚入坑,感觉寸步难行。想运来的使用方式,编辑器并不会报错。但是浏览器却报的nuxt错误。
后来经过几十根头发的代价换来了插件的正确使用方式
-
demo引入第三方的特效插件
npm install vue-particles --save-dev
-
需要现在plugins中写一个第三方文件的js文件,这里是笔者引入的一个vue的特效的插件,
 import Vue from 'vue'
 import VueParticles from 'vue-particles'
 Vue.use(VueParticles)
-
在nuxt.config.js中进行引入
   /*
   ** Plugins to load before mounting the App
   */
   plugins: [
     {src:'@/plugins/element-ui',ssr:true},
     {src:'~plugins/vue-praticles',ssr: false}
   ],
这里需要补充的是,ssr为是否开启SSR
-
最后在组件中就可以使用:
<template>
   <section class="container">
     <vue-particles
         color="#fff"
         :particleOpacity="0.7"
         :particlesNumber="60"
         shapeType="circle"
         :particleSize="4"
         linesColor="#fff"
         :linesWidth="1"
         :lineLinked="true"
         :lineOpacity="0.4"
         :linesDistance="150"
         :moveSpeed="2"
         :hoverEffect="true"
         hoverMode="grab"
         :clickEffect="true"
         clickMode="push"
         class="lizi"
       >
       </vue-particles>
     <nuxt />
   </section>
 </template>
最后查看效果如图:
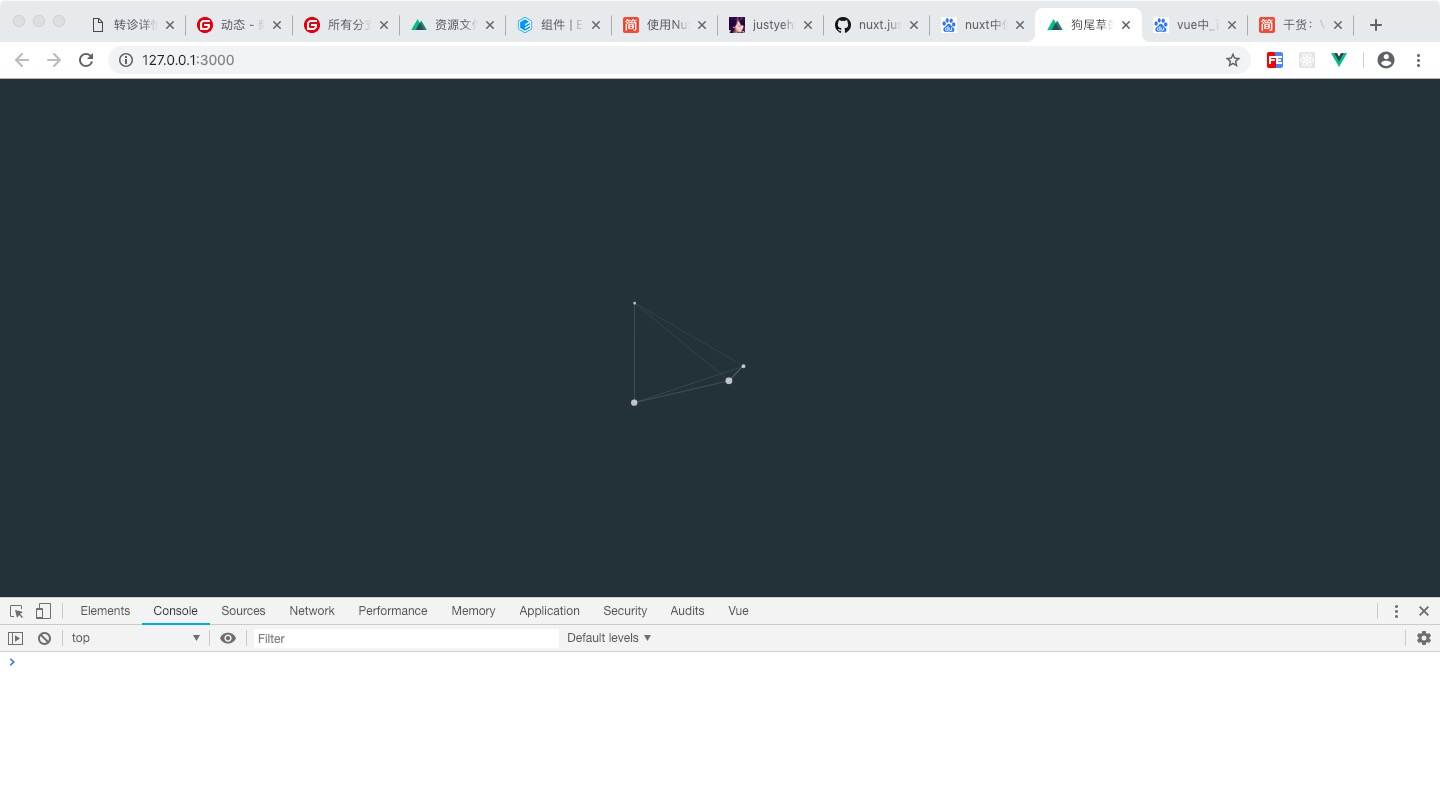
效果如上,成功引入。
补充这个时候发现是没问题,但是当我们更改dom节点,放到到全屏的时候,依然可以,但是控制台爆出vue警告:
commons.app.js:13349 [Vue warn]: The client-side rendered virtual DOM tree is not matching server-rendered content. This is likely caused by incorrect HTML markup, for example nesting block-level elements inside <p>, or missing <tbody>. Bailing hydration and performing full client-side render
这个坑,真的坑了我好久,最后才发现,有些插件是不支持SSR的,刚好vue-partiles就是其中之一。
解决办法:引入时通过no-ssr标签包裹就
<no-ssr><vue-particles
         color="#ffffff"
         :particleOpacity="0.7"
         :particlesNumber="80"
         shapeType="circle"
         :particleSize="4"
         linesColor="#fff"
         :linesWidth="1"
         :lineLinked="true"
         :lineOpacity="0.4"
         :linesDistance="150"
         :moveSpeed="2"
         :hoverEffect="true"
         hoverMode="grab"
         :clickEffect="true"
         clickMode="push"
         class="lizi"
       >
       </vue-particles></no-ssr>
此组件只在客户端呈现,意味着,使用该组件包裹的内容都不属于SSR,在网页源码中都不可见。这点需要注意。
路由的配置
前言:这里要区别一下vue的路由,vue路由可自行配置,灵活方便。而nuxt构建的项目,路由的配置则是由pages文件夹目录生成。
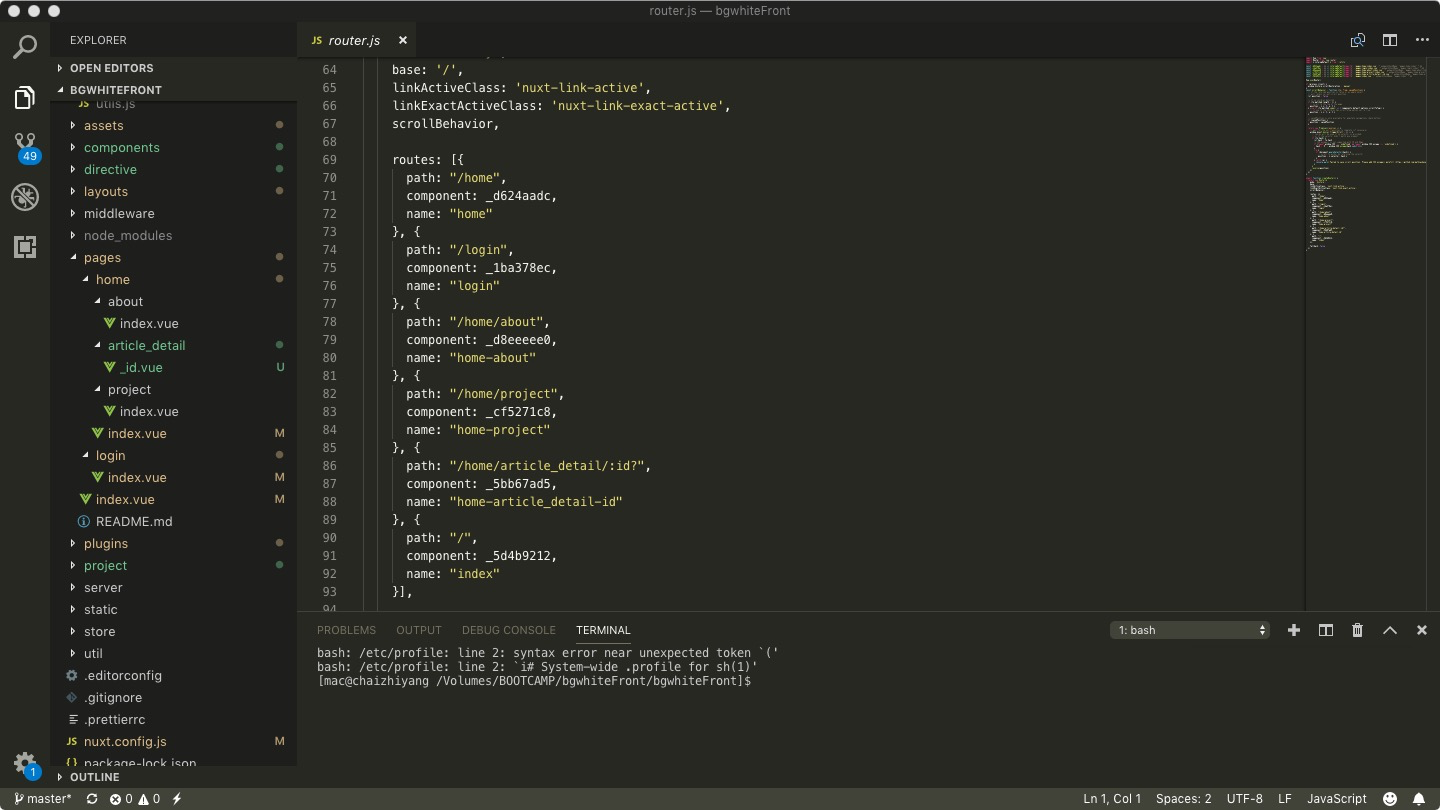
pages目录自动生成路由
直接上图,所谓一图顶千言:
layouts
这个文件夹在路由的配置中也扮演了相当重要的角色。它又是干什么的呢?
layouts文件字面理解多布局,项目的整体框架一般都有其固定的底层Layouts Model,nuxt很好的实践了这个思想。layouts文件夹的功能简单说局势防止通用的布局模型,可以为Error Model,Default Model,当然这也是最常用的。当然如果说开发响应式项目,可以多一个webAPP的底层布局。
这个时候就淫问了,局部跳转,vue一般采用嵌套路由实现,这里怎么做呢?
default.vue
两种方式:
-
layouts为底,引入header,footer固定,section部分作为<nuxt/>动态跳转
default.vue为默认引入的布局模型,不需要刻意引入。
只需要在页面中添加
<template> <section> This is my projects!; </section> </template> <script> export default { layout: 'login' } </script> <style lang="less" scoped> </style>
Layout: 构建的Layouts Model
实现的效果为头部固定,底部固定,中间部分跳转
-
路由的配置由pages目录生成,我们是否可以修改pages目录来完成嵌套路由呢?
这里,考虑到文件目录的层级,博主这里并未采用此方法,单此方法确实可行。
这里给大家一个error的组件,大家可以直接赋值,不需要引如,在报错时,该组件会默认执行
3.动态路由
暂未实践
error.vue
<template> <div class="error"> <!-- <img src="../assets/img/logo.png" alt="Nuxt.js Logo" class="logo" /> --> <h1 class="title"> {{ error.statusCode }} </h1> <h2 class="info"> {{ error.message }} </h2> <nuxt-link to="/">首页</nuxt-link> </div> </template> <script> export default { props: ['error'] } </script> <style scoped> .error { text-align: center; padding: 30px 0; } .title { margin-top: 15px; font-size: 5em; } .info { font-weight: 300; color: #9aabb1; margin: 0; } a { margin-top: 50px; border: 1px solid #3084bb; color: #3084bb; font-size: 16px; display: inline-block; padding: 10px 20px; border-radius: 4px; } </style>
Vuex的使用
对于不相邻组件以及其他需求,状态库总是一个很好的状态存储工具。
回顾vue中vuex的使用,项目根文件夹建立store文件夹。创建index.js文件,而后在main.js主入口文件中引入该文件,并挂在到vue原型链上,往后余生,我们便可通过this.$store来使用
但是在nuxt中,并没有main.js主入口文件,我们又如何使用呢?
官方注释:
为了让 Vue 使用 Vuex,我们引入
Vue和Vuex(Nuxt.js 已包含),这样组件内就多了个$store属性了
这个是官方解释,说明Nuxt中已经包含了Vuex,我们只需要通过this.$store就可以访问到。
demo:
store下新建index.js
import Vue from 'vue'
import Vuex from 'vuex'
Vue.use(Vuex)
// require('whatwg-fetch');
const store = () => new Vuex.Store({
state: {
searchParams: '',
},
mutations: {
setSearch: function (state, params) {
state.searchParams = params;
}
},
actions: {
}
})
export default store
heade组件
<template>
   <header>
       <div class="search">
           <input type="text" v-model="searchContent"><button @click="search(searchContent)">Search</button>
     </div>
   </header>
 </template>
 export default {
   data() {
     return {
       searchContent: '',
     }
   },
   methods: {
     search(data) {
       this.$store.commit('setSearch',data);
       console.log(this.$store.state);
     },
   }
 }
 </script>
效果如图:
简单的使用就是如此了,当然提交更改等操作与vue中vuex的操作都是一样的,关键问题是如何引入。
权限篇
这里我将权限校验分为两部分一个是前端根据路由处理,一个是后端根据接口处理
前端做的处理如下:
有些页面在不登录的情况是不允许登录的,在路由发生变化的时候进行判断,是否含有token,如果有则进行next()跳转,如果没有则跳转login
后端的处理如下:
针对于某些接口,在没有登录的情况下,某些接口是无法进行调用的,除非登录成功token有效。如果前端在调用某接口的时候,先判断是否携带token过来,且token是否有效,如果有效,
则继续条用接口,如果token失效或者headers中没有携带token则返回401并给出详情提示'unAuthorization'
下来我们一步步进行处理,我们先进行前端的处理
-
middleware中间件的使用
官方解释:中间件允许您定义一个自定义函数运行在一个页面或一组页面渲染之前。
每一个中间件应放置在
middleware/目录。文件名的名称将成为中间件名称(middleware/auth.js将成为auth中间件)。
简单说就是可以针对某一模块或某一页面进行设置中间件,而中间件的使用,则可以进行权限的一个校验。
上Code:
import { isLogin } from '../util/assist';
export default function({ route, req, res, redirect }) {
let isClient = process.client;
let isServer = process.server;
let redirectURL = '/login';
if(isServer) {
let cookies = req.cookies;
let path = req.originalUrl;
if(path.indexOf('admin') !== -1 && !cookies.token) {
redirect(redirectURL);
}
}
if(isClient) {
if(route.path.indexOf('admin') !== -1 && !isLogin()) {
redirect(redirectURL);
}
}
}
isLoign:
 export function isLogin() {
   if (getCookieInClient('token')) {
     return true
   }
   return false
 }
 export function getCookieInClient(name) {
   let arr, reg = new RegExp("(^| )" + name + "=([^;]*)(;|$)");
   if (arr = document.cookie.match(reg))
     return unescape(arr[2]);
   else
     return null;
 }
代码写完了,我们在什么地方引用呢?
我们这里采用全局引用,引入的模块的名称就是中间件中文件的名称。
nuxt.config.js
router: {
     middleware: 'adminAuth'
   },
这里之所以写成admin是因为,个人项目的设置,admin为项目的管理模块,都已admin开头,所以这里统一设置。
后端又如何进行设置呢?
let jwt = require('jwt-simple'); const jwtSecret = require('../util/database.config').jwtSecret const needAuth = require('../../util/api.config').needAuth module.exports = function (req, res, next) { let path = req.originalUrl.split('?')[0]; console.log('7',path); console.log('8',needAuth); //接口不需要登陆:直接next if (needAuth.indexOf(path) == -1) { return next(); } //接口需要登陆 var token = req.headers['authorization']; if (!token) { return res.json({ code: 401, message: 'you need login:there is no token' }) } try { //解密获取的token let decoded = jwt.decode(token, jwtSecret); //校验有效期 if (decoded.exp <= Date.now()) { return res.json({ code: 401, message: 'you need login:token is expired' }); } next(); } catch (err) { return res.json({ code: 401, message: 'you need login:decode token fail' }) } };
api.config.js: 防止需要验证的接口
jwtSecret: 可以为任意字符串
jwt-simple: token的生成加密与解析详见:https://www.jianshu.com/p/d9a087349ed2
Mysql
-
模糊搜索
sqlTitle =
select * from articles where title like '%${params.search}%';;like操作符: LIKE作用是指示mysql后面的搜索模式是利用通配符而不是直接相等匹配进行比较.
如果要模糊查询,还要加上
通配符'%'
匹配以"nuxt"开头的数据
select * from articles where title like 'nuxt&'匹配包含'nuxt'的数据
select * from articles where title like '%nuxt%';匹配以'nuxt'结尾的数据
select * from articles where title like '%nuxt';通配符二 '_'
和'%'类似,不过会做出一个字符的限制,限制字符为几位
eg:
数据库中含有数据
123,1234,12345.
'2_' 意思是以2开头后面只有一位 结果为123
'_2' 意思是以2结果,前面只有一位 结果为 null,因为没有2结尾的
-
场景:一个标签表,一个文章表。
通过标签的名称去查,该标签下所有的文章的id的行。
SELECT second.* from articles_tags first
 LEFT JOIN articles second on second.id = first.article_id
 WHERE tag = 'vue.js'
这个的意思是:查询表二符合条件的所有数据,查询条件呢?
符合条件的所有的tag的名称的这一行的article_id。然后根据这个article_id去articles表中查询相关的所有数据。
数据库如图:
advice
正如所见, MySQL的通配符很有用。但这种功能是有代价的:通配符搜索的处理一般要比前面讨论的其他搜索所花时间更长。这里给出一些使用通配符要记住的技巧。
-
不要过度使用通配符。如果其他操作符能达到相同的目的,应该 使用其他操作符。
-
在确实需要使用通配符时,除非绝对有必要,否则不要把它们用 在搜索模式的开始处。把通配符置于搜索模式的开始处,搜索起来是最慢的。
-
仔细注意通配符的位置。如果放错地方,可能不会返回想要的数
-------------------------------------------
个性签名:海到无边天作岸,山登绝顶人为峰!
如果觉得这篇文章对你有小小的帮助的话,记得在右下角点个“推荐”哦,博主在此感谢!

 浙公网安备 33010602011771号