Apache HttpClient使用和源码分析
在上文中分析了 HttpURLConnection的用法,功能还是比较简单的,没有什么封装
接下来看看Apache HttpClient是如何封装httpClient的
使用的版本
      <dependency>
            <groupId>org.apache.httpcomponents.client5</groupId>
            <artifactId>httpclient5</artifactId>
            <version>5.2.1</version>
        </dependency>
组成
HttpClient 5 的系统架构主要由以下几个部分组成:
- HttpCore:核心包,包含了 HTTP 协议的核心抽象和实现,定义了 HTTP 客户端和服务端的基本组件,例如请求消息、响应消息、传输层等。
- HttpClient:高级 API,封装了 HttpCore 包中的核心抽象,提供了一组简单易用的 API,以便于客户端应用程序发送 HTTP 请求。
- HttpAsyncClient:异步 API,是基于 HttpCore 和 HttpClient 构建的异步 HTTP 客户端,可以通过异步方式实现 HTTP 请求。
- HttpClient 和 HttpAsyncClient 都可以通过扩展进行定制和优化,可以添加拦截器、设置连接管理器、Cookie 管理器、认证器等。
请求代码
GET请求代码
String resultContent = null;
String url = "http://127.0.0.1:8081/get";
HttpGet httpGet = new HttpGet(url);
//通过工厂获取
CloseableHttpClient httpClient = HttpClients.createDefault();
//请求
CloseableHttpResponse response = httpClient.execute(httpGet);

// Get status code
System.out.println(response.getVersion());
// HTTP/1.1
System.out.println(response.getCode());
// 200
System.out.println(response.getReasonPhrase());
// OK
HttpEntity entity = response.getEntity();
// Get response information
resultContent = EntityUtils.toString(entity);
System.out.println(resultContent);
代码分析
创建实例
Apache HttpClient提供了一个工厂类来返回HttpClient实例
但实际上都是通过HttpClientBuilder去创建的,
Apache HttpClient通过构建者模式加上策略模式实现非常灵活的配置,以实现各种不同的业务场景
通过看build()的代码,创建HttpClient主要分为两步
    public static CloseableHttpClient createDefault() {
        return HttpClientBuilder.create().build();
    }
第一步是初始化配置
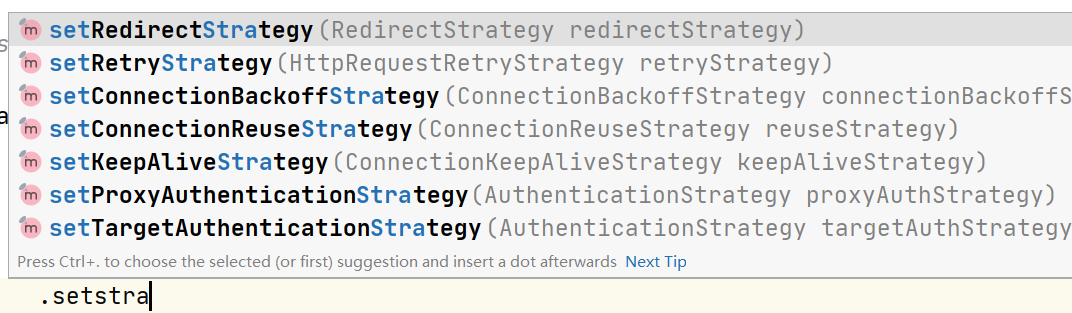
里边很多策略模式的使用,可以实现相关的类来拓展自己的需求,可以通过HttpClient的set方法把新的策略设置进去,其他配置也可以通过RequestConfig设置好
ConnectionKeepAliveStrategy keepAliveStrategyCopy = this.keepAliveStrategy;
if (keepAliveStrategyCopy == null) {
    keepAliveStrategyCopy = DefaultConnectionKeepAliveStrategy.INSTANCE;
}
AuthenticationStrategy targetAuthStrategyCopy = this.targetAuthStrategy;
if (targetAuthStrategyCopy == null) {
    targetAuthStrategyCopy = DefaultAuthenticationStrategy.INSTANCE;
}
AuthenticationStrategy proxyAuthStrategyCopy = this.proxyAuthStrategy;
if (proxyAuthStrategyCopy == null) {
    proxyAuthStrategyCopy = DefaultAuthenticationStrategy.INSTANCE;
}
在这里会初始化包括连接管理器、请求重试处理器、请求执行器、重定向策略、认证策略、代理、SSL/TLS等配置
第二步是创建处理器链
通过组合多个处理器来构建成处理器链处理请求
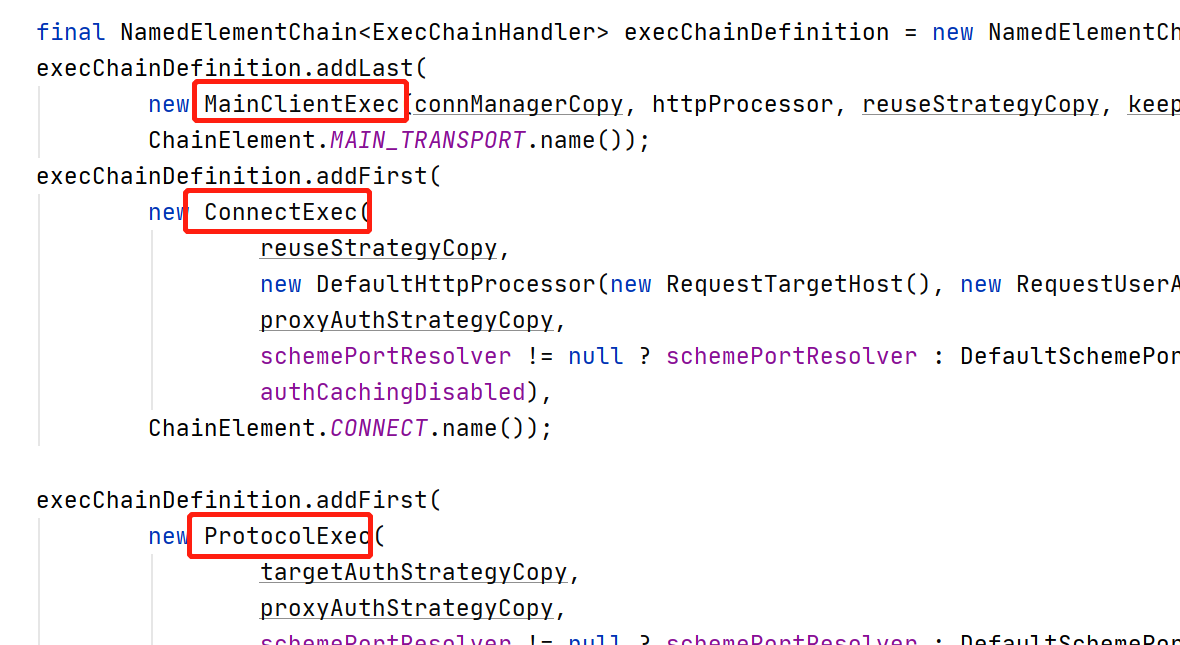
需要注意的是这里的添加顺序的方法,添加最终的执行处理器调用的是addLast()
处理器链中的每个处理器都有不同的功能,例如请求预处理、重试、身份验证、请求发送、响应解析等等。在每个处理器的处理过程中,可以对请求或响应进行修改或扩展,以满足不同的需求
最后再把初始化好的参数传递给InternalHttpClient返回一个HttpClient实例
发起请求
接下来看看请求方法
CloseableHttpResponse response = httpClient.execute(httpGet);
主要请求方法在InternalHttpClient#doExecute中
主要分为三步,第一步是将各种配置填充到上下文中HttpContext
第二步,执行刚刚封装执行链
//execChain就是上一步封装好的执行链
final ClassicHttpResponse response = this.execChain.execute(ClassicRequestBuilder.copy(request).build(), scope);
执行 execute 方法,执行链中的处理器被依次调用,每个元素都可以执行一些预处理、后处理、重试等逻辑
第三步,请求结束后,将结果转换为CloseableHttpResponse返回
自定义拦截器和处理器
接下来试试加一下自定义的拦截器和处理器
拦截器和处理器的实现是不一样的,处理器的实现是ExecChainHandler,拦截器是HttpResponseInterceptor和HttpRequestInterceptor
//执行链处理器
class MyCustomInterceptor implements ExecChainHandler {
    @Override
    public ClassicHttpResponse execute(ClassicHttpRequest request, ExecChain.Scope scope, ExecChain chain) throws IOException, HttpException {
        System.out.println("MyCustomInterceptor-------------");
        //调用下一个链
        return chain.proceed(request,scope);
    }
}

//响应拦截器
class MyCustomResponseInterceptor implements HttpResponseInterceptor {

    @Override
    public void process(HttpResponse response, EntityDetails entity, HttpContext context) throws HttpException, IOException {
        System.out.println("MyCustomResponseInterceptor-------------");
    }
}

//请求拦截器
class MyCustomRequestInterceptor implements HttpRequestInterceptor {


    @Override
    public void process(HttpRequest request, EntityDetails entity, HttpContext context) throws HttpException, IOException {
        System.out.println("MyCustomRequestInterceptor-------------");
    }
}
然后加入到拦截链中,custom()方法返回HttpClientBuilder来支持自定义
CloseableHttpClient httpClient = HttpClients.custom()
.addExecInterceptorLast("myCustomInterceptor", new MyCustomInterceptor())
.addRequestInterceptorFirst(new MyCustomRequestInterceptor())
.addResponseInterceptorLast(new MyCustomResponseInterceptor())
.build();
注意看日志就有输出了
拦截器和处理器都是用于拦截请求和响应的中间件,但它们在功能上有些不同:
- 拦截器:在请求发送前或响应返回后对请求或响应进行修改,例如添加、删除、修改请求头或响应头、修改请求体等。拦截器的主要作用是拦截请求和响应,对它们进行一些操作,并将它们传递给下一个拦截器或处理器
- 处理器:用于执行实际的请求和响应处理,例如建立连接、发送请求、解析响应等。处理器通常是在整个请求-响应流程中的最后一环,负责将最终的响应结果返回给调用方
总之,拦截器和处理器都是用于处理请求和响应的中间件,但它们的职责和功能略有不同
异步请求
异步请求的HttpAsyncClient通过HttpAsyncClients工厂返回
主要的流程和同步请求差不多,包括初始化配置和初始化执行链,主要差异在执行请求那里
因为是异步执行,需要开启异步请求的执行器线程池,通过httpClient.start();方法来设置异步线程的状态,否则异步请求将无法执行
@Override
public final void start() {
    if (status.compareAndSet(Status.READY, Status.RUNNING)) {
        executorService.execute(ioReactor::start);
    }
}
如果没有开启,会抛出异常
if (!isRunning()) {
    throw new CancellationException("Request execution cancelled");
}
因为是异步请求,所以请求方法需要提供回调方法,主要实现三个方法,执行完成、失败和取消
//创建url
SimpleHttpRequest get = SimpleHttpRequest.create("GET", url);

Future<SimpleHttpResponse> future = httpClient.execute(get,
//异步回调
new FutureCallback<SimpleHttpResponse>() {
    @Override
    public void completed(SimpleHttpResponse result) {
        System.out.println("completed---------------");
    }

    @Override
    public void failed(Exception ex) {
        System.out.println("failed---------------");
    }

    @Override
    public void cancelled() {
        System.out.println("cancelled---------------");
    }
});

SimpleHttpResponse response = future.get();
通过future.get()来获取异步结果,接下来看看底层是怎么实现的
//请求
execute(SimpleRequestProducer.create(request), SimpleResponseConsumer.create(), context, callback);
异步请求会创建SimpleRequestProducer和SimpleResponseConsumer来处理请求和响应,execute()也支持我们自己传进去
最终的请求和数据的接收都是依赖管道,过程有点像NIO
当请求时,会调用requestProducer.produce(channel);把请求数据写入channel中,在响应时,responseConsumer从channel中取得数据
源码的整一块请求代码都是通过几个匿名函数的写法完成的,看的有点绕
发起请求,匿名函数段代表的是RequestChannel的请求方法

//requestProducer的sendRequest方法
void sendRequest(RequestChannel channel, HttpContext context)
因为RequestChannel类是一个函数式接口,所以可以通过这种方式调用
public interface RequestChannel {
	//请求方法也是叫sendRequest
    void sendRequest(HttpRequest request, EntityDetails entityDetails, HttpContext context) throws HttpException, IOException;
}
生产和消费数据的代码都在那一刻函数段中,具体的实现细节可以看一下那一段源码,最终requestProducer也是委托RequestChannel来发起请求

消费完后通过一层一层的回调,最终到达最上边自己实现的三个方法上
异步的HttpClient也可以自定义拦截器喝处理器,实现方式和上边的一样,处理异步处理器的实现不同
 CloseableHttpClient httpClient = HttpClients.custom()
                .setDefaultRequestConfig(config)
                .addExecInterceptorLast("myCustomInterceptor", new MyCustomInterceptor())
                .addRequestInterceptorFirst(new MyCustomRequestInterceptor())
                .addResponseInterceptorLast(new MyCustomResponseInterceptor())
                .build();
使用示例
创建HttpClient
如果是同步的就使用HttpClients工厂,异步的使用HttpAsyncClients
//返回默认的
CloseableHttpClient httpClient = HttpClients.createDefault();
如果想实现自定义配置,可以使用HttpClients.custom()方法
基本的配置被封装在RequestConfig类中
RequestConfig config = RequestConfig.custom()
            .setConnectionRequestTimeout(3L, TimeUnit.SECONDS)
            .setResponseTimeout(3L, TimeUnit.SECONDS)
            .setDefaultKeepAlive(10L , TimeUnit.SECONDS)
            .build();
如果还不满足,可以还可以去实现这些策略类
使用自定义配置创建httpClient
CloseableHttpClient httpClient = HttpClients.custom()
            .setDefaultRequestConfig(config)
            .addExecInterceptorLast("myCustomInterceptor", new MyCustomInterceptor())
            .addRequestInterceptorFirst(new MyCustomRequestInterceptor())
            .addResponseInterceptorLast(new MyCustomResponseInterceptor())
            .build();
GET方法请求
 String url = "http://127.0.0.1:8081/get";

List<NameValuePair> nvps = new ArrayList<>();
// GET 请求参数
nvps.add(new BasicNameValuePair("username", "test"));
nvps.add(new BasicNameValuePair("password", "password"));
//将参数填充道url中
URI uri = new URIBuilder(new URI(url))
        .addParameters(nvps)
        .build();
//创建get请求对象
HttpGet httpGet = new HttpGet(uri);

//发起请求
CloseableHttpResponse response = httpClient.execute(httpGet);

// Get status code
System.out.println(response.getVersion()); // HTTP/1.1
System.out.println(response.getCode()); // 200
HttpEntity entity = response.getEntity();
// Get response information
String resultContent = EntityUtils.toString(entity);
System.out.println(resultContent);
POST请求
这次将参数写到HttpEntity里
String url = "http://127.0.0.1:8081/post";

List<NameValuePair> nvps = new ArrayList<>();
// GET 请求参数
nvps.add(new BasicNameValuePair("username", "test"));
nvps.add(new BasicNameValuePair("password", "password"));

UrlEncodedFormEntity formEntity = new UrlEncodedFormEntity(nvps, StandardCharsets.UTF_8);

HttpPost httpPost = new HttpPost(url);
httpPost.setEntity(formEntity);

CloseableHttpClient httpClient = HttpClients.createDefault();

CloseableHttpResponse response = httpClient.execute(httpPost);

// Get status code
System.out.println(response.getVersion()); // HTTP/1.1
System.out.println(response.getCode()); // 200
HttpEntity entity = response.getEntity();
// Get response information
String resultContent = EntityUtils.toString(entity);
System.out.println(resultContent);
和GET请求基本一致,除了用的是HttpPost,参数可以像GET一样填充到url中,也可以使用HttpEntity填充到请求体里
Json请求
String json = "{"
        + "    \"username\": \"test\","
        + "    \"password\": \"password\""
        + "}";
StringEntity entity = new StringEntity(json, ContentType.APPLICATION_JSON);
HttpPost post = new HttpPost("http://127.0.0.1:8081/postJson");
post.setEntity(entity);
CloseableHttpClient client = HttpClients.createDefault();
CloseableHttpResponse response = client.execute(post);

// Get status code
System.out.println(response.getCode()); // 200
// Get response information
String resultContent = EntityUtils.toString(response.getEntity());
System.out.println(resultContent);
总结
和HttpURLConnection相比,做了很多封装,功能也强大了很多,例如连接池、缓存、重试机制、线程池等等,并且对于请求参数的设置更加灵活,还封装了异步请求、HTTPS等、自定义拦截器和处理器等
请求是使用了处理链的方式发起的,可以对请求和响应进行一系列处理,好处是可以将这些处理器封装成一个公共的类库,然后通过自己组合来满足自己的需求,还可以在请求和响应的不同阶段进行拦截和修改,例如添加请求头、修改请求参数、解密响应数据等,不需要在一个大类里写很多代码了,已免代码臃肿
性能方面使用了连接池技术,可以有效地复用连接,提高性能
不得不说是apache的项目,源码使用了包括构建者模式、策略模式、责任链模式等设计模式对整个httpClient进行了封装,学习到了
本文来自博客园,作者:阿弱,转载请注明原文链接:https://www.cnblogs.com/aruo/p/17165218.html

 浙公网安备 33010602011771号