android: 用glide加载网络图片
一,安装第三方库glide
1,库地址:
https://mvnrepository.com/artifact/com.github.bumptech.glide/glide2,安装:
编辑build.gradle,在dependencies段增加如下一行
    // https://mvnrepository.com/artifact/com.github.bumptech.glide/glide
    implementation 'com.github.bumptech.glide:glide:4.16.0'
然后点击Sync Now
二,代码:
xml:
<?xml version="1.0" encoding="utf-8"?>
<androidx.constraintlayout.widget.ConstraintLayout xmlns:android="http://schemas.android.com/apk/res/android"
    xmlns:app="http://schemas.android.com/apk/res-auto"
    xmlns:tools="http://schemas.android.com/tools"
    android:id="@+id/main"
    android:layout_width="match_parent"
    android:layout_height="match_parent"
    android:background="#FF6600"
    android:layout_gravity="center"
    tools:context=".activity.ImageActivity">

    <ImageView
        android:id="@+id/userImage"
        android:layout_width="700px"
        android:layout_height="700px"
        android:background="#000000"
        app:layout_constraintStart_toStartOf="parent"
        app:layout_constraintEnd_toEndOf="parent"
        app:layout_constraintTop_toTopOf="parent"
        app:layout_constraintBottom_toBottomOf="parent"
         />

</androidx.constraintlayout.widget.ConstraintLayout>
java:
package com.example.okdemo1.activity;
import android.os.Bundle;
import android.transition.Transition;
import android.transition.TransitionInflater;
import android.view.Window;
import android.widget.ImageView;
import androidx.activity.EdgeToEdge;
import androidx.appcompat.app.AppCompatActivity;
import androidx.core.graphics.Insets;
import androidx.core.view.ViewCompat;
import androidx.core.view.WindowInsetsCompat;
import com.bumptech.glide.Glide;
import com.bumptech.glide.load.engine.DiskCacheStrategy;
import com.bumptech.glide.request.RequestOptions;
import com.example.okdemo1.R;
public class ImageActivity extends AppCompatActivity {
@Override
protected void onCreate(Bundle savedInstanceState) {
super.onCreate(savedInstanceState);
EdgeToEdge.enable(this);
// 设置activity的窗口属性为contentFeature,即可使用切换动画
getWindow().requestFeature(Window.FEATURE_CONTENT_TRANSITIONS);
Transition explode = TransitionInflater.from(this).inflateTransition(R.transition.slide_right);
// 此处获取了系统内置的explode动画效果设置给了activity的窗口对象
getWindow().setEnterTransition(explode);
setContentView(R.layout.activity_image);
//String imageUrl = "https://wx2.sinaimg.cn/mw690/0034c2ttly1i0s6zuaqrkj635s2n4npe02.jpg";
String imageUrl = "https://wx4.sinaimg.cn/mw690/0034c2ttly1i0s6zu16kuj62bc3cge8102.jpg";
ImageView imageView = findViewById(R.id.userImage);
Glide.with(this)
.load(imageUrl)
//.apply(RequestOptions.circleCropTransform()) // 使用 circleCropTransform() 方法设置圆形图片,也可以使用圆角半径的方法设置圆角
.diskCacheStrategy(DiskCacheStrategy.ALL) // 缓存原始图片和转换后的图片到磁盘
.skipMemoryCache(false) // 不跳过内存缓存
.into(imageView);
}
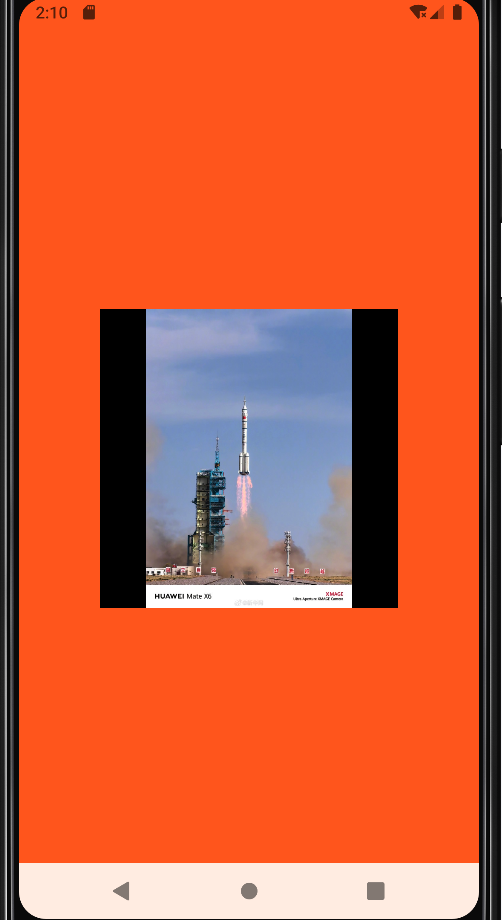
}三,测试效果:

 浙公网安备 33010602011771号