Ubuntu20.04.6安装TestLink1.9.20-fix
ubuntu20.04.6
apache2
php7.4
mysql8
testlink1.9.20-fix
1. 前提
1.1 更新源
sudo apt update
1.2 安装vim
sudo apt install vim -y
2. 安装Apache2
2.1 安装
sudo apt install apache2 -y
2.2 验证
3. PHP
3.1 安装
sudo apt install software-properties-common
sudo add-apt-repository ppa:ondrej/php
sudo apt update
sudo apt install php7.4 php7.4-common php7.4-fpm php7.4-mysql php7.4-gd php7.4-mbstring php7.4-curl libapache2-mod-php7.4

php -v
PHP 7.4.3-4ubuntu2.18 (cli) (built: Feb 23 2023 12:43:23) ( NTS )
Copyright (c) The PHP Group
Zend Engine v3.4.0, Copyright (c) Zend Technologies
with Zend OPcache v7.4.3-4ubuntu2.18, Copyright (c), by Zend Technologies
或(实际上也是7.4,如果是其他版本,比如8x,有没有问题就不知道了)
sudo apt install php #最新版本
sudo apt install php-mysql
sudo apt install php-gd # 版本根据自己的php版本而定视情况安装
sudo apt install php-curl #视情况安装,用REST api需要
sudo apt install php-mbstring #这个也不能少
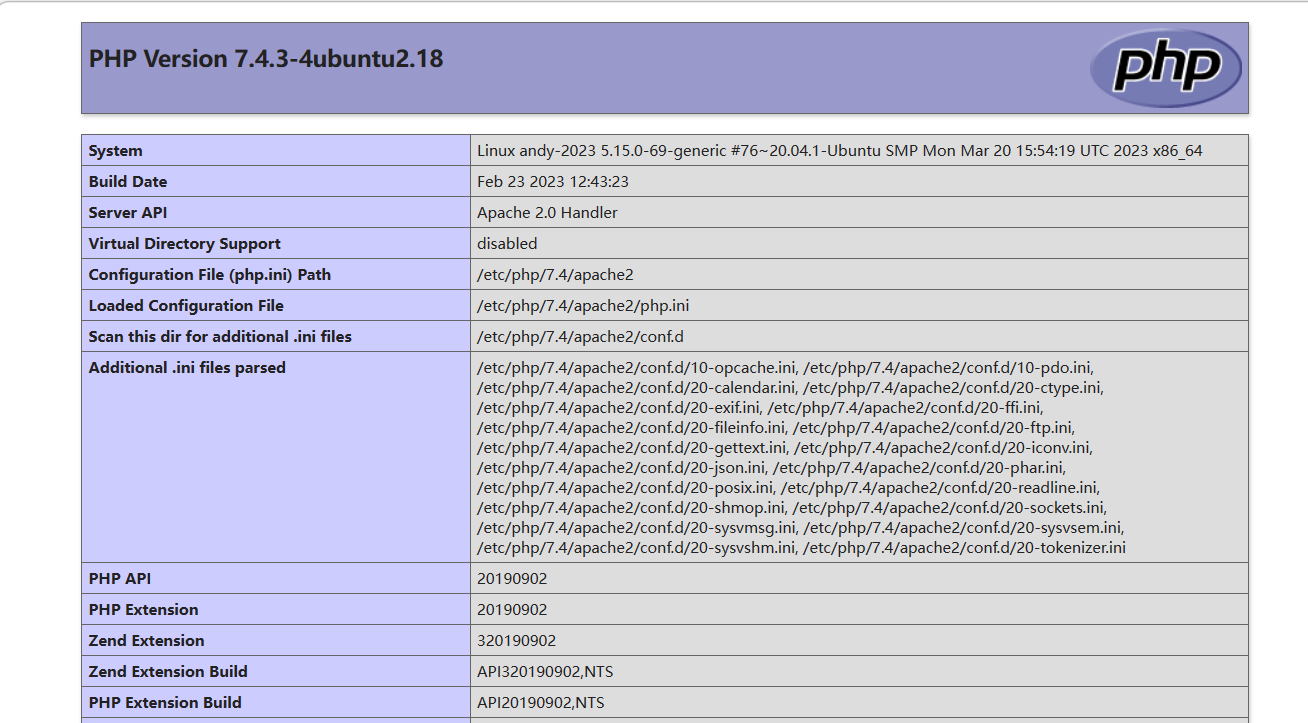
3.2 验证
在/var/www/html中创建test.php,
sudo vim test.php
内容如下:
<?php
phpinfo();
?>
在浏览器中输入:http://localhost/test.php
4. MySQL
4.1 安装
安装5.7
请参看如下连接,我试过,可行,就是稍微麻烦了点
或者安装最新版本(我使用的这种方式,简单些,但是,testlink1.9.20非fixed的版本,有没有兼容性问题,就未知了,理论上来说mysql5.7保险点)
sudo apt install mysql-server mysql-client -y #下载、安装需要几分钟
4.2 配置
4.2.1 修改root密码
sudo cat /etc/mysql/debian.cnf # 查看账号密码
mysql -udebian-sys-maint -p #使用查询出来的默认账号密码登录
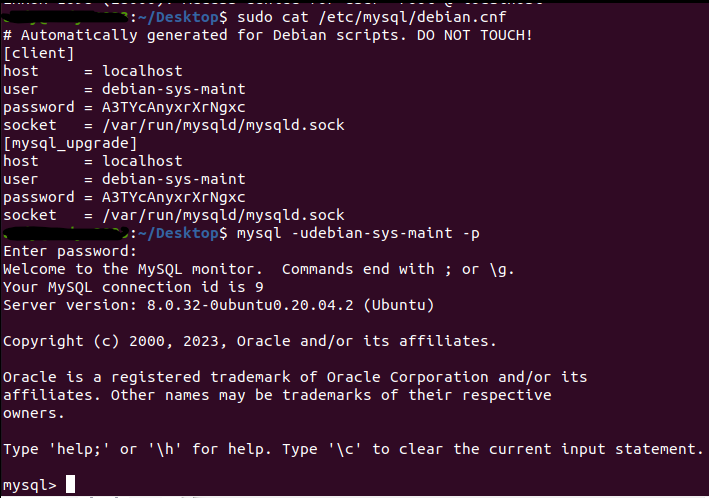
修改密码:
mysql> use mysql;
mysql> select host,user,plugin,authentication_string from user; #查看信息
mysql> alter user 'root'@'localhost' identified with mysql_native_password by '123456'; #123456修改为你自己想要的密码
Query OK, 0 rows affected (0.00 sec)
mysql> flush privileges; #刷新,使生效
Query OK, 0 rows affected (0.01 sec)
mysql> exit
Bye
$ service mysql restart
4.2.2 其他说明
#启动mysql:
sudo systemctl start mysql.service
#停止mysql:
sudo systemctl stop mysql.service
#重启mysql:
sudo systemctl restart mysql.service
5. TestLink
5.1 下载(我用的带fixed的版本,修复了不少bug)
https://github.com/TestLinkOpenSourceTRMS/testlink-code/tree/testlink_1_9_20_fixed
5.2 拷贝、解压与重命名
sudo cp testlink-code-testlink_1_9_20_fixed.zip /var/www/html/
cd /var/www/html/
sudo unzip testlink-code-testlink_1_9_20_fixed.zip
sudo mv testlink-code-testlink_1_9_20_fixed testlink
5.3 修改配置
sudo chmod 777 -R /var/www/html/testlink/
sudo vim /var/www/html/testlink/config.inc.php
5.3.1 修改testlink配置文件
$tlCfg->log_path ='/var/www/html/testlink/logs/'
$g_repositoryPath ='/var/www/html/testlink/upload_area/'
5.3.2 修改php配置文件
sudo vim /etc/php/7.4/apache2/php.ini #路径视自己的版本而定
Maximum Session Idle Time before Timeout: gc_maxlifetime 默认1440,可以设置为3600
Checking max. execution time: max_execution_time 默认30,设置120
重启apache2(非常重要)
sudo systemctl restart apache2 #启动 start ,停止 stop
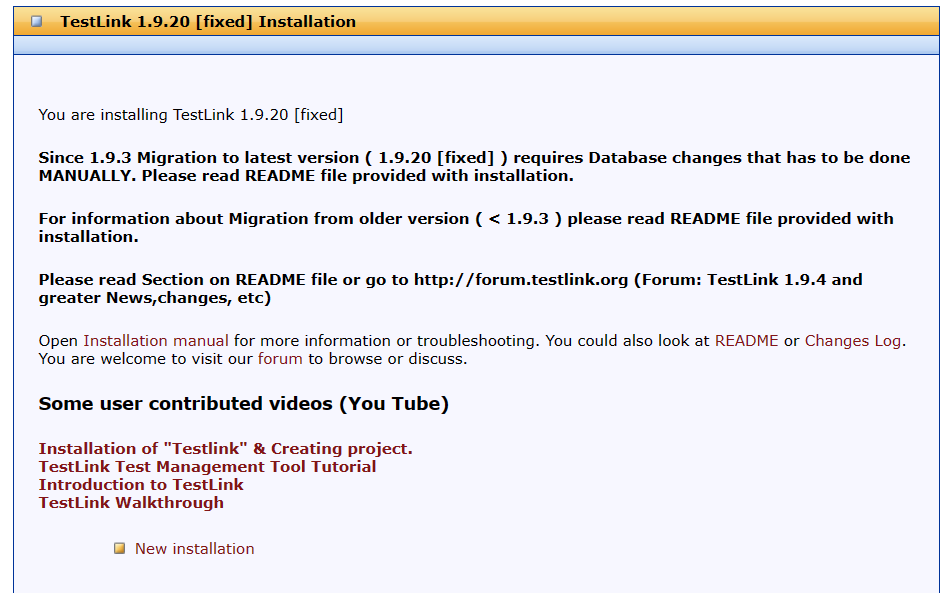
5.3.3 安装TestLink
访问http://localhost/testlink/install
点击 New installation
继续选择Continue

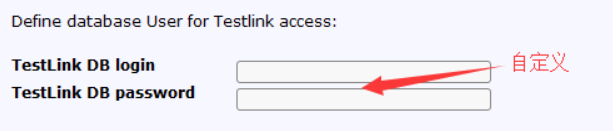
确保如下信息没有failed项(由于我们使用mysql,另外两个sql不用管,如果公司提供LDAP登录,可能还得安装LDAP library,我暂时没使用)
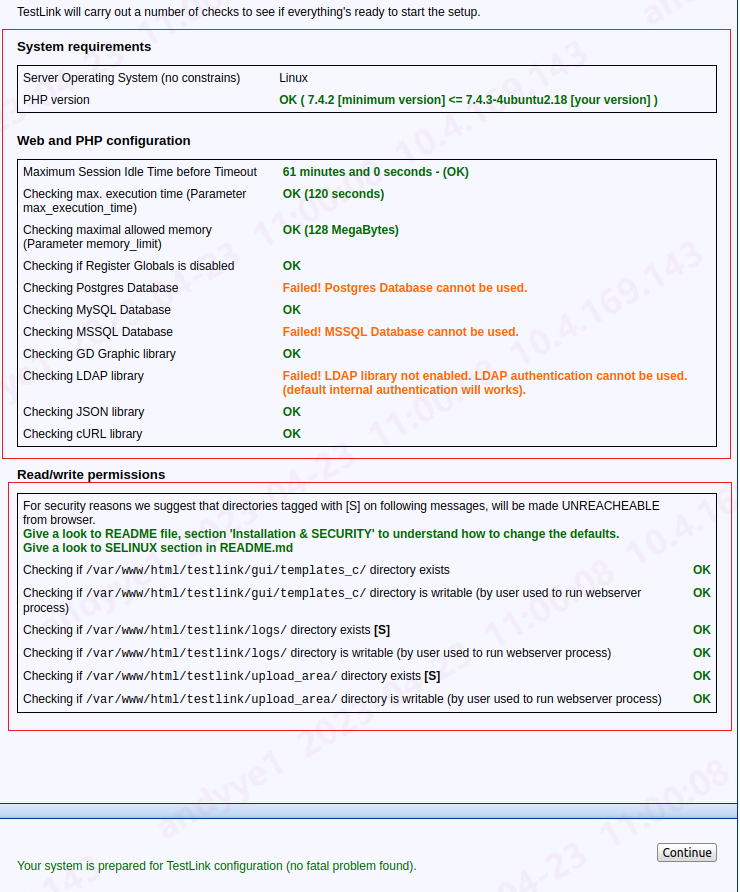
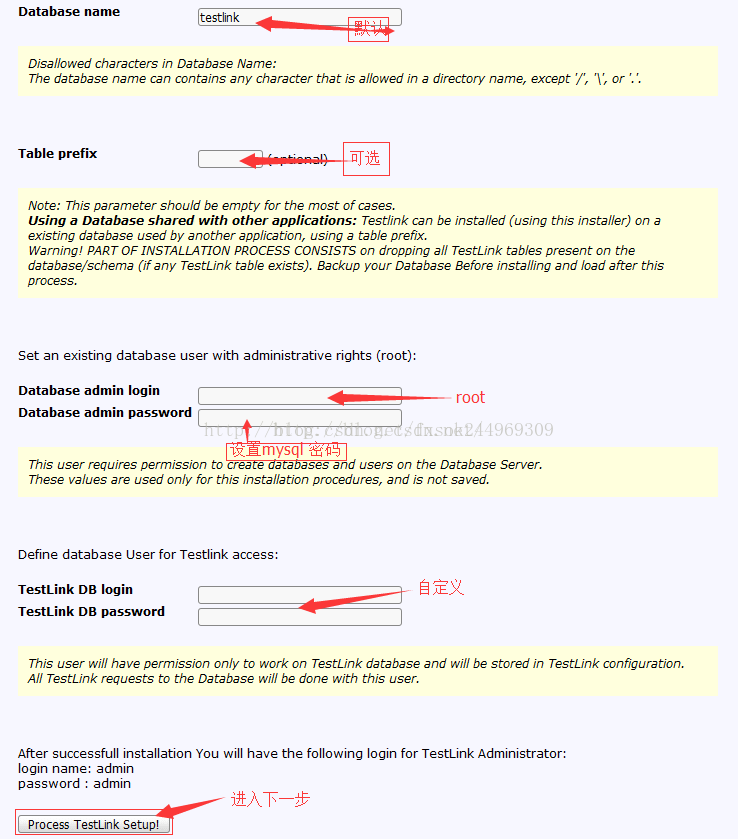
如果都OK了,点击Continue
(上面这张图网上找的)
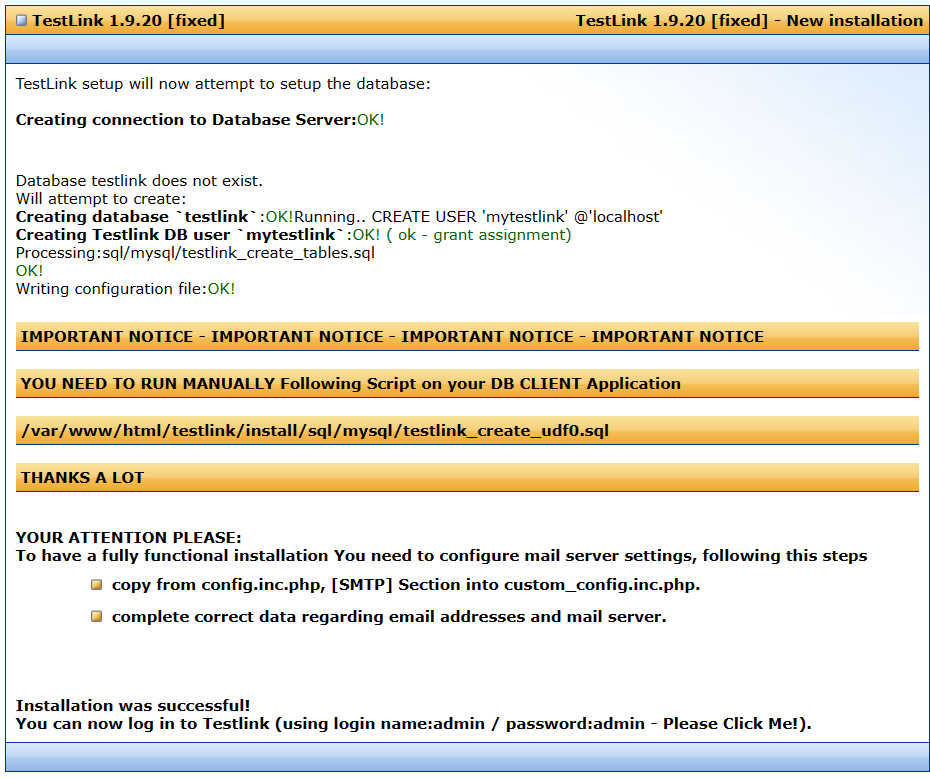
这里提示要运行
/var/www/html/testlink/install/sql/mysql/testlink_create_udf0.sql
但实际不运行也视乎没关系,没细研究。
5.4 登录TestLink
http://localhost/testlink/login.php
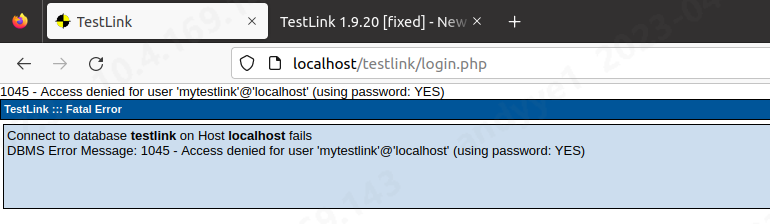
fuck...
5.4.1 修复问题
如果是mysql8.0,成功安装之后,输入 http://localhost/testlink/login.php

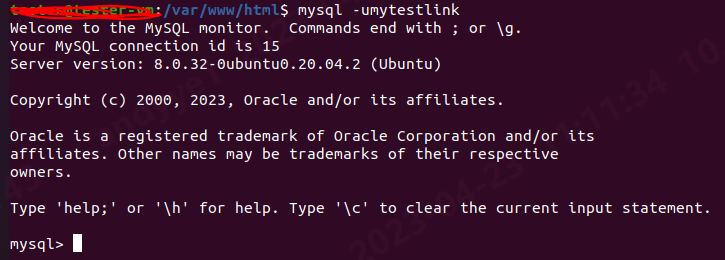
使用root登录mysql ,输入如下命令
mysql -uroot -p
SELECT host, user, select_priv, insert_priv, drop_priv, update_priv, authentication_string FROM mysql.user;

发现刚创建的mytestlink账号的authentication_string根本没值,难道是密码为空?...
试着不输入密码登录试试:
还真的登录了。(什么情况?是testlink的bug?),此时,我们要用mysql的root账号给testlink的数据库账号重新设置一下密码,保持和前面一致:
MySql 从8.0开始修改密码有了变化,在user表加了字段authentication_string,修改密码前先检查authentication_string是否为空 1、如果不为空
use mysql;
update user set authentication_string='' where user='mytestlink';--将字段置为空
ALTER user 'mytestlink'@'localhost' IDENTIFIED BY 'mytestlink';--修改密码为你自己
#说明,需要将上面的root修改为你设置testlink的名
2、如果为空,直接修改(使用这个,authentication_string为空)
ALTER user 'mytestlink'@'localhost' IDENTIFIED BY 'mytestlink';
最后执行
flush privileges;
说明:这里的账号密码,需要和 /var/www/html/testlink/config_db.inc.php 中的保持一致。
再次访问 http://localhost/testlink/index.php ,OK
6. 其他问题解决
如果访问testlink有问题,主要看两个日志:
apache 的log位置
/var/log/apache2/error.log
testlink的log位置
/var/www/html/testlink/logs
6.1 error.log 中出现 Call to undefined function mysqli_report()
原因是需要安装php7.4-mysql
sudo apt install php7.4-mysql
6.2 error.log 中出现 mb_split() ...

sudo apt install php7.4-mbstring

 浙公网安备 33010602011771号