
RockyLinux 9安装部署zabbix-7.0
## zabbix6.0 server端已经不支持centos7 了,故本文章以RockyLinux 9 演示
OS :Rocky Linux release 9.2 (Blue Onyx)
Database: Mysql
Web Server :Nginx
RockyLinux下载地址:https://rockylinux.org/download
一、初始化系统脚本(可以跳过)
#/bin/bash
#------------->
#适用于Centos7版本
#Date:2023
#<------------
echo -e "\033[32m 1、下载阿里云yum源\033[0m"
`sed -e 's|^mirrorlist=|#mirrorlist=|g' \
    -e 's|^#baseurl=http://mirrors.rockylinux.org/$contentdir|baseurl=https://mirrors.aliyun.com/rockylinux|g' \
    -i.bak \
    /etc/yum.repos.d/rocky-*.repo`

echo -e "\033[32m 2、清除yum缓存并生成新的缓存\033[0m"
#rpm -Uvh https://repo.zabbix.com/zabbix/6.4/rhel/7/x86_64/zabbix-release-6.4-1.el7.noarch.rpm
dnf clean all && dnf makecache

echo -e "\033[32m 3、安装vim、wget、lrzsz、chrony\033[0m"
#chrony 是RockyLinux9.2 同步的命令,这个版本没有ntpdate
yum install lrzsz gcc unzip vim wget chrony -y

echo -e "\033[32m 4、关闭防火墙、并设置为开机不开启\033[0m"

systemctl stop firewalld
systemctl disable firewalld

echo -e "\033[32m 5、临时关闭selinux,并设置selinux开机不启动\033[0m"
setenforce 0

sed -i s'/enforcing/disable/' /etc/selinux/config

#将本地系统时间和阿里云同步
cp /etc/chrony.conf{,.bak}
echo "
pool ntp.aliyun.com iburst
pool ntp1.aliyun.com iburst
driftfile /var/lib/chrony/drift
#makestep 1.0 3
rtcsync
keyfile /etc/chrony.keys
leapsectz right/UTC
logdir /var/log/chrony
leapsecmode slew
maxslewrate 1000
smoothtime 400 0.001024 leaponly" > /etc/chrony.conf
systemctl restart chronycd
systemctl enable chronycd
chronyc -a makestep

#将本机硬件时间和系统时间同步

hwclock --systohc
二、下载zabbix源(这里写的是6.5,但是zabbix官网上上写的是7.0抢先版)
rpm -Uvh https://repo.zabbix.com/zabbix/6.5/rocky/9/x86_64/zabbix-release-6.5-2.el9.noarch.rpm
dnf clean all
三、安装Zabbix server,Web前端,agent
dnf install zabbix-server-mysql zabbix-web-mysql zabbix-nginx-conf zabbix-sql-scripts zabbix-selinux-policy zabbix-agent -y
四、创建初始数据库
1、(zabbix文档没写这一步,(Make sure you have database server up and running)意识让我自己安装数据库)
dnf install mariadb mariadb-server -y
2、启动mariadb
 systemctl start mariadb
 systemctl enable mariadb
3、初始化mariadb 数据库
mysql_secure_installation  初始化脚本
Enter current password for root (enter for none):   当前数据库管理员的密码,无密码直接回车
Set root password? [Y/n] Y                   设定数据库管理员密码
New password:
Re-enter new password:
Password updated successfully!
 ... Success!
Remove anonymous users? [Y/n] y
 ... Success!         移除匿名用户登陆
Disallow root login remotely? [Y/n] y
 ... Success!         移除管理员远程登陆
Remove test database and access to it? [Y/n] Y
 ... Success!         移除测试库
Reload privilege tables now? [Y/n] y
 ... Success!         刷新数据库
4、在数据库上运行以下代码
create database zabbix character set utf8mb4 collate utf8mb4_bin;
create user zabbix@localhost identified by 'password';
grant all privileges on zabbix.* to zabbix@localhost;
set global log_bin_trust_function_creators = 1;
quit;
## password 这里写的是密码,很重要!!!
5、导入初始架构和数据,系统会提示你输入密码 最后面的zabbix是数据库的意思
zcat /usr/share/zabbix-sql-scripts/mysql/server.sql.gz |mysql --default-character-set=utf8mb4 -uzabbix -p zabbix
6、在导入数据库模式后禁用log_bin_trust_function_creators选项。
# mysql -uroot -p
password
mysql> set global log_bin_trust_function_creators = 0;
mysql> quit;
7、配置zabbixserver 数据库
vim /etc/zabbix/zabbix_server.conf
DBPassword=password
8、为zabbix 前端配置PHP(将这两条命令取消注释)
vim /etc/nginx/conf.d/zabbix.conf
 listen 8080;
 server_name example.com;
9、启动zabbix 服务端和agent 进程,并设置成开机自启
systemctl restart zabbix-server zabbix-agent nginx php-fpm
systemctl enable zabbix-server zabbix-agent nginx php-fpm
五、网页端输入本机服务器ip,端口好默认8080
http://10.167.31.100:8080/setup.php
六、配置zabbix
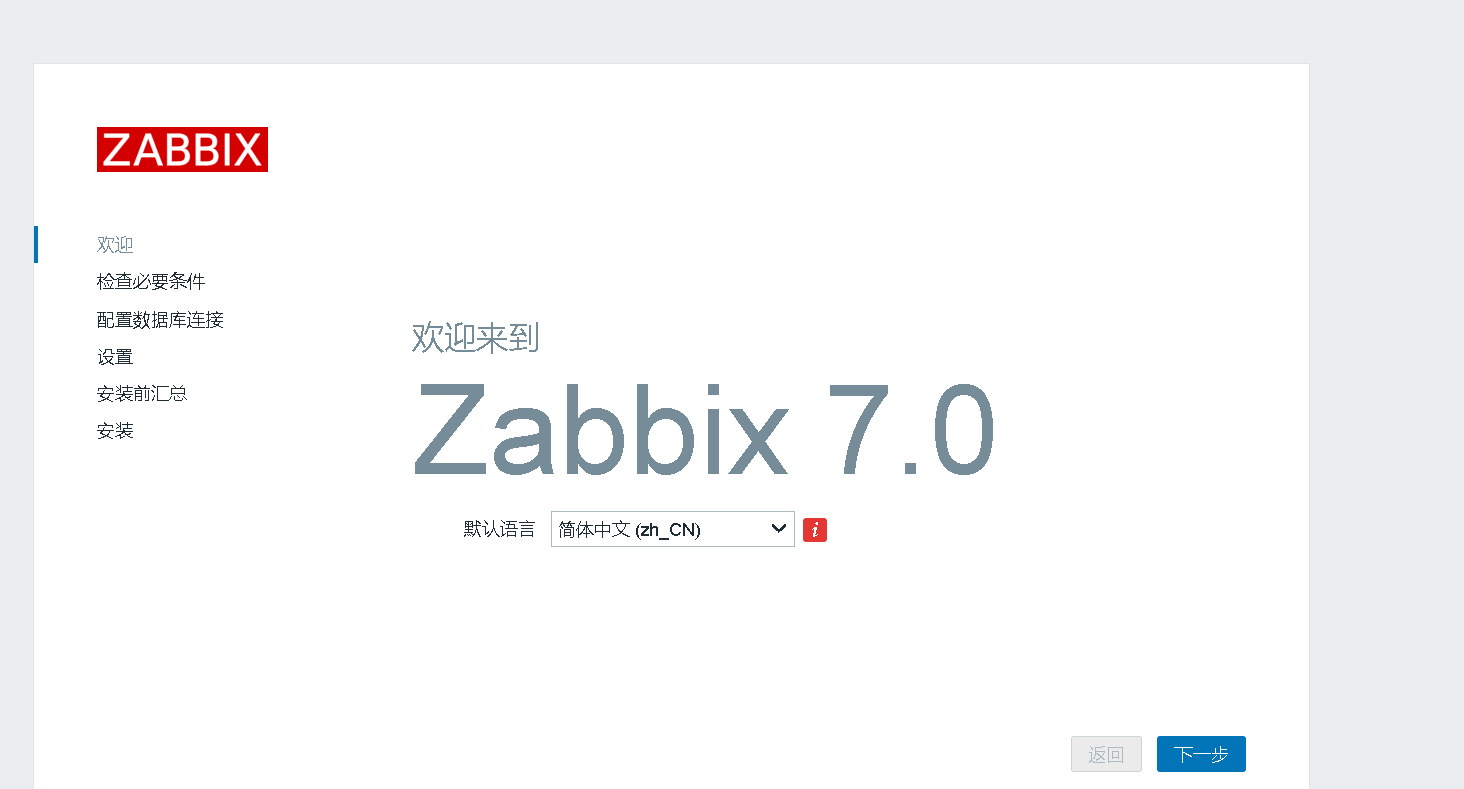
1、选择语言
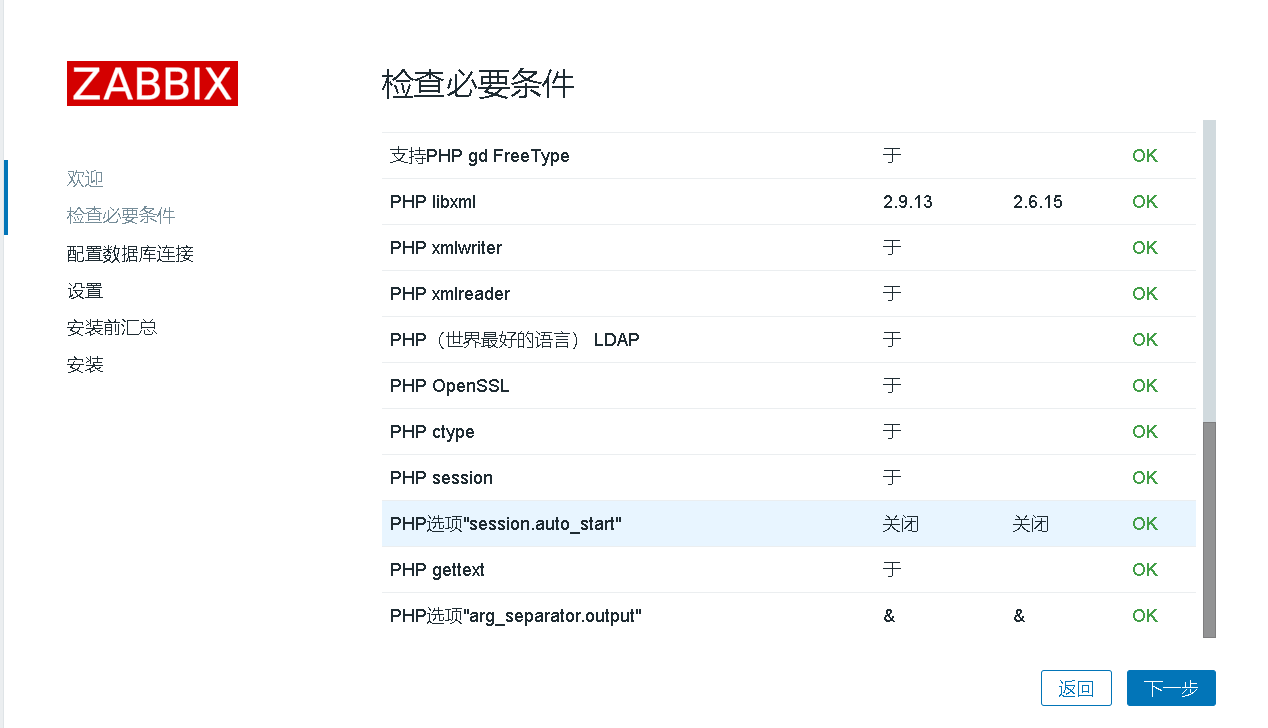
2、检查必要条件,默认下一步
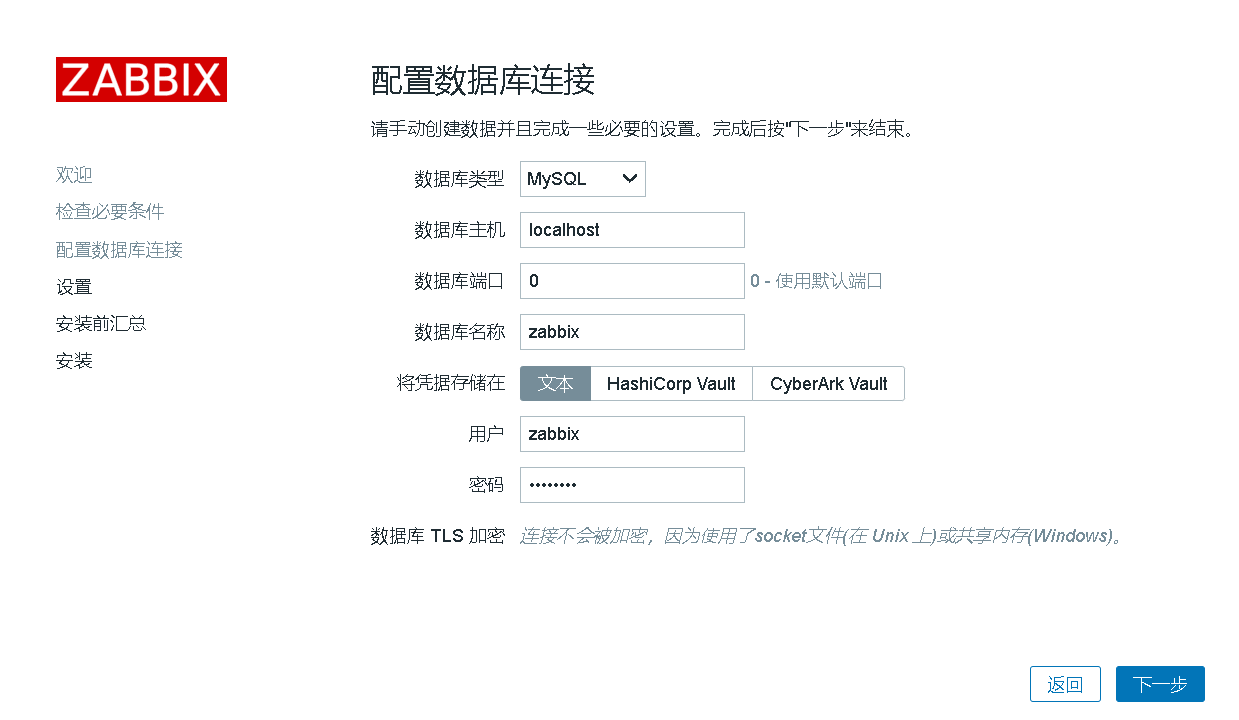
3、连接数据库,数据库默认端口3306 ,这里可以直接写0 就是默认,输入数据库密码下一步
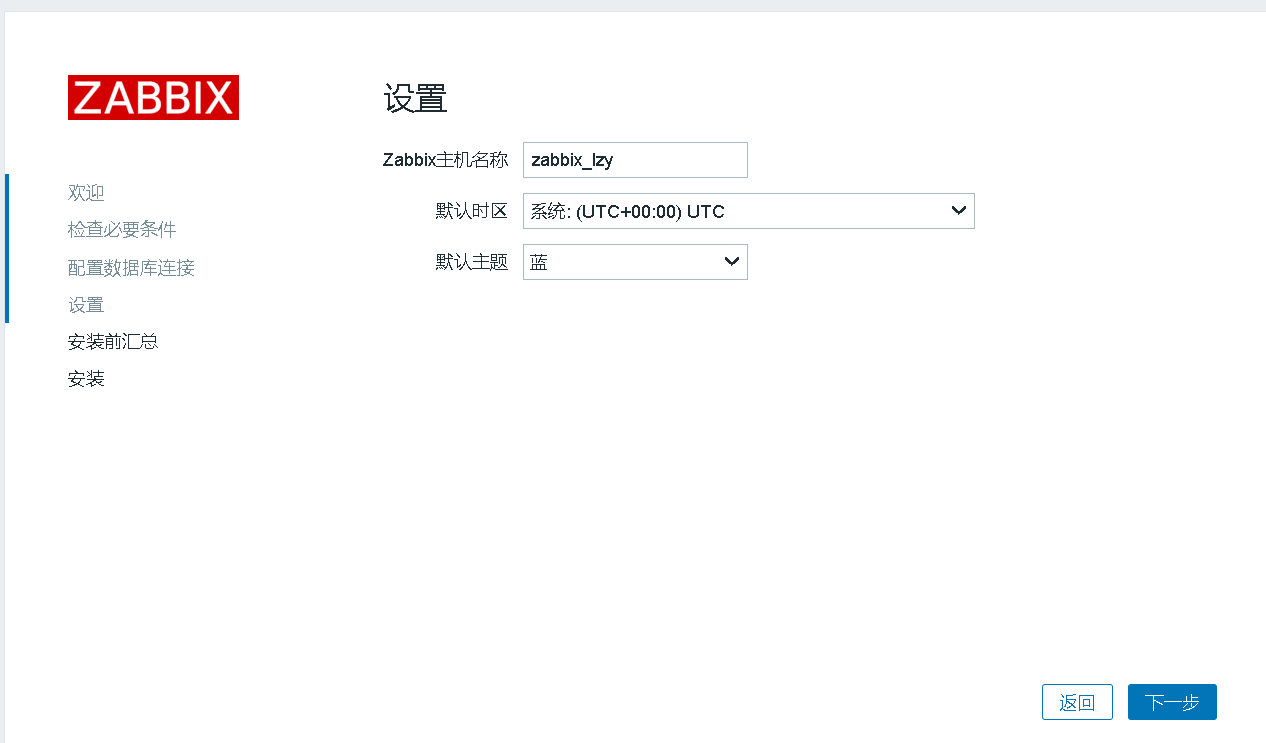
4、设置zabbix主机名称
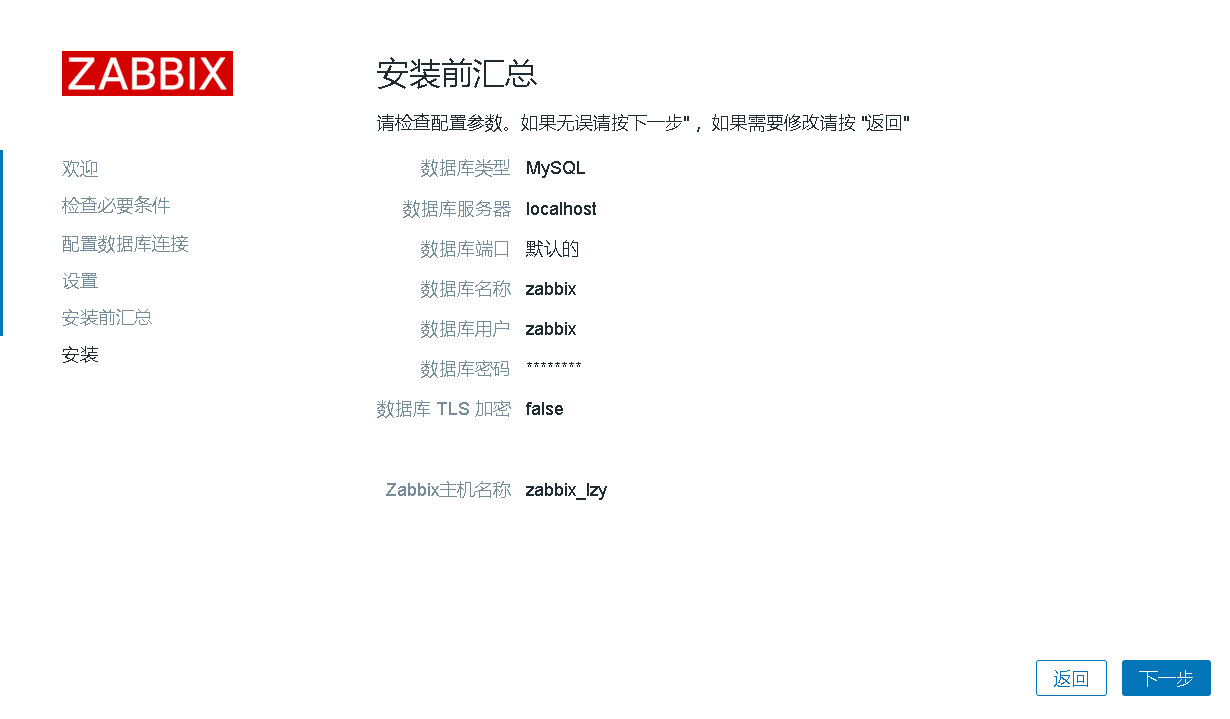
5、安装前汇总,确认无误直接下一步
6、安装完成

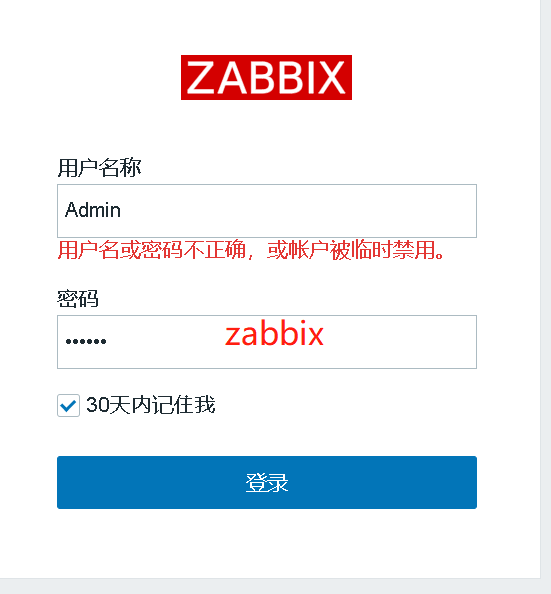
7、登录、默认用户名Admin 密码zabbix

 浙公网安备 33010602011771号