


#客户端路由(前端路由)routing,体验单页面应用(SPA:single page application)
1. 创建需要的组件(home、product-list、product-create)
2. 构建路由,在app.module.ts中
(1)路由配置
import {Routes,RouterModule} from '@angular/router';
const routes:Routes =[
{path:"",redirectTo:"home",pathMatch:"full"},
{path:"home",component:HomeComponent},
{path:"product-list",component:ProductListComponent},
{path:"product-create",component:ProductCreateComponent},
{path:"**",component:HomeComponent},]
(2)imports 到 RouterModule
3. 技能:如何导入一个module?要把module导入到app.module.ts中
imports:[..]
设置路由方式:Hash (带有#的路由)
imports: [
BrowserModule,
RouterModule.forRoot(routes,{useHash:true}) ],
4. 路由的配置只解决了url的跳转,但没有解决component跳转
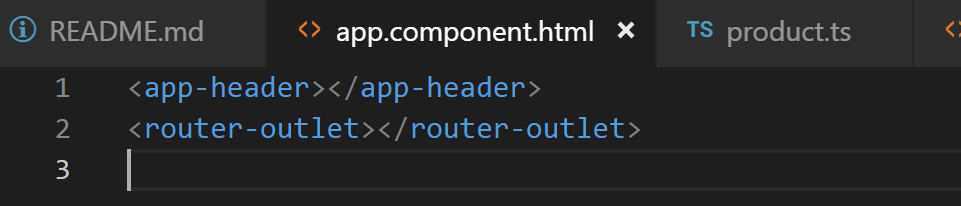
5. 路由占位符:当满足url时,这个位置自动被对应的component替代。
<route-outlet><rout-outlet>
6. 动态路由的实现,不再用hard code
7. 调试技巧:
{{ }}必须成对出现,否则angular无法识别,也就无法取代它的变量,当成了普通字符串来处理。
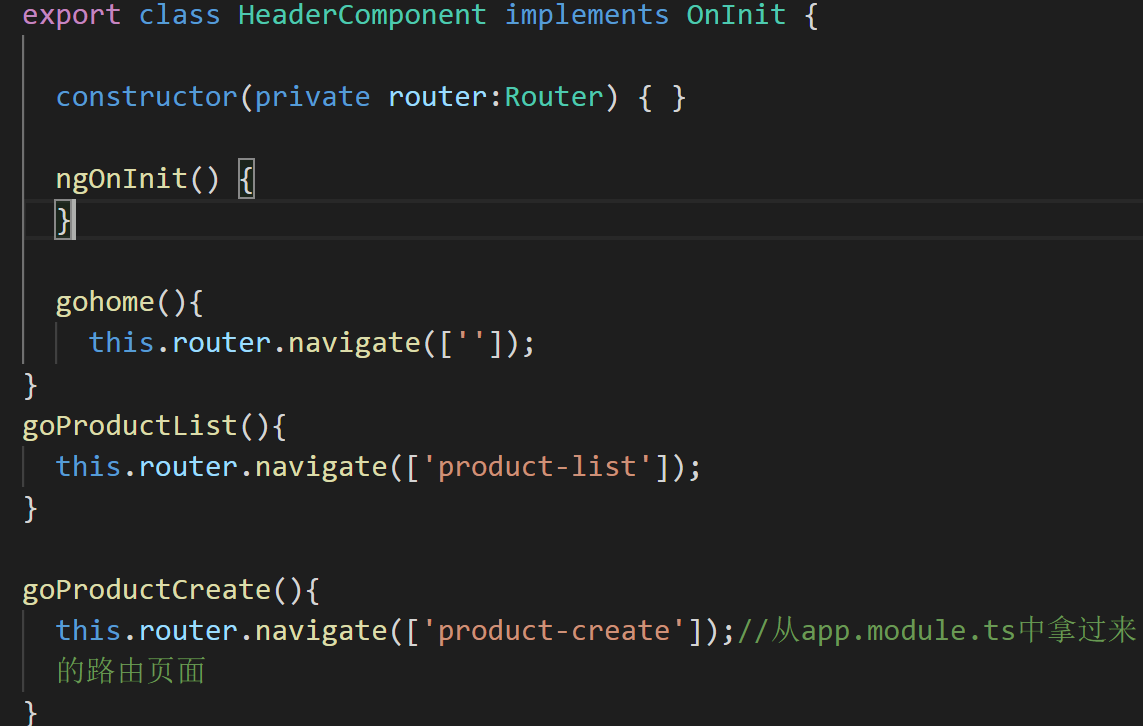
8. 知识点:依赖注入(DI:dependency injection),在NG中,依赖注入常用在constructor中:
constructor(private router:Router) { }
常规思路:用到类时,先声明类,再创建类的实例
依赖注入:
用到类(服务)时,直接拿来就用,不用new,少了一步。
常用到service调用上,必须放在constructor内中才行。
app.module.ts


app.component.html
header.component.html

header.component.ts

product-list.component.html
product-list.component.ts

 浙公网安备 33010602011771号