docker部署tensorflow serving以及模型替换
Using TensorFlow Serving with Docker
1.Ubuntu16.04下安装docker ce
1-1:卸载旧版本的docker
sudo apt-get remove docker docker-engine docker.io
1-2:安装可选内核模块从 Ubuntu 14.04 开始,一部分内核模块移到了可选内核模块包 ( linux-image-extra-* ) ,以减少内核软件包的体积。正常安装的系统应该会包含可选内核模块包,而一些裁剪后的 系统 可能会将其精简掉。 AUFS 内核驱动属于可选内核模块的一部分,作为推荐的 Docker 存储层驱动,一般建议安装可选内核模块包以使用 AUFS 。如果没有安装的话可以使用下面的命令安装
sudo apt-get update
sudo apt-get install  linux-image-extra-$(uname -r)  linux-image-extra-virtual
1-3:安装Docker CE由于 apt 源使用 HTTPS 以确保软件下载过程中不被篡改。因此,我们首先需要添加使用HTTPS 传输的软件包以及 CA 证书。
sudo apt-get update
sudo apt-get install \
    apt-transport-https \
    ca-certificates \
    curl \
    software-properties-common
1-4:鉴于国内网络问题,强烈建议使用国内源,官方源请在注释中查看。为了确认所下载软件包的合法性,需要添加软件源的 GPG 密钥
curl -fsSL https://mirrors.ustc.edu.cn/docker-ce/linux/ubuntu/gpg | sudo apt-key add -
# 官方源
#curl -fsSL https://download.docker.com/linux/ubuntu/gpg | sudo apt-key add -
1-5:然后,我们需要向 source.list 中添加 Docker 软件源
sudo add-apt-repository \
"deb [arch=amd64] https://mirrors.ustc.edu.cn/docker-ce/linux/ubuntu \
$(lsb_release -cs) \
stable"

# 官方源
#  sudo add-apt-repository \
# "deb [arch=amd64] https://download.docker.com/linux/ubuntu \
# $(lsb_release -cs) \
# stable
1-6:更新 apt 软件包缓存,并安装 docker-ce
sudo apt-get update
sudo apt-get install docker-ce
1-7:启动docker ce
sudo systemctl enable docker
sudo systemctl start docker
1-8:测试安装是否正确
sudo docker run hello-world

Unable to find image 'hello-world:latest' locally
latest: Pulling from library/hello-world
ca4f61b1923c: Pull complete
Digest: sha256:445b2fe9afea8b4aa0b2f27fe49dd6ad130dfe7a8fd0832be5de99625dad47cd
Status: Downloaded newer image for hello-world:latest

Hello from Docker!
This message shows that your installation appears to be working correctly.

To generate this message, Docker took the following steps:
 1. The Docker client contacted the Docker daemon.
 2. The Docker daemon pulled the "hello-world" image from the Docker Hub.
    (amd64)
 3. The Docker daemon created a new container from that image which runs the
    executable that produces the output you are currently reading.
 4. The Docker daemon streamed that output to the Docker client, which sent it
    to your terminal.

To try something more ambitious, you can run an Ubuntu container with:
 $ docker run -it ubuntu bash

Share images, automate workflows, and more with a free Docker ID:
 https://cloud.docker.com/

For more examples and ideas, visit:
 https://docs.docker.com/engine/userguide/
出现上述信息表示安装正确!!
2.部署Tensorflow serving:latest-gpu
2-1:部署tensorflow serving:latest-gpu时,除了安装docker之外,还需要安装nvidia-docker
2-1-1:安装适用于你系统的NVDIA驱动程序,去官网查询下载,这里不做演示
2-1-2:安装Tensorflow Model Server的GPU,否则会报错:
Cannot assign a device for operation 'a': Operation was explicitly assigned to /device:GPU:0
2-1-3:安装tensorflow-model-server
1.环境说明
操作系统:Ubuntu

2.安装依赖
apt-get install -y python3 build-essential curl libcurl3-dev git libfreetype6-dev libzmq3-dev pkg-config python3-dev python3-numpy python3-pip software-properties-common swig zip zlib1g-dev

3.配置python环境
ln -s /usr/bin/python3 /usr/bin/python
ln -s /usr/bin/pip3 /usr/bin/pip

4.安装tensorflow-serving-api
pip install tensorflow-serving-api

5.配置tensorflow-model-server仓库
echo "deb [arch=amd64] http://storage.googleapis.com/tensorflow-serving-apt stable tensorflow-model-server tensorflow-model-server-universal" | tee /etc/apt/sources.list.d/tensorflow-serving.list
curl https://storage.googleapis.com/tensorflow-serving-apt/tensorflow-serving.release.pub.gpg | apt-key add -

6.安装tensorflow-model-server
apt-get remove tensorflow-model-server
apt-get install tensorflow-model-server

7.安装执行tensorflow_mode_server命令测试是否安装成功
tensorflow_model_server

Flags:
    --port=8500                         int32   Port to listen on for gRPC API
    --rest_api_port=0                   int32   Port to listen on for HTTP/REST API. If set to zero HTTP/REST API will not be exported. This port must be different than the one specified in --port.
    --rest_api_num_threads=32           int32   Number of threads for HTTP/REST API processing. If not set, will be auto set based on number of CPUs.
    --rest_api_timeout_in_ms=30000      int32   Timeout for HTTP/REST API calls.
    --enable_batching=false             bool    enable batching
    --batching_parameters_file=""       string  If non-empty, read an ascii BatchingParameters protobuf from the supplied file name and use the contained values instead of the defaults.
    --model_config_file=""              string  If non-empty, read an ascii ModelServerConfig protobuf from the supplied file name, and serve the models in that file. This config file can be used to specify multiple models to serve and other advanced parameters including non-default version policy. (If used, --model_name, --model_base_path are ignored.)
    --model_name="default"              string  name of model (ignored if --model_config_file flag is set
    --model_base_path=""                string  path to export (ignored if --model_config_file flag is set, otherwise required)
    --file_system_poll_wait_seconds=1   int32   interval in seconds between each poll of the file system for new model version
    --flush_filesystem_caches=true      bool    If true (the default), filesystem caches will be flushed after the initial load of all servables, and after each subsequent individual servable reload (if the number of load threads is 1). This reduces memory consumption of the model server, at the potential cost of cache misses if model files are accessed after servables are loaded.
    --tensorflow_session_parallelism=0  int64   Number of threads to use for running a Tensorflow session. Auto-configured by default.Note that this option is ignored if --platform_config_file is non-empty.
    --ssl_config_file=""                string  If non-empty, read an ascii SSLConfig protobuf from the supplied file name and set up a secure gRPC channel
    --platform_config_file=""           string  If non-empty, read an ascii PlatformConfigMap protobuf from the supplied file name, and use that platform config instead of the Tensorflow platform. (If used, --enable_batching is ignored.)
    --per_process_gpu_memory_fraction=0.000000  float   Fraction that each process occupies of the GPU memory space the value is between 0.0 and 1.0 (with 0.0 as the default) If 1.0, the server will allocate all the memory when the server starts, If 0.0, Tensorflow will automatically select a value.
    --saved_model_tags="serve"          string  Comma-separated set of tags corresponding to the meta graph def to load from SavedModel.
    --grpc_channel_arguments=""         string  A comma separated list of arguments to be passed to the grpc server. (e.g. grpc.max_connection_age_ms=2000)
    --enable_model_warmup=true          bool    Enables model warmup, which triggers lazy initializations (such as TF optimizations) at load time, to reduce first request latency.
2-2:GPU绑定官网的一个模型,并使用REST API调用它
拉取最新的tensorflow的GPU docker镜像文件:
docker pull tensorflow/serving:latest-gpu
2-3:接下来,我们将使用一个名为的玩具模型Half Plus Two,它0.5 * x + 2为x我们提供的预测值生成。此模型将操作绑定到GPU设备,并且不会在CPU上运行。
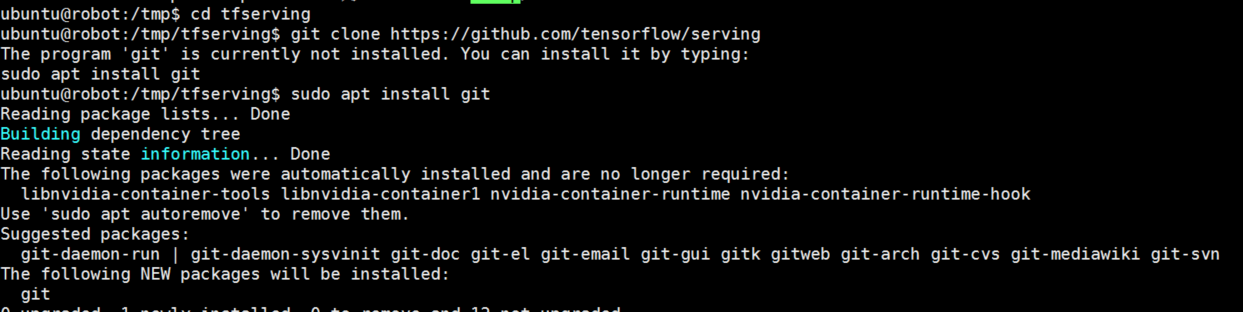
mkdir -p /tmp/tfserving
cd /tmp/tfserving
git clone https://github.com/tensorflow/serving
2-4:运行Tensorflow serving容器,并打开REST API端口(8501)
docker run --runtime=nvidia -p 8501:8501 \
  --mount type=bind,\
  source=/tmp/tfserving/serving/tensorflow_serving/servables/tensorflow/testdata/saved_model_half_plus_two_gpu,\
  target=/models/half_plus_two \
  -e MODEL_NAME=half_plus_two -t tensorflow/serving:latest-gpu &
参数说明:
--mount:   表示要进行挂载
source:    指定要运行部署的模型地址, 也就是挂载的源,这个是在宿主机上的模型目录
target:     这个是要挂载的目标位置,也就是挂载到docker容器中的哪个位置,这是docker容器中的目录
-t:         指定的是挂载到哪个容器
-p:         指定主机到docker容器的端口映射
docker run: 启动这个容器并启动模型服务(这里是如何同时启动容器中的模型服务的还不太清楚)

综合解释:
         将source目录中的例子模型,挂载到-t指定的docker容器中的target目录,并启动

注意:如果执行报错无法识别type=bind, 那应该是source的路径有问题
注意:如果出现这样的错误提示,表示传入的参数不能有空格:表示target、source等参数不能有空格
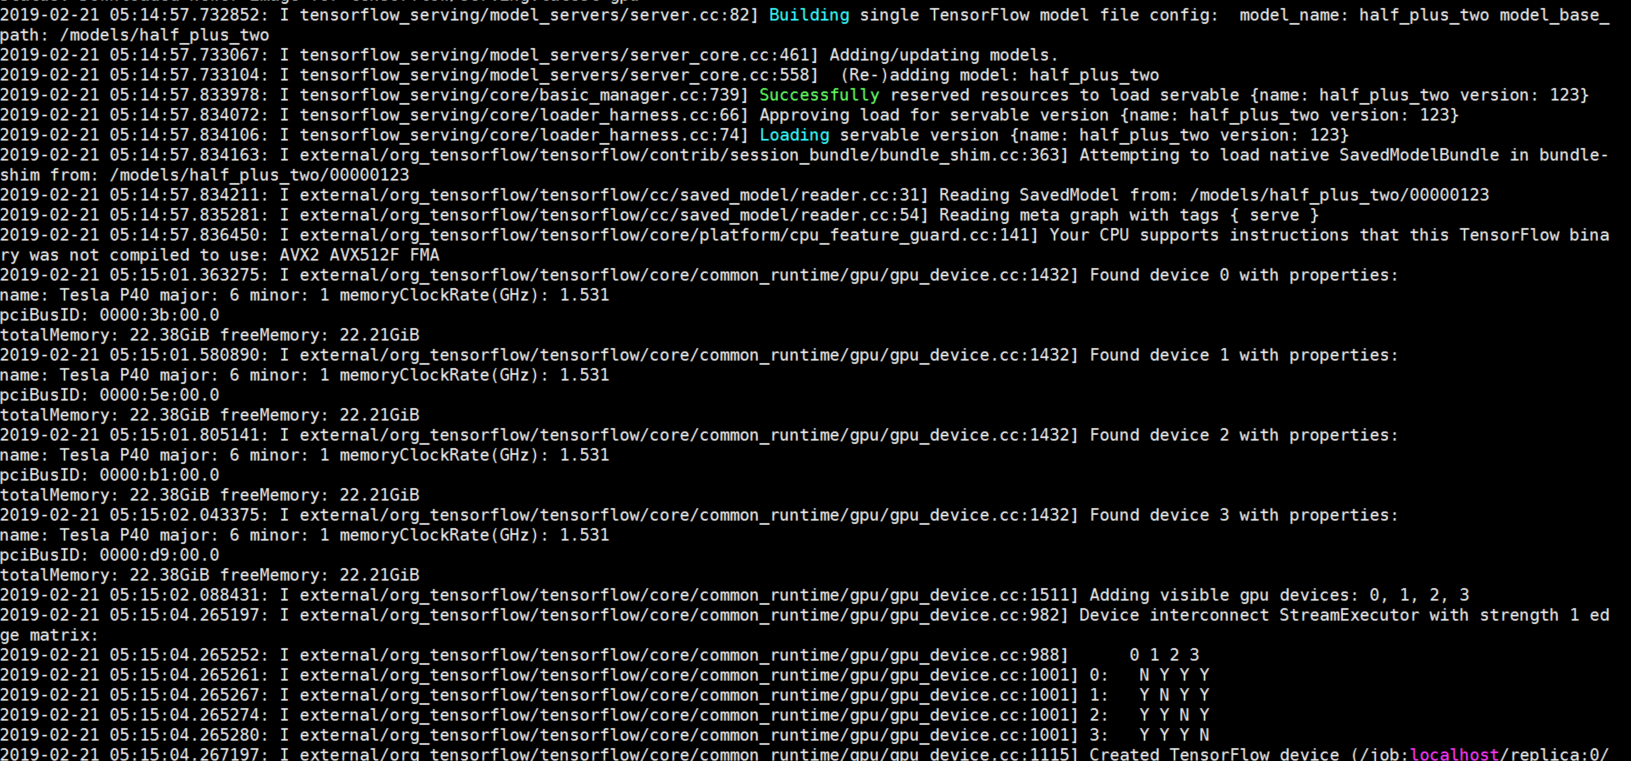
2-5:提示:在查询模型之前,请务必等到看到如下所示的消息,表明服务器已准备好接收请求:
2018-07-27 00:07:20.773693: I tensorflow_serving/model_servers/main.cc:333]
Exporting HTTP/REST API at:localhost:8501 ...
2-6:传入参数,预测结果
$ curl -d '{"instances": [1.0, 2.0, 5.0]}' \
  -X POST http://localhost:8501/v1/models/half_plus_two:predict
2-7:得到的返回值:
{ "predictions": [2.5, 3.0, 4.5] }

到此为止,用REST API端口,部署tensorflow serving服务已经完成了,而且已经完成了最基本的预测!
————————————————————————————————————————————————————————————————————
3.模型替换
3-1:下面就是替换模型,上述的模型是git clone官方的最简单的模型文件,下面就是需要替换模型,替换为自己训练好的pb模型文件!
注意:可能有些人训练完成之后,保存模型,格式看似为.pb格式的文件,实际上有些人保存的pb格式的文件是frozen model,启用替换模型的话,会报错:
E tensorflow_serving/core/aspired_versions_manager.cc:358] Servable {name: mnist version: 1} cannot be loaded: Not found: Could not find meta graph def matching supplied tags: { serve }. To inspect available tag-sets in the SavedModel, please use the SavedModel CLI: `saved_model_cli`
那是因为tensorflow serving希望读取的pb模型为saved model格式,于是需要将frozen model 转化为 saved model 格式:
 64 from tensorflow.python.saved_model import signature_constants
 65 from tensorflow.python.saved_model import tag_constants
 66
 67 export_dir = '/data/codebase/Keyword-fenci/brand_recogniton_biLSTM/saved_model'
 68 graph_pb = '/data/codebase/Keyword-fenci/brand_recogniton_biLSTM/tensorflow_model/tensor_model.pb'
 69
 70 builder = tf.saved_model.builder.SavedModelBuilder(export_dir)
 71
 72 with tf.gfile.GFile(graph_pb, "rb") as f:
 73     graph_def = tf.GraphDef()
 74     graph_def.ParseFromString(f.read())
 75
 76 sigs = {}
 77
 78 with tf.Session(graph=tf.Graph()) as sess:
 79     # name="" is important to ensure we don't get spurious prefixing
 80     tf.import_graph_def(graph_def, name="")
 81     g = tf.get_default_graph()
 82     inp = g.get_tensor_by_name(net_model.input.name)
 83     out = g.get_tensor_by_name(net_model.output.name)
 84
 85     sigs[signature_constants.DEFAULT_SERVING_SIGNATURE_DEF_KEY] = \
 86         tf.saved_model.signature_def_utils.predict_signature_def(
 87             {"in": inp}, {"out": out})
 88
 89     builder.add_meta_graph_and_variables(sess,
 90                                          [tag_constants.SERVING],
 91                                          signature_def_map=sigs)
 92
 93 builder.save()
---------------------
原文:https://blog.csdn.net/mouxiaoqiu/article/details/81220222
这样保存下来了之后,saved model文件夹下就有两个文件:
saved_model.pb 和 variables文件夹(文件夹里面包含了两个文件![]() )
)
这样saved_model的pb模型文件,tensorflow serving才能够读取~~
目录结构为:
── 00000123
   ├── saved_model.pb
   └── variables
       ├── variables.data-00000-of-00001
       └── variables.index
3-2:按照上述官方的source目录,模仿创建类似的目录结构:
在saved_model_half_plus_two_gpu模型同级的目录下创建了一个文件夹,名为tfmodel, 这是我模型的名称,然后:
$cd tfmodel
$mkdir 00000123
$cd 00000123
$mkdir variables
将![]() 这两个文件放入variables文件夹内,然后将pb模型放入00000123文件夹内,相当于tfmodel文件夹内包含:1.pb模型 2.variables文件夹(这个文件夹包含两个权重文件)
这两个文件放入variables文件夹内,然后将pb模型放入00000123文件夹内,相当于tfmodel文件夹内包含:1.pb模型 2.variables文件夹(这个文件夹包含两个权重文件)
3-3:找到你创建的tfmodel文件夹,在source里面替换你的模型路径:
![]()
第一个tf_model为路径的文件夹,第二和第三个为任意起的名字,方便后续访问服务器的时候需要用着这个名字:
![]()
3-4:看到这个提示,表示您的服务已经起来了:

到此为止,用docker部署tensorflow serving以及对模型的替换已经完成了,如有漏洞,希望大家批评指正!

 浙公网安备 33010602011771号