
.net Core 3.1 Swagger 引入
首先引入.net core的Swagger包 Swashbuckle.AspNetCore
在Startup.cs中ConfigureServices方法中注入Swagger服务
services.AddSwaggerGen(operation =>
{
operation.SwaggerDoc("v1", new OpenApiInfo
Title = "WuJinHuaWebApi", //标题
Description = "这是测试Core引入Swagger",
Version = "1.0.1", //版本
TermsOfService = new Uri("https://www.baidu.com/"), //"服务条款"
Contact = new OpenApiContact //Api的联系人
{
Name = "WuJinHua",
Url = new Uri("https://www.wujinhua.com"),
Email = "403062268@qq.com"
},
License = new OpenApiLicense
{
Name = "YaYa", 许可证签名
Url = new Uri("https://www.YaYa.com/")
}
});
});
在Startup.cs中Configure方法中增加Swagger中间件
app.UseSwagger();
app.UseSwaggerUI(ui =>
{
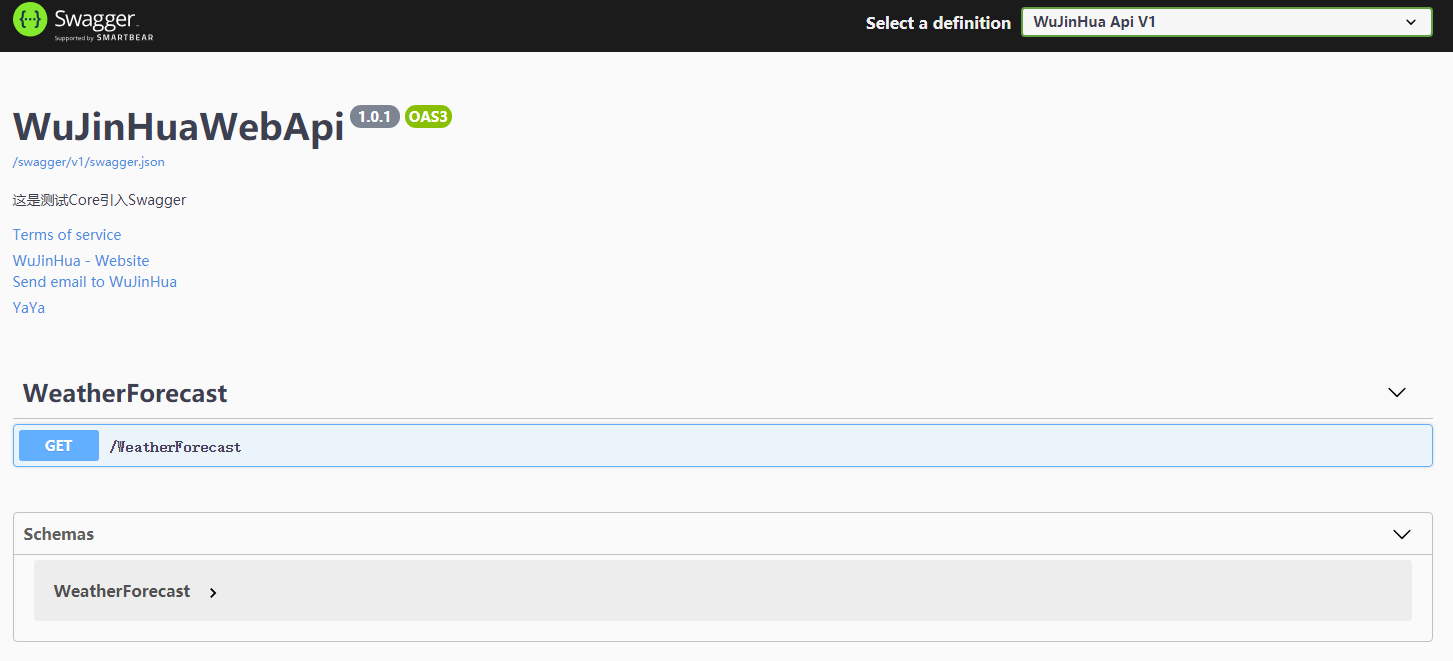
ui.SwaggerEndpoint("/swagger/v1/swagger.json", "WuJinHua Api V1");
ui.RoutePrefix = string.Empty; //根路径设置为空就可以 用/index地址
});
启动程序在浏览器中输入https://localhost:44390/index.html 就会出现Swagger 界面
增加
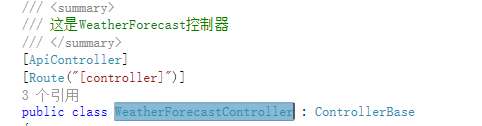
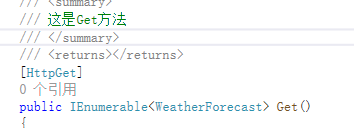
增加对Action,控制器,Entity的注释
我们在以下几个地方增加注释
然后打开xml注释文档

在services.AddSwaggerGen 中增加以下代码
var xmlPath = Path.Combine(AppContext.BaseDirectory, "WebApplication1.xml");
operation.IncludeXmlComments(xmlPath, true);//布尔值表示启用控制器注释
重新启动浏览器会发现控制器和方法上有注释了
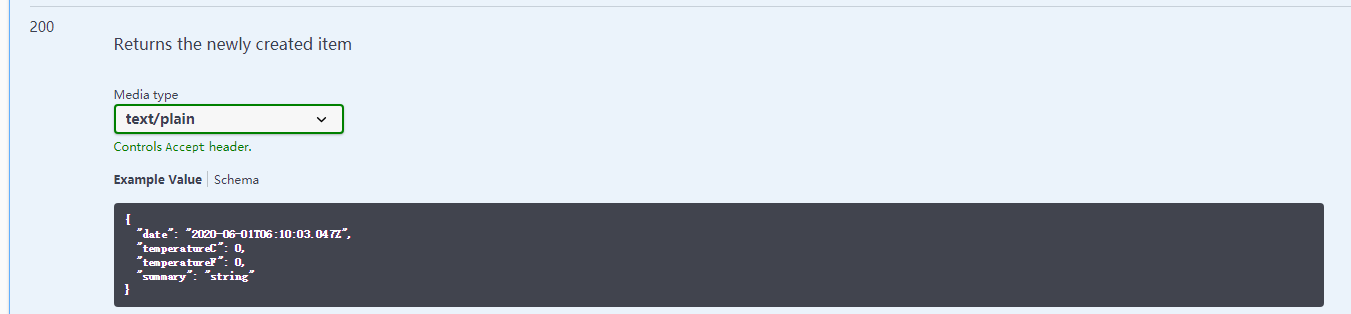
如果需要标记返回code注释加上以下代码
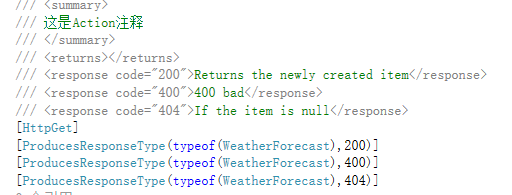
启动浏览器会有以下内容
给Api增加Jwt
1.在appsettings.json中增加以下配置
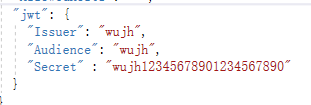
Issuer 为发行人
Audience 受众
Secret 密钥
2.增加AppSettingHelp.cs 读取配置
{
static IConfiguration Configuration { get; set; }
{
string Path = "appsettings.json";
Configuration = new ConfigurationBuilder()
.SetBasePath(Directory.GetCurrentDirectory())
.Add(new JsonConfigurationSource { Path = Path, Optional = false, ReloadOnChange = true })
.Build(); //读取appsettings.json 文件并配置到IConfiguration中
}
{
T t = Configuration.GetSection(key).Get<T>();
return t;
}
}
{
public string Issuer { get; set; }
}
{
private const string jwtEntityKey = "jwt";
public static JwtEntity JwtEntity;
static JwtHelp()
{
JwtEntity = AppSettingHelp.JwtEntity<JwtEntity>(jwtEntityKey);
}
public static string GetToken(UserRoleModel userRoleModel)
{
var claims = new List<Claim>
{
new Claim(JwtRegisteredClaimNames.Jti, userRoleModel.Guid.ToString()), //编号
//这个就是过期时间,目前是过期1000秒,可自定义,注意JWT有自己的缓冲过期时间大概为5分钟
new Claim (JwtRegisteredClaimNames.Exp,$"{new DateTimeOffset(DateTime.Now.AddSeconds(6000)).ToUnixTimeSeconds()}"),
new Claim(JwtRegisteredClaimNames.Iss,JwtEntity.Issuer), //签发人
new Claim(JwtRegisteredClaimNames.Aud,JwtEntity.Audience),//受众
};
//秘钥 (SymmetricSecurityKey 对安全性的要求,密钥的长度太短会报出异常)
var key = new SymmetricSecurityKey(Encoding.UTF8.GetBytes(JwtEntity.Secret));
var creds = new SigningCredentials(key, SecurityAlgorithms.HmacSha256);
var jwt = new JwtSecurityToken(
issuer: JwtEntity.Issuer,
claims: claims,
signingCredentials: creds);
//转为一个token字符串
var encodedJwt = jwtHandler.WriteToken(jwt);
}
{
var jwtHandler = new JwtSecurityTokenHandler();
//读取字符串Token为Token
JwtSecurityToken jwtToken = jwtHandler.ReadJwtToken(jwtStr);
object role;
try
{
jwtToken.Payload.TryGetValue(ClaimTypes.Role, out role);
}
catch (Exception e)
{
Console.WriteLine(e);
throw;
}
var tm = new UserRoleModel
{
Guid = new Guid(jwtToken.Id),
Role = role.ToString()
};
return tm;
}
{
//看这个单词熟悉么?没错,就是上边错误里的那个。
x.DefaultAuthenticateScheme = JwtBearerDefaults.AuthenticationScheme;
x.DefaultChallengeScheme = JwtBearerDefaults.AuthenticationScheme;
})// 也可以直接写字符串,AddAuthentication("Bearer")
.AddJwtBearer(o =>
{
o.TokenValidationParameters = new TokenValidationParameters
{
ValidateIssuerSigningKey = true,
IssuerSigningKey = new SymmetricSecurityKey(Encoding.UTF8.GetBytes(JwtHelp.JwtEntity.Secret)),//参数配置在下边
ValidateIssuer = true,
ValidIssuer = JwtHelp.JwtEntity.Issuer,//发行人
ValidateAudience = true,
ValidAudience = JwtHelp.JwtEntity.Audience,//订阅人
ValidateLifetime = true,
ClockSkew = TimeSpan.Zero,//这个是缓冲过期时间,也就是说,即使我们配置了过期时间,这里也要考虑进去,过期时间+缓冲,默认好像是7分钟,你可以直接设置为0
RequireExpirationTime = true,
};
operation.OperationFilter<AppendAuthorizeToSummaryOperationFilter>();
operation.OperationFilter<SecurityRequirementsOperationFilter>();
operation.AddSecurityDefinition("oauth2", new OpenApiSecurityScheme
{
Description = "JWT授权(数据将在请求头中进行传递)直接在下面框中输入Bearer {token}(注意两者之间是一个空格) \"",
Name = "Authorization",//jwt默认的参数名称
In = ParameterLocation.Header,//jwt默认存放Authorization信息的位置(请求头中)
Type = SecuritySchemeType.ApiKey
});
app.UseAuthorization();
public IActionResult Login(UserRoleModel userRoleModel)
{
string tokenString = JwtHelp.GetToken(userRoleModel);
return Ok(tokenString);
}
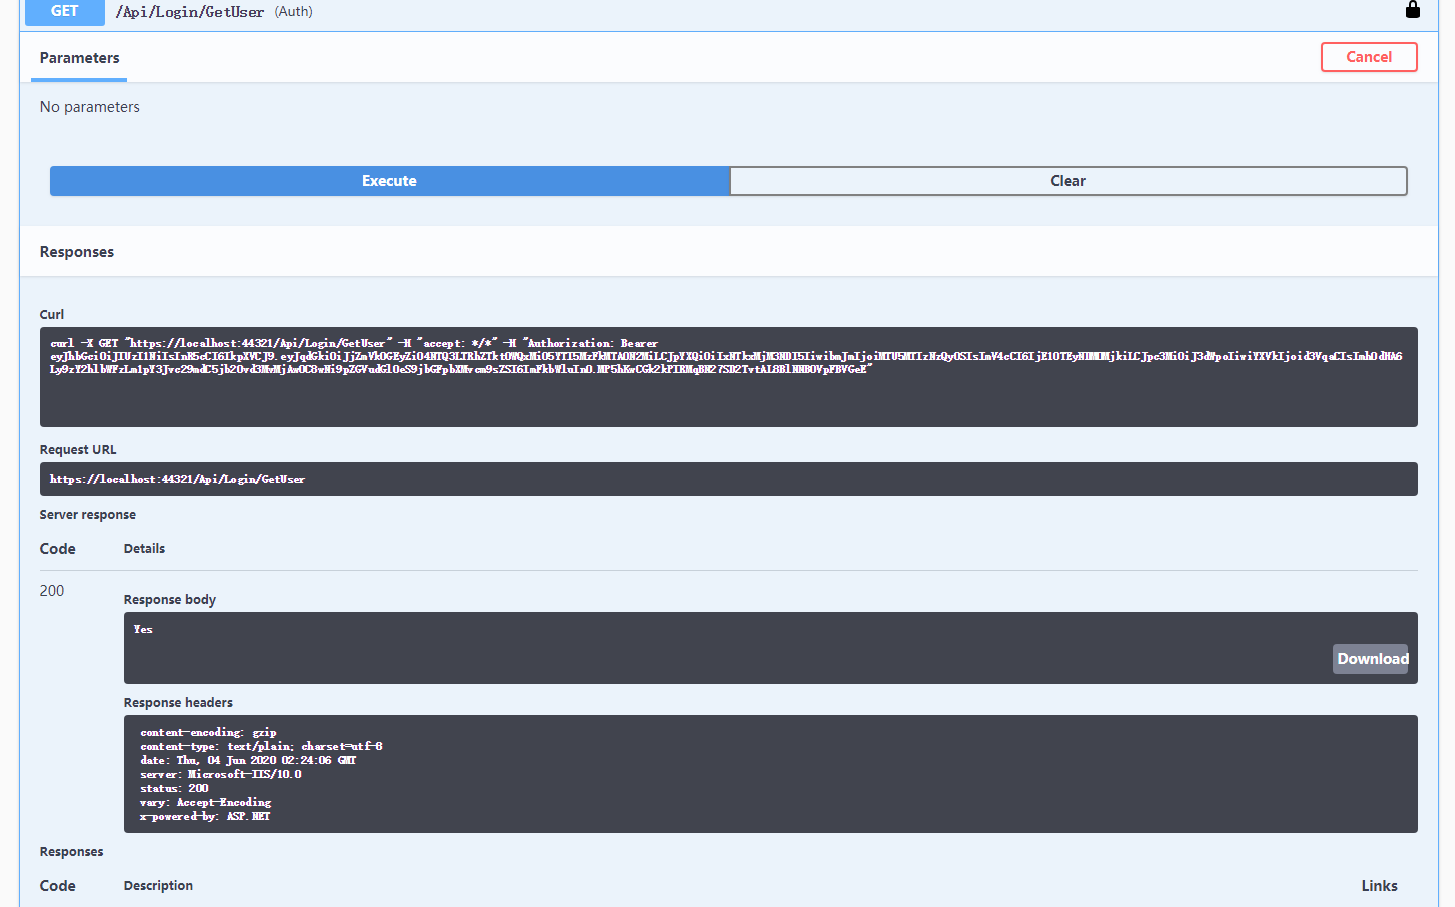
[Authorize]
[HttpGet("GetUser")]
public IActionResult GetUser()
{
var jwtString = this.HttpContext.Request.Headers["Authorization"];
return null;
}
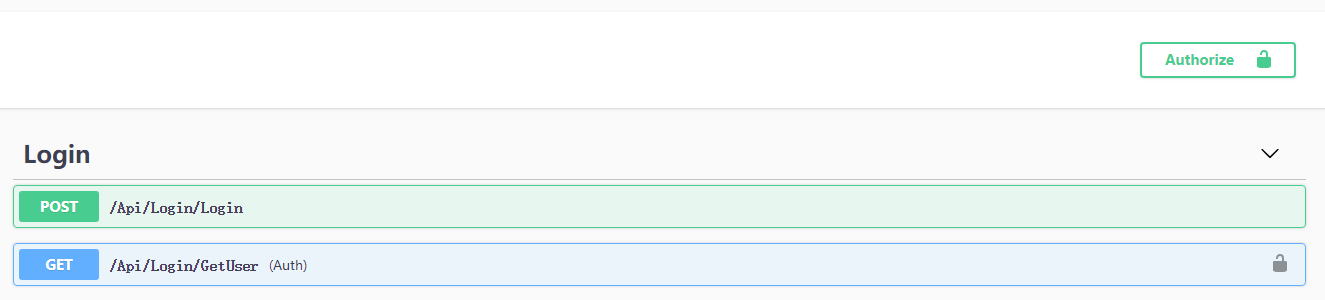
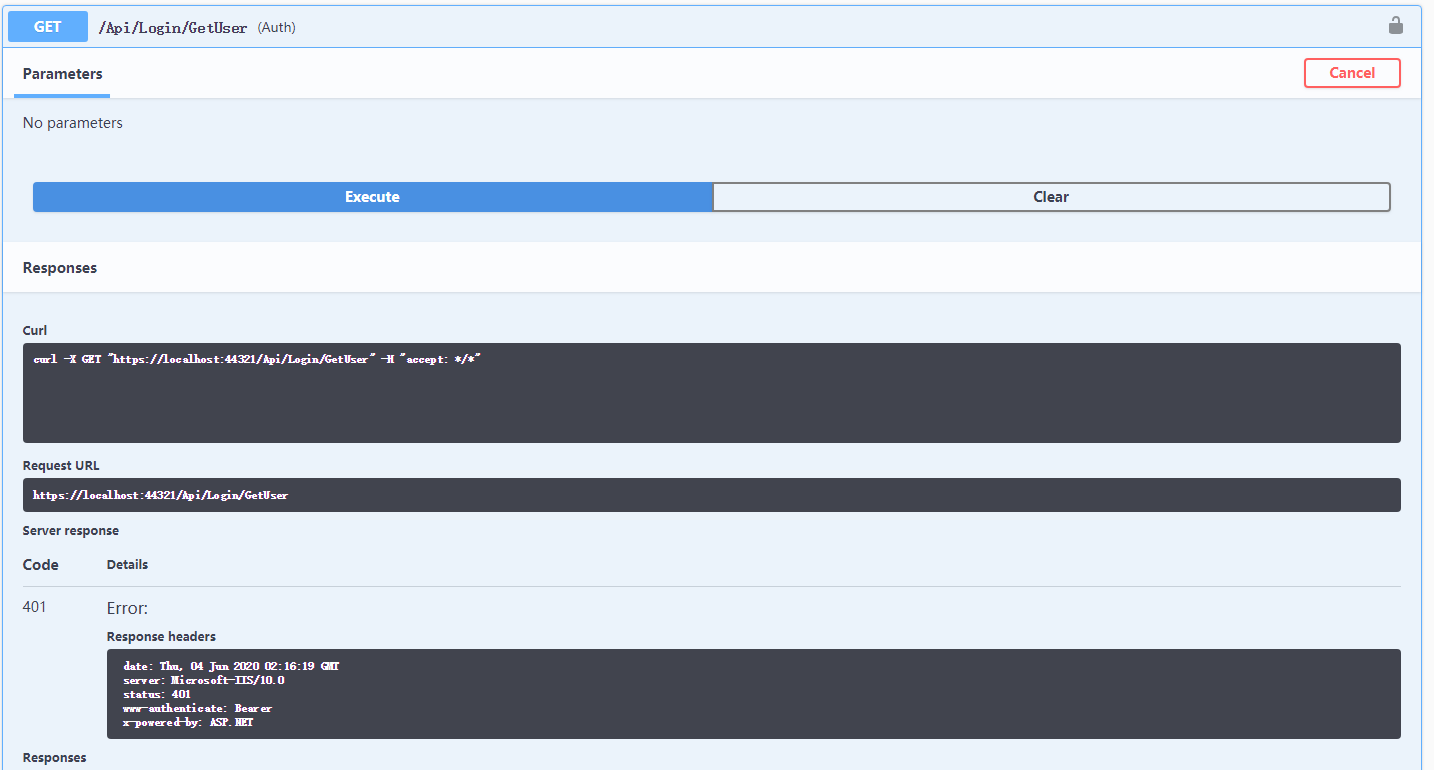
当执行GetUser时会返回401错误表示没有权限
接下来我们执行Login方法 会获得一个jwt的字符串

点击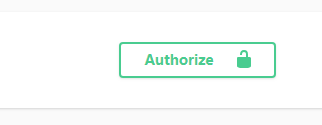 在出现的输入框中输入获得的Jwt 字符串
此时再执行GetUser会获得正确的返回结果

 浙公网安备 33010602011771号