[ Swagger ] 简单使用
Swagger
document API
1.1 Basic
- dependencies: (From maven repository)
springbox-swagger2, springbox-UI,
- enable: add a new configaration file under configaration package.
import org.springframework.context.annotation.Configuration;
import springfox.documentation.swagger2.annotations.EnableSwagger2;

@Configuration
@EnableSwagger2
public class SwaggerConfiguration {
}
Remenber to add a key-value in application.properties if there is a NullPointException:
spring.mvc.pathmatch.matching-strategy=ant-path-matcher
@Configuration actually is a @conponent will be scaned by Springboot
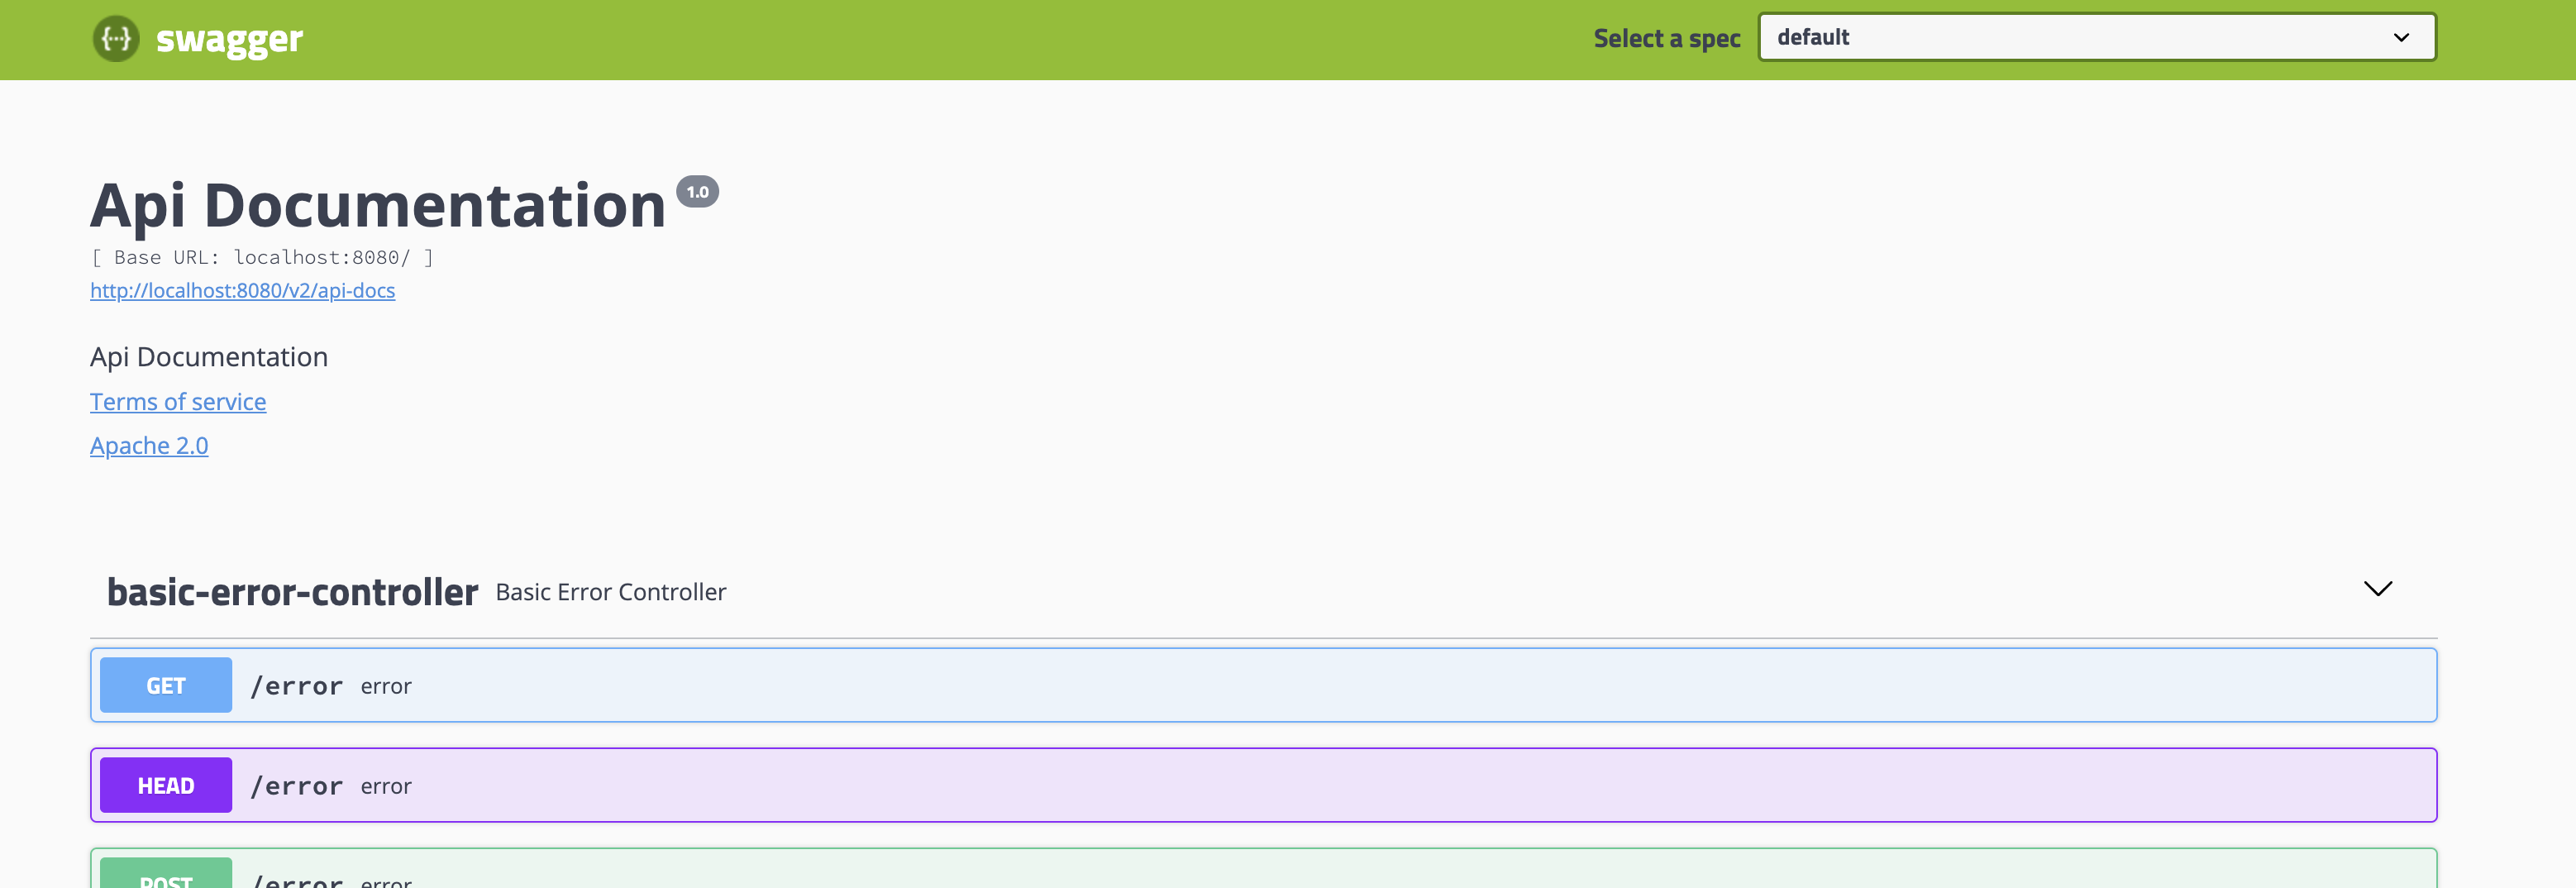
and Then: at http://8080/swagger-ui.html
- config information
the SwaggerConfiguration can return a docket which implements DocumentationPlugin.
@Configuration
@EnableSwagger2
public class SwaggerConfiguration {
    //配置swagger的docketbean实例(自定义api infomation)
    @Bean
    public Docket docket() {
        return new Docket(DocumentationType.SWAGGER_2)
                            .apiInfo(apiInfo())//调用.apiInfo来配置docket
                            .groupName("xxx");//右上角的组名
    }

    Contact contact = new Contact("contact name", "contact url", "contact email");

    //返回一个ApiInfo实例, contact为自己新建的联系方式
    private ApiInfo apiInfo() {
        return new ApiInfo("A new title",
                "a new description",
                "version number",
                "urn:tos",
                contact,
                "Apache 2.0",
                "http://www.apache.org/licenses/LICENSE-2.0",
                new ArrayList<>());
    }
}
1.2 Selection
swagger-ui.html在jar包的resource里
配置扫描指定的API
return new Docket().apiInfo(ApiInfo)
    .selector()
    .apis(RequestHandleSelector.)
    .build();
.apis(RequestHandleSelector.的方法用于指定扫描包/扫描类注解/扫描方法注解)
.paths(PathSelectors.的方法用于指定要扫描的路径)
配置是否启动扫描: .enabled(fasle), 则browse无法打开
指定只在dev环境下显示swagger-ui:
application.properties 中: spring.profiles.active=dev, 另外写 application-dev.properties文件指定端口
  public Docket docket(Environment environment) {
          Profiles profiles = Profiles.of("dev");
          final boolean Flag = environment.acceptsProfiles(profiles);
          return new Docket(DocumentationType.SWAGGER_2)
                  .apiInfo(apiInfo())
                  .enable(Flag)
//传入Environment, 设置要使用swagger的配置环境, 获取是否在当前环境中, 判断flag
1.3 Annotation
设置model的注解:
方法1 : 只要返回值中有model,会被自动扫描
方法2: 在model中:
@ApiModel("用户实体类")
public class User() {
    @ApiModelProperty("属性1")
    private Stirng name;
}
在controller上的注解:
@RestController
public class HelloController {
    @ApiOperation("desc")
    @GetMapping("/hello")
    public String HelloController(@ApiParam String name) {
        return name + "hello";
    }
}
此外,swagger-ui.html可以模拟部分postman的功能
1.4 Swagger 3.0
使用3.0 ,只需要导入一个包
implementation 'io.springfox:springfox-boot-starter:3.0.0'
同时, 访问地址变为:
http://localhost:8080/swagger-ui/index.html
application.yml 中配置依然需要:
spring.mvc.path-match.matching-strategy: ant_path_matcher

 浙公网安备 33010602011771号