简单的物流项目实战,WPF的MVVM设计模式(五)
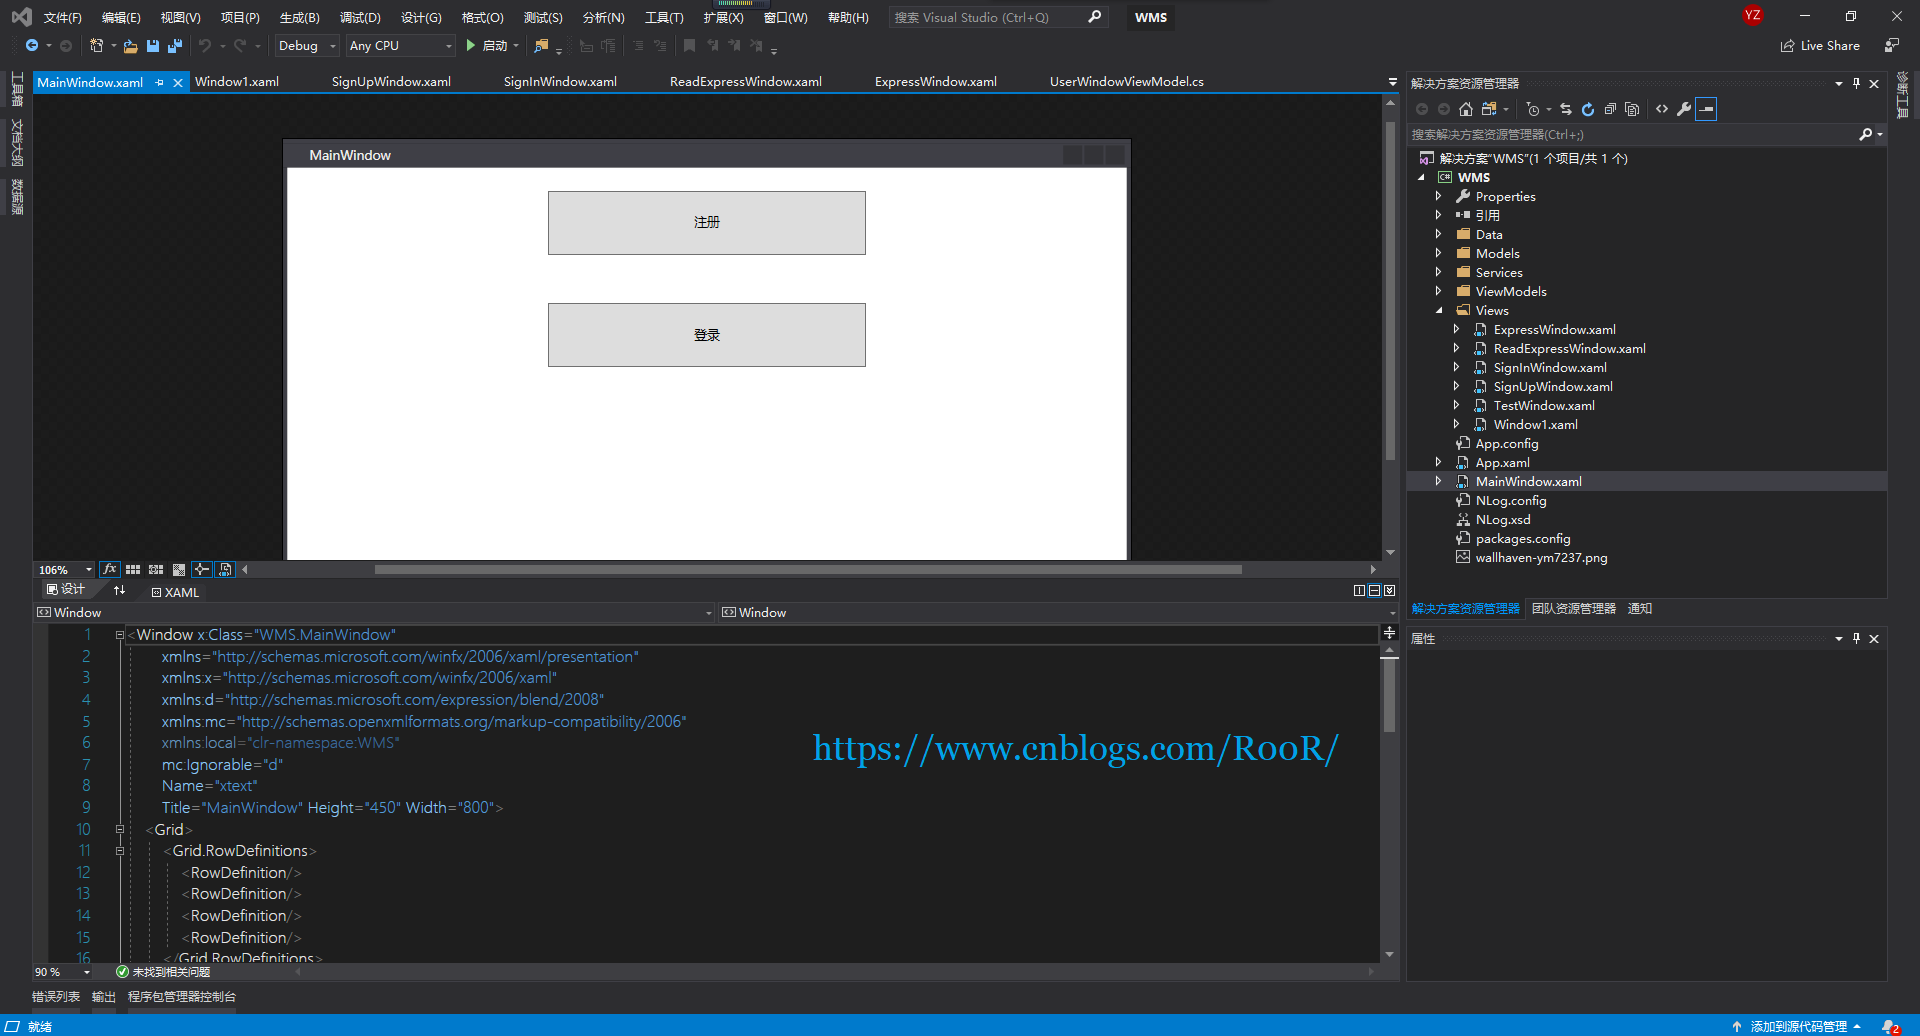
开始界面
    <Grid>
        <Grid.RowDefinitions>
            <RowDefinition/>
            <RowDefinition/>
            <RowDefinition/>
            <RowDefinition/>
        </Grid.RowDefinitions>
        <Button Grid.Row="0"
                Content="注册"
                Height="60"
                Width="300"
                Name="SignUpButton"
                Click="SignUpButton_Click"
                />
        <Button Grid.Row="1"
                Content="登录"
                Height="60"
                Width="300"
                Name="SignInButton"
                Click="SignInButton_Click"/>
        <!--<Button Grid.Row="2"
                Content="下单"
                Height="60"
                Width="300"
                Name="DownButton"
                Click="DownButton_Click"/>
        <Button Grid.Row="3"
                Content="查看"
                Height="60"
                Width="300"
                Name="ReadButton"
                Click="ReadButton_Click"/>-->
    </Grid>
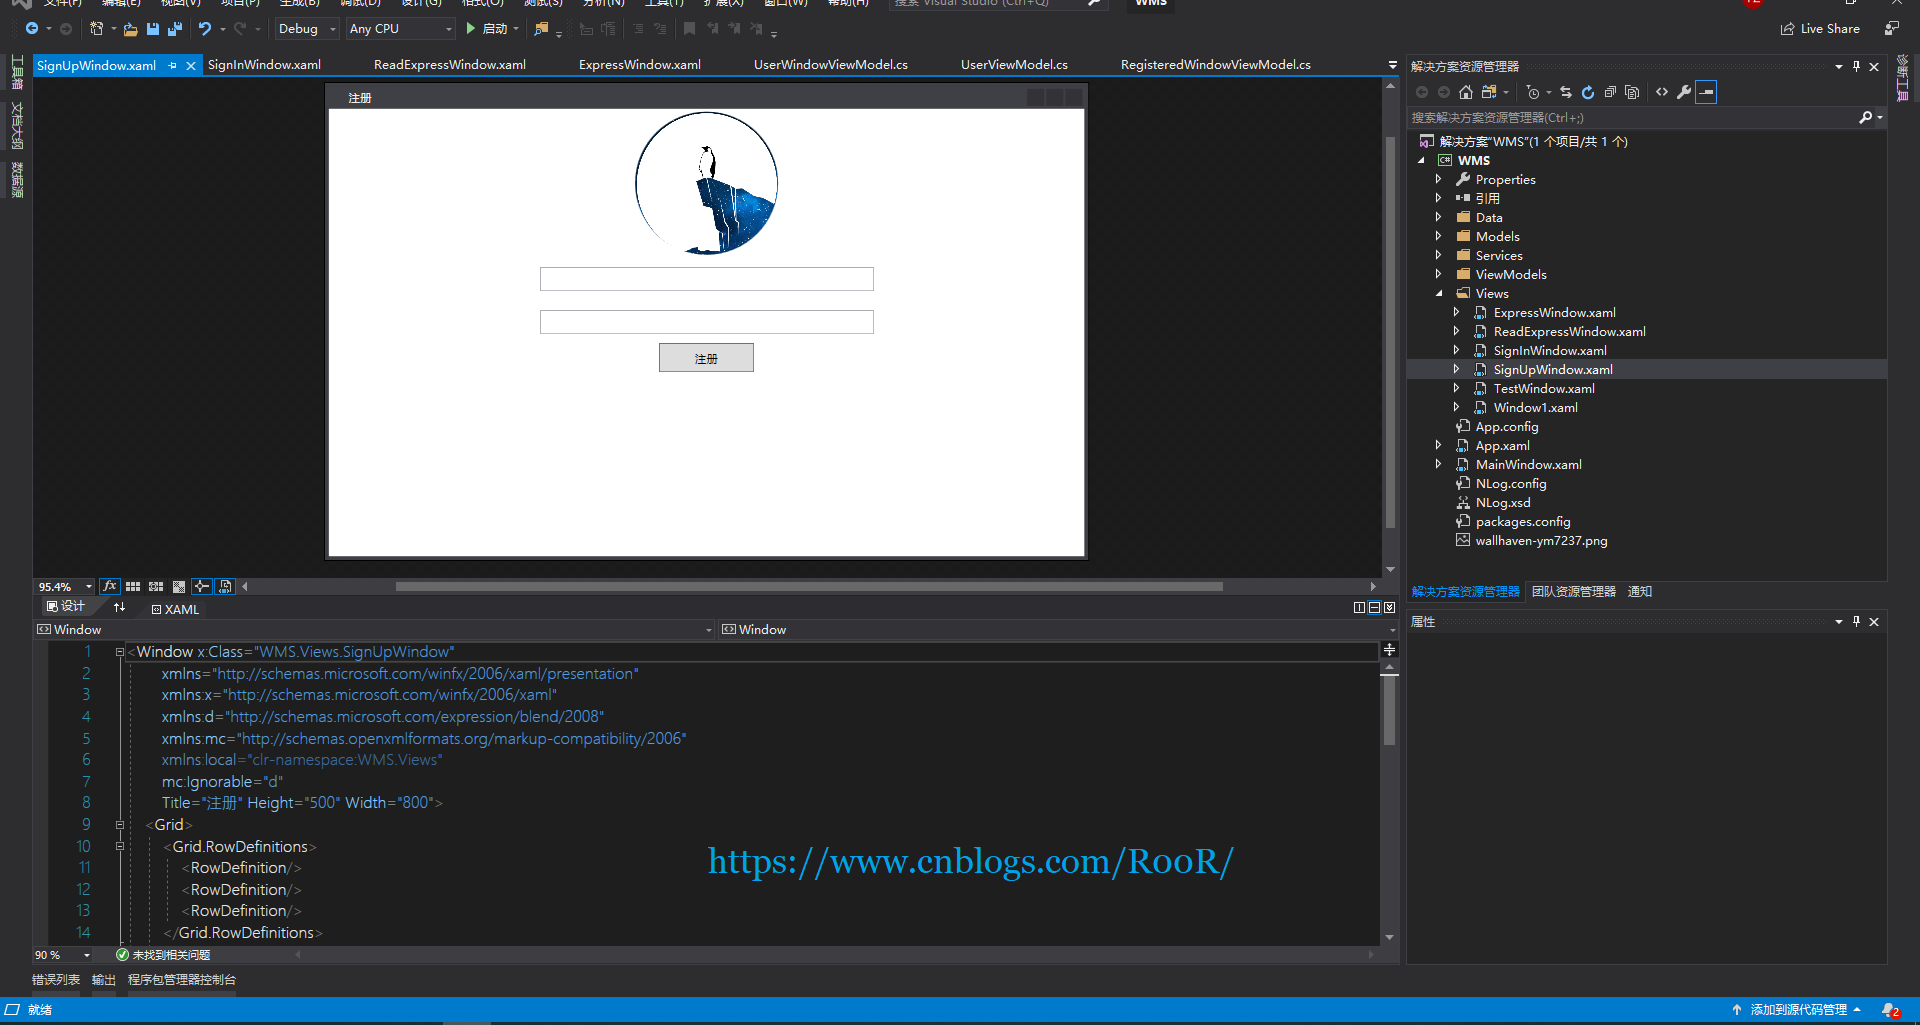
注册界面
    <Grid>
        <Grid.RowDefinitions>
            <RowDefinition/>
            <RowDefinition/>
            <RowDefinition/>
        </Grid.RowDefinitions>
        <Ellipse Height="150" Width="150">
            <Ellipse.Fill>
                <ImageBrush ImageSource="F:\5\WMS\WMS\wallhaven-ym7237.png"/>
            </Ellipse.Fill>
        </Ellipse>
        <StackPanel Grid.Row="1">
            <TextBox Name="UserAccount"
                     Text="{Binding UserAccount}"
                     Width="350"
                     Height="25"
                     Margin="0 10 0 10"/>
            <TextBox Name="Password"
                     Text="{Binding Password}"
                     Width="350"
                     Height="25"
                     Margin="0 10 0 10"/>
            <Button Name="SignUpButton" Command="{Binding InsertCommand}"
                    Width="100"
                    Height="30"
                    Content="注册"/>
        </StackPanel>
    </Grid>
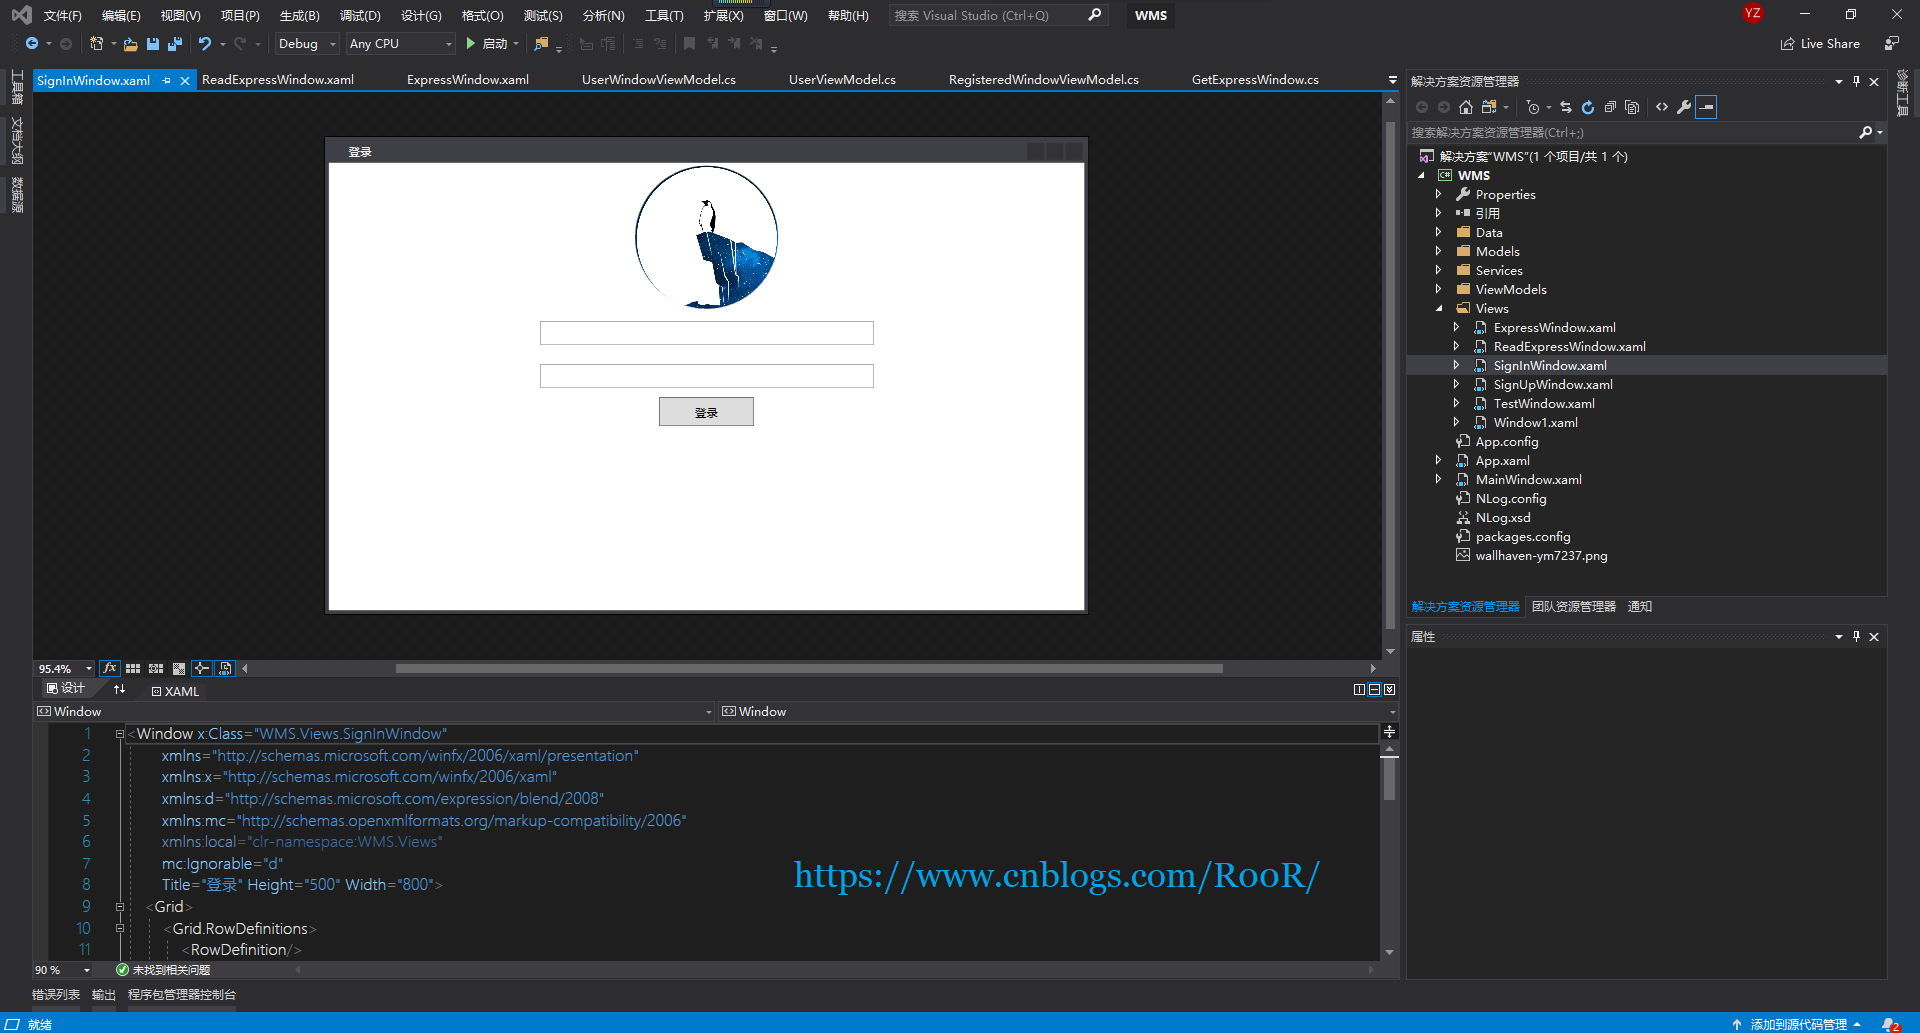
登录界面
    <Grid>
        <Grid.RowDefinitions>
            <RowDefinition/>
            <RowDefinition/>
            <RowDefinition/>
        </Grid.RowDefinitions>
        <Ellipse Height="150" Width="150">
            <Ellipse.Fill>
                <ImageBrush ImageSource="F:\5\WMS\WMS\wallhaven-ym7237.png"/>
            </Ellipse.Fill>
        </Ellipse>
        <StackPanel Grid.Row="1">
            <TextBox Name="UserAccount"
                     Text="{Binding Username}"
                     Width="350"
                     Height="25"
                     Margin="0 10 0 10"/>
            <TextBox Name="Password"
                     Text="{Binding Userpassword}"
                     Width="350"
                     Height="25"
                     Margin="0 10 0 10"/>
            <Button Name="SignUpButton" Command="{Binding GetCommand}"
                    Width="100"
                    Height="30"
                    Content="登录"/>
        </StackPanel>
    </Grid>
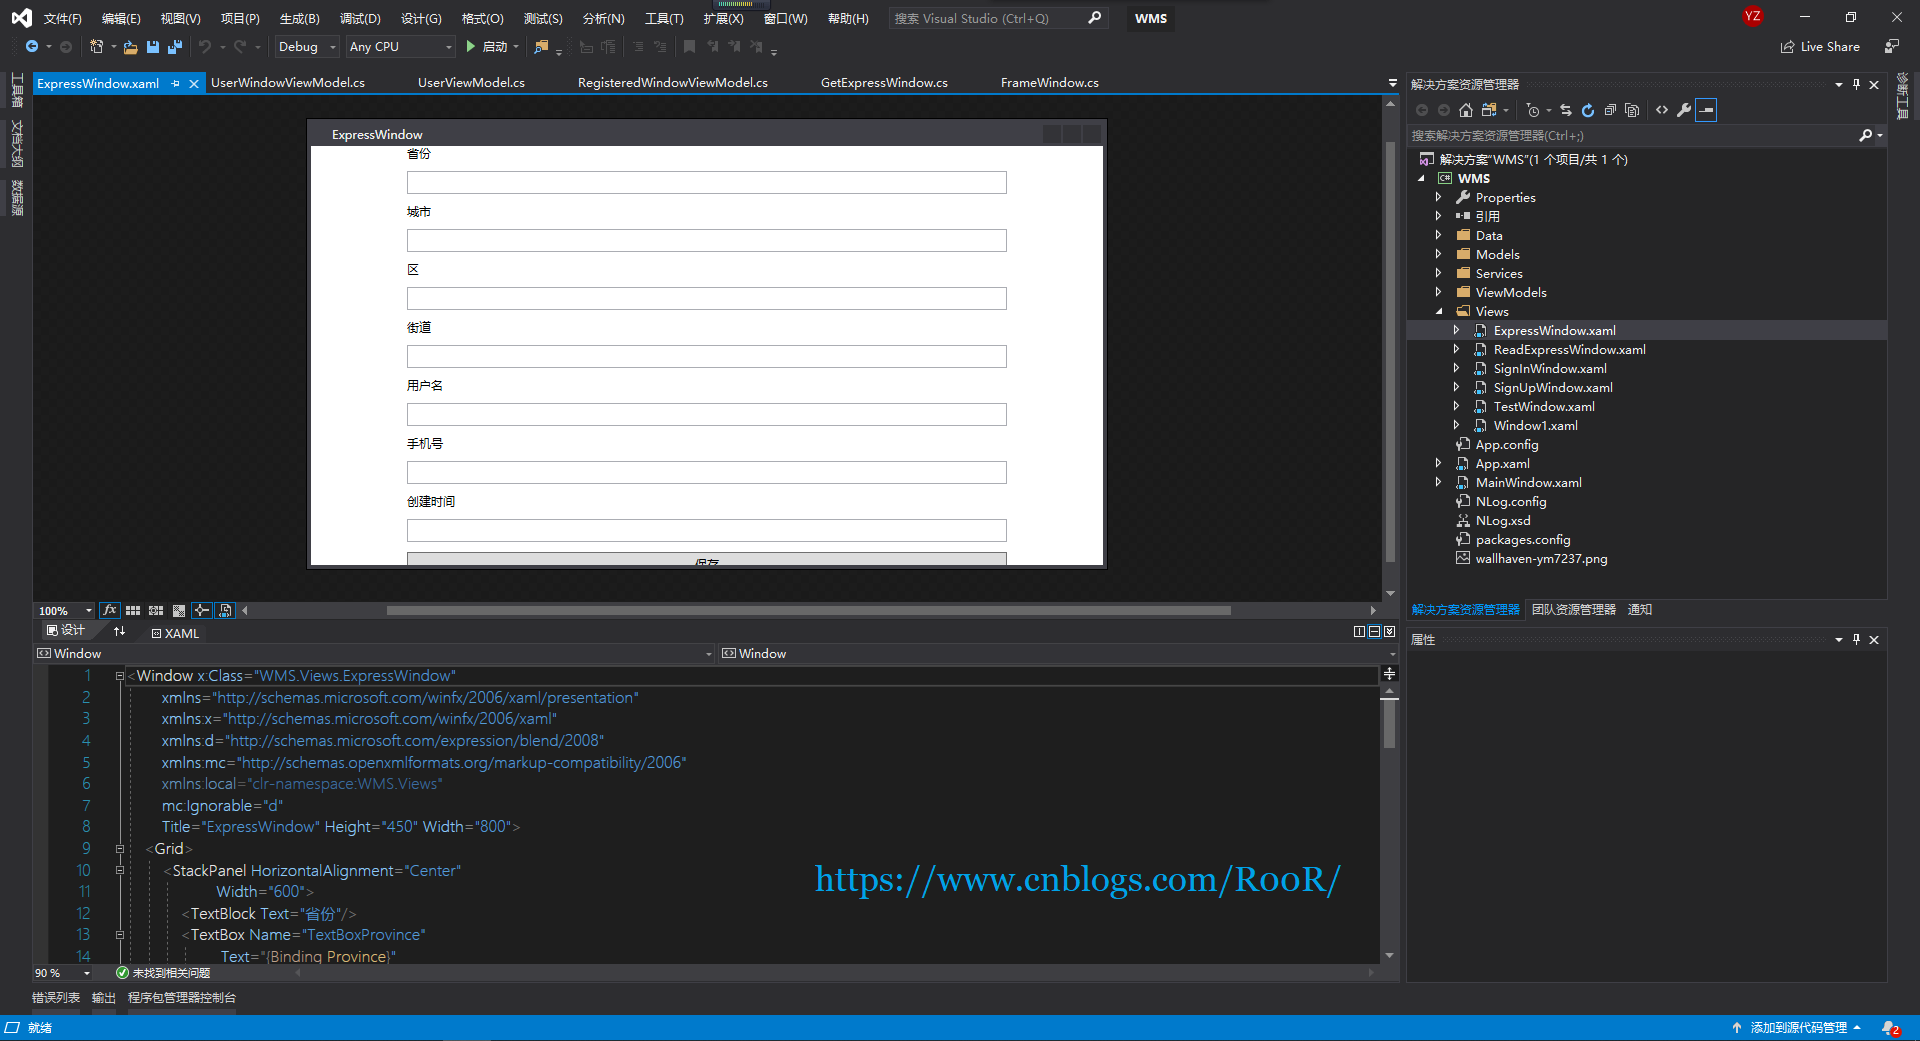
下单界面
    <Grid>
        <StackPanel HorizontalAlignment="Center"
                    Width="600">
            <TextBlock Text="省份"/>
            <TextBox Name="TextBoxProvince"
                     Text="{Binding Province}"
                     Margin="0 10 0 10"
                     Height="23"/>
            <TextBlock Text="城市"/>
            <TextBox Name="TextBoxCity"
                     Text="{Binding City}"
                     Margin="0 10 0 10"
                     Height="23"/>
            <TextBlock Text="区"/>
            <TextBox Name="TextBoxArea"
                     Text="{Binding Area}"
                     Margin="0 10 0 10"
                     Height="23"/>
            <TextBlock Text="街道"/>
            <TextBox Name="TextBoxStreet"
                     Text="{Binding Street}"
                     Margin="0 10 0 10"
                     Height="23"/>
            <TextBlock Text="用户名"/>
            <TextBox Name="TextBoxUserName"
                     Text="{Binding Username}"
                     Margin="0 10 0 10"
                     Height="23"/>
            <TextBlock Text="手机号"/>
            <TextBox Name="TextBoxPhoneNumber"
                     Text="{Binding Phonenumber}"
                     Margin="0 10 0 10"
                     Height="23"/>
            <TextBlock Text="创建时间"/>
            <TextBox Name="TextBoxCteateTime"
                     Text="{Binding Createtime}"
                     Margin="0 10 0 10"
                     Height="23"/>
            <Button Content="保存"
                    Height="25"
                    Command="{Binding CreateExpressCommand}"/>
        </StackPanel>
    </Grid>
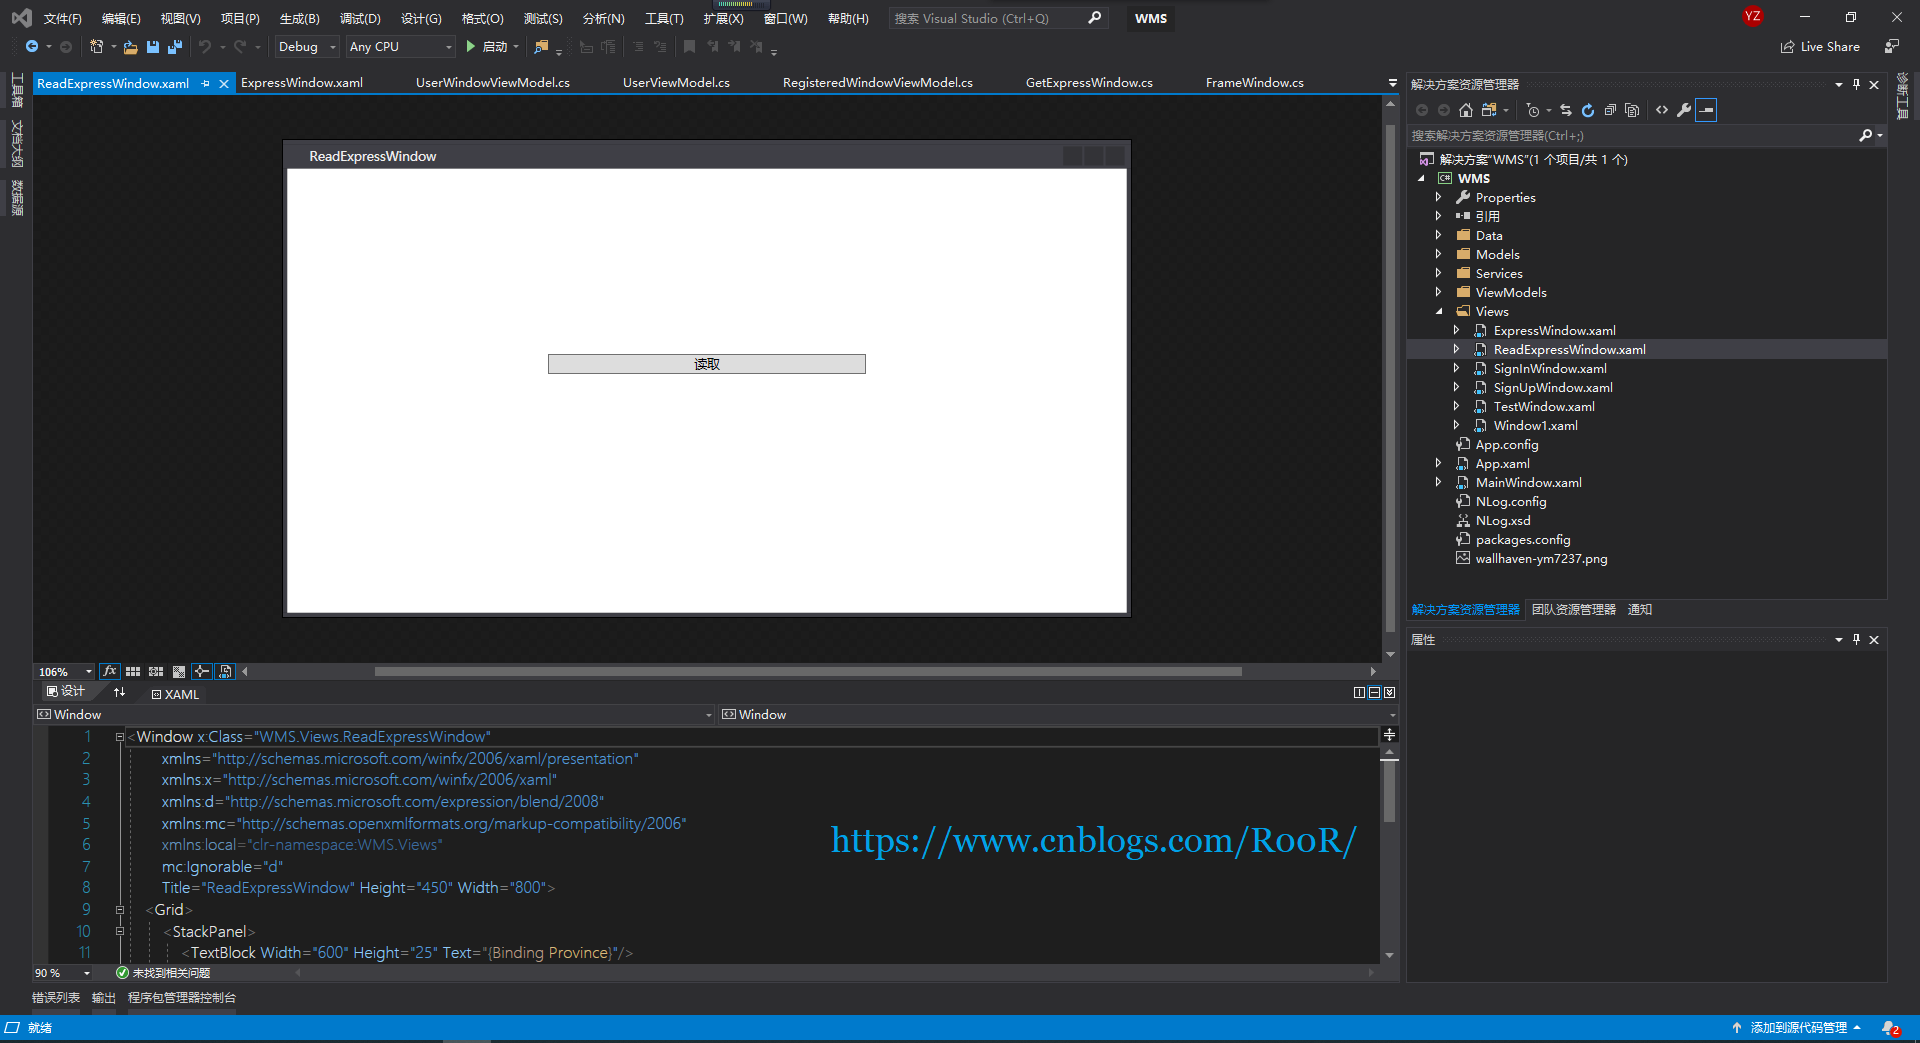
查看下单信息
    <Grid>
        <StackPanel>
            <TextBlock Width="600" Height="25" Text="{Binding Province}"/>
            <TextBlock Width="600" Height="25" Text="{Binding City}"/>
            <TextBlock Width="600" Height="25" Text="{Binding Area}"/>
            <TextBlock Width="600" Height="25" Text="{Binding Street}"/>
            <TextBlock Width="600" Height="25" Text="{Binding Username}"/>
            <TextBlock Width="600" Height="25" Text="{Binding Phonenumber}"/>
            <TextBlock Width="600" Height="25" Text="{Binding Createtime}"/>
            <Button Content="读取" Command="{Binding GetExpressCommand}"
                    Width="300"/>
        </StackPanel>
    </Grid>
实际上到这里就已经完了,但是每个页面的后台都有代码,还没有完,嘻嘻嘻


如下效果图

每个页面的后面都没有什么代码就一句代码作为Views和Models连接起来,达到了代码上的解耦,由于博主后面部分没有太多的讲解,时间真的太紧了,这两篇博客也是脱了好久,我猜这么菜的技术,应该没有人看吧,哈哈哈。不过没有什么所谓吧,如果觉得有用的话点个推荐吧,谢谢!
多看书,少装逼!

 浙公网安备 33010602011771号