
一、实验目的
通过实践掌握HarmonyOS中UIAbility的基本概念,学习使用`router`模块实现同一UIAbility内页面跳转与数据传递,理解参数接收、页面返回及基础生命周期管理,为开发多页面应用奠定基础。
二、实验设备与环境
Deveco studio
三、实验步骤
1.点击Creat Project创建一个项目

2.按图示步骤点击
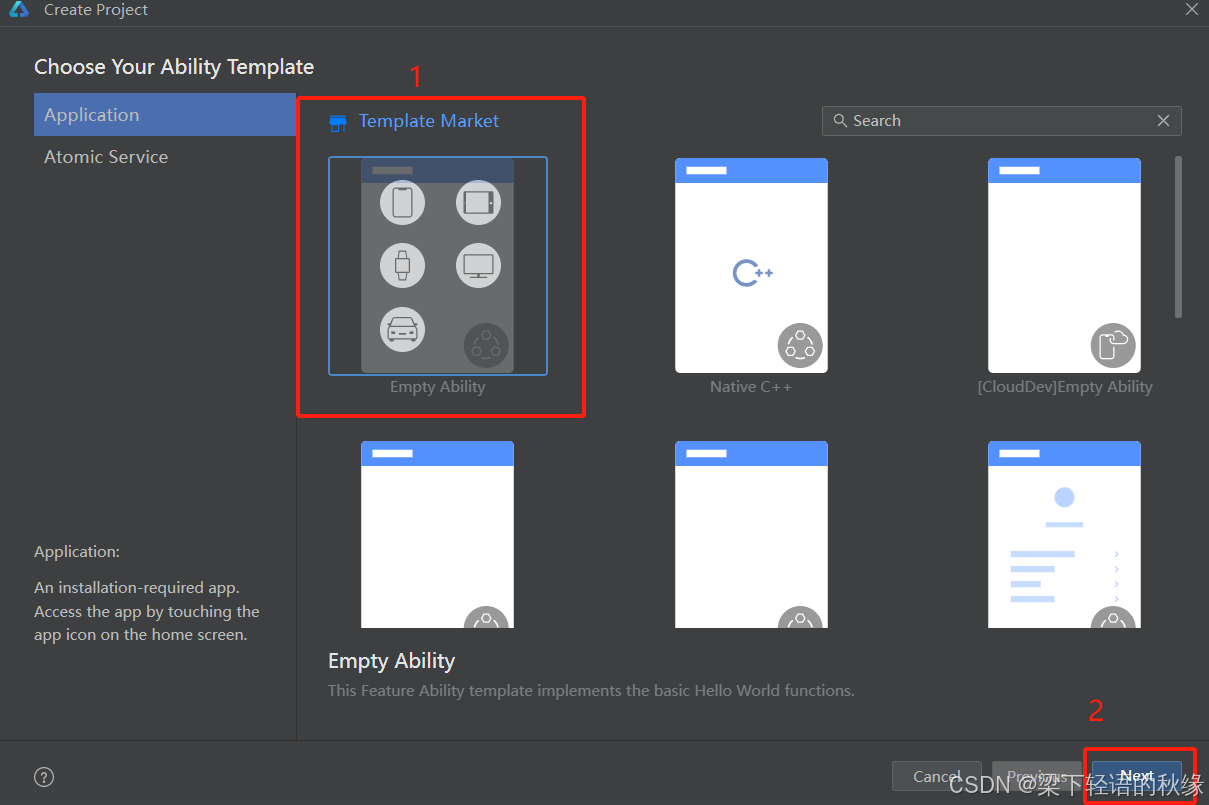
3.填写项目名、api版本、Model和Node

4.在entry/src/main/ets/pages/Index.ets页面文件中编写代码
import router from '@ohos.router';//页面路由
let msg: string = 'Index页面传来的数据';
@Entry
@Component
struct Index {//Index页面的结构
@State message: string = 'Index Page'//显示文字
build() {
Row() {
Column() {
Text(this.message)
.fontSize(50)//设置文字大小
.fontWeight(FontWeight.Bold)//对文字进行加粗
Blank()
Button('Next')//设置跳转按钮
.onClick(() => {//点击后进行的操作
router.pushUrl({//页面跳转
url:'pages/Second',
params:{
src: msg,
}
})
})
}
.width('100%').height(140)//页面整体左右位置宽度及文字的高度
}
.height('100%').backgroundColor(0xF1F3F5)//页面整体上下位置宽度及页面背景颜色
}
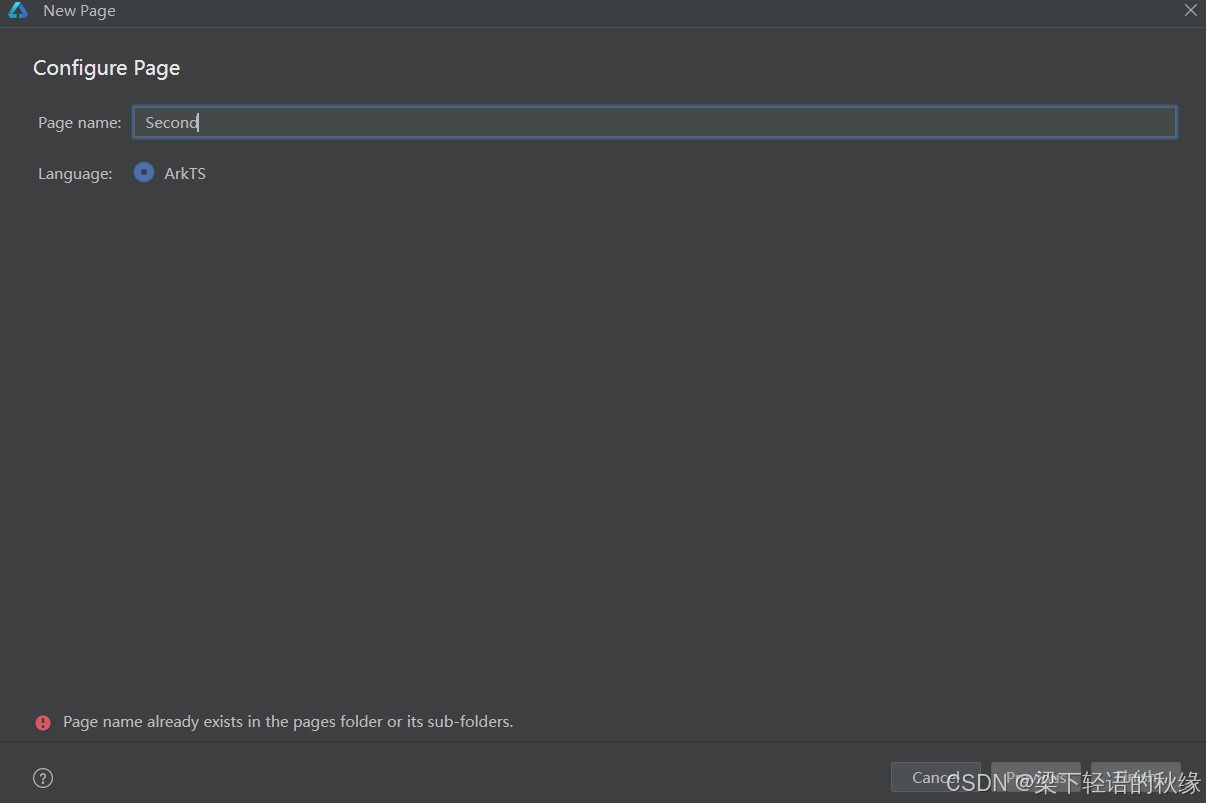
}5.在entry/src/main/ets/pages目录下创建Second.ets
按图示步骤

点击finish创建完成
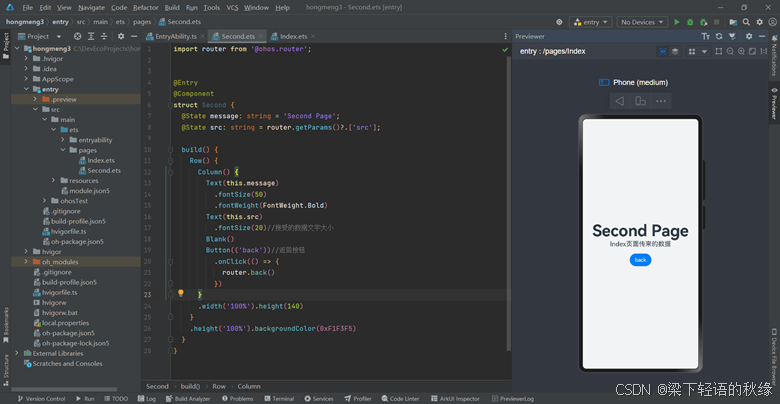
6.编写Second.ets文件代码
import router from '@ohos.router';


@Entry
@Component
struct Second {
  @State message: string = 'Second Page';
  @State src: string = router.getParams()?.['src'];

  build() {
    Row() {
      Column() {
        Text(this.message)
          .fontSize(50)
          .fontWeight(FontWeight.Bold)
        Text(this.src)
          .fontSize(20)//接受的数据文字大小
        Blank()
        Button(('back'))//返回按钮
          .onClick(() => {
            router.back()
          })
      }
      .width('100%').height(140)
    }
    .height('100%').backgroundColor(0xF1F3F5)
  }
}7.实现效果![]()

点击按钮实现页面跳转和数据传递
四、实验总结
本次实验深化了对HarmonyOS应用框架的理解,掌握了页面导航与数据传递的核心技能。未来可结合更多实际场景(如跨UIAbility通信、复杂生命周期管理)进行拓展学习,逐步构建功能完善、体验流畅的分布式应用。
