Mac redis postgresql 配置
Redis配置
brew install redis
启动命令:
To have launchd start redis now and restart at login:
brew services start redis
Or, if you don't want/need a background service you can just run:
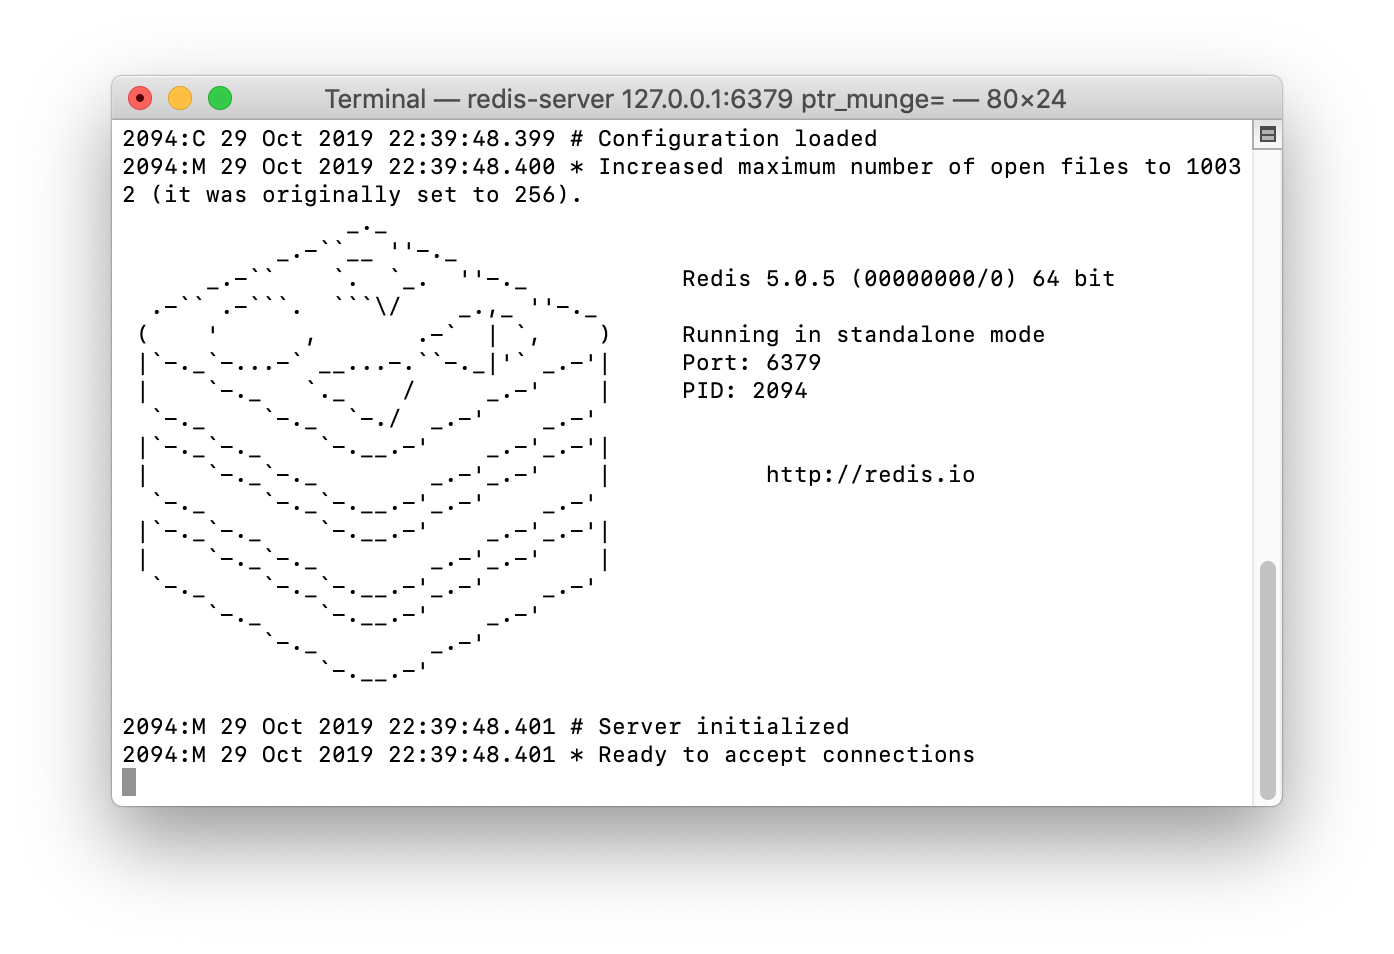
redis-server /opt/homebrew/etc/redis.conf
redis-server /usr/local/etc/redis.conf
或者使用启动命令( 此时并不会加载任何配置文件,使用的是程序中内置(built-in)的默认配置. ):
redis-server
然后重新打开一个窗口,输入:
redis-cli ping
redis数据库
# 1.安装redis与可视化操作工具

# 2.在服务中管理redis服务器的开启关闭

# 3.命令行简单使用redis:
	-- redis-cli  # 启动客户端
    -- set key value  # 设置值
    -- get key  # 取出值

# 4.redis支持:字符串、字典、列表、集合、有序集合
# https://www.runoob.com/redis/redis-tutorial.html

# 5.特点:可持久化、单线程单进程并发
python使用redis
依赖
>: pip3 install redis
直接使用
import redis
r = redis.Redis(host='127.0.0.1', port=6379)
连接池使用
import redis
pool = redis.ConnectionPool(host='127.0.0.1', port=6379)
r = redis.Redis(connection_pool=pool)
缓存使用:要额外安装 django-redis
# 1.将缓存存储位置配置到redis中:settings.py
CACHES = {
    "default": {
        "BACKEND": "django_redis.cache.RedisCache",
        "LOCATION": "redis://127.0.0.1:6379",
        "OPTIONS": {
            "CLIENT_CLASS": "django_redis.client.DefaultClient",
            "CONNECTION_POOL_KWARGS": {"max_connections": 100}
        }
    }
}

# 2.操作cache模块直接操作缓存:views.py
from django.core.cache import cache  # 结合配置文件实现插拔式
# 存放token,可以直接设置过期时间
cache.set('token', 'header.payload.signature', 10)
# 取出token
token = cache.get('token')
一 准备工作
安装homebrew
安装php、nginx(或apache)或集成环境
二 安装redis服务器
- 通过homebrew安装
brew install redis
三 redis服务器的启动、使用和退出
*** 1 启动redis服务***
执行以下命令
/usr/local/bin/redis-server /usr/local/etc/redis.conf
出现下面的界面说明redis服务器安装成功
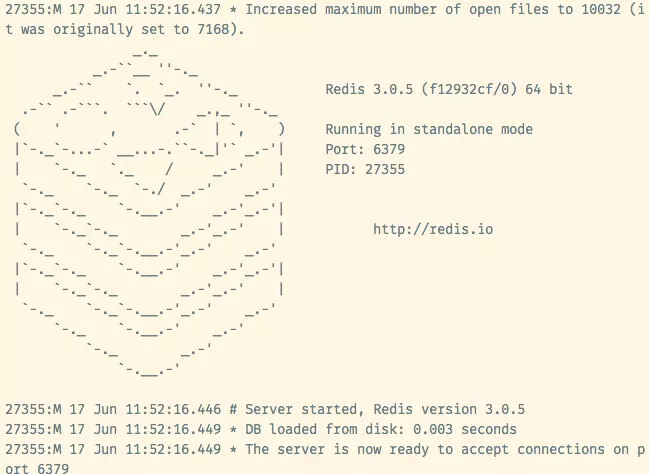
redis服务启动界面
进入/usr/local/bin目录可以看到以下文件
dump.rdb 用于将缓存以文件的形式存储在硬盘中,需要设置权限,见文末
redis-cli 用于启动redis客户端
*2 查看redis服务是否启动*
ps aux | grep redis
*3 使用redis服务*
注:启动redis服务器后终端所在的窗口就不能输入别的命令了(如下图所示),需要在终端打开新的窗口才能使用客户端功能

通过redis-cli命令可以启动redis客户端
redis-cli
常用命令
keys * 查看所有键值
set (key) (value) 设置键key的值为value
append (key) (value2) 在键key的值后面加上value2
get (key) 查看键key的值
redis客户端使用举例:
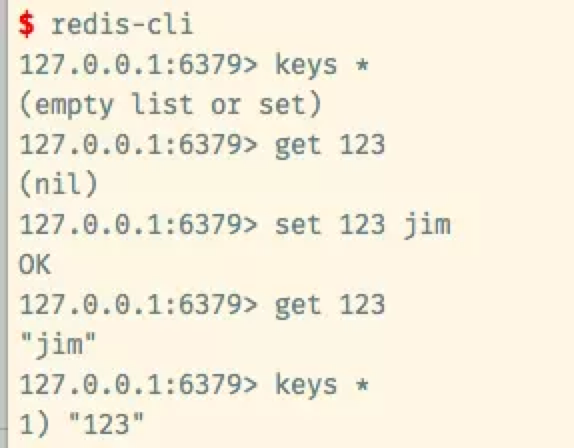
使用redis客户端
6.23补充:如何设置和查看缓存时间
set a 123;//设置缓存:a=>123
EXPIRE a 3600;//设置缓存时间(秒)
TTL a;//查看缓存剩余时间
6.24补充:如何清空所有缓存
flushall //执行该命令后会清空redis服务器的所有缓存,一般用于应急处理,不应该作为常用命令
*4 退出redis服务*
(1)客户端退出
执行
redis-cli shutdown
(2)关闭pid
先运行
ps -u jim(替换成你的用户名) -o pid,rss,command | grep redis-server
查看所有redis服务的pid号

16.6.24日补充:还可以通过mac自带的活动监视器查看pid
如下图所示
通过Spotlight或alfred搜索activity monitor打开活动监视器
在活动监视器中搜索redis-server,即可得到pid号

补充:如果你的电脑安装了oh my zsh
那么只需要在终端输入
kill redis
按tab,会自动替换成对应的pid(喜大普奔啊,各位)
再运行
kill -9 27355
关闭redis服务对应的pid号,即可关闭redis服务
四 配置php使用redis服务
- 安装php的redis扩展
brew install php55-redis --build-from-source
php55是本机安装的php的版本(5.5),--build-from-source是让安装的扩展与php的版本保持一致
查看phpinfo(),出现redis选项说明redis配置成功

phpinfo界面
- 在php代码中使用redis服务
$redis = new Redis();
$redis->connect('127.0.0.1','host');//redis服务器ip及端口号
$redis->set($key,$value,$timeout);//设置缓存:键-值-缓存时间
$redis->get($key);//查找缓存
$redis->del($key);//删除缓存
$redis->delete($key);//删除缓存
五 常见问题
(1)Redis: Failed opening .rdb for saving: Permission denied
redis服务器会生成dump.rdb文件存储缓存,如果文件权限不够则无法读写该文件
cd /usr/loal/bin
在/usr/local/bin/(默认文件目录)下执行命令
chmod 777 dump.rdb
brew 安装postgresql
==> Installing dependencies for postgresql: icu4c, krb5 and readline
==> Installing postgresql dependency: icu4c
==> Pouring icu4c-70.1.monterey.bottle.tar.gz
🍺  /usr/local/Cellar/icu4c/70.1: 261 files, 74.4MB
==> Installing postgresql dependency: krb5
==> Pouring krb5-1.19.2.monterey.bottle.tar.gz
🍺  /usr/local/Cellar/krb5/1.19.2: 162 files, 5.1MB
==> Installing postgresql dependency: readline
==> Pouring readline-8.1.2.monterey.bottle.tar.gz
🍺  /usr/local/Cellar/readline/8.1.2: 48 files, 1.6MB
==> Installing postgresql
==> Pouring postgresql-14.2_1.monterey.bottle.tar.gz
==> /usr/local/Cellar/postgresql/14.2_1/bin/initdb --locale=C -E UTF-8 /usr/local/var/post
==> Caveats
To migrate existing data from a previous major version of PostgreSQL run:
  brew postgresql-upgrade-database

This formula has created a default database cluster with:
  initdb --locale=C -E UTF-8 /usr/local/var/postgres
For more details, read:
  https://www.postgresql.org/docs/14/app-initdb.html

To restart postgresql after an upgrade:
  brew services restart postgresql
Or, if you don't want/need a background service you can just run:
  /usr/local/opt/postgresql/bin/postgres -D /usr/local/var/postgres
==> Summary
🍺  /usr/local/Cellar/postgresql/14.2_1: 3,305 files, 44.3MB
==> Running `brew cleanup postgresql`...
Disable this behaviour by setting HOMEBREW_NO_INSTALL_CLEANUP.
Hide these hints with HOMEBREW_NO_ENV_HINTS (see `man brew`).
==> Caveats
==> postgresql
To migrate existing data from a previous major version of PostgreSQL run:
  brew postgresql-upgrade-database

This formula has created a default database cluster with:
  initdb --locale=C -E UTF-8 /usr/local/var/postgres
For more details, read:
  https://www.postgresql.org/docs/14/app-initdb.html

To restart postgresql after an upgrade:
  brew services restart postgresql
Or, if you don't want/need a background service you can just run:
  /usr/local/opt/postgresql/bin/postgres -D /usr/local/var/postgres
For guys that pipenv install mysqlclient didn't work 🐛, this was the solution that worked for me ✅
Update homebrew 📦
rm -rf $(brew --repo homebrew/core)
brew tap homebrew/core
Then install MySQL 🗃️
brew install mysql-connector-python
brew install mysql
Finally 🚧
pipenv install mysqlclient
🎉 The mysqlclient package successfully installed!
Installing dependencies for mysql: libevent, libcbor, libfido2, lz4, six, protobuf and zstd

We've installed your MySQL database without a root password. To secure it run:
    mysql_secure_installation

MySQL is configured to only allow connections from localhost by default

To connect run:
    mysql -uroot

To restart mysql after an upgrade:
  brew services restart mysql
Or, if you don't want/need a background service you can just run:
  /usr/local/opt/mysql/bin/mysqld_safe --datadir=/usr/local/var/mysql
==> Summary
🍺  /usr/local/Cellar/mysql/8.0.28_1: 304 files, 294MB
==> Running `brew cleanup mysql`...
Disable this behaviour by setting HOMEBREW_NO_INSTALL_CLEANUP.
Hide these hints with HOMEBREW_NO_ENV_HINTS (see `man brew`).
==> Caveats
==> mysql
We've installed your MySQL database without a root password. To secure it run:
    mysql_secure_installation

MySQL is configured to only allow connections from localhost by default

To connect run:
    mysql -uroot

To restart mysql after an upgrade:
  brew services restart mysql
Or, if you don't want/need a background service you can just run:
  /usr/local/opt/mysql/bin/mysqld_safe --datadir=/usr/local/var/mysql

 浙公网安备 33010602011771号