
Android 自定义View
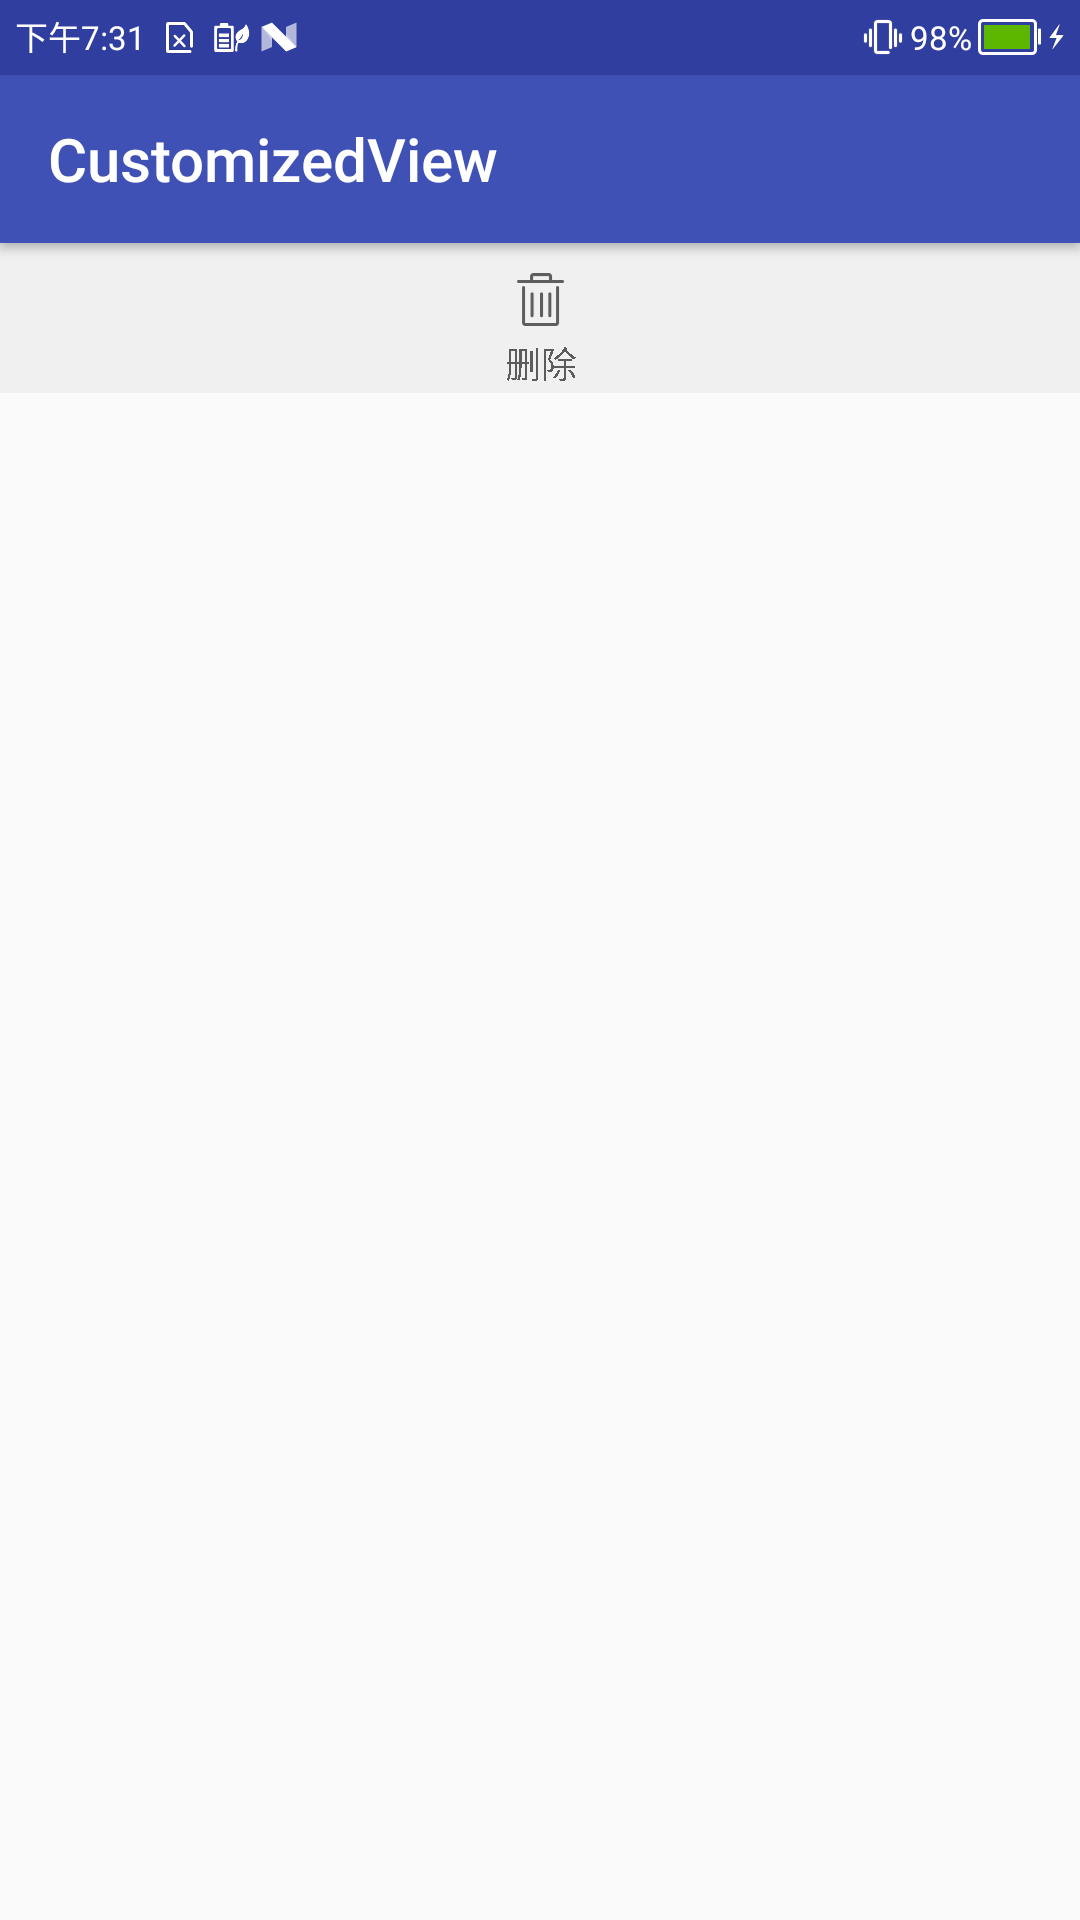
最近在看鸿洋大神的博客,在看到自定义部分View部分时,想到之前案子中经常会要用到"图片 + 文字"这类控件,如下图所示:
之前的做法是在布局文件中,将一个Image & TextView组件放在LinearLayout/RelativeLayout中。今天就尝试了通过自定义View的方式来实现"图片 + 文字"组件。
首先在/res/value/目录下新建attrs.xml文件,在该文件中为CustomTextView定义以下几个attr。分别为
1.文字内容-titleText 2.文字颜色-titleTextColor 3.文字大小-titleTextSize
4.图像内容-image 5.图像宽度-imageWidth 6.图像高度-imageHeight 7.图像显示模式-imageScaleType
<?xml version="1.0" encoding="utf-8"?>
<resources>
    <!--define some attrs for custom view-->

    <attr name="titleText" format="string"/>
    <attr name="titleTextColor" format="color"/>
    <attr name="titleTextSize" format="dimension"/>
    <attr name="image" format="reference"/>
    <attr name="imageWidth" format="dimension"/>
    <attr name="imageHeight" format="dimension"/>
    <attr name="imageScaleType">
        <enum name="fillXY" value="0" />
        <enum name="center" value="1" />
    </attr>

    <declare-styleable name="CustomTextView">
        <attr name="titleText" />
        <attr name="titleTextColor" />
        <attr name="titleTextSize" />
        <attr name="image" />
        <attr name="imageScaleType" />
        <attr name="imageWidth"/>
        <attr name="imageHeight"/>
    </declare-styleable>
</resources>
下面就是CustomTextView.java内容:
package com.example.steve.customizedview;

import android.content.Context;
import android.content.res.TypedArray;
import android.graphics.Bitmap;
import android.graphics.BitmapFactory;
import android.graphics.Canvas;
import android.graphics.Color;
import android.graphics.Matrix;
import android.graphics.Paint;
import android.graphics.Rect;
import android.graphics.Typeface;
import android.util.AttributeSet;
import android.util.TypedValue;
import android.view.View;

/**
 * Created by steve on 17-6-2.
 */

public class CustomTextView extends View {
    /**
     * 文本
     */
    private String mTitleText;
    /**
     * 文本的颜色
     */
    private int mTitleTextColor;
    /**
     * 文本的大小
     */
    private int mTitleTextSize;

    /**
     * 图片
     */
    private Bitmap mImage;
    private int mImageWidth;
    private int mImageHeight;
    /**
     * 图片显示模式
     */
    private int mImageScaleType;
    /**
     * 绘制时控制文本绘制的范围
     */
    private Rect mBound;
    private Paint mPaint;
    /**
     * Canvas大小
     */
    private int mWidth;
    private int mHeight;

    public CustomTextView(Context context) {
        this(context, null);
    }

    public CustomTextView(Context context, AttributeSet attrs) {
        this(context, attrs, 0);
    }

    public CustomTextView(Context context, AttributeSet attrs, int defStyleAttr) {
        super(context, attrs, defStyleAttr);
        TypedArray a = context.obtainStyledAttributes(attrs, R.styleable.CustomTextView, defStyleAttr, 0);
        int count = a.getIndexCount();
        for (int i = 0; i < count; i++)
        {
            int attr = a.getIndex(i);
            switch (attr)
            {
                case R.styleable.CustomTextView_titleText:
                    mTitleText = a.getString(attr);
                    break;
                case R.styleable.CustomTextView_titleTextColor:
                    mTitleTextColor = a.getColor(attr, Color.BLACK);
                    break;
                case R.styleable.CustomTextView_titleTextSize:
                    mTitleTextSize = a.getDimensionPixelSize(attr, (int) TypedValue.applyDimension(
                            TypedValue.COMPLEX_UNIT_SP, 16, getResources().getDisplayMetrics()));
                    break;
                case R.styleable.CustomTextView_image:
                    mImage = BitmapFactory.decodeResource(getResources(), a.getResourceId(attr, 0));
                    break;
                case R.styleable.CustomTextView_imageScaleType:
                    mImageScaleType = a.getInt(attr, 0);
                    break;
                case R.styleable.CustomTextView_imageWidth:
                    mImageWidth = a.getDimensionPixelSize(attr, (int) TypedValue.applyDimension(
                            TypedValue.COMPLEX_UNIT_SP, 24, getResources().getDisplayMetrics()));
                    break;
                case R.styleable.CustomTextView_imageHeight:
                    mImageHeight = a.getDimensionPixelSize(attr, (int) TypedValue.applyDimension(
                            TypedValue.COMPLEX_UNIT_DIP, 32, getResources().getDisplayMetrics()));
                    break;
            }

        }
        a.recycle();

        // 如果设置图片的宽和高的话,需要对原始图片进行缩放处理
        if (mImageWidth > 0 && mImageHeight > 0) {
            mImage = zoomImg(mImage, mImageWidth, mImageHeight);
        }

        mPaint = new Paint();
        mPaint.setTextSize(mTitleTextSize);
        mBound = new Rect();
        mPaint.getTextBounds(mTitleText, 0, mTitleText.length(), mBound);
    }

    public Bitmap zoomImg(Bitmap bm, int newWidth ,int newHeight){
        // 获得图片的宽高
        int width = bm.getWidth();
        int height = bm.getHeight();
        // 计算缩放比例
        float scaleWidth = ((float) newWidth) / width;
        float scaleHeight = ((float) newHeight) / height;
        // 取得想要缩放的matrix参数
        Matrix matrix = new Matrix();
        matrix.postScale(scaleWidth, scaleHeight);
        // 得到新的图片
        Bitmap newbm = Bitmap.createBitmap(bm, 0, 0, width, height, matrix, true);
        return newbm;
    }

    @Override
    protected void onMeasure(int widthMeasureSpec, int heightMeasureSpec) {
        //设置宽度
        int specMode = MeasureSpec.getMode(widthMeasureSpec);
        int specWidth = MeasureSpec.getSize(widthMeasureSpec);

        if (specMode == MeasureSpec.EXACTLY) {
            mWidth = specWidth;
        } else {
            int desireByImg = getPaddingLeft() + getPaddingRight() + mImage.getWidth();
            int desireByTitle = getPaddingLeft() + getPaddingRight() + mBound.width();
            if (specMode == MeasureSpec.AT_MOST) {
                int desireWidth = Math.max(desireByImg, desireByTitle);//取两者之间的最大值
                mWidth = Math.min(desireWidth, specWidth);
            }
        }

        //设置高度
        specMode = MeasureSpec.getMode(heightMeasureSpec);
        int specHight = MeasureSpec.getSize(heightMeasureSpec);

        if (specMode == MeasureSpec.EXACTLY) {
            mHeight = specHight;
        } else {
            int desireHight = getPaddingTop() + getPaddingBottom() + mImage.getHeight() + mBound.height();
            if (specMode == MeasureSpec.AT_MOST) {
                mHeight = Math.min(desireHight, specHight);
            }
        }
        setMeasuredDimension(mWidth, mHeight);
    }

    @Override
    protected void onDraw(Canvas canvas) {
        Rect rect = new Rect();
        rect.left = getPaddingLeft();
        rect.right = mWidth - getPaddingRight();
        rect.top = getPaddingTop();
        rect.bottom = mHeight - getPaddingBottom();

        mPaint.setColor(mTitleTextColor);
        mPaint.setStyle(Paint.Style.FILL);
        mPaint.setTypeface(Typeface.DEFAULT_BOLD);//设置字体样式
        canvas.drawText(mTitleText, mWidth / 2 - mBound.width() * 1.0f / 2, mHeight - getPaddingBottom(), mPaint);

        rect.bottom = - mBound.height();//重新计算rect的高度,即减去字体占用的空间

        if (mImageScaleType == 1)
        {
            canvas.drawBitmap(mImage, null, rect, mPaint);
        } else
        {
            //计算居中的矩形范围
            rect.left = mWidth / 2 - mImage.getWidth() / 2;
            rect.right = mWidth / 2 + mImage.getWidth() / 2;
            rect.top = (mHeight - mBound.height()) / 2 - mImage.getHeight() / 2;
            rect.bottom = (mHeight - mBound.height()) / 2 + mImage.getHeight() / 2;

            canvas.drawBitmap(mImage, null, rect, mPaint);
        }
    }

}
布局文件如下:
<?xml version="1.0" encoding="utf-8"?>
<RelativeLayout xmlns:android="http://schemas.android.com/apk/res/android"
    xmlns:tools="http://schemas.android.com/tools"
    xmlns:custom="http://schemas.android.com/apk/res-auto"
    android:id="@+id/activity_main"
    android:layout_width="match_parent"
    android:layout_height="match_parent"
    tools:context="com.example.steve.customizedview.MainActivity">

    <RelativeLayout
        android:layout_width="match_parent"
        android:layout_height="@dimen/custom_view_height"
        android:background="#F0F0F0">
        <com.example.steve.customizedview.CustomTextView
            android:layout_width="80dp"
            android:layout_height="match_parent"
            android:layout_centerInParent="true"
            android:paddingBottom="5dp"
            custom:titleText="@string/delete_text"
            custom:titleTextColor="#5C5C5C"
            custom:titleTextSize="12sp"
            custom:image="@drawable/delete_n"
            custom:imageWidth="28dp"
            custom:imageHeight="28dp"/>
        />
    </RelativeLayout>
</RelativeLayout>
该文章内容基本上都是参考http://blog.csdn.net/lmj623565791/article/details/24252901/,有兴趣的可以直接看鸿洋大神的blog。


 浙公网安备 33010602011771号