
「课件」原创 => Electron·Vue【转载请标明出处】
Zero·前言
npm install -g cnpm --registry=https://registry.npmmirror.com
0.0 Electron 组成
- Chromium 允许使用 前端web技术
- Node.js 强大的 生态,成就了 js 可以实现更多功能
- Native apis(原生 API)这个其实很关键 ~,一个合格的 窗体程序,是一定要能够与 当下处在的操作系统做交互的~
0.1 Electron 核心流程
- 渲染进程(render process) & 主进程(main process)
主进程创建窗体 => 窗体加载界面(调用 render process)
渲染进程一些操作 => 调用主进程里面的代码(IPC 通信机制)
主进程 => 可能会调用 native apis => 渲染进程(更新渲染)(IPC 通信机制)
一个 electron 程序,只有一个主进程(main process)并且只有它可以进行 GUI 的一系列 API 操作。
一个 electron 程序,可以有多个渲染进程
0.2 环境搭建
- 首先你得安装 node.js
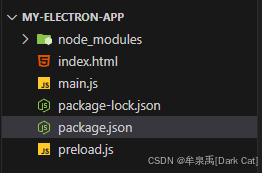
mkdir my-electron-test
cd my-electron-test
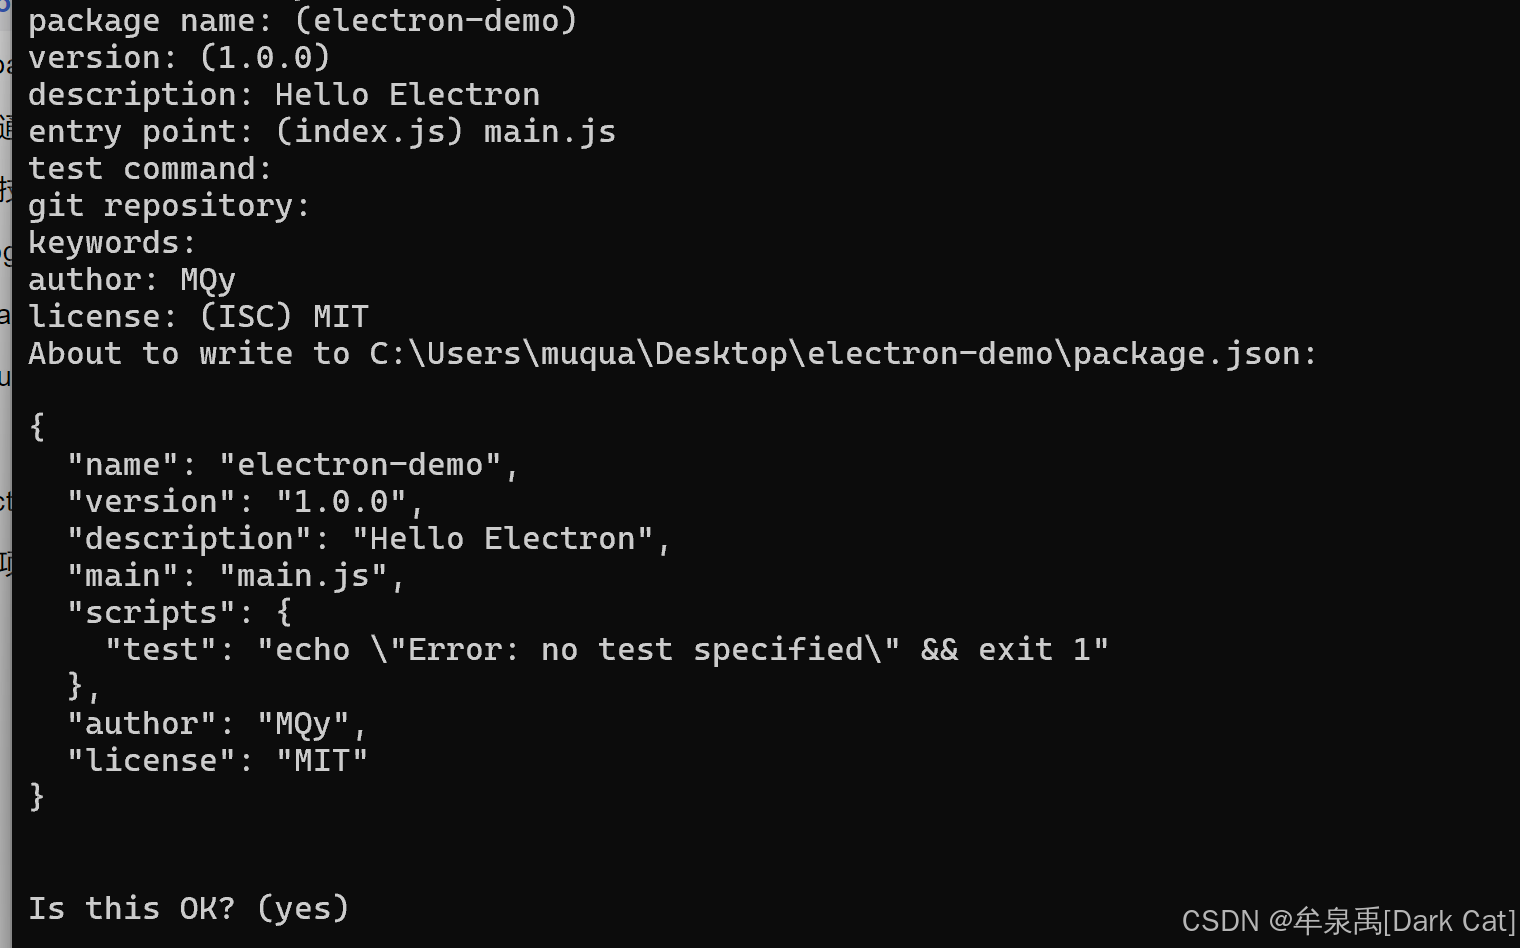
npm init
npm install electron
npm install nodemon
{
"name": "my-electron-test",
"version": "1.0.0",
"description": "Hello World!",
"main": "main.js",
"scripts": {
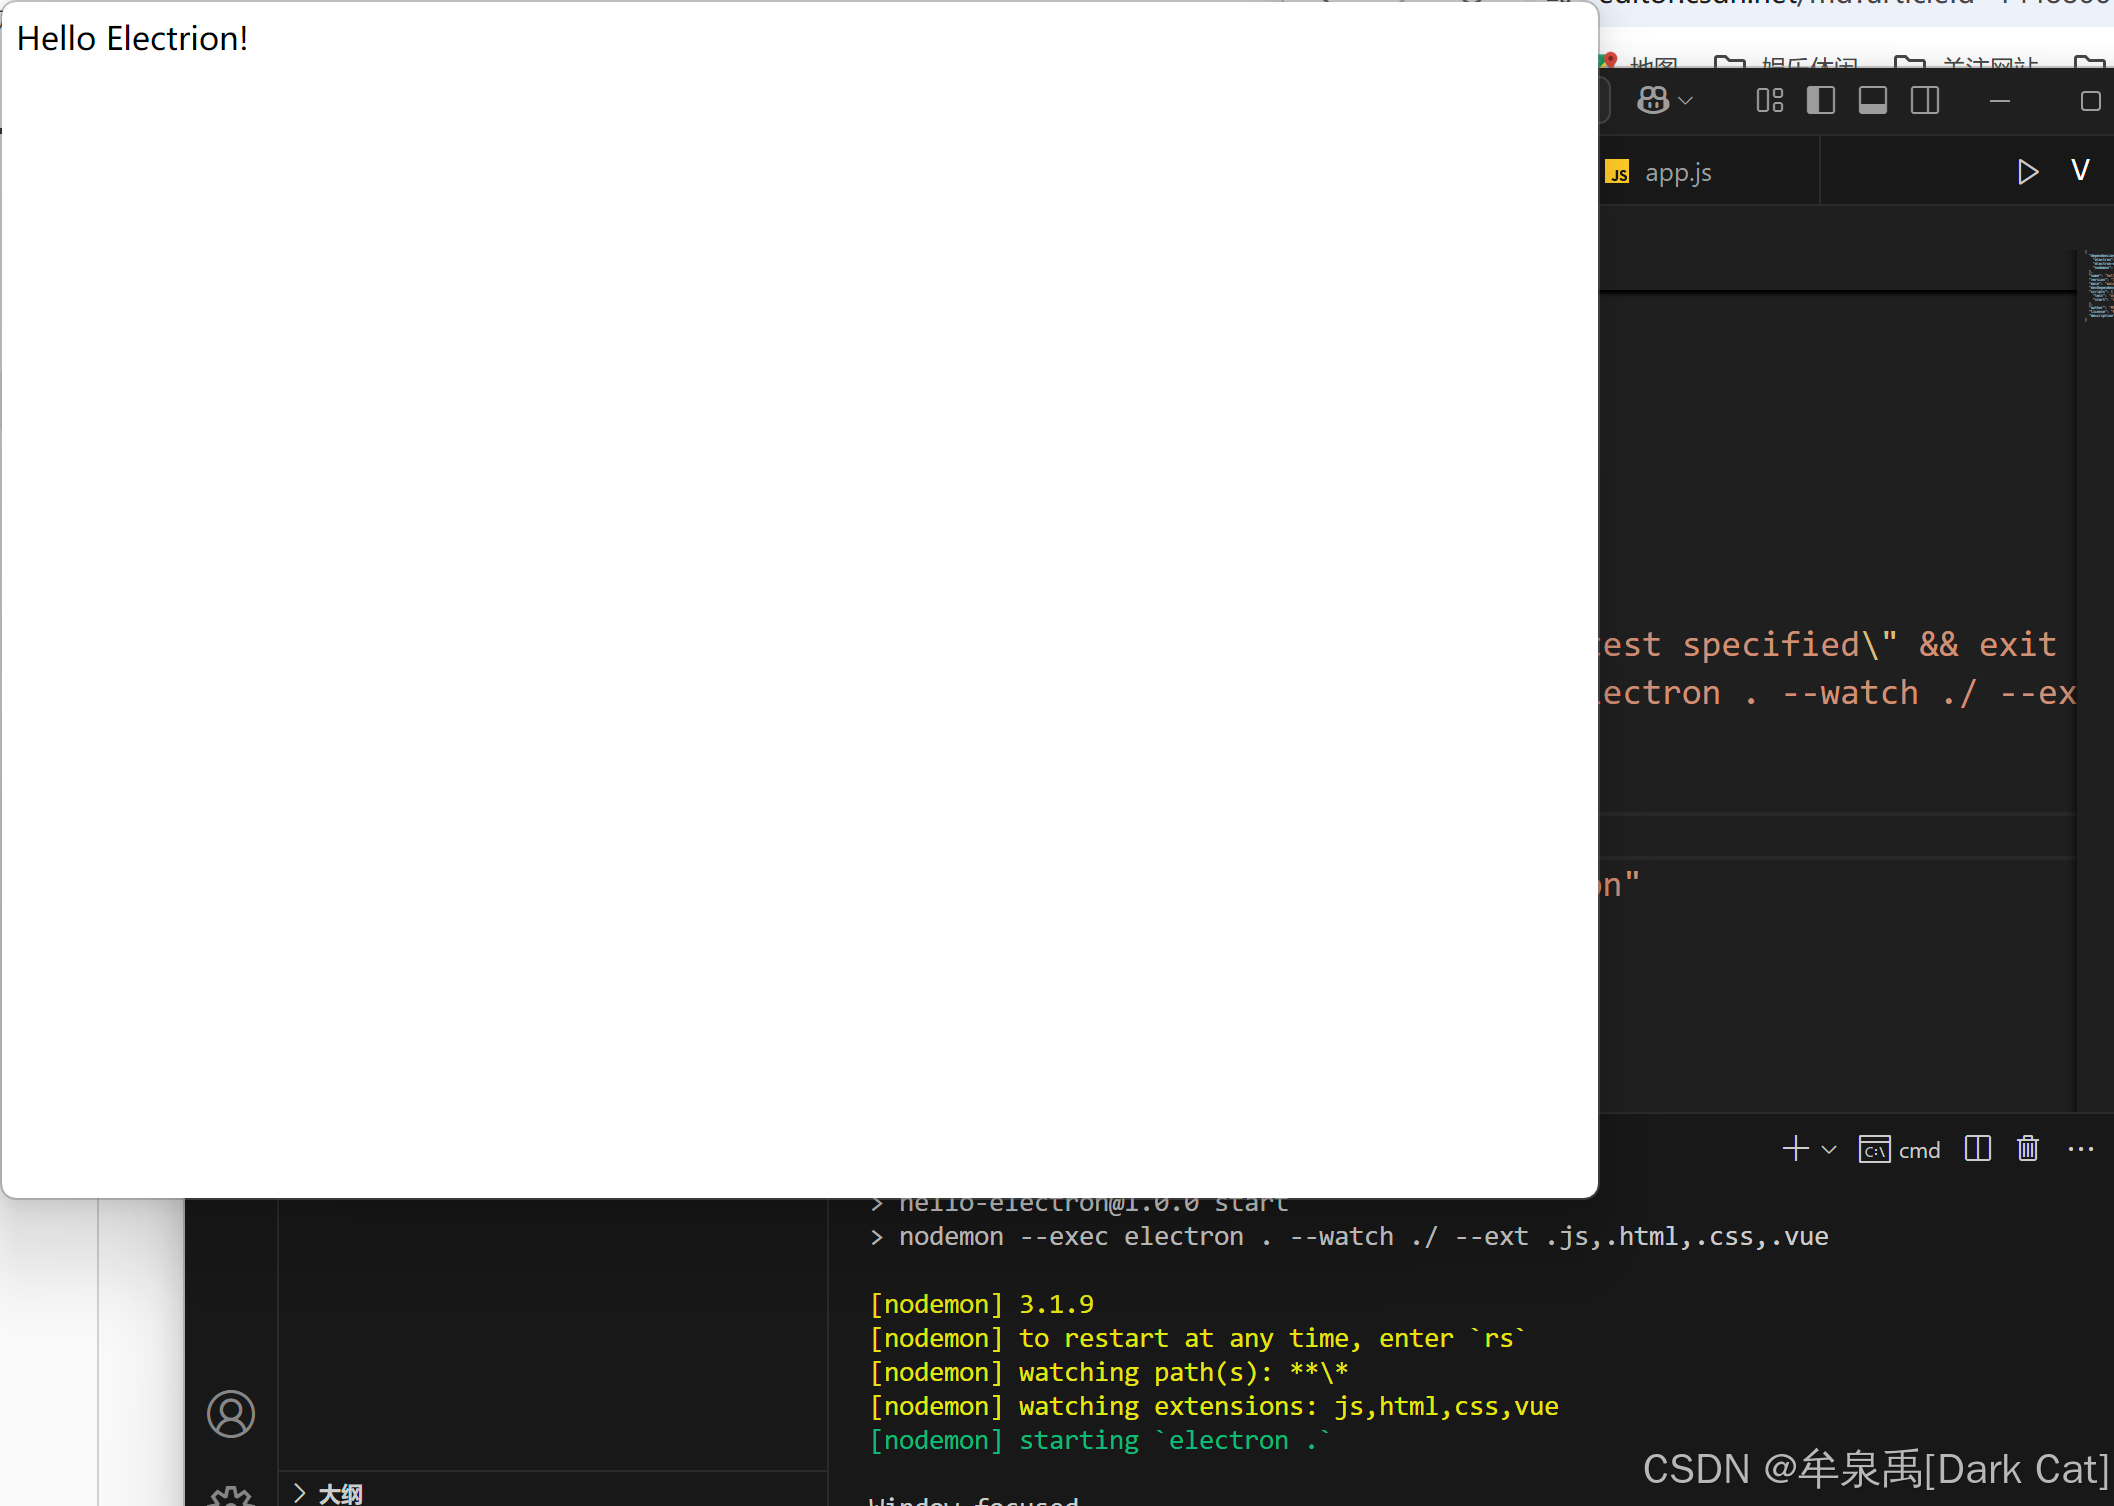
"start": "nodemon --exec electron . --watch ./ --ext .js,.html,.css,.vue",
"test": "echo \"Error: no test specified\" && exit 1",
"build": "electron ."
},
"author": "MQy",
"license": "MIT",
"dependencies": {
"electron": "^33.2.1",
"nodemon": "^3.1.9"
}
}
- 其次新建 main.js 与 index.html
const { app, BrowserWindow } = require("electron");

const createWindow = () => {
  const win = new BrowserWindow({
    width: 800,
    height: 600,
  });

  win.loadFile("index.html"); // 将 index.html 这个页面加载到 窗体里面
};

app.whenReady().then(() => {
  // 当 程序准备就绪 那么就创建这么一个窗口
  createWindow();
  app.on("activate", () => {
    if (BrowserWindow.getAllWindows().length === 0) createWindow();
  });
});

app.on("window-all-closed", () => {
  if (process.platform !== "darwin") app.quit();
});
<!DOCTYPE html>
<html lang="en">
<head>
<meta charset="UTF-8">
<!-- https://developer.mozilla.org/en-US/docs/Web/HTTP/CSP -->
<meta http-equiv="Content-Security-Policy" content="default-src 'self'; script-src 'self'">
<title>Hello World!</title>
</head>
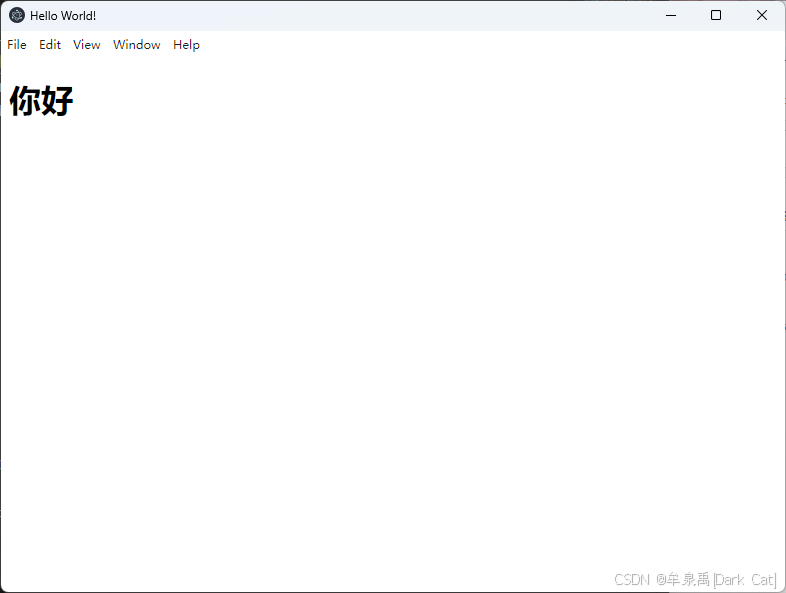
<body>
<h1>你好</h1>
</body>
</html>
npm run start
第一章·Electron 基础
1.0 优缺点
- 缺点
内存资源占用高:Chromium 的占用没办法避免
启动时间较长:它必须先启动一个完整的浏览器引擎和应用进程
性能较差:毕竟使用的是 Web 技术,相比于系统原生技术 在性能上会显得较差
应用体积大:每个 electron 应用必须包含 Chromium 和 Node.js 的副本
资源消耗与原生应用重复:因为每个 electron 应用都会独立运行 Chromium 引擎
缺乏原生体验:Electron 应用通常很难完全模仿系统原生的 UI 和交互行为,这在用户对一致性要求较高的系统(如 macOS)上尤为明显。
对硬件要求较高:低配置设备几乎 都会卡顿。。
- 优点
跨平台支持:因为本质上是浏览器,所以很简单的就支持了跨平台~
易上手:本身前端技术栈就很好学,然后该框架也就只使用 前端技术,所以易上手。
开发效率高:前端在画交互界面方面,有着天然的优势,酷炫和复杂的成分也完全可以依靠切图或引入模型等操作实现。
生态强大:背靠 Node.js,生态不可能不强大 ~
支持自动更新:提供了内置的自动更新功能,使得开发者无需 自行开发自动更新功能。
广泛的应用案例:Visual Studio Code、腾讯 QQ、飞书、网易云音乐 ...
1.1 生命周期事件
const { app, BrowserWindow } = require("electron");

let mainWindow;

app.on("ready", () => { // app 初始化完成
    console.log("App is ready")
    mainWindow = new BrowserWindow({
        width: 800,
        height: 600,
        webPreferences: {
            nodeIntegration: true
        }
    });
    mainWindow.loadFile('index.html') // 挂载前端页面
    mainWindow.on("ready-to-show", () => { // 全部 dom 加载完毕,通常用于显示窗口(避免空白页面)。
        mainWindow.show(); // 显示窗口
    });

    mainWindow.on("focus", () => { // 窗口获得焦点时触发。

    })
    mainWindow.on("blur", () => { // 窗口失去焦点时触发。

    })
    mainWindow.on("close", () => { // 窗口关闭时 触发
        // event.preventDefault() // 可以阻止窗口关闭,哈哈
    })
    mainWindow.on("closed", () => { // 窗口关闭之后触发
        // 通常用于清理窗口对象引用,防止内存泄漏。
        console.log('Window is closed');
        mainWindow = null; // 清理引用
    })
})


app.on("before-quit", () => { // 在应用退出前触发,可以在这里执行一些清理任务。
    console.log("退出之前");
})

app.on("will-quit", () => { // 应用退出前触发,可以用于释放资源(如关闭后台任务、数据库连接等)。
    console.log("马上要退出了,实际上也是退出前,只是在 before 之后触发")
})

app.on('quit', () => { // 应用完全退出后触发,生命周期的最后一个事件。
    console.log("退出时触发个事件")
})

// macOS 特殊处理
app.on('window-all-closed', () => { // 所有窗口都关闭之后(该事件一旦监听,那么窗口就不会自行退出)
    if (process.platform !== 'darwin') { // macOS 不退出
        app.quit(); // 必须手动退出才行
    }
});

app.on('activate', () => { // macOS 专用事件,当应用被激活(如点击 Dock 图标)时触发,通常用来重新创建窗口(如果没有窗口存在)。
    if (BrowserWindow.getAllWindows().length === 0) {
        createWindow();
    }
});
1.1 Hello Electron
mkdir hello-electron
cd hello-electron
npm init
cnpm i electron
cnpm i nodemon
cnpm i electron-win-state

- package.json
{
  "dependencies": {
    "electron": "^34.0.0",
    "electron-win-state": "^1.1.22",
    "nodemon": "^3.1.9"
  },
  "name": "hello-electron",
  "version": "1.0.0",
  "main": "main.js",
  "devDependencies": {},
  "scripts": {
    "test": "echo \"Error: no test specified\" && exit 1",
    "start": "nodemon --exec electron . --watch ./ --ext .js,.html,.css,.vue"
  },
  "author": "MQy",
  "license": "MIT",
  "description": "Hello electron"
}
- index.html
<!DOCTYPE html>
<html lang="en">
  <head>
    <meta charset="UTF-8" />
    <meta name="viewport" content="width=device-width, initial-scale=1.0" />
    <meta
    http-equiv="Content-Security-Policy"
    content="default-src 'self'; img-src 'self'; data:; script-src 'self'; style-src 'self';
    'unsafe-inline';"/>

    <title>Document</title>
    <script src="./renderer/app.js"></script>
  </head>
  <body>
    Hello Electrion!
  </body>
</html>
- main.js
const { app, BrowserWindow } = require("electron");

const createWindow = () => {
  const win = new BrowserWindow({
    width: 800,
    height: 600,
    x: 100,
    y: 100,
    minHeight: 600,
    minWidth: 800,

    resizable: true, // 可调整大小
    movable: true, // 可移动
    minimizable: true, // 可最小化
    maximizable: true, // 可最大化
    closable: true, // 可关闭
    focusable: true, // 可聚焦
    fullscreenable: true, // 可全屏
    // kiosk: true, // 无边框的全屏模式

    title: "Hello Electrion", // 窗口标题
    icon: "icon.png", // 窗口图标
    frame: true, // 显示窗口边框和menubar
    transparent: false, // 窗口背景透明
    alwaysOnTop: false, // 窗口置顶
    skipTaskbar: false, // 任务栏中不显示窗口
    autoHideMenuBar: false, // 自动隐藏菜单栏
    titleBarStyle: "hidden", // 隐藏边框
    opacity: 1, // 窗口透明度

    webPreferences: {
      nodeIntegration: true, // 集成 node.js
      contextIsolation: false, // 暂时不隔离 node.js 环境
      devTools: false, // 默认打开开发者工具
    },
  });

  win.loadFile("index.html");
  // 窗口关闭之前的事件监听
  win.on("closed", (event) => {
    event.preventDefault(); // 阻止关闭窗口
    console.log("Window is about to close.");
  });
  // 窗口已关闭之后
  // 一般用来清理资源
  win.on("closed", () => {
    console.log("Window has been closed.");
  });

  // 窗口获得焦点
  win.on("focus", () => {
    console.log("Window focused.");
  });

  // 窗口失去焦点
  win.on("blur", () => {
    console.log("Window blurred.");
  });
};

// 当监听该事件时,正常的关闭事件就会失效
app.on("window-all-closed", () => {
  if (process.platform !== "darwin") {
    app.quit(); // 所以要在这里 加上 app.quit()
  }
});

// 执行一些清理工作或确认退出
app.on("before-quit", (event) => {
  console.log("App is about to quit.");
});

// 记录日志或保存状态。
app.on("quit", () => {
  console.log("Application quit.");
});

// before-quit => quit => window-all-closed 执行顺序

// 准备好的时候
app.on("ready", () => {
  const mainWindow = createWindow();
});

// 如果是 Mac 系统,则在 dock 图标被点击后激活应用窗口
app.on("activate", () => {
  if (BrowserWindow.getAllWindows().length === 0) {
    createWindow(); // 所以只要创建 window 就行
  }
});
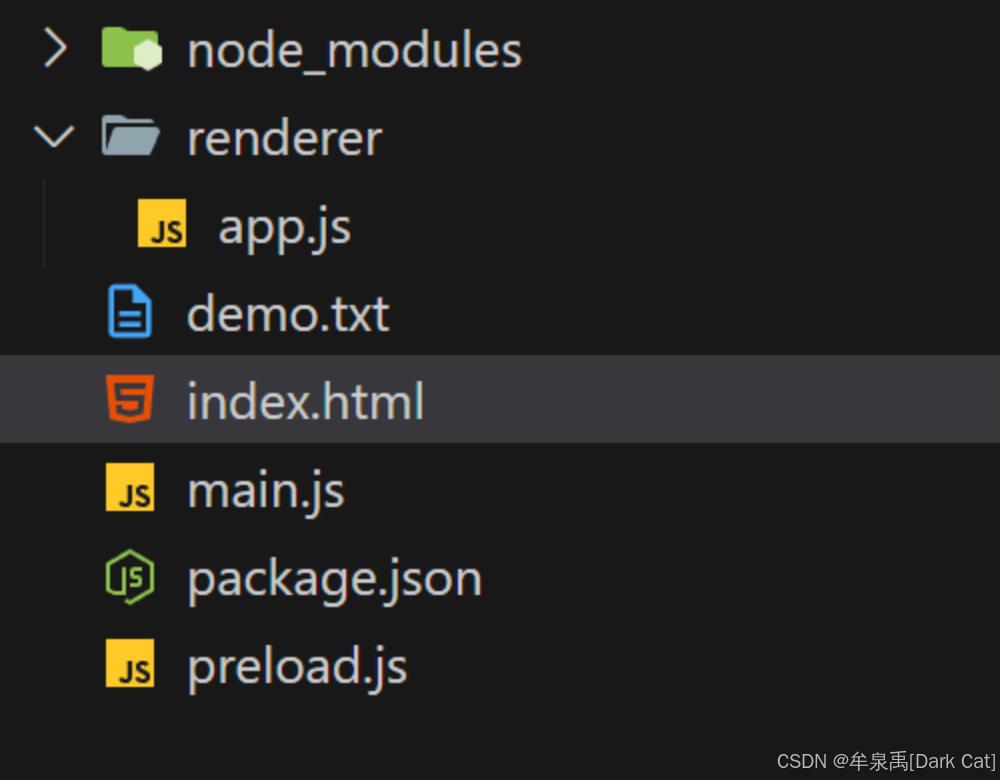
- app.js
const fs = require('fs');

fs.writeFile('./demo.txt', 'Hello Electrion!', (err) => {
    console.log(err);
});
1.3 preload.js
    webPreferences: {
      nodeIntegration: true, // 集成 node.js
      contextIsolation: true, // 暂时不隔离 node.js 环境
    //   devTools: false, // 默认打开开发者工具
      preload: path.resolve(__dirname, "preload.js"), // 预加载脚本
    },
官方不推荐不隔离 node.js 环境,而是建议 新建一个 preload.js 来进行 node.js 的操作。
当开启隔离的时候,preload.js 就是唯一加载进来且不被隔离的 js 文件!!!
- preload.js
const fs = require('fs');

fs.writeFile('./demo.txt', 'Hello preload!', (err) => {
    console.log(err);
})

const {contextBridge} = require('electron');

// 这里暴露给主世界的 electronAPI 对象会直接绑定在 window 对象上
contextBridge.exposeInMainWorld('electronApi', {
    version: process.versions.electron,

})
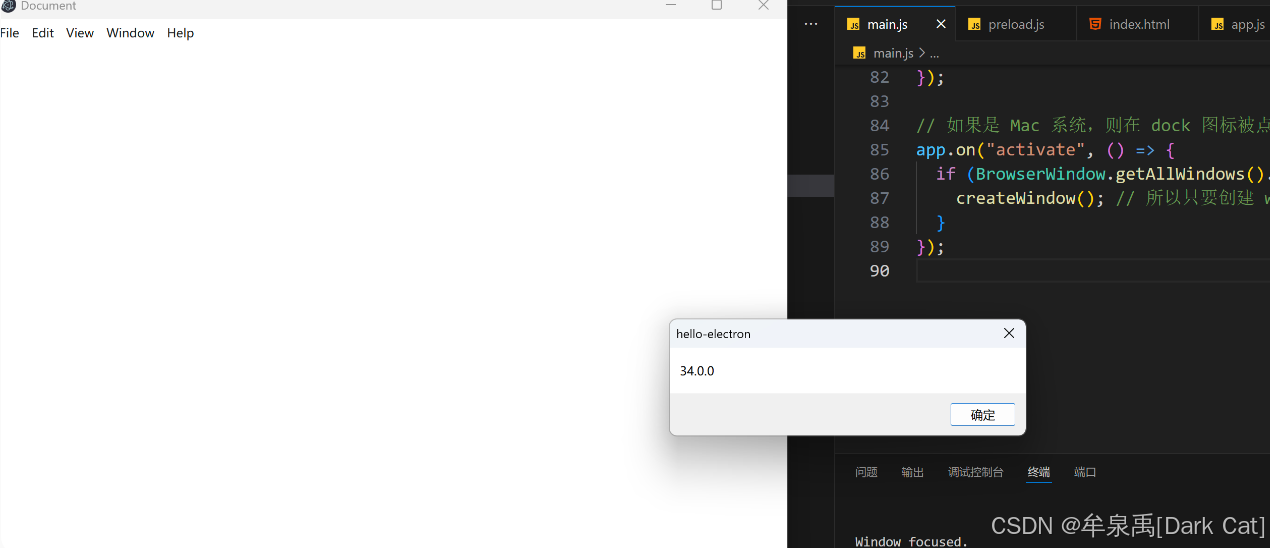
- app.js
// const fs = require('fs');

// fs.writeFile('./demo.txt', 'Hello Electrion!', (err) => {
//     console.log(err);
// });
alert(electronApi.version)
1.4 IPC 通信
有点儿类似于 vue 的 $emit 与 $on
所以,这个地方就直接上代码了,然后 大家去测试,观察其效果即可(这篇文章本来也是给拥有 vue 基础的人拿来快速入门 electron 的)
- main.js
const { app, BrowserWindow, ipcMain, dialog } = require("electron");

const path = require("path");
let mainWindow = null;
const createWindow = () => {
  mainWindow = new BrowserWindow({
    width: 800,
    height: 600,
    x: 100,
    y: 100,
    minHeight: 600,
    minWidth: 800,
    resizable: true, // 可调整大小
    movable: true, // 可移动
    minimizable: true, // 可最小化
    maximizable: true, // 可最大化
    closable: true, // 可关闭
    focusable: true, // 可聚焦
    fullscreenable: true, // 可全屏
    // kiosk: true, // 无边框的全屏模式
    show: false,
    title: "Hello Electrion", // 窗口标题
    icon: "icon.png", // 窗口图标
    frame: true, // 显示窗口边框和menubar
    transparent: false, // 窗口背景透明
    alwaysOnTop: false, // 窗口置顶
    skipTaskbar: false, // 任务栏中不显示窗口
    autoHideMenuBar: false, // 自动隐藏菜单栏
    opacity: 1, // 窗口透明度

    webPreferences: {
      nodeIntegration: true, // 集成 node.js
      contextIsolation: true, // 暂时不隔离 node.js 环境
    //   devTools: false, // 默认打开开发者工具
      preload: path.resolve(__dirname, "preload.js"), // 预加载脚本
    },
  });

  mainWindow.loadFile("index.html");
  // 窗口关闭之前的事件监听
  mainWindow.on("closed", (event) => {
    event.preventDefault(); // 阻止关闭窗口
    console.log("Window is about to close.");
  });
  // 窗口已关闭之后
  // 一般用来清理资源
  mainWindow.on("closed", () => {
    console.log("Window has been closed.");
  });

  // 窗口获得焦点
  mainWindow.on("focus", () => {
    console.log("Window focused.");
  });

  // 窗口失去焦点
  mainWindow.on("blur", () => {
    console.log("Window blurred.");
  });

  mainWindow.once('ready-to-show', () => {
    mainWindow.show();
      // 主进程 向 渲染进程发送信息
    mainWindow.webContents.send('mainSend', "我已经展示了")
  })
};

// 当监听该事件时,正常的关闭事件就会失效
app.on("window-all-closed", () => {
  if (process.platform !== "darwin") {
    app.quit(); // 所以要在这里 加上 app.quit()
  }
});


// 执行一些清理工作或确认退出
app.on("before-quit", (event) => {
  console.log("App is about to quit.");
});

// 记录日志或保存状态。
app.on("quit", () => {
  console.log("Application quit.");
});

// before-quit => quit => window-all-closed 执行顺序

// 准备好的时候
app.on("ready", () => {
  const mainWindow = createWindow();
});

// 如果是 Mac 系统,则在 dock 图标被点击后激活应用窗口
app.on("activate", () => {
  if (BrowserWindow.getAllWindows().length === 0) {
    createWindow(); // 所以只要创建 window 就行
  }
});

// 主进程接收渲染进程的事件
ipcMain.on("set-title", (event,title) => {
  console.log("set-title", title);
  mainWindow.setTitle(title);
});

// handle 触发,是可以接受异步 传递信息 给 渲染进程的,并且 这里的返回值会直接返回给 渲染进程
ipcMain.handle("open-file-dialog", async () => {
  const result = await dialog.showOpenDialog(mainWindow, {
    properties: ["openFile"],
    filters: [
      { name: "Images", extensions: ["jpg", "png", "gif"] },
      { name: "Movies", extensions: ["mkv", "avi", "mp4"] },
      { name: "All Files", extensions: ["*"] },
    ],
  });
  return result.canceled ? null : result.filePaths[0];
});


// ipcMain.handle('open-file-dialog', async () => {
//   const {canceld, filePaths} = await diaglog.showOpenDialog({
//     properties: ['openFile', 'openDirectory']
//   });
//   if(!canceld) {
//     return filePaths[0];
//   }
// });
- preload.js
const fs = require('fs');

fs.writeFile('./demo.txt', 'Hello preload!', (err) => {
    console.log(err);
})

const {contextBridge, ipcRenderer} = require('electron');

// 这里暴露给主世界的 electronAPI 对象会直接绑定在 window 对象上
contextBridge.exposeInMainWorld('electronApi', {
    version: process.versions.electron,
    setTitle: (title) => {
        // send 与 on 一般都是做单纯的处理,或者是返回同步的数据。
        ipcRenderer.send('set-title', title); // 发送给主进程
    },
    // 激活 主进程里面的 handle 事件
    // 该事件的返回值会 直接 返回给 调用 electronApi.openFile() 的页面.js
    openFile: async () => await ipcRenderer.invoke("open-file-dialog"),
})

// 接收主进程发送过来的信息
ipcRenderer.on('mainSend', (event, message) => {
    alert(message);
})
- app.js
// const fs = require('fs');

// fs.writeFile('./demo.txt', 'Hello Electrion!', (err) => {
//     console.log(err);
// });
alert(electronApi.version);
window.addEventListener("DOMContentLoaded", () => {
  let setBtn = document.getElementById("setBtn");
  setBtn.addEventListener("click", (title) => {
    electronApi.setTitle("我了个骚羽", title);
  });

  document.getElementById("openFile").addEventListener("click", async () => {
    const filePath = await electronApi.openFile();
    if (filePath) {
      console.log("Selected file:", filePath);
    } else {
      console.log("No file selected.");
    }
  });

});
- index.html
<!DOCTYPE html>
<html lang="en">
  <head>
    <meta charset="UTF-8" />
    <meta name="viewport" content="width=device-width, initial-scale=1.0" />
    <meta
      http-equiv="Content-Security-Policy"
      content="default-src 'self'; img-src 'self' data:; script-src 'self'; style-src 'self' 'unsafe-inline';"
    />
    <title>Document</title>
    <script src="./renderer/app.js"></script>
  </head>
  <body>
    Hello Electron!
    <button id="setBtn">设置标题</button>
    <button id="openFile">打开文件</button>
  </body>
</html>
1.5 奇淫技巧
父子窗口
let newWindow = new BrowserWindow({
    width: 600,
    height: 800,
    webPreferences: {
      nodeIntegration: true
    },
    parent: mainWindow, // 父窗口是 mainWindow,即当 mainWindow 移动的时候 会跟着移动
    modal: true // 弹窗形态,即该窗口会直接 作为父窗口的一个弹窗出现
  })
  newWindow.loadFile("./list.html")
  newWindow.on('closed', () => {
    mainWindow = null;
  })
保存窗口状态(MAC 系统非常需要)
npm i electron-win-state
- main.js
const { app, BrowserWindow, ipcMain, dialog } = require("electron");
const windowStateKeeper = require("electron-win-state").default;
const path = require("path");
let mainWindow = null;
const winState = new windowStateKeeper({
  width: 800,
  height: 600,
  x: 100,
  y: 100,
  minHeight: 600,
  minWidth: 800,
  resizable: true, // 可调整大小
  movable: true, // 可移动
  minimizable: true, // 可最小化
  maximizable: true, // 可最大化
  closable: true, // 可关闭
  focusable: true, // 可聚焦
  fullscreenable: true, // 可全屏
  // kiosk: true, // 无边框的全屏模式
  show: false,
  title: "Hello Electrion", // 窗口标题
  icon: "icon.png", // 窗口图标
  frame: true, // 显示窗口边框和menubar
  transparent: false, // 窗口背景透明
  alwaysOnTop: false, // 窗口置顶
  skipTaskbar: false, // 任务栏中不显示窗口
  autoHideMenuBar: false, // 自动隐藏菜单栏
  opacity: 1, // 窗口透明度

  webPreferences: {
    nodeIntegration: true, // 集成 node.js
    contextIsolation: true, // 暂时不隔离 node.js 环境
    //   devTools: false, // 默认打开开发者工具
    preload: path.resolve(__dirname, "preload.js"), // 预加载脚本
  },
});
const createWindow = () => {
  mainWindow = new BrowserWindow({
    ...winState.state,
  });

  mainWindow.loadFile("index.html");
  // 窗口关闭之前的事件监听
  mainWindow.on("close", (event) => {
    // event.preventDefault(); // 阻止关闭窗口
    console.log("Window is about to close.");
  });
  // 窗口已关闭之后
  // 一般用来清理资源
  mainWindow.on("closed", () => {
    mainWindow = null;
    console.log("Window has been closed.");
  });

  // 窗口获得焦点
  mainWindow.on("focus", () => {
    console.log("Window focused.");
  });

  // 窗口失去焦点
  mainWindow.on("blur", () => {
    console.log("Window blurred.");
  });

  mainWindow.once("ready-to-show", () => {
    mainWindow.show();
    mainWindow.webContents.send("mainSend", "我已经展示了");
  });

  // let newWindow = new BrowserWindow({
  //   width: 600,
  //   height: 800,
  //   webPreferences: {
  //     nodeIntegration: true
  //   },
  //   parent: mainWindow, // 父窗口是 mainWindow,即当 mainWindow 移动的时候 会跟着移动
  //   modal: true // 弹窗形态,即该窗口会直接 作为父窗口的一个弹窗出现
  // })
  // newWindow.loadFile("./list.html")
  // newWindow.on('closed', () => {
  //   mainWindow = null;
  // })
  winState.manage(mainWindow)
};

// 当监听该事件时,正常的关闭事件就会失效
app.on("window-all-closed", () => {
  if (process.platform !== "darwin") {
    app.quit(); // 所以要在这里 加上 app.quit()
  }
});

// 执行一些清理工作或确认退出
app.on("before-quit", (event) => {
  console.log("App is about to quit.");
});

// 记录日志或保存状态。
app.on("quit", () => {
  console.log("Application quit.");
});

// before-quit => quit => window-all-closed 执行顺序

// 准备好的时候
app.on("ready", () => {
  const mainWindow = createWindow();
});

// 如果是 Mac 系统,则在 dock 图标被点击后激活应用窗口
app.on("activate", () => {
  if (BrowserWindow.getAllWindows().length === 0) {
    createWindow(); // 所以只要创建 window 就行
  }
});

ipcMain.on("set-title", (event, title) => {
  console.log("set-title", title);
  mainWindow.setTitle(title);
});

// Handle file dialog
ipcMain.handle("open-file-dialog", async () => {
  const result = await dialog.showOpenDialog(mainWindow, {
    properties: ["openFile"],
    filters: [
      { name: "Images", extensions: ["jpg", "png", "gif"] },
      { name: "Movies", extensions: ["mkv", "avi", "mp4"] },
      { name: "All Files", extensions: ["*"] },
    ],
  });
  return result.canceled ? null : result.filePaths[0];
});

// ipcMain.handle('open-file-dialog', async () => {
//   const {canceld, filePaths} = await diaglog.showOpenDialog({
//     properties: ['openFile', 'openDirectory']
//   });
//   if(!canceld) {
//     return filePaths[0];
//   }
// });
- 如果 win 也想 像 mac 系统那样。。如关~ 哈哈,可以像下面这样写
mainWindow.on('close', (e) => {
  if (process.platform === 'win32') {
    e.preventDefault();
    mainWindow.hide();  // 或者最小化 mainWindow.minimize();
  }
});
webContents
const ws = mainWindow.webContents;
ws.openDevTools() // 打开控制台的方法
ws.on("did-finish-load", () => {
    console.log("所有资源都加载完毕,包括图片资源")
}})
ws.on("dom-ready", () => {
    console.log("只有 dom 元素加载完毕,图片之类的可能未加载完毕~")
})
// 右键菜单的时候触发 下方事件
ws.on("context-menu", (e, params) => {
    console.log(e, params)
})
// 向页面中 注入 js
ws.on("context-menu", (e, params) => {
    wc.executeJavaScript(`alert('${params.selectionText}')`)
})
透明窗口且可拖拽
当你想要做出高度自定义风格的 窗口程序时,就必须使用到 透明窗口 且 可拖拽的方案!
- main.js
  mainWindow = new BrowserWindow({
    transparent: true, // 窗口背景透明
    frame: false // 让其窗口的基本外层的架子 直接消失
  });
- index.html
<!DOCTYPE html>
<html lang="en">
  <head>
    <meta charset="UTF-8" />
    <meta name="viewport" content="width=device-width, initial-scale=1.0" />
    <meta
      http-equiv="Content-Security-Policy"
      content="default-src 'self'; img-src 'self' data:; script-src 'self'; style-src 'self' 'unsafe-inline';"
    />
    <title>Document</title>
    <script src="./renderer/app.js"></script>
    <style>
      body {
        -webkit-app-region: drag
      }
      button, input {
        -webkit-app-region: no-drag
      }
    </style>
  </head>
  <body>
    Hello Electron!
    <button id="setBtn">设置标题</button>
    <button id="openFile">打开文件</button>
  </body>
</html>
1.6 dialog
- 打开文件 dialog
dialog.showOpenDialog(mainWindow,{
    buttonLabel: '嘿嘿ok', // 更改 按钮文本
    defaultPath: app.getPath(''), // 默认要选择文件的 路径
    // multiSelections 是否可以选择多个文件
    // createDirectory 选择的时候 可以 新建文件夹
    // openFile 可以选择文件
    // openDirectory 可以选择文件夹
    properties: ['multiSelections', 'createDirectory', 'openFile', 'openDirectory']
}).then((result) => {
    console.log(result.filepaths)
})
- 保存文件 dialog
dialog.showSaveDialog(mainWindow,{}).then(result => {
    console.log(result.filePath);
})
- 信息框 dialog
const answers = ['Yes', 'No', 'Maybe']
dialog.showMessageBox({
    title: 'Message Box',
    message: 'Please select an option',
    detail: 'Message details.',
    buttons: answers
}).then(({response}) => {
    console.log(`User selected:${answers[response]}`);
})
1.7 globalShortcut
快捷键触发
globalShortcut.register('G', () => {
	console.log('你按了 G');
})

globalShortcut.register('CommandOrControl+Y', () => {
	console.log('你按了 G');
})

globalShortcut.register('CommandOrControl+Shift+Z', () => {
	console.log('你按了 G');
})
1.8 Menu
顶部 Menu
const {Menu} = require('electron')
const mainMenu = Menu.buildFromTemplate([
    {
        label: 'electron',
        submenu: [
            {
                label: 'submenu-1',
                click: () => {
                    alert("我是 submenu-1")
                },
                accelerator: 'Shift+Alt+G' // 快捷键
            },
            {
                  label: 'submenu-2',
                  role: 'toggleFullScreen', // electron 默认支持的行为
            }
        ]
    }
])

Menu.setApplicationMenu(mainMenu); // 作用于 这个窗口上
上下文 Menu
右键窗口内容的时候,会弹出的 菜单。
// 实际上也是用 Menu 来做的,只不过 最后使用的方式 不同
let contextMenu = Menu.buildFromTemplate([
    {label: 'Item 1'},
    {role: 'editMenu'}
])

contextMenu.popup(); // 只要写上了,那么你右键窗口的时候 就能弹出来这个 菜单
1.9 Tray
Tray 顾名思义,托盘~
function createTray() {
    tray = new Tray('') // 需要传递一个 托盘图标
    tray.setToolTip("Tray details"); // 鼠标悬停时 显示的提示信息
    tray.on('click', e => {
        if(e.shiftKey) {
            app.quit(); // 退出
        }else{
            mainWindow.isVisible() ? mainWindow.hide() : mainWindow.show()
        }
    })
    // 设置右键菜单
    tray.setContextMenu(Menu.buildFromTemplate([
        {label: 'item1'},
        {label: 'item2'}
    ]));
}
第二章·Electron + Vue
2.1 创建项目
cnpm create @quick-start/electron@latest electron-vite # 还是比较建议选择 js 作为脚本语言的,不是很推荐使用 ts
npm i
- package.json (安装常见的依赖)
{
  "name": "electron-vite",
  "version": "1.0.0",
  "description": "An Electron application with Vue",
  "main": "./out/main/index.js",
  "author": "example.com",
  "homepage": "https://electron-vite.org",
  "scripts": {
    "format": "prettier --write .",
    "lint": "eslint . --ext .js,.jsx,.cjs,.mjs,.ts,.tsx,.cts,.mts --fix",
    "start": "electron-vite preview",
    "dev": "electron-vite dev",
    "build": "electron-vite build",
    "postinstall": "electron-builder install-app-deps",
    "build:unpack": "npm run build && electron-builder --dir",
    "build:win": "npm run build && electron-builder --win",
    "build:mac": "npm run build && electron-builder --mac",
    "build:linux": "npm run build && electron-builder --linux"
  },
  "build": {
    "extraResources": [
      "./assets/**"
    ],
    "productName": "EasyChat",
    "appId": "com.easychat",
    "directories": {
      "output": "insallPackages"
    },
    "nsis": {
      "oneClick": false,
      "allowElevation": true,
      "allowToChangeInstallationDirectory": true,
      "installerIcon": "./resources/icon.png",
      "uninstallerIcon": "./resources/icon.png",
      "installerHeaderIcon": "./resources/icon.png",
      "createDesktopShortcut": true,
      "createStartMenuShortcut": true,
      "shortcutName": "EasyChat"
    },
    "mac": {
      "icon": "icons/icon.icns"
    },
    "win": {
      "artifactName": "${productName}setup.${version}.exe",
      "icon": "resources/icon.png",
      "target": [
        "nsis"
      ]
    }
  },
  "dependencies": {
    "@electron-toolkit/preload": "^3.0.1",
    "@electron-toolkit/utils": "^3.0.0",
    "@imengyu/vue3-context-menu": "^1.4.4",
    "axios": "^1.7.9",
    "dplayer": "^1.27.1",
    "electron-store": "^10.0.0",
    "element-plus": "^2.9.3",
    "express": "^4.21.2",
    "fluent-ffmpeg": "^2.1.3",
    "fs-extra": "^11.3.0",
    "js-md5": "^0.8.3",
    "moment": "^2.30.1",
    "pinia": "^2.3.0",
    "rebuild": "^0.1.2",
    "sass": "^1.83.4",
    "sass-loader": "^16.0.4",
    "sqlite3": "^5.1.7",
    "v-viewer": "^3.0.21",
    "vue-cookies": "^1.8.5",
    "vue-router": "^4.5.0",
    "ws": "^8.18.0"
  },
  "devDependencies": {
    "@electron-toolkit/eslint-config": "^1.0.2",
    "@rushstack/eslint-patch": "^1.10.3",
    "@vitejs/plugin-vue": "^5.0.5",
    "@vue/eslint-config-prettier": "^9.0.0",
    "electron": "^31.0.2",
    "electron-builder": "^24.13.3",
    "electron-vite": "^2.3.0",
    "eslint": "^8.57.0",
    "eslint-plugin-vue": "^9.26.0",
    "prettier": "^3.3.2",
    "vite": "^5.3.1",
    "vue": "^3.4.30"
  }
}
- electron.vite.config.mjs
import { resolve } from 'path'
import { defineConfig, externalizeDepsPlugin } from 'electron-vite'
import vue from '@vitejs/plugin-vue'

export default defineConfig({
  main: {
    plugins: [externalizeDepsPlugin()]
  },
  preload: {
    plugins: [externalizeDepsPlugin()]
  },
  renderer: {
    resolve: {
      alias: {
        '@': resolve('src/renderer/src')
      }
    },
    plugins: [vue()]
  }
})
2.2 Hello Electron·Vue

- main/index.js
import { app, shell, BrowserWindow, ipcMain } from 'electron'
import { join } from 'path'
import { electronApp, optimizer, is } from '@electron-toolkit/utils'
import icon from '../../resources/icon.png?asset'

const login_windowProps = {
  width: 300,
  height: 370
}

const register_windowProps = {
  height: 490
}
let mainWindow = null

function createWindow() {
  // Create the browser window.
  mainWindow = new BrowserWindow({
    width: login_windowProps.width,
    height: login_windowProps.height,
    show: false,

    titleBarStyle: 'hidden',
    resizable: false,
    frame: true,
    transparent: true,
    ...(process.platform === 'linux' ? { icon } : {}),
    webPreferences: {
      preload: join(__dirname, '../preload/index.js'),
      sandbox: false
    }
  })

  mainWindow.on('ready-to-show', () => {
    mainWindow.show()
  })

  mainWindow.webContents.setWindowOpenHandler((details) => {
    shell.openExternal(details.url)
    return { action: 'deny' }
  })

  // HMR for renderer base on electron-vite cli.
  // Load the remote URL for development or the local html file for production.
  if (is.dev && process.env['ELECTRON_RENDERER_URL']) {
    mainWindow.loadURL(process.env['ELECTRON_RENDERER_URL'])
  } else {
    mainWindow.loadFile(join(__dirname, '../renderer/index.html'))
  }
}

// This method will be called when Electron has finished
// initialization and is ready to create browser windows.
// Some APIs can only be used after this event occurs.
app.whenReady().then(() => {
  // Set app user model id for windows
  electronApp.setAppUserModelId('com.electron')

  // Default open or close DevTools by F12 in development
  // and ignore CommandOrControl + R in production.
  // see https://github.com/alex8088/electron-toolkit/tree/master/packages/utils
  app.on('browser-window-created', (_, window) => {
    optimizer.watchWindowShortcuts(window)
  })

  // IPC test
  ipcMain.on('ping', () => console.log('pong'))

  createWindow()

  app.on('activate', function () {
    // On macOS it's common to re-create a window in the app when the
    // dock icon is clicked and there are no other windows open.
    if (BrowserWindow.getAllWindows().length === 0) createWindow()
  })
})

// Quit when all windows are closed, except on macOS. There, it's common
// for applications and their menu bar to stay active until the user quits
// explicitly with Cmd + Q.
app.on('window-all-closed', () => {
  if (process.platform !== 'darwin') {
    app.quit()
  }
})

// In this file you can include the rest of your app"s specific main process
// code. You can also put them in separate files and require them here.
ipcMain.on('changeLoginHeight', (event) => {
  mainWindow.setSize(login_windowProps.width, register_windowProps.height)
})
- preload/index.js
import { contextBridge, ipcRenderer } from 'electron'
import { electronAPI } from '@electron-toolkit/preload'

// Custom APIs for renderer
const api = {
  changeLoginHeight: () => {
    ipcRenderer.send('changeLoginHeight')
  }
}

// Use `contextBridge` APIs to expose Electron APIs to
// renderer only if context isolation is enabled, otherwise
// just add to the DOM global.
if (process.contextIsolated) {
  try {
    contextBridge.exposeInMainWorld('electron', electronAPI)
    contextBridge.exposeInMainWorld('api', api)
  } catch (error) {
    console.error(error)
  }
} else {
  window.electron = electronAPI
  window.api = api
}
- renderer/src/assets/common/css
.drag {
    -webkit-app-region: drag;
}

.no-drag {
    -webkit-app-region: no-drag;
}
- renderer/src/indewx.html
<!doctype html>
<html>
  <head>
    <meta charset="UTF-8" />
    <title>Electron</title>
    <!-- https://developer.mozilla.org/en-US/docs/Web/HTTP/CSP -->
    <meta
      http-equiv="Content-Security-Policy"
      content="default-src 'self'; script-src 'self'; style-src 'self' 'unsafe-inline'; img-src 'self' data:"
    />
    <link rel="stylesheet" href="./src/common/css/common.css" />

  </head>

  <body>
    <div id="app"></div>
    <script type="module" src="/src/main.js"></script>
  </body>
</html>
- renderer/src/router/index.js
import { createRouter, createWebHashHistory } from 'vue-router'

const router = createRouter({
  mode: 'hash',
  history: createWebHashHistory(import.meta.env.BASE_URL),
  routes: [
    {
      path: '/',
      name: '默认路径',
      redirect: '/login'
    },
    {
      path: '/login',
      name: '登录',
      component: () => import('@/views/Login.vue')
    }
  ]
})

export default router
- renderer/src/views/Login.vue
<template>
  <div class="login-box">
    <div class="top-box drag">EasyChat</div>
    <el-button @click="changeHeight">改变高度</el-button>
  </div>
</template>

<script setup>
import { ref, reactive, getCurrentInstance, nextTick } from 'vue'
const { proxy } = getCurrentInstance()
const changeHeight = () => {
  window.api.changeLoginHeight()
}
</script>

<style lang="scss" scoped>
.login-box {
  width: 100%;
  height: 100%;
  background-color: #fff;
}
.top-box {
  width: 100%;
  background-color: red;
}
</style>
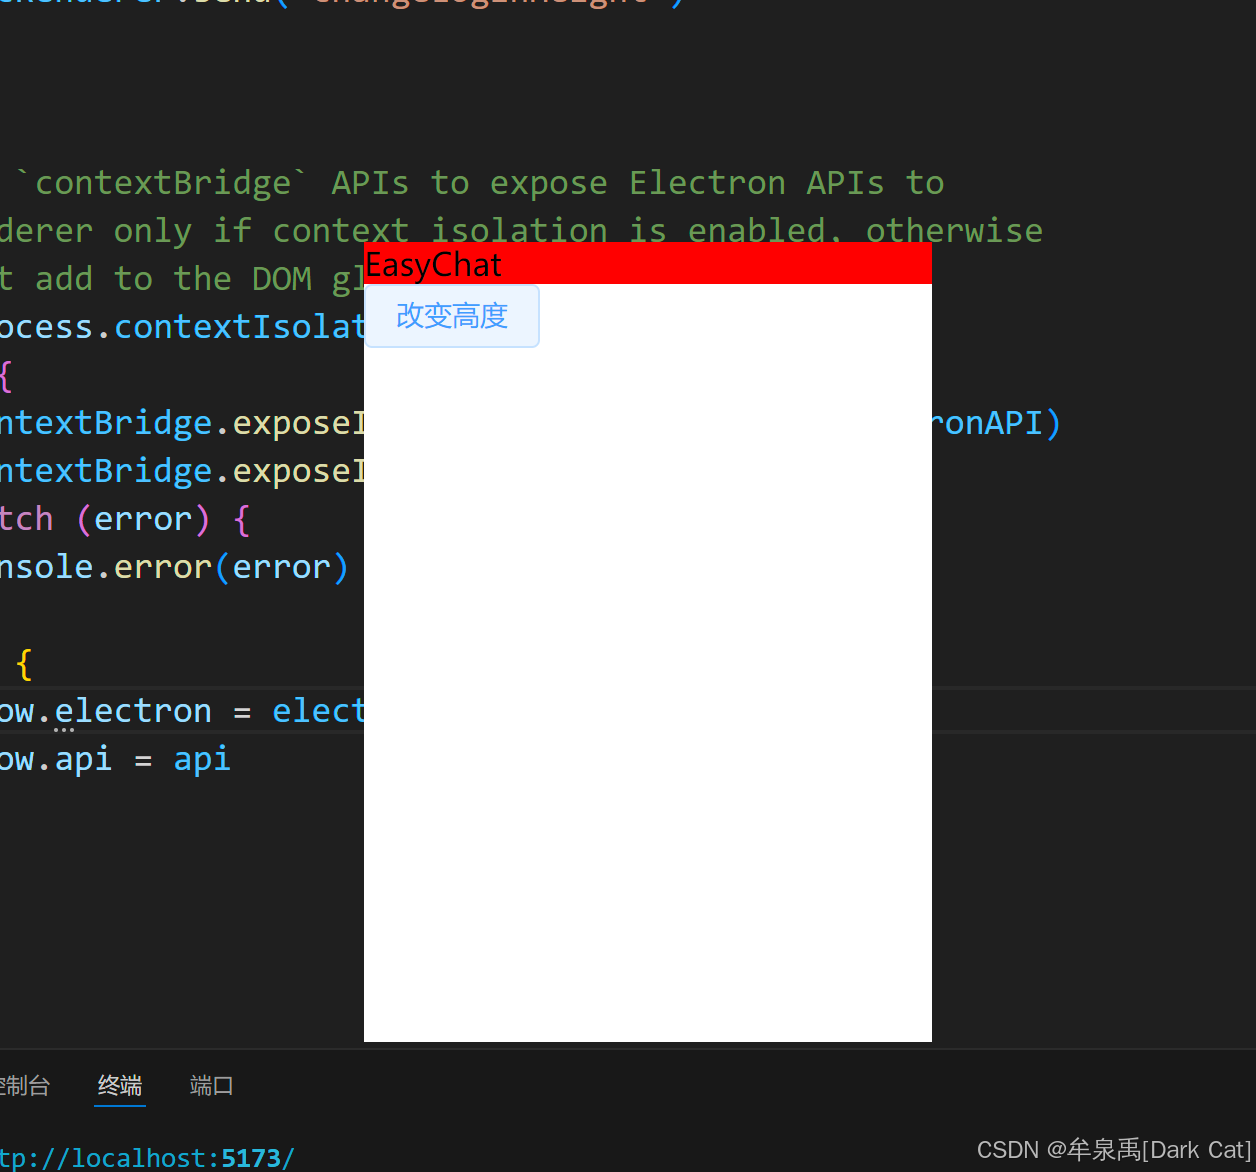
这里,大体上给个思路。前端页面与后端请求那部分,完全就是自己玩页面内的 js 脚本。然后 经典把接口定义声明都放到 api 文件夹里面,封装好 自己的 axios 即可。
如果需要 渲染进程与主进程进行通讯,或者要让页面必须渲染在一个新的窗口上时,才会在 main/index.js 与 preload/index.js 中 声明与定义方法!

 浙公网安备 33010602011771号