Hexo、主题、部署上线
Hexo、主题、部署上线
Hexo系列文章已经完成上传:
一、Hexo准备---Node.js、Vue
二、Hexo、主题、部署上线
三、Butterfly美化
四、Hexo之更换背景及透明度
五、Hexo-使用阿里iconfont图标
六、PicGo:搭建图床
七、Hexo-域名设置+收录
安装Hexo
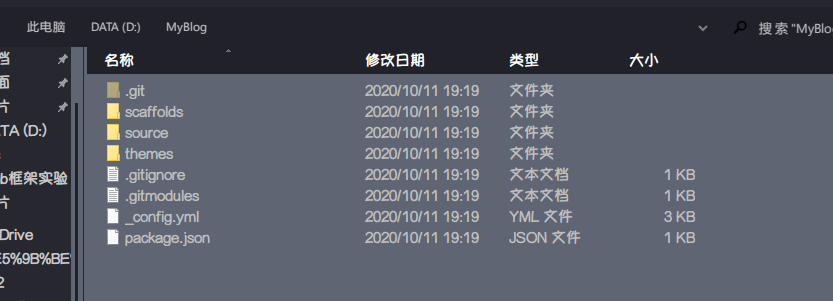
git和nodejs安装好后,就可以安装hexo了,你可以先创建一个文件夹MyBlog,用来存放自己的博客文件,然后cd到这个文件夹下(或者在这个文件夹下直接右键git bash打开)。
比如我的博客文件都存放在D:\MyBlog目录下。
在该目录下右键点击Git Bash Here,打开git的控制台窗口,以后我们所有的操作都在git控制台进行,就不用Windows自带的cmd了。
npm install -g hexo-cli
安装完后输入hexo -v验证是否安装成功。
至此hexo就安装完了
接下来初始化一下hexo,即初始化我们的网站,输入hexo init初始化文件夹
hexo init
之后可以运行hexo原始页面。
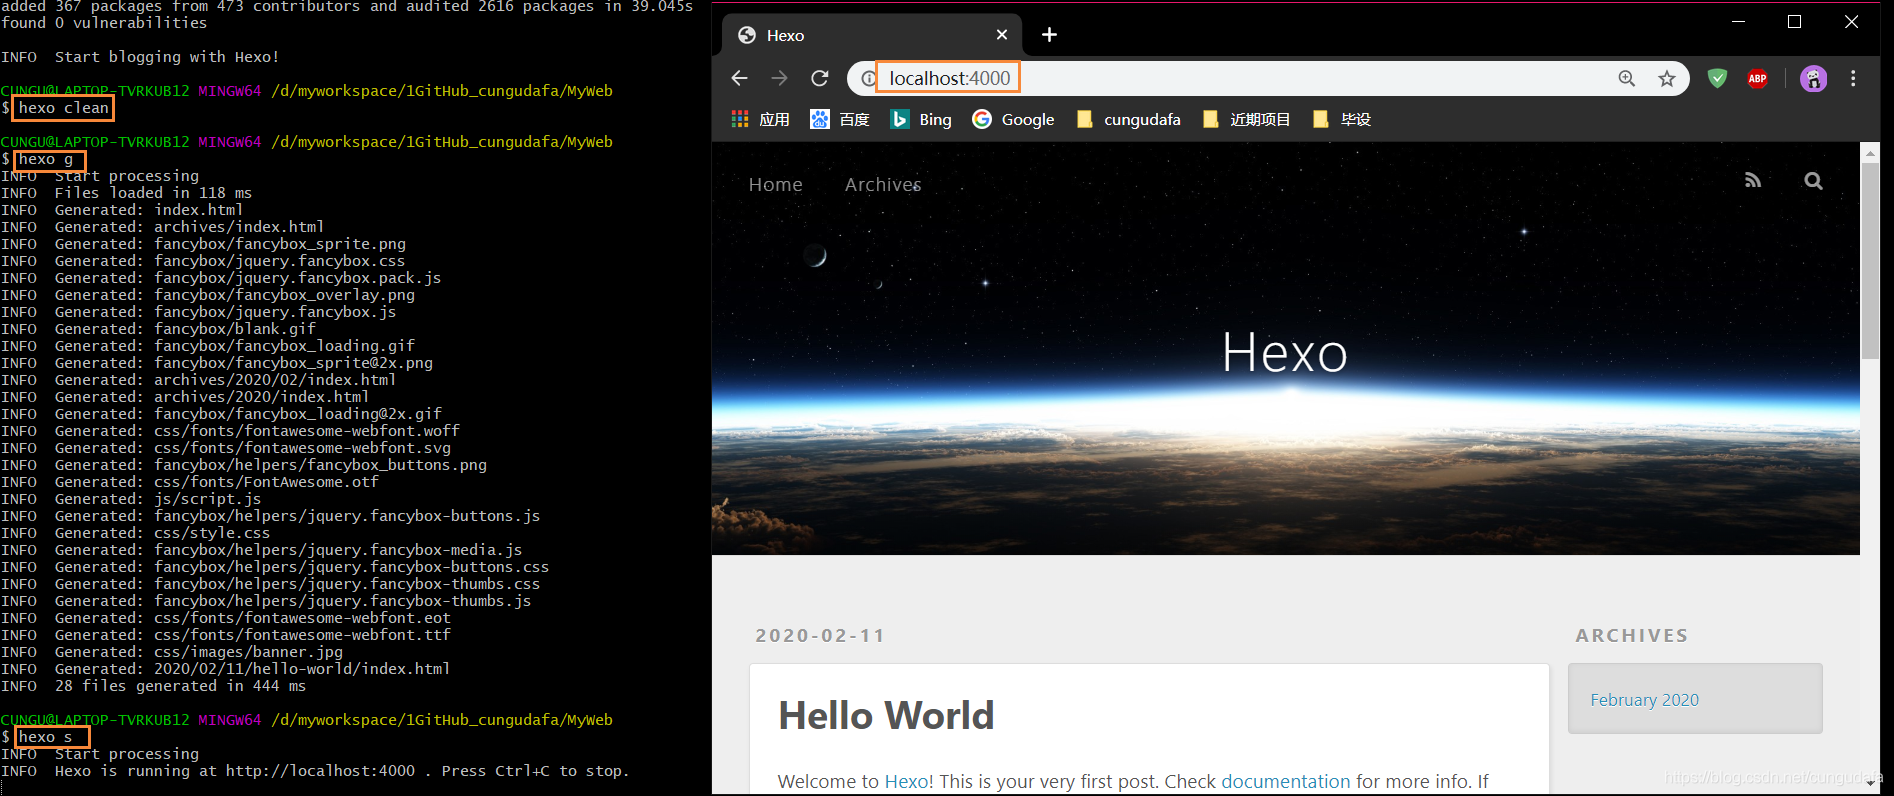
hexo clean  # 清空已有hexo网站文件
hexo generate(or g)  # 依据网页文本与新的CSS样式生成新网站文件
hexo server(or s)  # 启动本地服务器,可以在localhost:4000查看网站修改效果
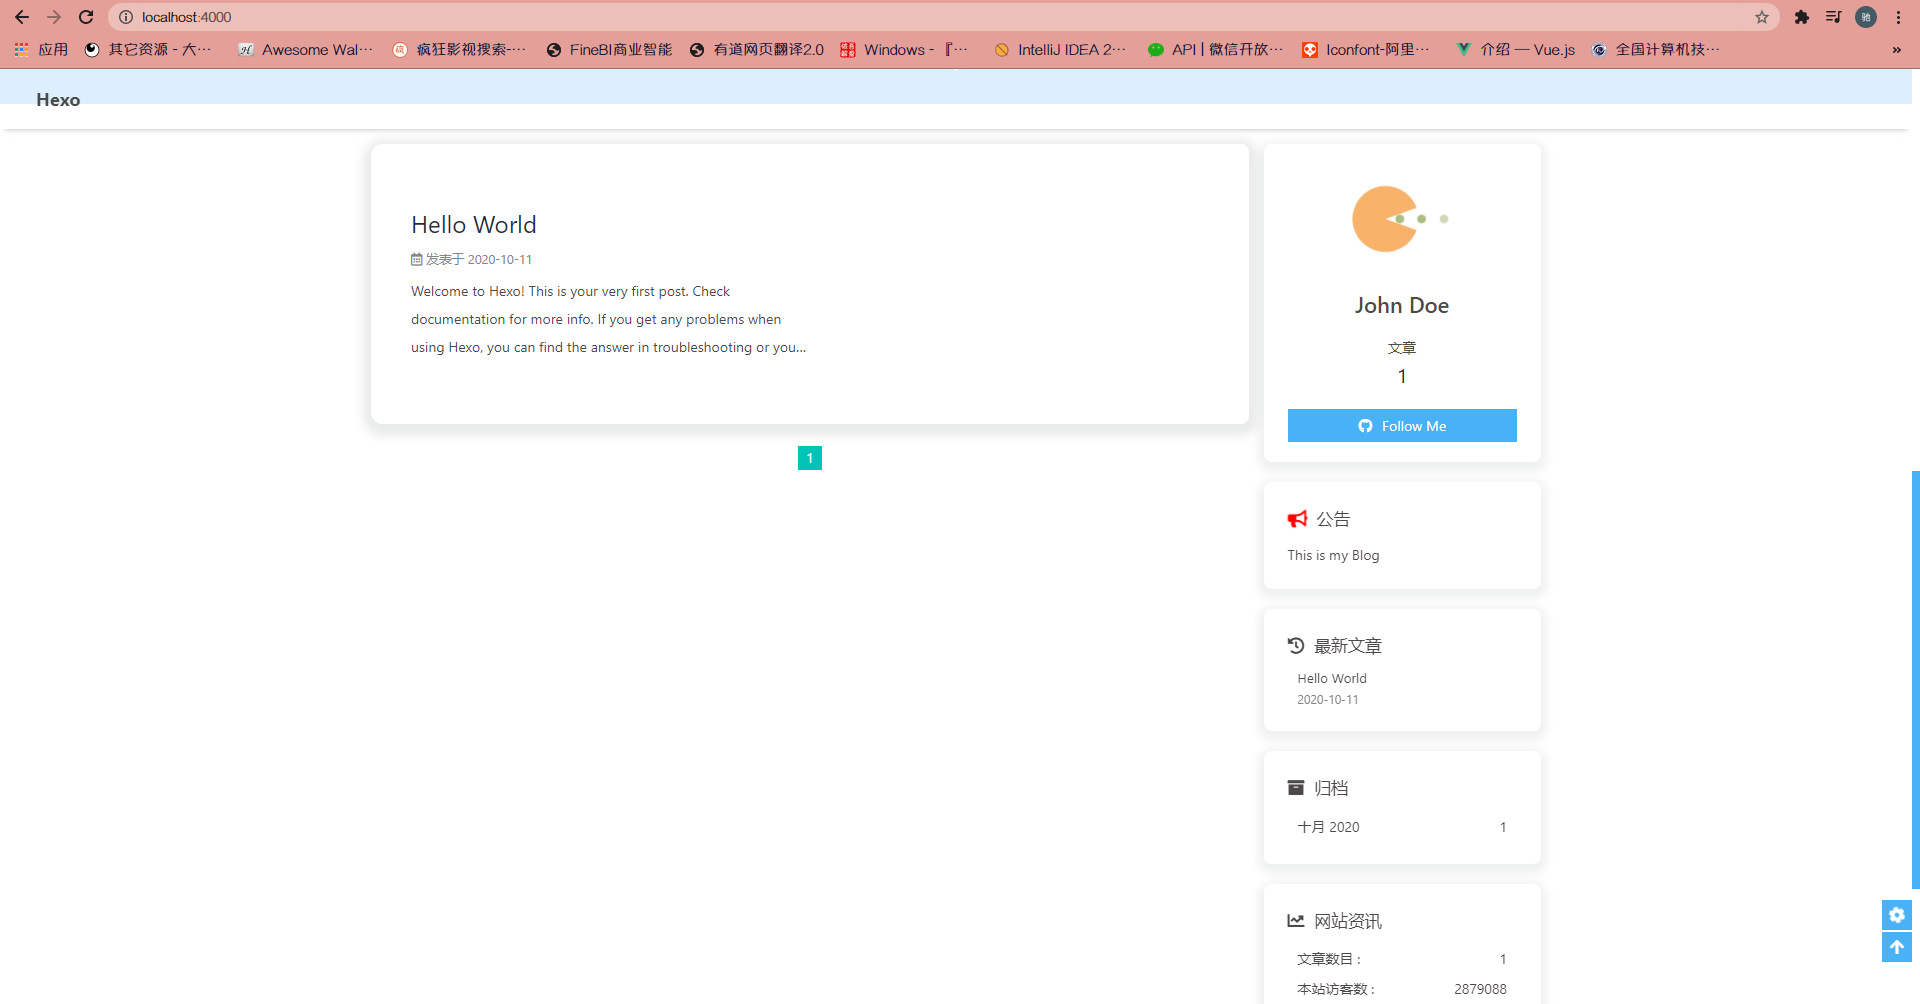
打开浏览器,输入网址: http://localhost:4000,即可看到hexo生成的静态页面。
修改主题
1.主题推荐
推荐两款:
- Sakura 非常炫,缺点加载慢 https://github.com/honjun/hexo-theme-sakura
- Next 功能集成多,简洁,界面一般 https://github.com/theme-next/hexo-theme-next
2.Butterfly
此次我选择的主题是Butterfly
进入github点击下载zip:https://github.com/jerryc127/hexo-theme-butterfly/
或者进入gitee点击下载zip:https://gitee.com/iamjerryw/hexo-theme-butterfly
解压文件夹,将中的主题样式复制MyBlog\themes目录下:

修改站点配置文件config.yml,把主题修改为butterfly

之后老样子“三件套",
hexo c
hexo g
hexo s
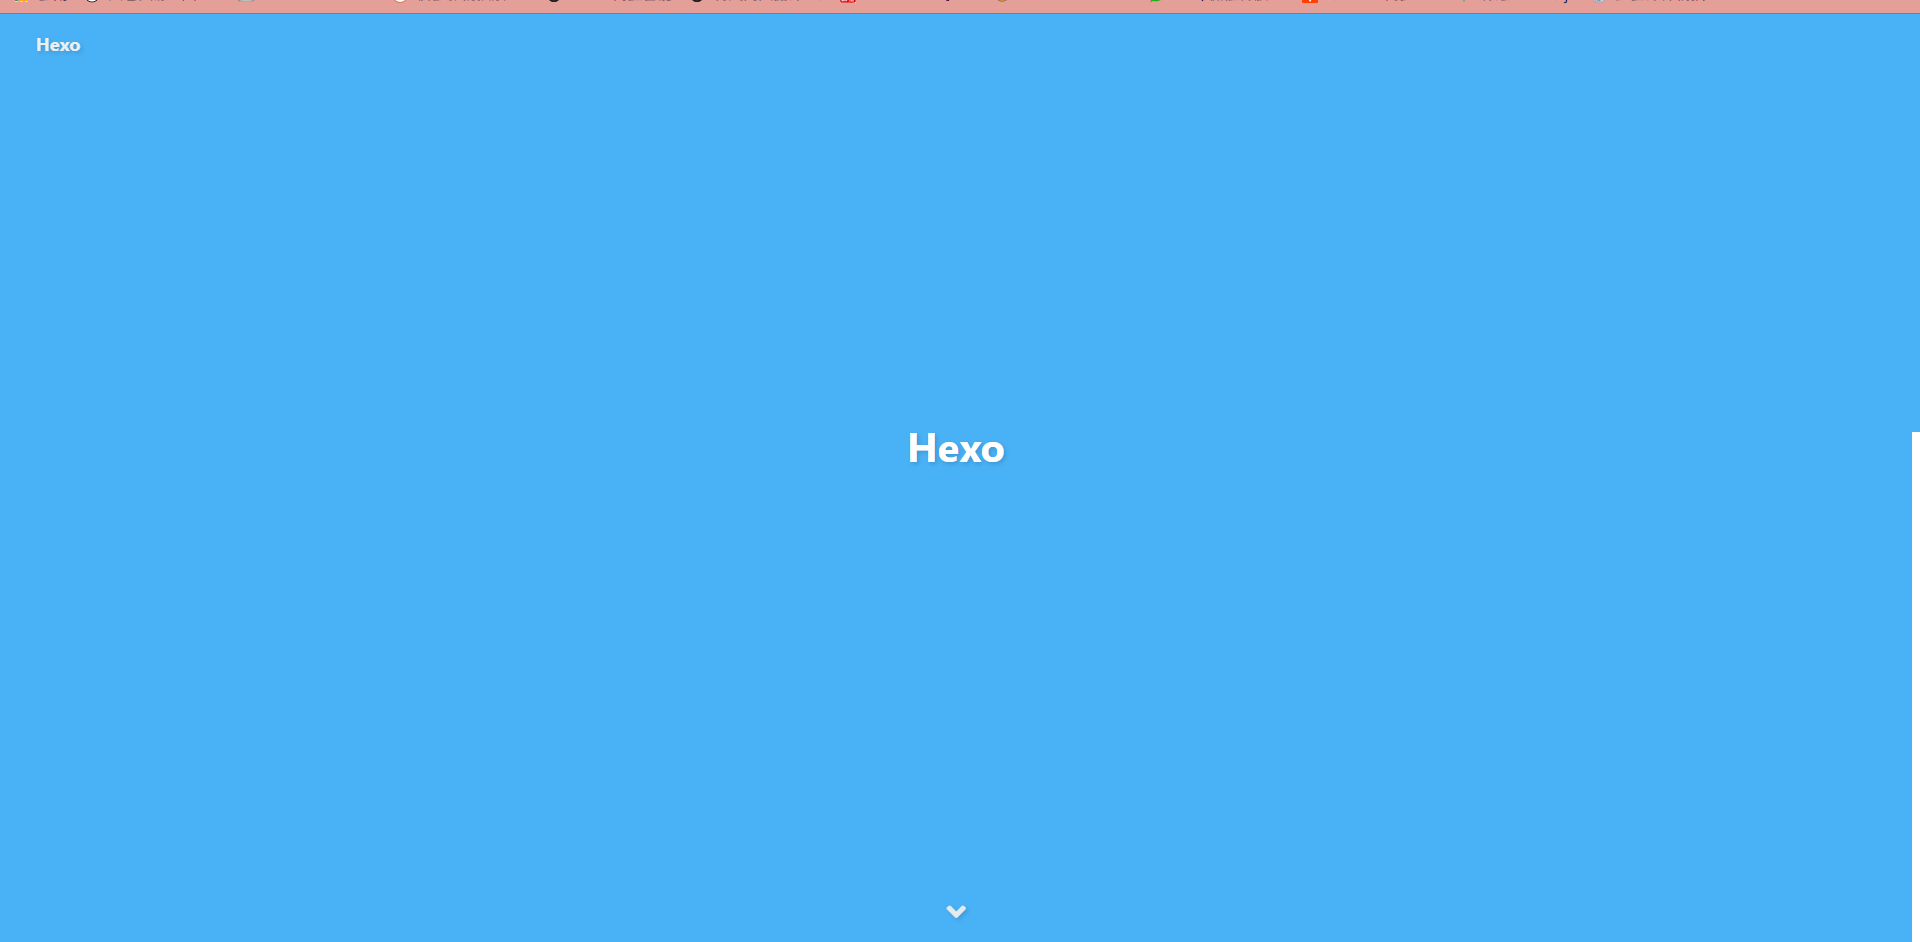
打开浏览器,输入网址: http://localhost:4000 ,即可看到hexo生成的静态页面。
当然这时候出现以下错误:

对应的解决方案可以在Butterfly的Github主页看到:

安装以下插件即可:
npm install hexo-renderer-pug hexo-renderer-stylus
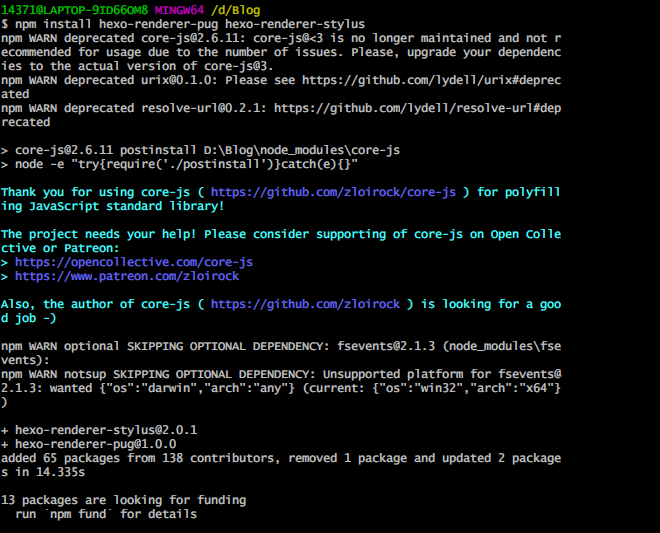
三件套之后正常:
部署到Github
1.创建仓库
首先去Github注册。
注册好了后,登录Github,创建仓库:点击右上角的+号,选择new repository:

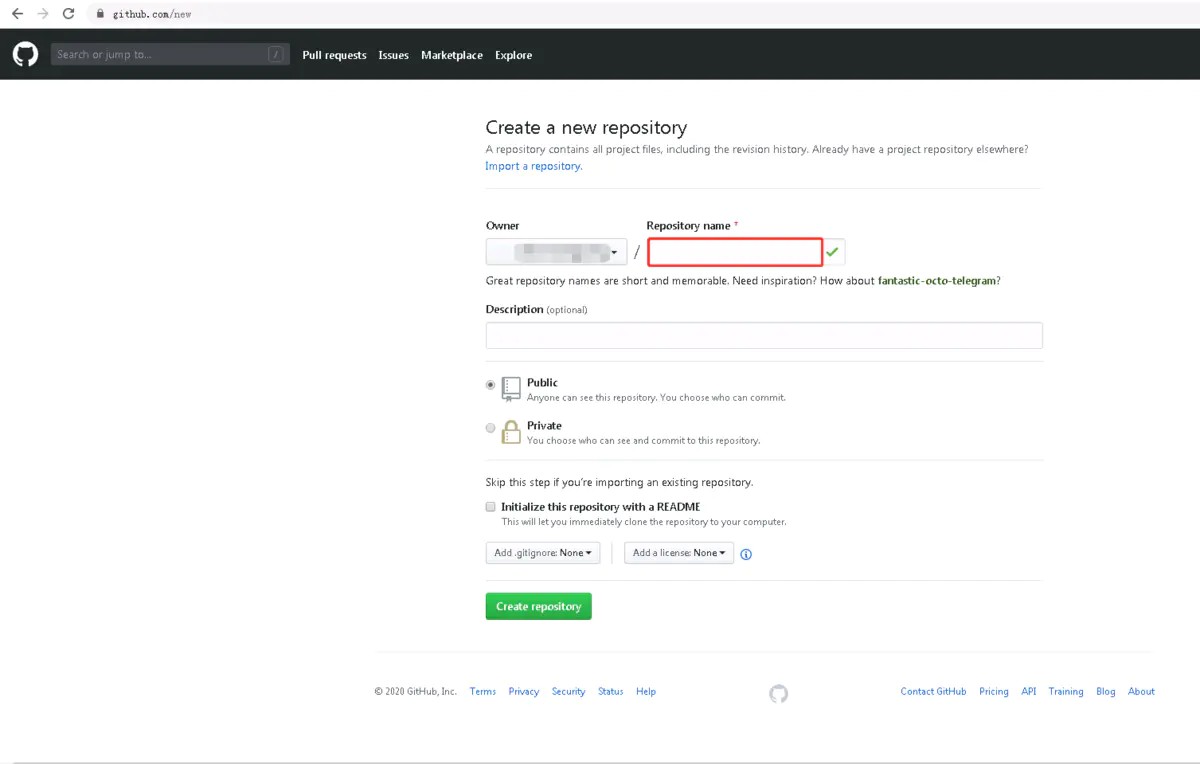
建议将仓库名设置成以下格式:
username.github.io
username对应你的github用户名,例如我的用户名为MoYu-zc,这里就是MoYu-zc.github.io
2.配置Git
如果第一次使用git的话,需要设置用户名和邮箱:
git config --global user.name "username"
git config --global user.email "email"
同理,username对应你的github用户名,email对应你的github邮箱
可以用以下两条,检查一下你有没有输对:
git config user.name
git config user.email

3.生成公钥
执行以下命令,然后连续三次回车,生成公钥:
ssh-keygen -t rsa

在C盘/用户/用户名/.ssh目录下找到id_rsa.pub文件,用文本编辑工具打开,并复制所有文本内容。

在Github页面右上角,点击用户头像-Settings-SSH and GPG keys-New SSH key
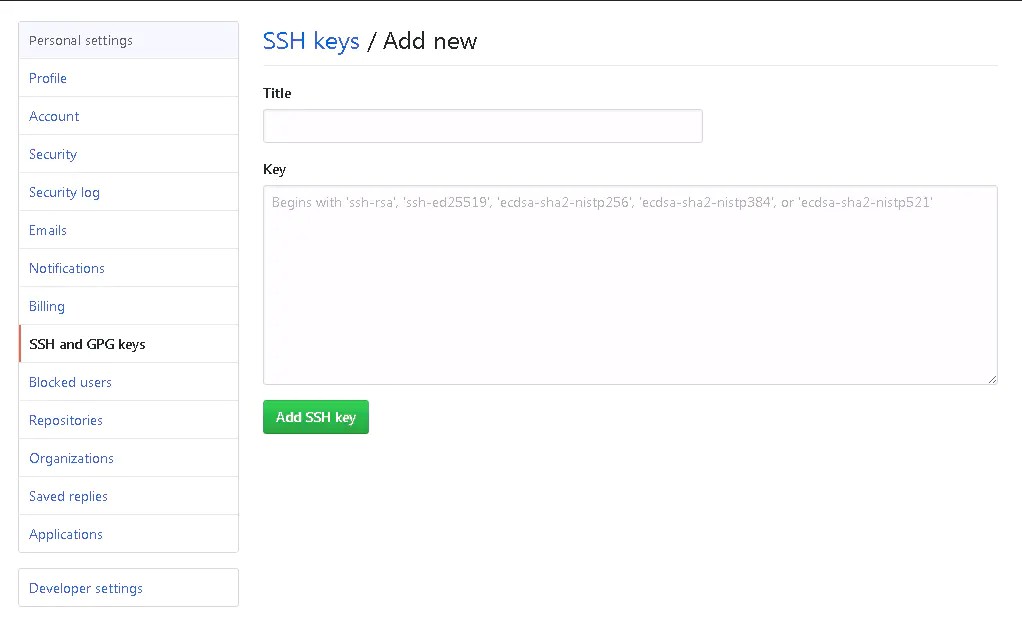
Title可以随意填写,Key需要填写刚才复制的公钥文本内容,然后Add SSH key。
添加完成后,在控制台输入:
ssh -T git@github.com
这里注意,这里在输入框需要第一次回车后,输入yes
如果配置成功,可以看到成功的回复。
4.上传文件到Github
配置_config.yml中的repo信息:
deploy:
  type: git
  repo: #你的仓库地址
        #如:https://github.com/milovemengmeng/milovemengmeng.github.io.git
  branch: master

直接通过hexo来发布到github,需要安装以下插件:
npm install hexo-deployer-git --save

然后
hexo c
hexo g
hexo d  #注意是 d  不是 s
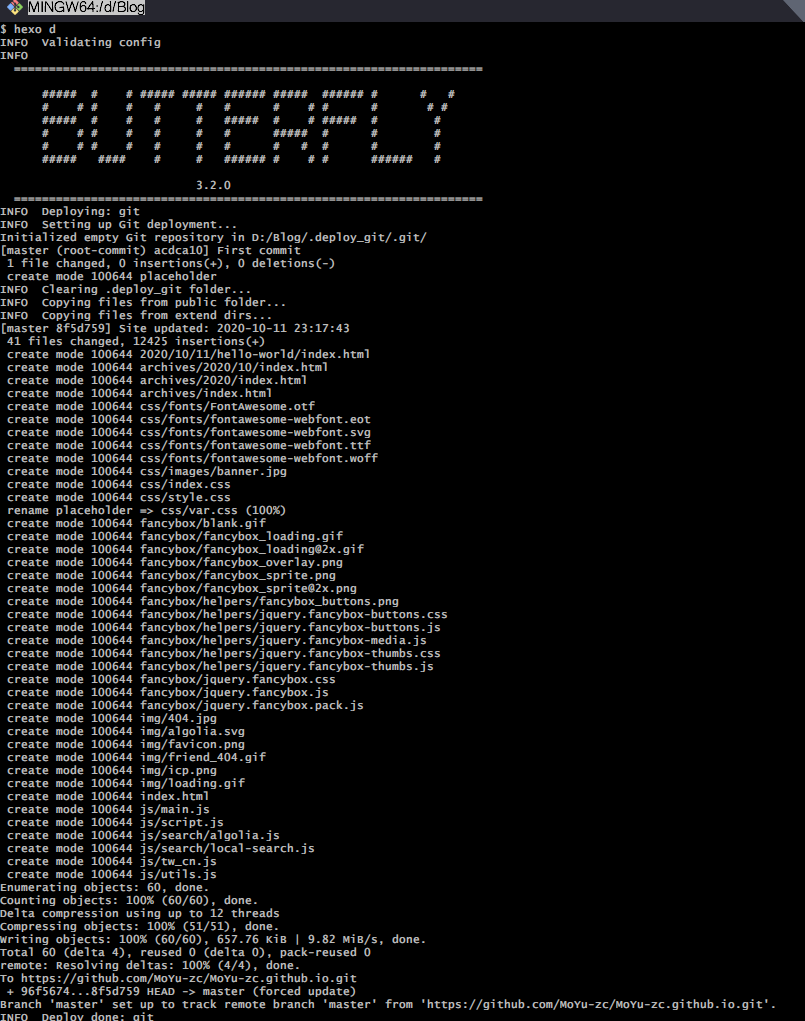
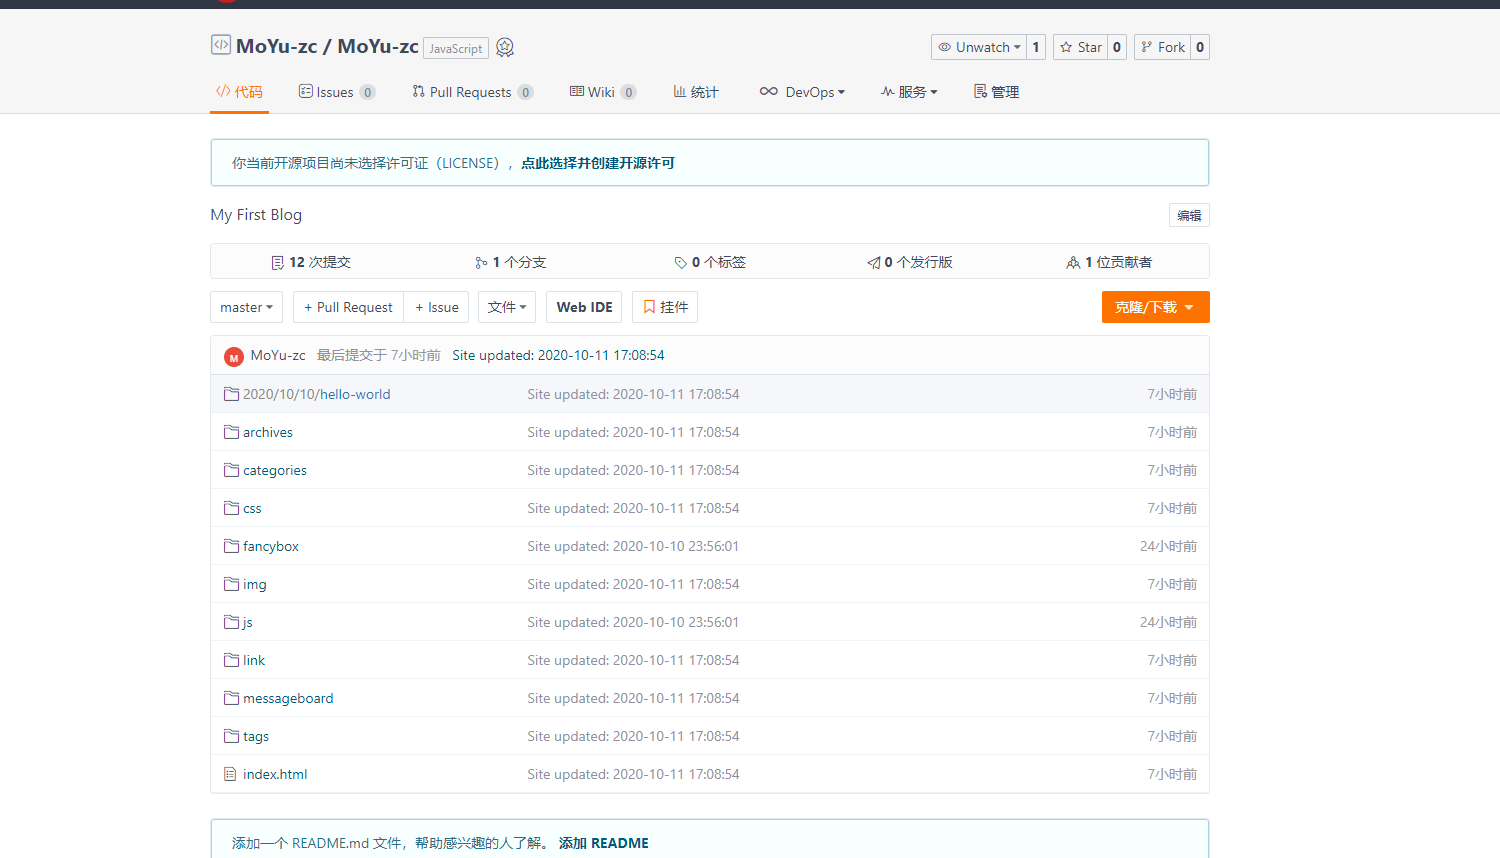
刷新github对应的repository页面,即可看到提交的内容:
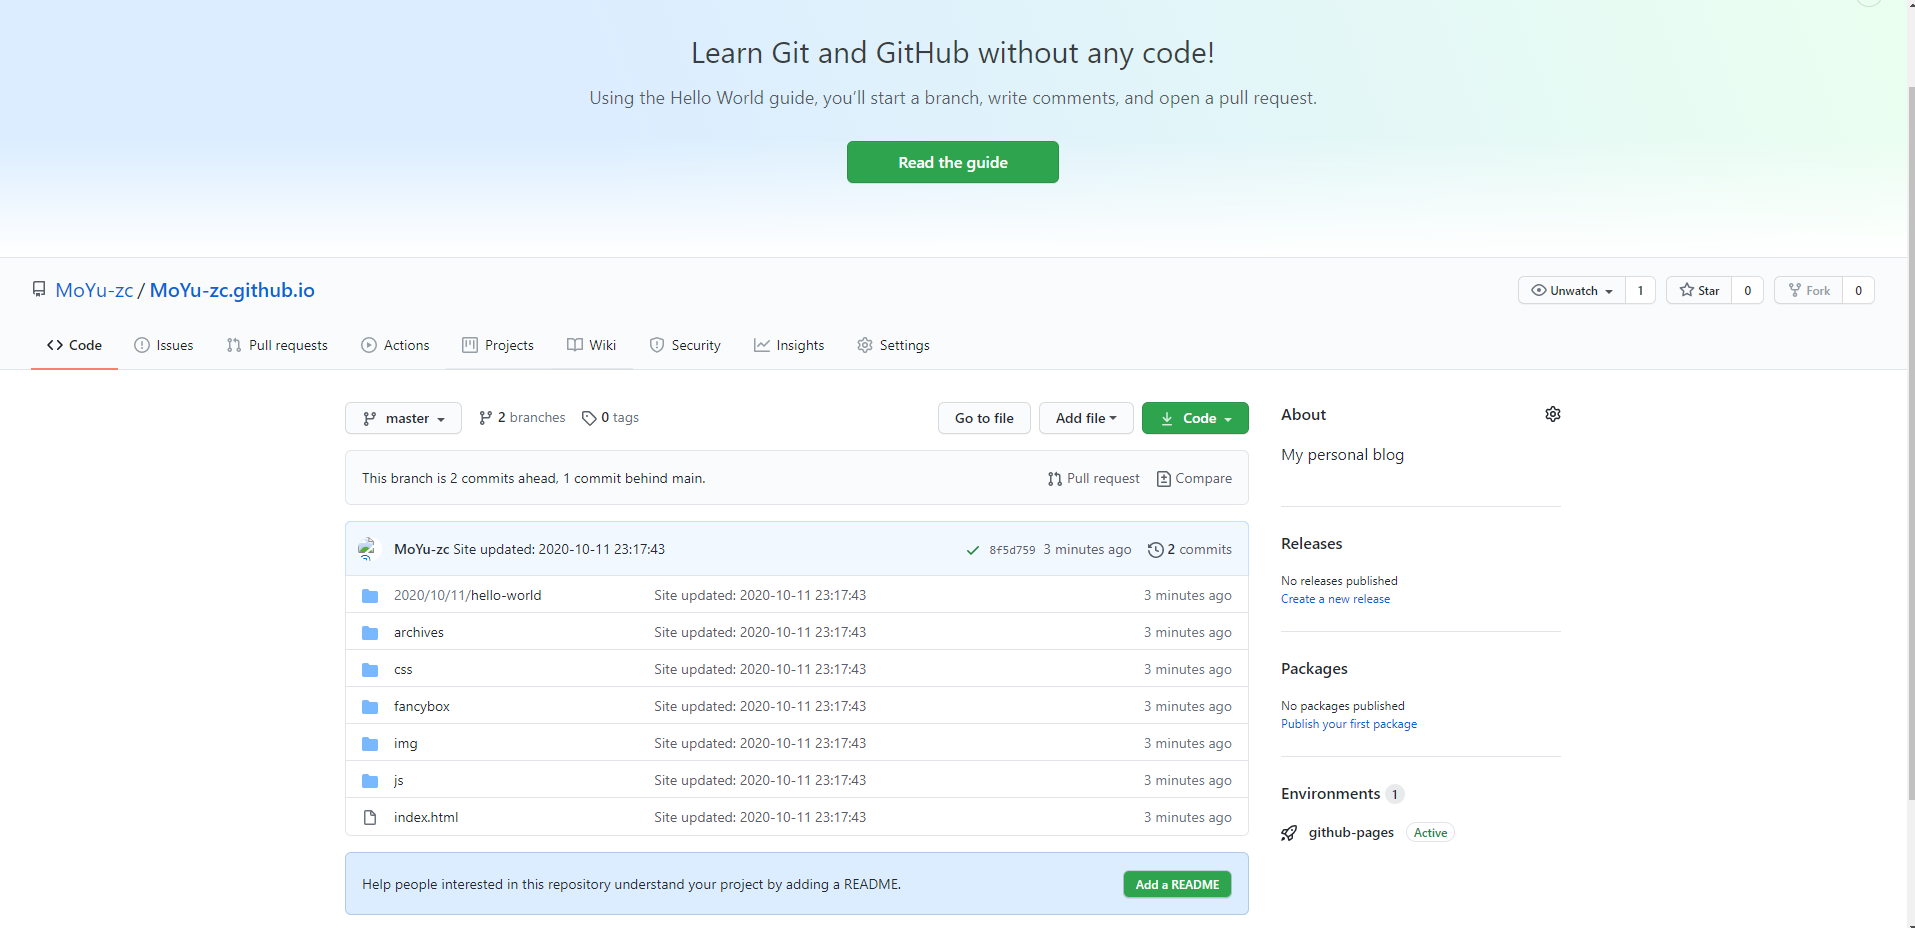
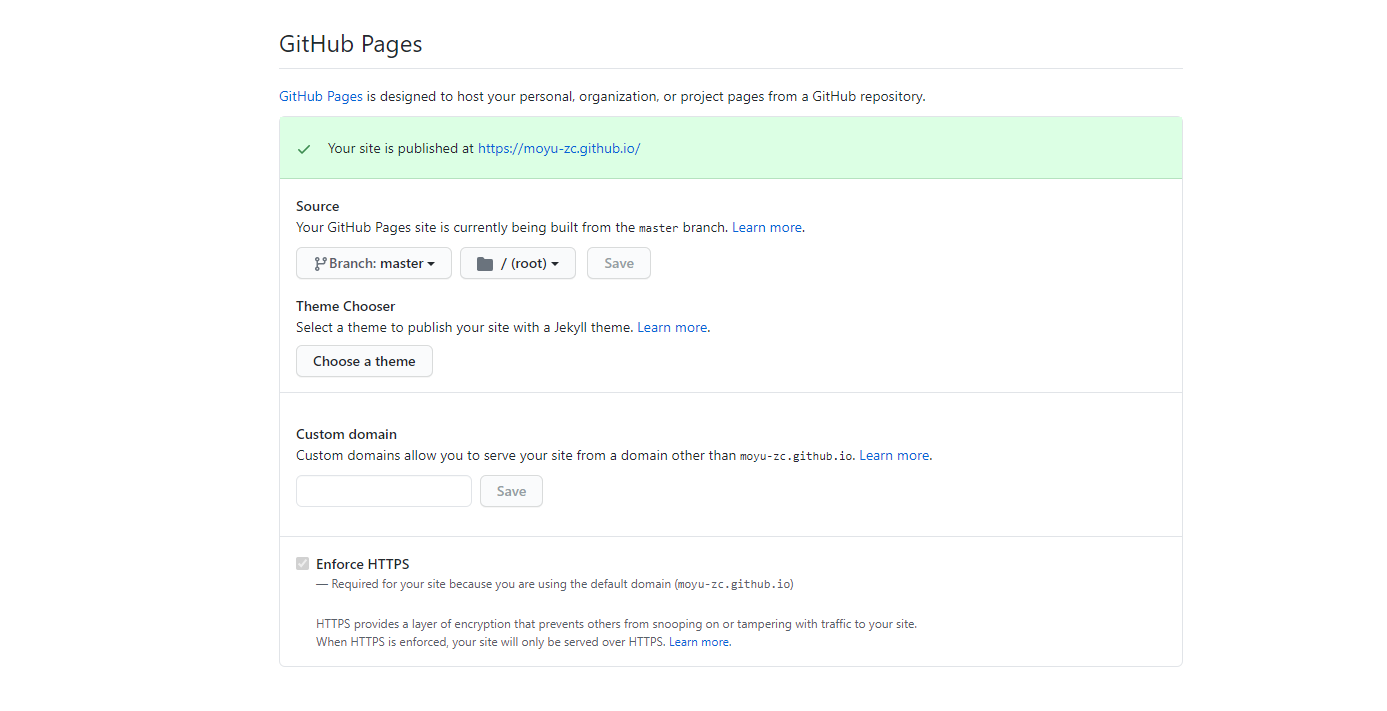
5.配置静态站点
点击Settings,进入GitHub Pages配置,仓库名为username.github.io,github已经自己为我们发布了静态的页面。当然如果不是username.github.io的格式,则需要手动配置。
部署到Gitee
创建仓库
老规矩,首先注册Gitee。
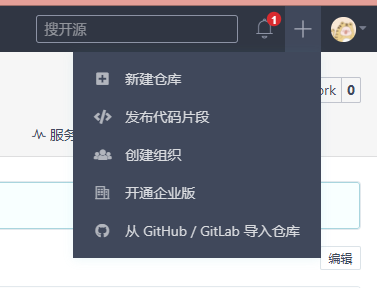
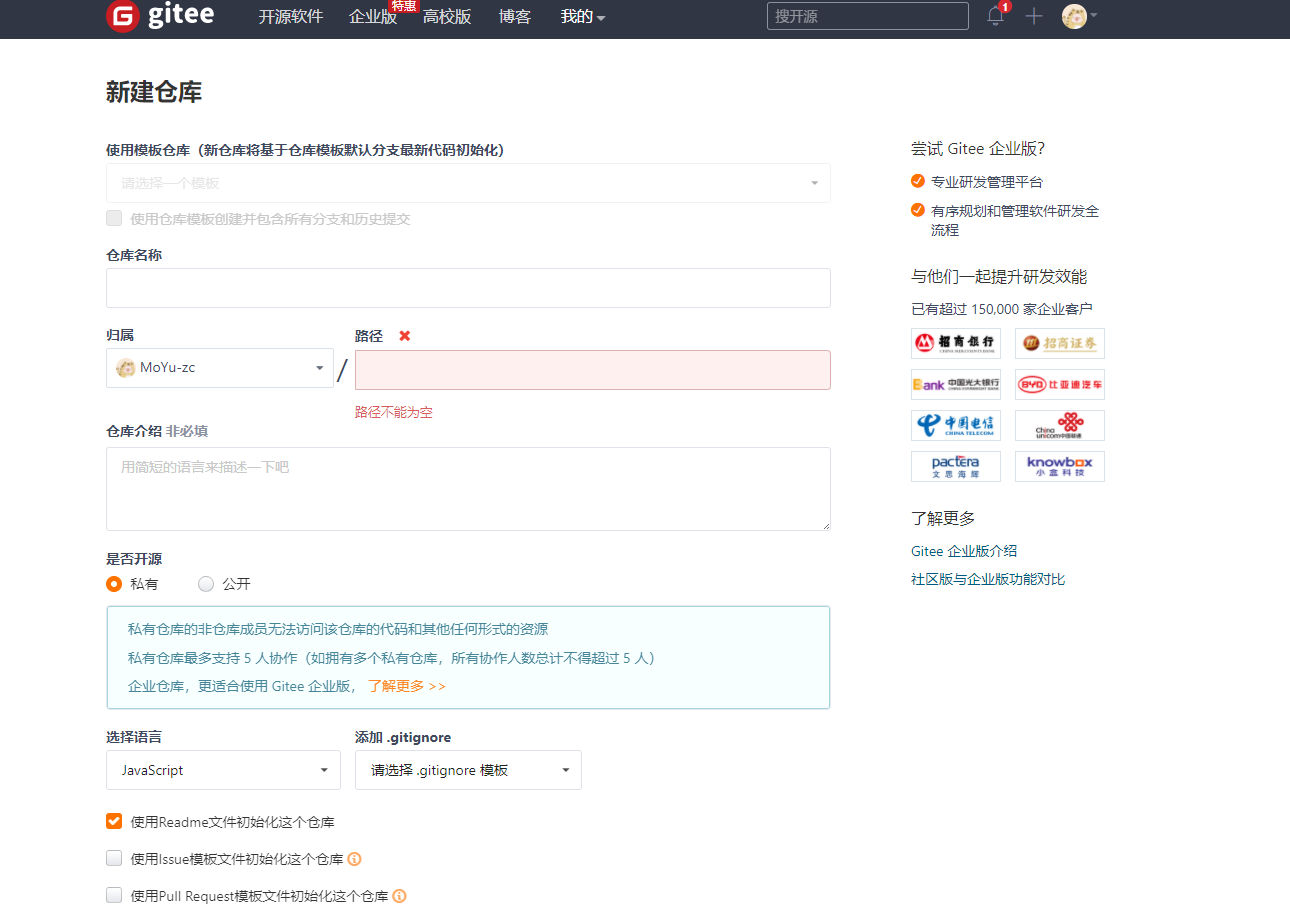
注册好了后,登录Gitee,创建仓库:点击右上角的+号,选择新建仓库,此处的仓库名和路径也是最好和用户名相同:
配置Git
1.获得仓库地址:
1.·新建仓库:
2.进入仓库--克隆/下载:

2.修改配置在主目录找到:_config.yml,打开并修改默认(具体可参考Github配置)
deploy:
  type: git
  repo:
    github: https://github.com/MoYu-zc/MoYu-zc.github.io.git
    gitee: https://gitee.com/MoYu-zc/moyu-zc.git
  branch: master

3.三件套,部署
hexo c
hexo g
hexo d
4.部署成功
此时会弹出一个对话框,提示输入码云的账号密码。部署成功后,登陆码云。
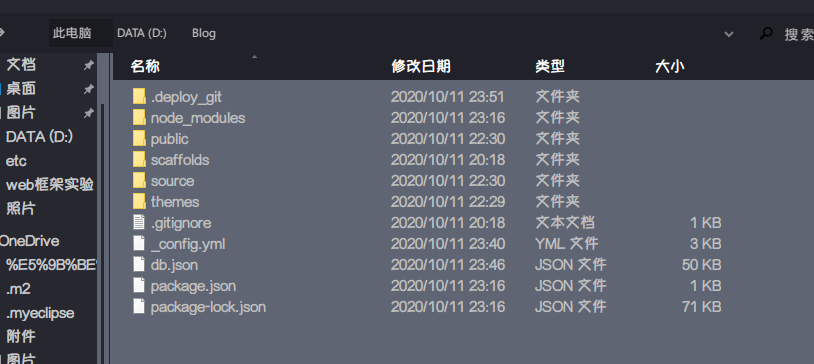
此时本地文件夹中出现有一个public文件夹,代表部署成功。
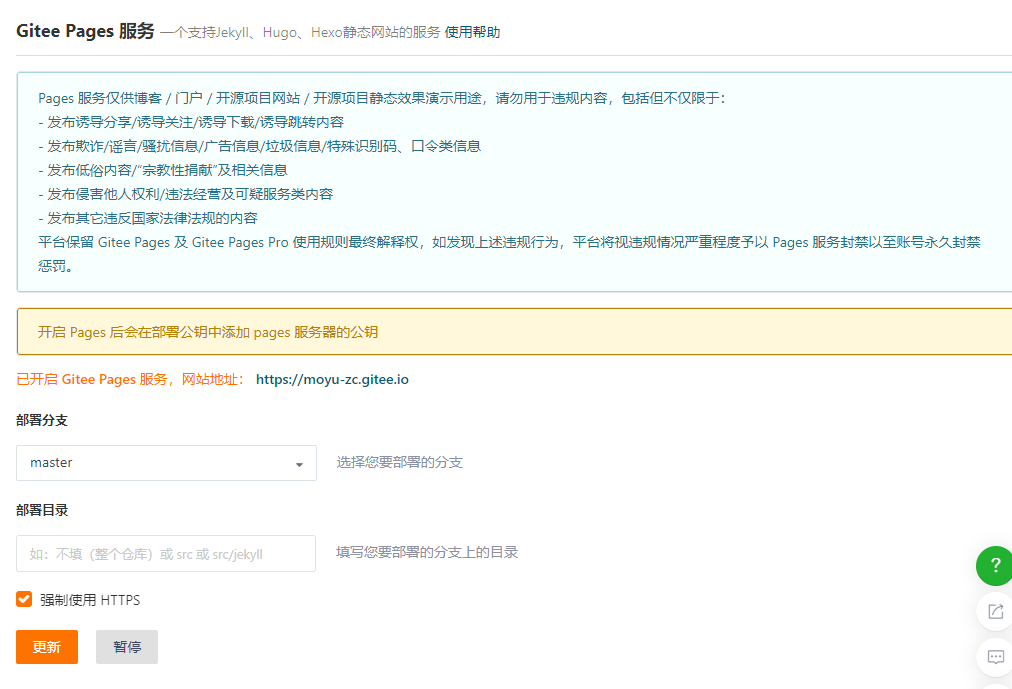
开启Page功能
1.Page功能路径:
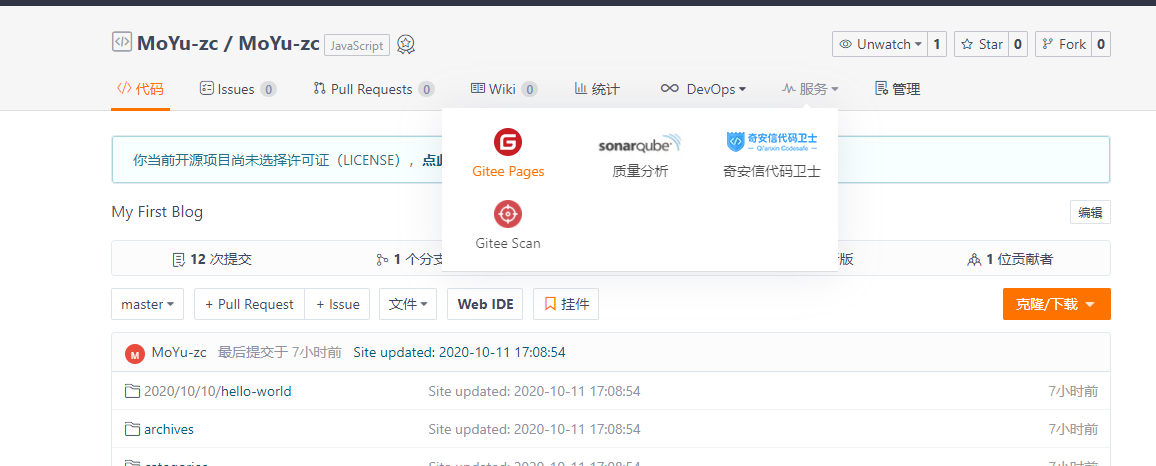
2.Page页面

 浙公网安备 33010602011771号