GitHub+Hexog个人博客搭建:快速建站
软件依赖
- Node.js (Node.js 版本需不低于 10.13,建议使用 Node.js 12.0 及以上版本)
- git
创建 Github Page
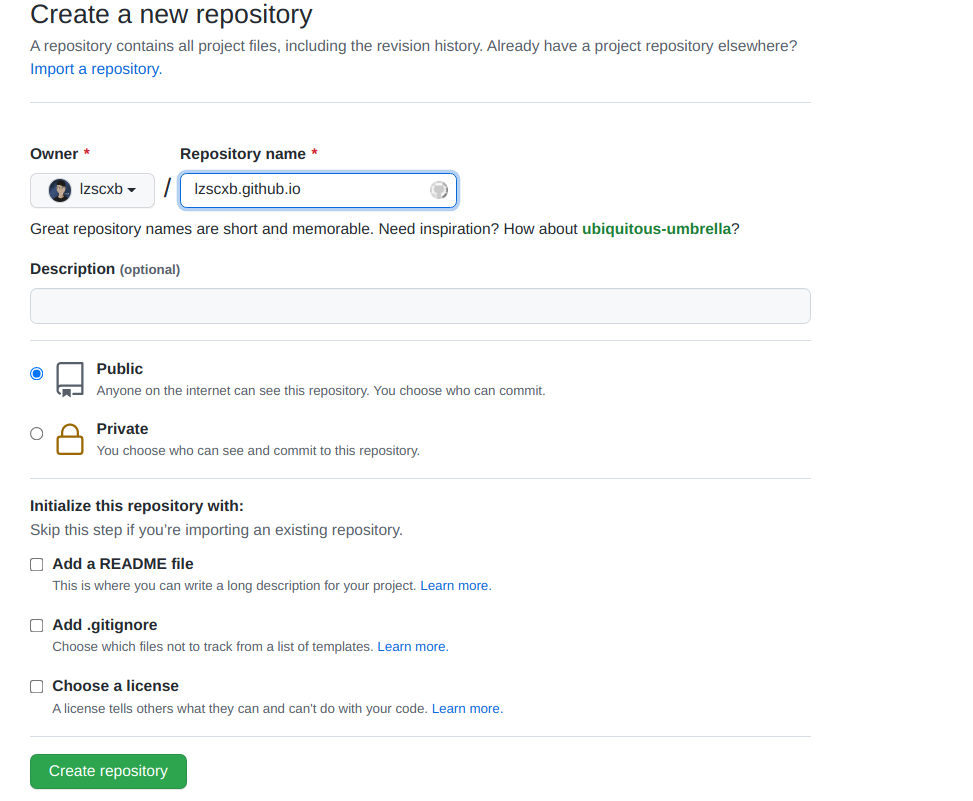
创建一个名称为 username.github.io 的存储库
https://github.com/new

Hexo
所有必备的应用程序安装完成后,即可使用 npm 安装 Hexo。
Hexo Cli 工具
npm install -g hexo-cli
安装 Hexo
初始化项目
hexo init blog
cd blog
npm install
_config.yml
网站的 配置 信息,您可以在此配置大部分的参数
具体查看 https://hexo.io/zh-cn/docs/configuration
Butterfly 主题
https://github.com/jerryc127/hexo-theme-butterfly/blob/dev/README_CN.md
安装主题
- 在博客根目录安装主题
git clone -b master https://github.com/jerryc127/hexo-theme-butterfly.git themes/butterfly
- 安装pug以及stylus的渲染器
npm install hexo-renderer-pug hexo-renderer-stylus --save
- 应用主题
修改hexo配置文件_config.yml,把主题改为Butterfly
theme: butterfly
配置主题
- 添加配置文件
cp themes/butterfly/_config.yml _config.butterfly.yml
本地部署
- 生成静态文件并部署
hexo clean
hexo g -d
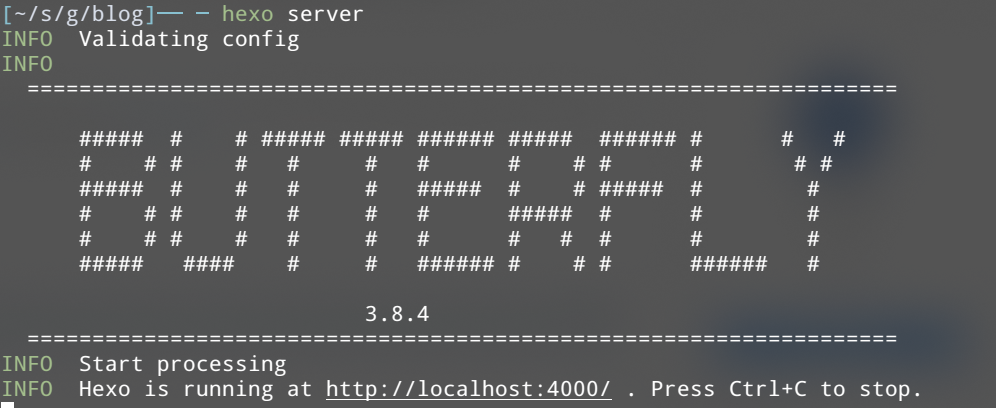
- 启动本地服务
hexo server
部署到 Github Pages
- 配置 Github SSH
生成ssh密钥文件
ssh-keygen -t
然后直接三个回车即可,默认不需要设置密码
然后找到生成的.ssh的文件夹中的id_rsa.pub密钥,将生成的内容复制

- 安装一键部署工具
npm install hexo-deployer-git --save
- 在 _config.yml(如果有已存在的请删除)添加如下配置:
deploy:
  type: 'git'
  repo: git@github.com:lzscxb/lzscxb.github.io.git
  branch: gh-page
- 部署
hexo g -d


 浙公网安备 33010602011771号