

IntelliJ IDEA + Maven + Jetty + Jersey搭建RESTful服务
本文参考以下内容:
使用Jersey实现RESTful风格的webservice(一)
Starting out with Jersey & Apache Tomcat using IntelliJ
--------------------------------------------------正文--------------------------------------------------------------
一、在IntelliJ中创建新项目,选择Java Enterprise -> RESTful Web Service -> Setup libery later.

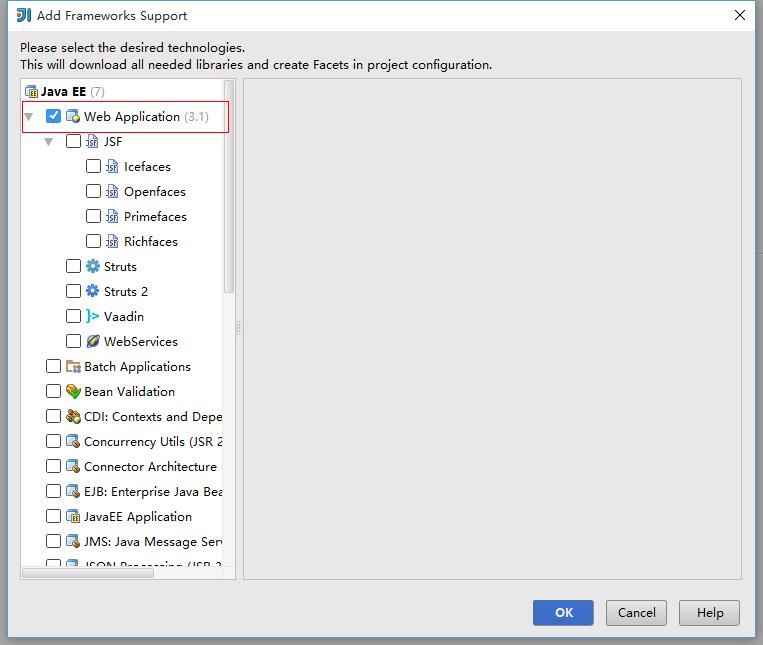
二、创建完项目JerseyDemo后,对项目点击右键 -> Add Frameworks Support,分别勾选Web Application和Maven。其中,web appication为项目增加了web.xml,maven为构建工具。

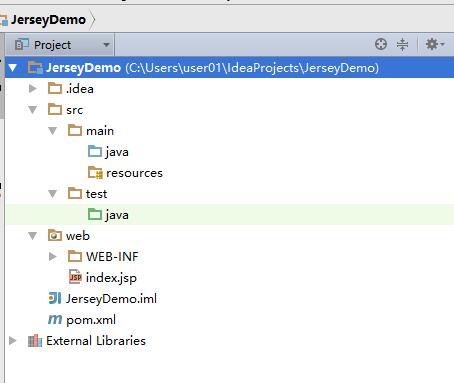
完成之后项目的文件结构如下:
三、在pom.xml中加入jersey和jetty依赖:

<dependencies>
    <dependency>
        <groupId>com.sun.jersey</groupId>
        <artifactId>jersey-bundle</artifactId>
        <version>1.19.1</version>
    </dependency>
    <dependency>
        <groupId>org.mortbay.jetty</groupId>
        <artifactId>jetty</artifactId>
        <version>6.1.25</version>
    </dependency>
    <dependency>
        <groupId>com.sun.jersey</groupId>
        <artifactId>jersey-json</artifactId>
        <version>1.19</version>
    </dependency>
    <dependency>
        <groupId>com.sun.jersey</groupId>
        <artifactId>jersey-servlet</artifactId>
        <version>1.19.1</version>
    </dependency>
 </dependencies>

四、在src/main/java/下创建package和类,这里我创建了一个HelloJsersy类,代码如下:
package com.puyangsky.example;

import javax.ws.rs.*;

//Path注解来设置url访问路径
@Path("/hello")
public class HelloWorld {
   //GET注解设置接受请求类型为GET
    @GET
   //Produces表明发送出去的数据类型为text/plain
   //与Produces对应的是@Consumes,表示接受的数据类型为text/plain
    @Produces("text/plain")
    public String getString() {
        return "hello jersey!";
    }
}
接着使用Jetty创建一个服务器类StartEntity.java:
 1 package com.puyangsky.example;
 2
 3 import com.sun.jersey.api.core.PackagesResourceConfig;
 4 import com.sun.jersey.spi.container.servlet.ServletContainer;
 5 import org.mortbay.jetty.Server;
 6 import org.mortbay.jetty.servlet.Context;
 7 import org.mortbay.jetty.servlet.ServletHolder;
 8
 9 /**
10  * Created by user01 on 2016/4/8.
11  */
12 public class StartEntity {
13     public static void main(String[] args) {
14         Server server = new Server(8090);
15         ServletHolder sh = new ServletHolder(ServletContainer.class);
16         sh.setInitParameter("com.sun.jersey.config.property.resourceConfigClass", PackagesResourceConfig.class.getCanonicalName());
17         sh.setInitParameter("com.sun.jersey.config.property.packages", "com.puyangsky.example");
18         //start server
19         Context context = new Context(server, null);
20         context.addServlet(sh, "/*");
21         try {
22             server.start();
23             server.join();
24         } catch (Exception e) {
25             e.printStackTrace();
26         }
27
28     }
29 }
红色字体标出的第一个是端口号,可以自己设置,第二个是需要你自己修改的,即第一个HelloJersey.java所在的包名。
ok,点击右键,Run "StartEntity.main()"

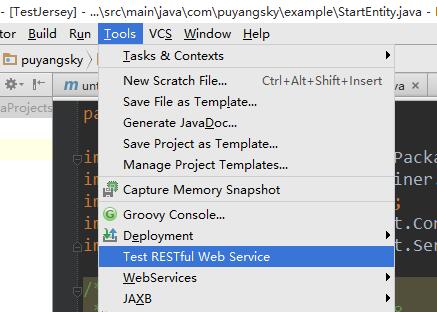
五、在浏览器中访问http://localhost:8090/hello,或使用IntelliJ中的Test RESTful Web Service,结果如下:
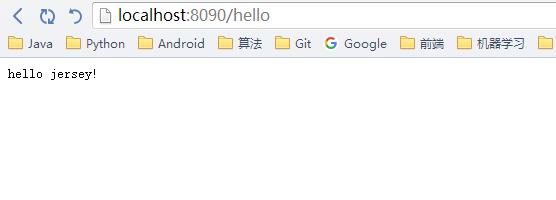
大功告成!
------------------------------------------------------一些小建议------------------------------------------------
1、IntellJ的快捷键:
神器之所以是神器,当然有不一样的地方,比如我们想写一个main方法,不用输入一大串,只要输入“psvm”,回车,搞定!
类似的还有输出,只要输入“souf”,右键。类的还有很多,自己去慢慢发现。
2、Jetty占用了端口号没有释放,每次都换一个端口号很麻烦,那么应该怎么办?
因为我是在windows7上做的,那么win+R打开DOS命令行,输入netstat -ano | findstr "8090":
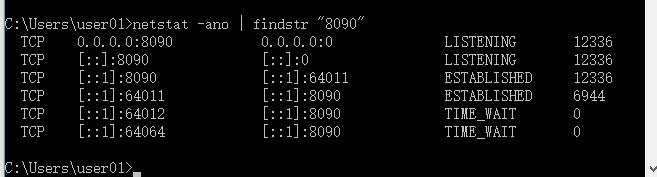
最后一栏为进程ID,pid.所以只要kill掉就ok了,接着输入:taskkill /PID 12336 /F
结果:

这里因为12236已经挂了所以换了个PID,效果一样。
Jersey的更多使用将在下一篇博客中继续介绍。

 浙公网安备 33010602011771号