Solr7.1---数据库导入并建立中文分词器
这里只是告诉你如何导入,生产环境不要这样部署你的solr服务。
首先修改solrConfig.xml文件
备份_default文件夹
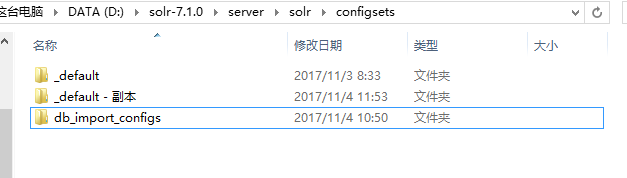
修改solrconfig.xml

加入如下内容
官方示例:
<requestHandler name="/dataimport" class="org.apache.solr.handler.dataimport.DataImportHandler">
  <lst name="defaults">
    <str name="config">/path/to/my/DIHconfigfile.xml</str>
  </lst>
</requestHandler>
效果:

在conf目录建立一个db-data-config.xml文件
<dataConfig>
    <dataSource driver="com.mysql.jdbc.Driver" url="jdbc:mysql://localhost:3306/demo" user="root" password="123" />
    <document>
        <entity name="bless" query="select * from bless"
                deltaQuery="select bless_id from bless where bless_time > '${dataimporter.last_index_time}'">
            <field column="BLESS_ID" name="blessId" />
            <field column="BLESS_CONTENT" name="blessContent" />
            <field column="BLESS_TIME" name="blessTime" />
        </entity>
    </document>
</dataConfig>
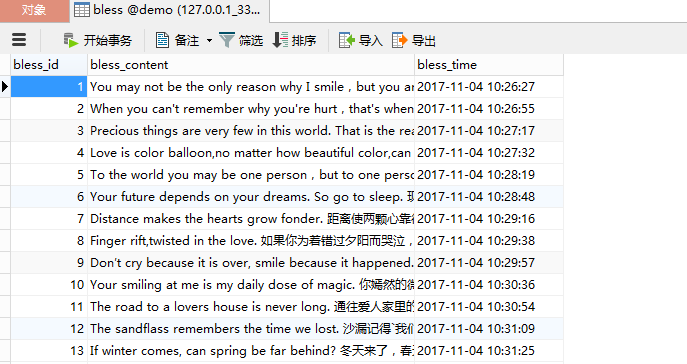
我的数据库
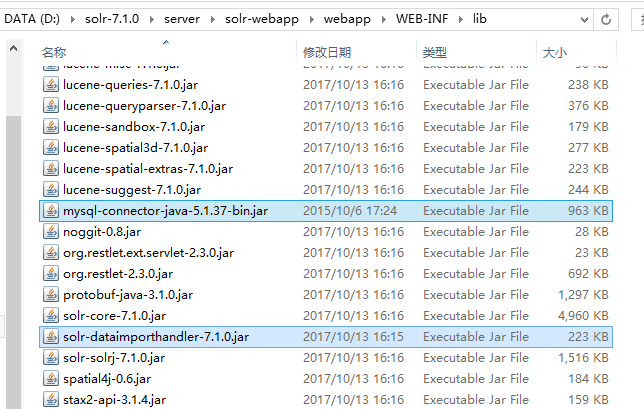
复制jar
找到这个:

连同mysql驱动包一起复制到
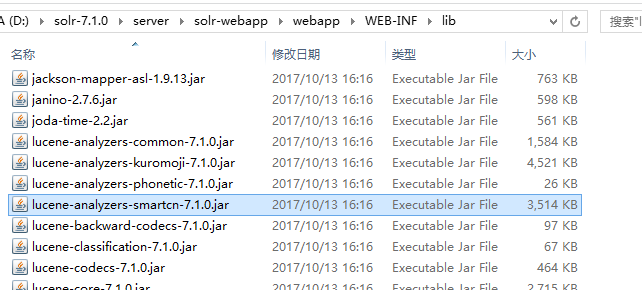
找到自带的中文分词器
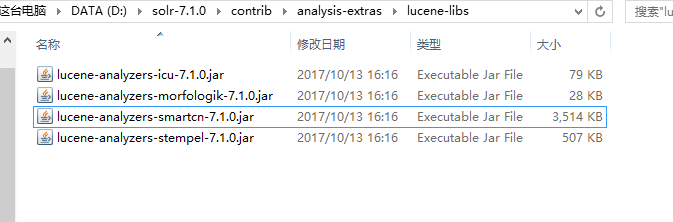
复制到webapp的lib目录
修改managed-shchema

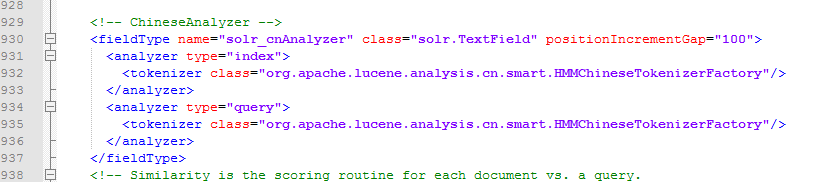
在最后加入如下中文配置
    <!-- ChineseAnalyzer -->
    <fieldType name="solr_cnAnalyzer" class="solr.TextField" positionIncrementGap="100">
      <analyzer type="index">
        <tokenizer class="org.apache.lucene.analysis.cn.smart.HMMChineseTokenizerFactory"/>
      </analyzer>
      <analyzer type="query">
        <tokenizer class="org.apache.lucene.analysis.cn.smart.HMMChineseTokenizerFactory"/>
      </analyzer>
    </fieldType>
下面以cloud模式启动
整个过程只需要输入 索引集合 的名称,其他都是一路回车。
D:\>cd solr-7.1.0

D:\solr-7.1.0>bin\solr start -e cloud

Welcome to the SolrCloud example!

This interactive session will help you launch a SolrCloud cluster on your local
workstation.
To begin, how many Solr nodes would you like to run in your local cluster? (spec
ify 1-4 nodes) [2]:
【回车】
Ok, let's start up 2 Solr nodes for your example SolrCloud cluster.
Please enter the port for node1 [8983]:
【回车】
Please enter the port for node2 [7574]:
【回车】
Solr home directory D:\solr-7.1.0\example\cloud\node1\solr already exists.
D:\solr-7.1.0\example\cloud\node2 already exists.

Starting up Solr on port 8983 using command:
"D:\solr-7.1.0\bin\solr.cmd" start -cloud -p 8983 -s "D:\solr-7.1.0\example\clou
d\node1\solr"

Waiting up to 30 to see Solr running on port 8983

Starting up Solr on port 7574 using command:
"D:\solr-7.1.0\bin\solr.cmd" start -cloud -p 7574 -s "D:\solr-7.1.0\example\clou
d\node2\solr" -z localhost:9983

Started Solr server on port 8983. Happy searching!
Waiting up to 30 to see Solr running on port 7574
INFO  - 2017-11-04 12:35:02.823; org.apache.solr.client.solrj.impl.ZkClientClust
erStateProvider; Cluster at localhost:9983 ready

Now let's create a new collection for indexing documents in your 2-node cluster.

Please provide a name for your new collection: [gettingstarted]
Started Solr server on port 7574. Happy searching!
bless【输入名称并回车】
How many shards would you like to split bless into? [2]
【回车】
How many replicas per shard would you like to create? [2]
【回车】
Please choose a configuration for the bless collection, available options are:
_default or sample_techproducts_configs [_default]
【回车】
Created collection 'bless' with 2 shard(s), 2 replica(s) with config-set 'bless'


Enabling auto soft-commits with maxTime 3 secs using the Config API

POSTing request to Config API: http://localhost:8983/solr/bless/config
{"set-property":{"updateHandler.autoSoftCommit.maxTime":"3000"}}
Successfully set-property updateHandler.autoSoftCommit.maxTime to 3000


SolrCloud example running, please visit: http://localhost:8983/solr


D:\solr-7.1.0>
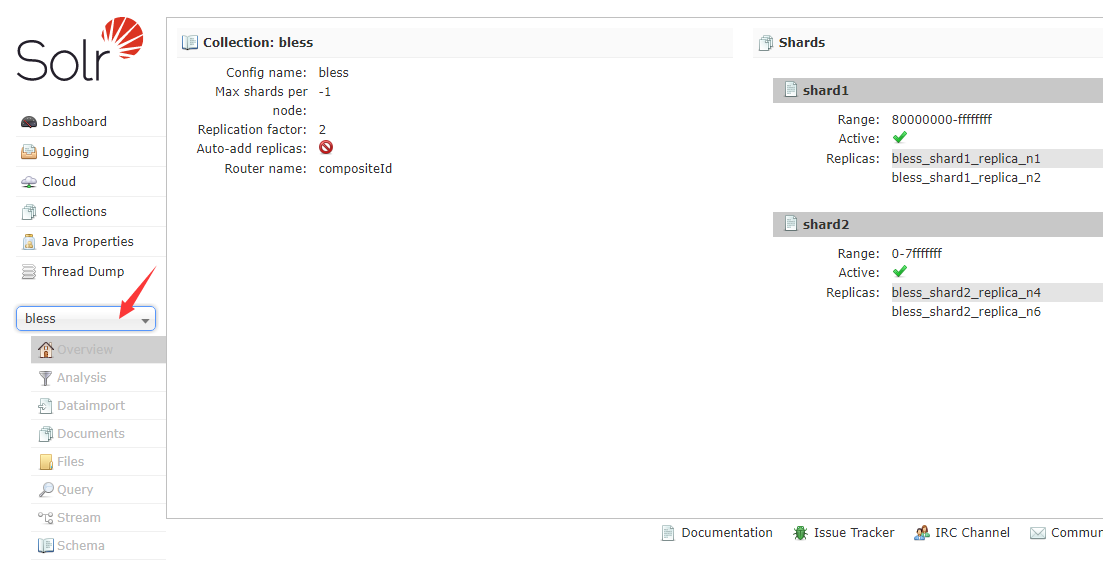
下面访问
选择bless
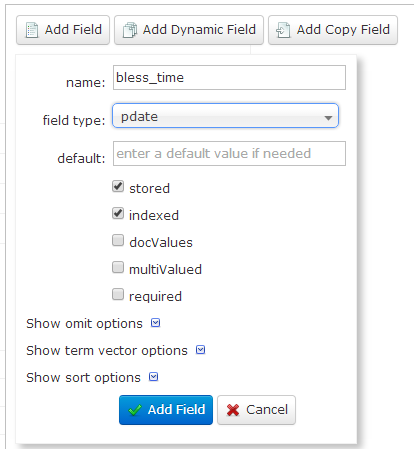
然后选择Schema,来配置字段【注意:这里的名字要与数据库中的字段名一模一样!!!】
bless_id
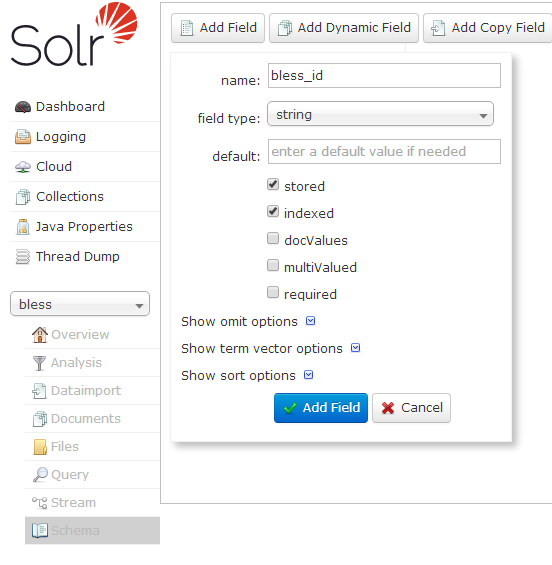
bless_content

bless_time
点击DataImport

要注意勾选Auto-Refresh Status
现在点击Query。可以看到,数据库中的数据都导入了。

下面看一下中文分词

看起来还不错。查询试试看。
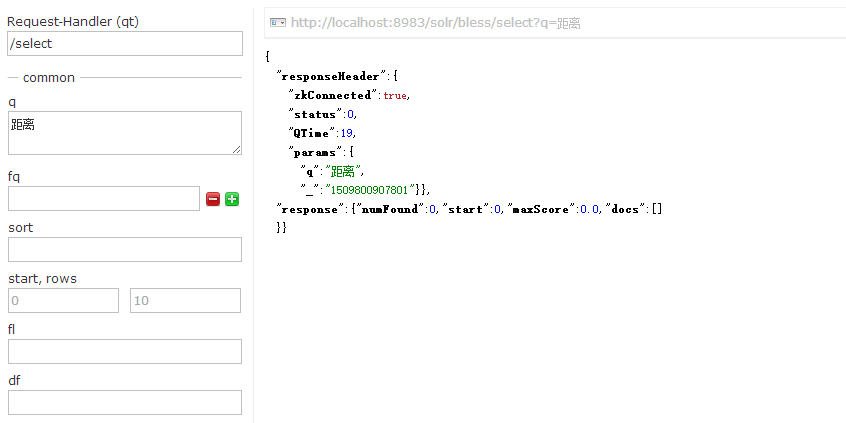
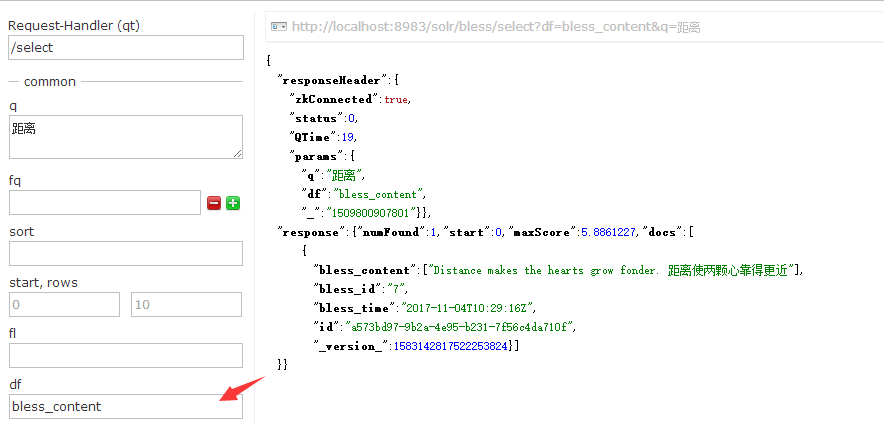
发现0条数据,至少也得有一条啊!然而如果我指定默认搜索字段。会发现出来了。
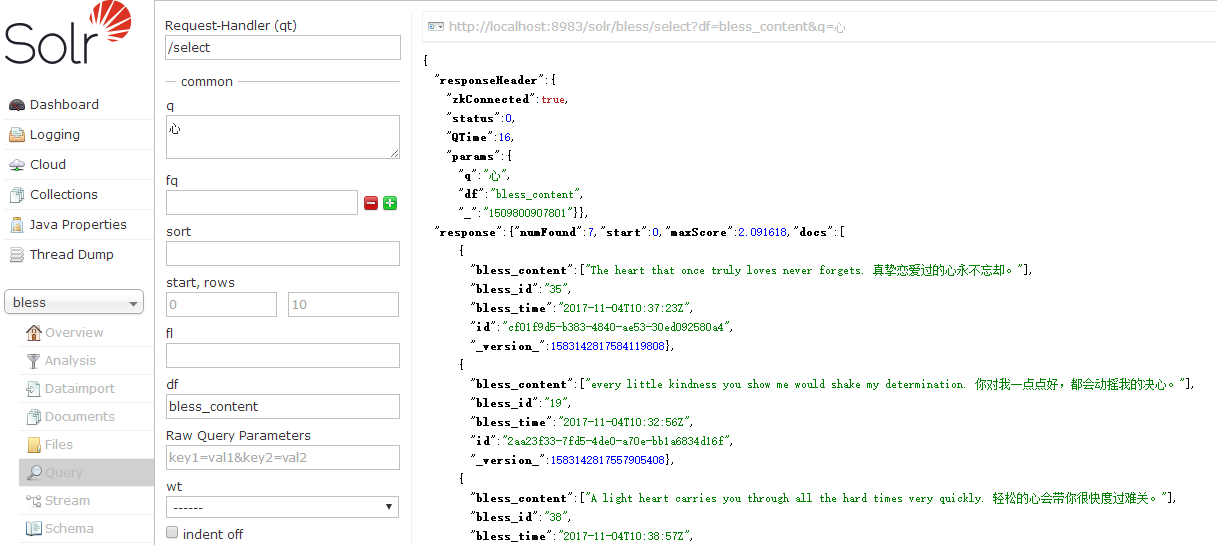
试试搜索【心】
关于数据库的文件,大家如果想要用来测试可以GitHub
小LUA
面对敌人的严刑逼供,我一个字也没说,而是一五一十写了下来。

 浙公网安备 33010602011771号