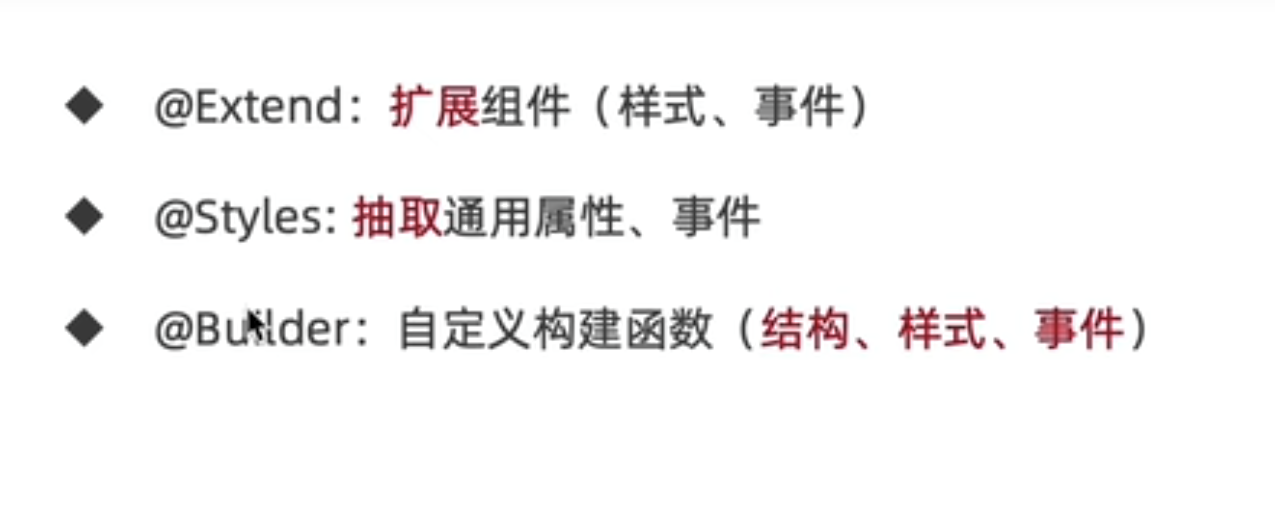
鸿蒙封装组件@Extend和@Styles和@Builder的详细讲解
@Entry
@Component
struct Index {
  build() {
     Column(){
       Row(){
         Text("遮天").backgroundColor("#9090").padding({ left:12, right:12, top :6, bottom:6})
           .fontColor("#fff").margin({left:10}).borderRadius(6)

         Text("完美世界").backgroundColor("#9090").padding({ left:12, right:12, top :6, bottom:6})
           .fontColor("#fff").margin({left:10}).borderRadius(6)

         Text("仙王的日常生活").backgroundColor("#9090").padding({ left:12, right:12, top :6, bottom:6})
           .fontColor("#fff").margin({left:10}).borderRadius(6)
       }
    }
  }
}

发现重复的代码
我们发现上面的文本内容都是重复的
除了文本的内容不一样,其他样式都是一样的
我们现在想给一样的内容封装起来,这样方便后面的维护,做到统一管理
@Extend 抽取组件的样式和事件(封装之后的代码)
封装样式的基本语法:
@Extend(组件名称)
function 函数名(参数1:类型, 参数2:类型){
  .x1属性.x2属性
}

在使用的时候
组件名称.函数名(参数1,参数2)
@Extend(Text)
function TextFn(){
  .backgroundColor("#9090").padding({ left:12, right:12, top :6, bottom:6})
    .fontColor("#fff").margin({left:10}).borderRadius(6)
}

@Entry
@Component
struct Index {
  build() {
     Column(){
       Row(){
         Text("完美世界").TextFn()
         Text("完美世界").TextFn()
         Text("仙王的日常生活").TextFn()
       }
    }
  }
}
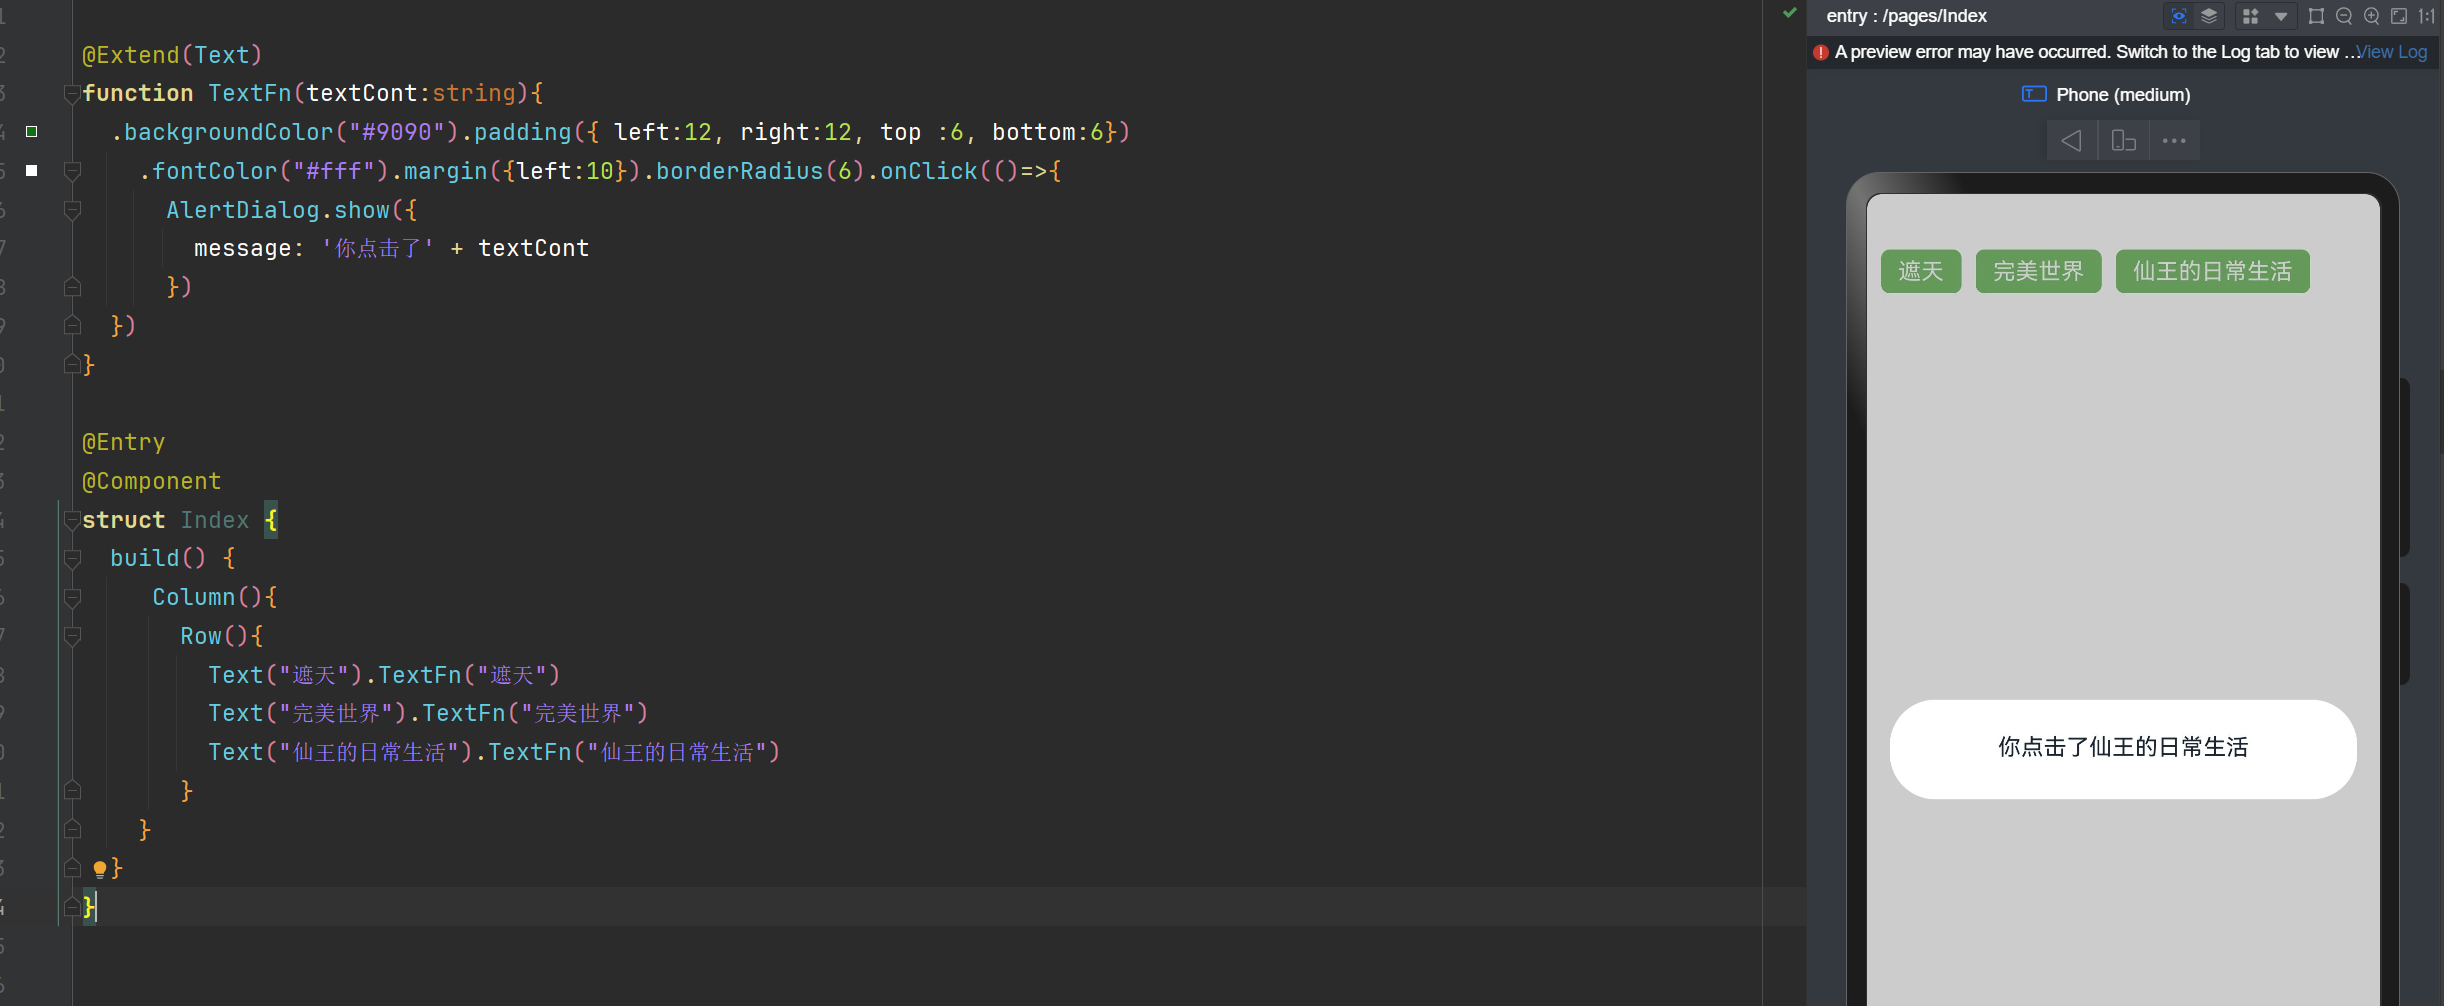
如何传递参数
@Extend(Text)
function TextFn(textCont:string){
  .backgroundColor("#9090").padding({ left:12, right:12, top :6, bottom:6})
    .fontColor("#fff").margin({left:10}).borderRadius(6).onClick(()=>{
      AlertDialog.show({
        message: '你点击了' + textCont
      })
  })
}

@Entry
@Component
struct Index {
  build() {
     Column(){
       Row(){
         Text("遮天").TextFn("遮天")
         Text("完美世界").TextFn("完美世界")
         Text("仙王的日常生活").TextFn("仙王的日常生活")
       }
    }
  }
}
ForEach循环实现上面的效果
// 定义接口
interface TVSeriesInfo {
  tvName:string,
  watchCount:number
}

@Extend(Text)
function TextFn(textCont:string){
  .backgroundColor("#9090").padding({ left:12, right:12, top :6, bottom:6})
    .fontColor("#fff").margin({left:10}).borderRadius(6).onClick(()=>{
      AlertDialog.show({
        message: '你点击了' + textCont
      })
  })
}

@Entry
@Component
struct Index {
  // 使用@State说明是一个有状态的组件,会自动更新界面
  @State listArr:TVSeriesInfo[] = [
    {tvName: '遮天',watchCount:10000 },
    {tvName: '完美世界',watchCount:10300},
    {tvName: '仙王的日常生活',watchCount:9300}
  ]
  build() {
     Column(){
       Row(){
         // ForEach语法
         ForEach(this.listArr,(item:TVSeriesInfo,index:number)=>{
           Text(item.tvName).TextFn(item.tvName)
         })
       }
    }
  }
}
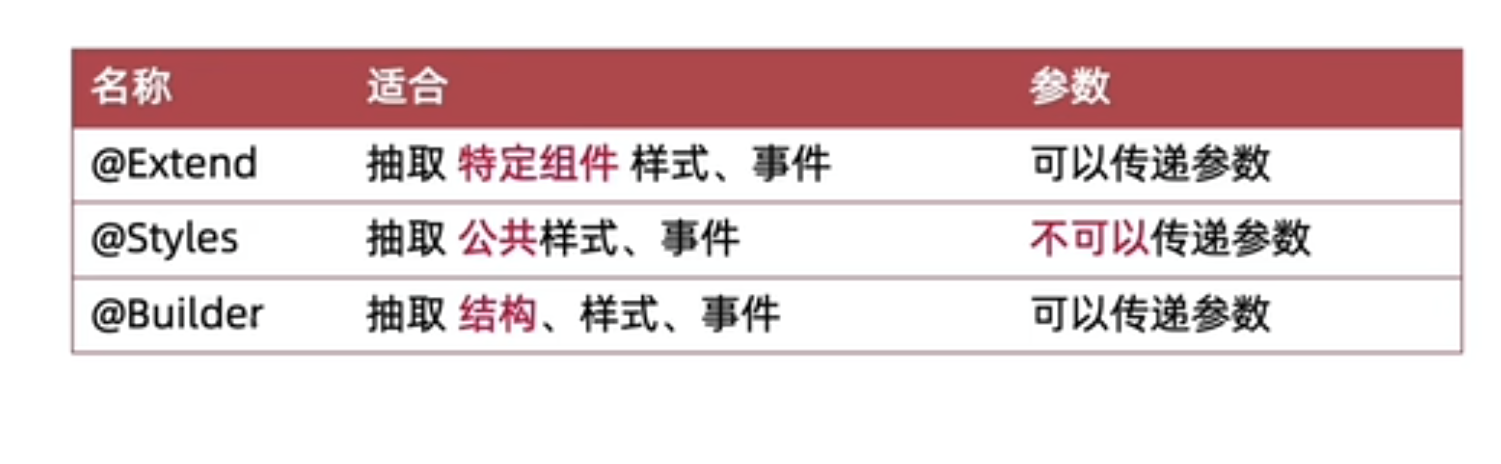
总结:@Extend
@Extend主要是对某一个具体的组件进行抽取。
不同的组件相同的属性
@Entry
@Component
struct Index {
  build() {
     Column(){
       Row(){
         Text("遮天").backgroundColor("#9090").padding({ left:12, right:12, top :6, bottom:6})
           .fontColor("#fff").margin({left:10}).onClick(()=>{
             AlertDialog.show({
               message: '你点击了'
             })
           })

           Button("遮天").backgroundColor("#9090").padding({ left:12, right:12, top :6, bottom:6})
             .fontColor("#fff").margin({left:10}).onClick(()=>{
             AlertDialog.show({
               message: '你点击了'
             })
           })
       }
    }
  }
}
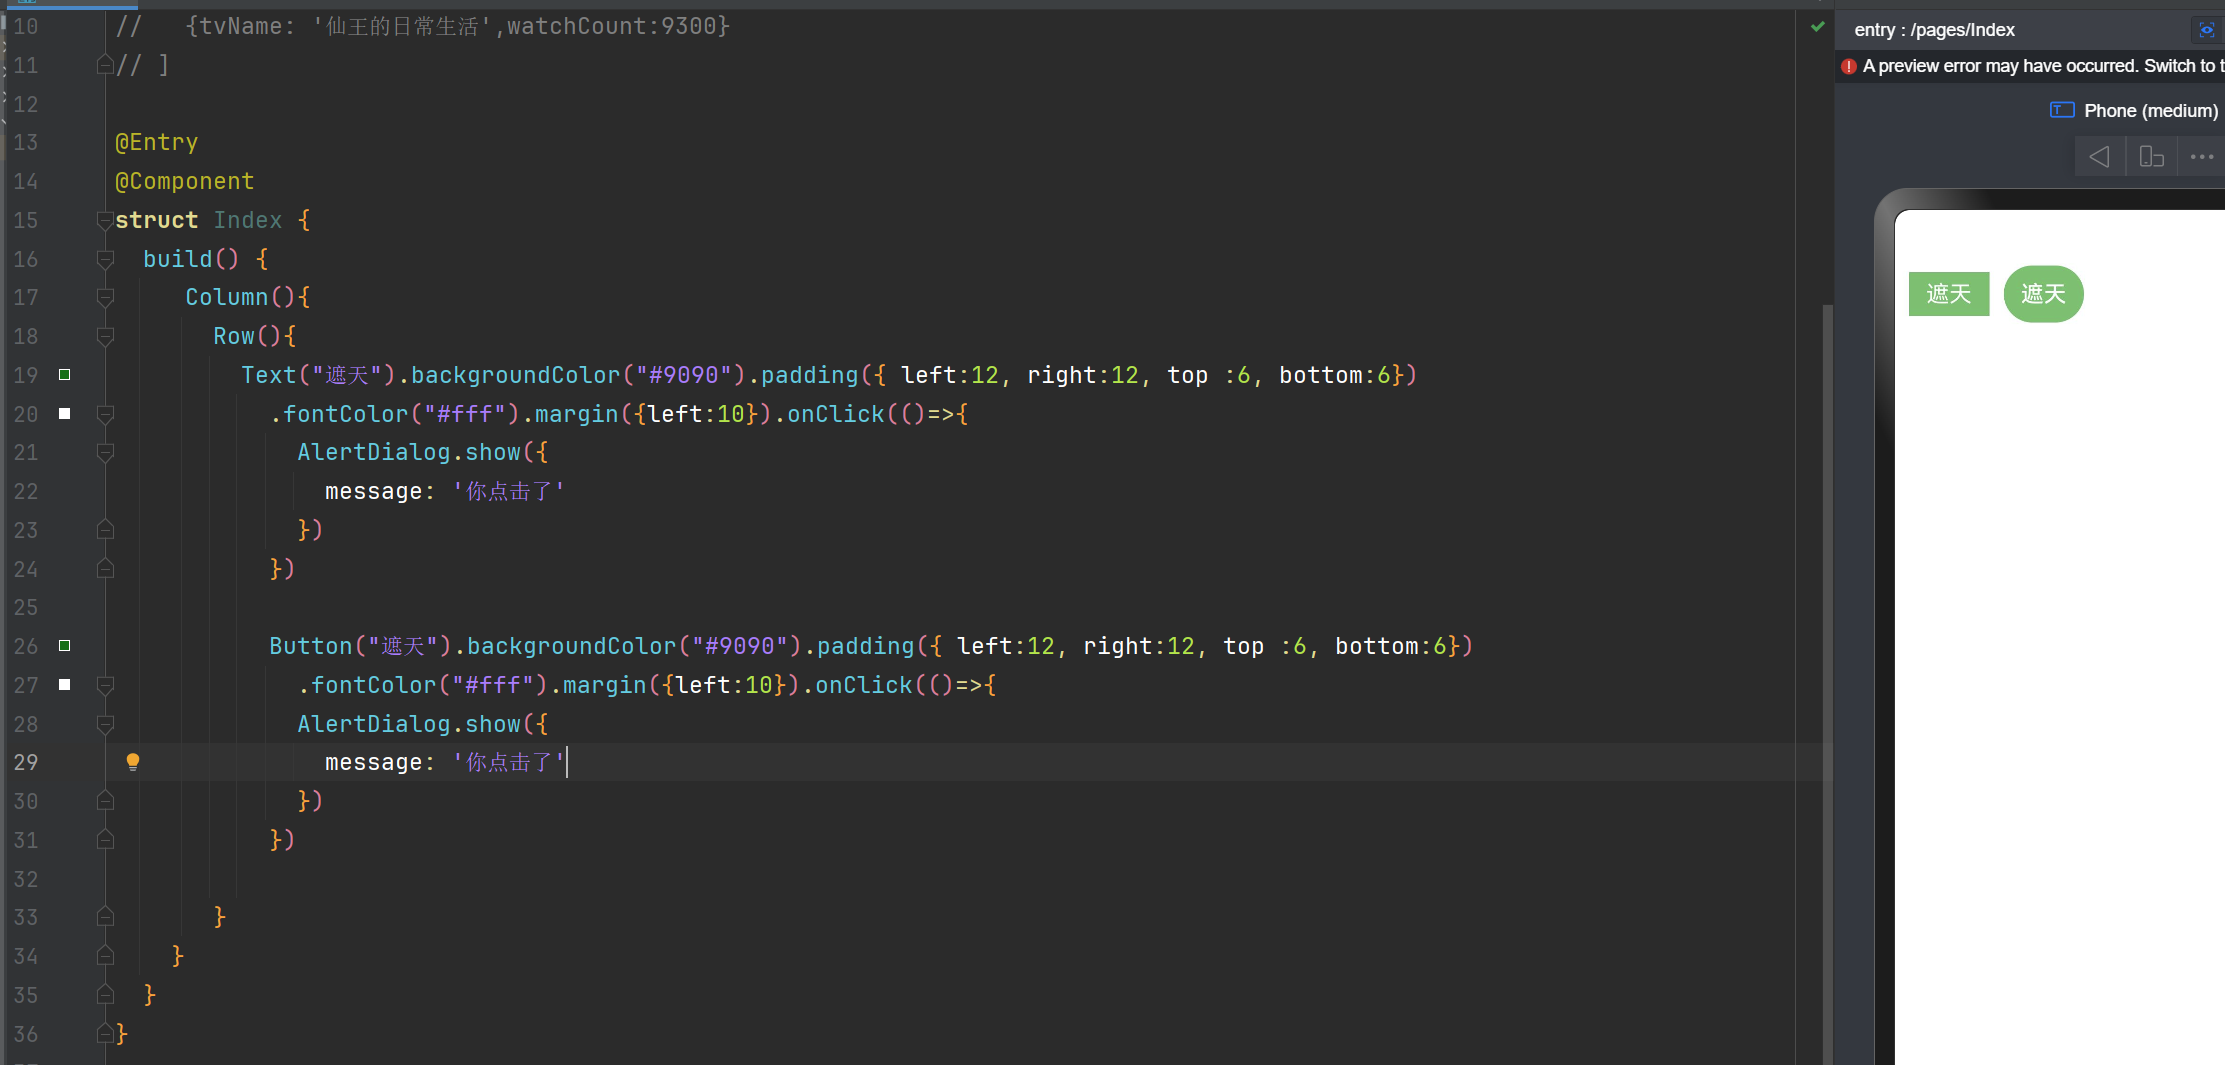
下面我们就把这些组件相同的属性通过@Styles抽取出来。
@Styles抽取的分为全局抽取和组件内抽取
全局抽取:写在组件外面的。要写关键字function,无法使用this
组件内抽取:写在组件里面的。不写关键字function,可以使用this
无论是全局抽取还是组件内抽取,都是无法进行传递参数的哈
需要注意的是:抽取的属性必须是每个组件都有这个属性,并不是狭义的指你使用的组件具有的属性
再次提醒:抽取的属性必须是每个组件都有这个属性,并不是狭义的指你使用的组件具有的属性
@Styles抽取通用属性和事件(全局抽取)
// 这个 @Style是无法传递参数的。虽然这里是函数。这里就是全局抽取的。
@Styles function  commonStyles(){
  // 这里定义的必须是组件的公共的样式,否则会报错的。
  .backgroundColor("#9090")
  .padding({ left:12, right:12, top :6, bottom:6})
   .margin({left:10}).onClick(()=>{
    AlertDialog.show({
      message: '你点击了'
    })
  })
}

@Entry
@Component
struct Index {
  build() {
     Column(){
       Row(){
         Text("遮天").commonStyles() .fontColor("#fff")
         Button("仙王的日常生活").commonStyles() .fontColor("#fff")
       }
    }
  }
}
局部抽取:@Styles
@Entry
@Component
struct Index {
 @State defaultColor:string = '#9090'
  // 组件内定义样式,需要省略function。同样的@Style是无法传递参数的,但是可以通过this进行访问。
  @Styles  commonStyles(){
    // 这里定义的必须是组件的公共的样式,否则会报错的。
    .backgroundColor(this.defaultColor)
    .padding({ left:12, right:12, top :6, bottom:6})
    .margin({left:10}).onClick(()=>{
      AlertDialog.show({
        message: '你点击了'
      })
    })
  }
  build() {
     Column(){
       Row(){
         Text("遮天").commonStyles() .fontColor("#fff")
         Button("仙王的日常生活").commonStyles() .fontColor("#fff")
       }
    }
  }
}
总结:@Styles
对不同的组件,抽取相同的属性。
特别提醒:抽取的属性必须是每个组件都有这个属性,并不是狭义的指你使用的组件具有的属性
@Extend的@Styles区别
@Extend是指同一个组件的相同属性
@Styles是指不同类型的组件具有的相同属性
具有相同的结构
@Entry
@Component
struct Index {
 @State defaultColor:string = '#9090'

  build() {
     Column(){
       Row(){
         Text("专属推荐").fontWeight(600).margin({bottom:10})
       }.width('100%').padding({left:10})

       Row(){
        Column(){
          Image($r('app.media.siteng')).width(120)
          // 若文本组件在列组件下面默认是水平方向上居中。解决办法:给文本组件设置宽度
          Text('半妖司藤').width(120)
          Text('该小说讲述了1946年女妖司藤被镇杀,七十余年后秦放意外复活司藤,两人在复仇路上逐渐揭开秦放命运早已被安排的秘密的故事')
            .textOverflow({
              overflow: TextOverflow.Ellipsis
            }).maxLines(1)
            .width(120)
        }

         Column(){
           Image($r('app.media.siteng')).width(120)
           // 若文本组件在列组件下面默认是水平方向上居中。解决办法:给文本组件设置宽度
           Text('半妖司藤').width(120)
           Text('该小说讲述了1946年女妖司藤被镇杀,七十余年后秦放意外复活司藤,两人在复仇路上逐渐揭开秦放命运早已被安排的秘密的故事')
             .textOverflow({
               overflow: TextOverflow.Ellipsis
             }).maxLines(1)
             .width(120)
         }
       }.width('100%').padding({left:10})
    }
  }
}

发现具有相同的结构
通过观察,发现具有相同的结构,我们想把这些具有相同结构的代码抽取出来
这样方便后面维护,也好阅读。
@Builder可以抽取结构,样式,事件
它也分为全局抽取,局部抽取
全局抽取:需要写上function关键字,可以传参。调用的时候通过:名称()
局部抽取:不需要写上function关键字,也可以传参。可以通过this进行获取组件内的数据。调用的时候通过:this.名称()
@Builder抽取出来(全局抽取)
@Builder
function  navItem(imgUrl:string, name:string){
  Column(){
    Image($r(imgUrl)).width(120)
    // 若文本组件在列组件下面默认是水平方向上居中。解决办法:给文本组件设置宽度
    Text(name).width(120)
    Text('该小说讲述了1946年女妖司藤被镇杀,七十余年后秦放意外复活司藤,两人在复仇路上逐渐揭开秦放命运早已被安排的秘密的故事')
      .textOverflow({
        overflow: TextOverflow.Ellipsis
      }).maxLines(1)
      .width(120)
  }.onClick(()=>{
    AlertDialog.show({
      message:'你点我了'
    })
  })
}

@Entry
@Component
struct Index {
  build() {
     Column(){
       Row(){
         Text("专属推荐").fontWeight(600).margin({bottom:10})
       }.width('100%').padding({left:10})
       Row(){
         navItem('app.media.siteng', '半妖司藤1')
         navItem('app.media.siteng', '半妖司藤2')
         navItem('app.media.siteng', '半妖司藤3')
       }.width('100%').padding({left:10})
    }
  }
}
@Builder局部抽取,通过this调用的哈
@Entry
@Component
struct Index {
  // 局部抽取
  @Builder
  navItem(imgUrl:string, name:string){
    Column(){
      Image($r(imgUrl)).width(120)
      // 若文本组件在列组件下面默认是水平方向上居中。解决办法:给文本组件设置宽度
      Text(name).width(120)
      Text('该小说讲述了1946年女妖司藤被镇杀,七十余年后秦放意外复活司藤,两人在复仇路上逐渐揭开秦放命运早已被安排的秘密的故事')
        .textOverflow({
          overflow: TextOverflow.Ellipsis
        }).maxLines(1)
        .width(120)
    }.onClick(()=>{
      AlertDialog.show({
        message:'你点我了'
      })
    })
  }

  build() {
     Column(){
       Row(){
         Text("专属推荐").fontWeight(600).margin({bottom:10})
       }.width('100%').padding({left:10})
       Row(){
         // 局部抽取访问的时候需要通过this来进行调用
         this.navItem('app.media.siteng', '半妖司藤1')
         this.navItem('app.media.siteng', '半妖司藤2')
         this.navItem('app.media.siteng', '半妖司藤3')
       }.width('100%').padding({left:10})
    }
  }
}
最后的总结
遇见问题,这是你成长的机会,如果你能够解决,这就是收获。
出处:https://www.cnblogs.com/IwishIcould/
想问问题,打赏了卑微的博主,求求你备注一下的扣扣或者微信;这样我好联系你;(っ•̀ω•́)っ✎⁾⁾!
如果觉得这篇文章对你有小小的帮助的话,记得在右下角点个“推荐”哦,或者关注博主,在此感谢!
万水千山总是情,打赏5毛买辣条行不行,所以如果你心情还比较高兴,也是可以扫码打赏博主(っ•̀ω•́)っ✎⁾⁾!
想问问题,打赏了卑微的博主,求求你备注一下的扣扣或者微信;这样我好联系你;(っ•̀ω•́)っ✎⁾⁾!


如果文中有什么错误,欢迎指出。以免更多的人被误导。

 浙公网安备 33010602011771号