spring的学习日记-spring-IOC的理解-的入门-Hello World-拓展注入:C(构造器注入)注入和 P(无参构造)注入
Spring-基于xml实现Hello World-拓展注入,C注入和P注入
注意点:我们在使用拓展注入的时候需要导入相应的依赖
本例子的xml中配置的C注入和P注入
在我们使用拓展注入的时候,我们需要在xml的配置文件中导入相应的依赖:
xmlns:c="http://www.springframework.org/schema/c"
xmlns:p="http://www.springframework.org/schema/p"
pojo层:
package com.fu.pojo;

public class User {
    private int id;
    private String name;
    private String pwd;

    public User(int id, String name, String pwd) {
        this.id = id;
        this.name = name;
        this.pwd = pwd;
        System.out.println("我是有参构造创建对象,对应C注入");
    }

    public User() {
        System.out.println("我是无参构造创建对象,对应P注入");
    }

    public int getId() {
        return id;
    }

    public void setId(int id) {
        this.id = id;
        System.out.println("通过set方法进行赋值-id");
    }

    public String getName() {
        return name;
    }

    public void setName(String name) {
        this.name = name;
        System.out.println("通过set方法进行赋值-name");
    }

    public String getPwd() {
        return pwd;
    }

    public void setPwd(String pwd) {
        this.pwd = pwd;
        System.out.println("通过set方法进行赋值-pwd");
    }

    @Override
    public String toString() {
        return "User{" +
                "id=" + id +
                ", name='" + name + '\'' +
                ", pwd='" + pwd + '\'' +
                '}';
    }
}
Spring的xml:
<?xml version="1.0" encoding="UTF-8"?>
<beans xmlns="http://www.springframework.org/schema/beans"
       xmlns:xsi="http://www.w3.org/2001/XMLSchema-instance"
       xmlns:c="http://www.springframework.org/schema/c"
       xmlns:p="http://www.springframework.org/schema/p"
       xsi:schemaLocation="http://www.springframework.org/schema/beans
        https://www.springframework.org/schema/beans/spring-beans.xsd">

<!--    注册bean,就相当于new一个对象-->
<!--    P注入,我们使用拓展注入的时候,必需导入相应的依赖,无参构造实现-->
    <bean id="user" class="com.fu.pojo.User" p:id="1" p:name="张三" p:pwd="123456"/>

<!--    C注入,有参构造实现-->
<!--        <bean id="user" class="com.fu.pojo.User" c:id="2" c:name="李四" c:pwd="123456"/>-->

</beans>
测试类:
import com.fu.pojo.User;
import org.springframework.context.ApplicationContext;
import org.springframework.context.support.ClassPathXmlApplicationContext;

public class MyTest {

    public static void main(String[] args) {
        //获取IOC容器
        ApplicationContext context = new ClassPathXmlApplicationContext("applicationContext.xml");

        //有了容器以后,我们通过getbean得到对应的对象
        User user = context.getBean("user", User.class);

        System.out.println(user);
    }
}
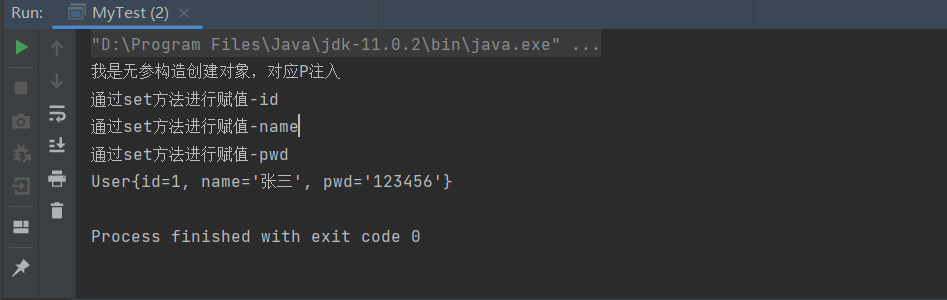
测试结果一:P注入
测试结果二:C注入


 浙公网安备 33010602011771号