
XFire Web Service客户端开发
一、项目创建:
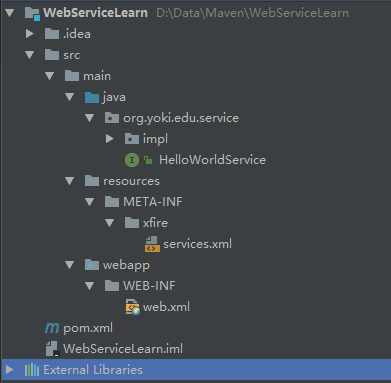
创建一个Maven的web工程
Maven包导入pom.xml
<project xmlns="http://maven.apache.org/POM/4.0.0" xmlns:xsi="http://www.w3.org/2001/XMLSchema-instance"
         xsi:schemaLocation="http://maven.apache.org/POM/4.0.0 http://maven.apache.org/xsd/maven-4.0.0.xsd">
    <modelVersion>4.0.0</modelVersion>

    <groupId>org.yoki.edu</groupId>
    <artifactId>WebServiceLearn</artifactId>
    <version>1.0-SNAPSHOT</version>
    <packaging>war</packaging>

    <name>WebServiceLearn</name>
    <url>http://maven.apache.org</url>

    <properties>
        <project.build.sourceEncoding>UTF-8</project.build.sourceEncoding>
    </properties>

    <dependencies>

        <dependency>
            <groupId>javax.servlet</groupId>
            <artifactId>servlet-api</artifactId>
            <version>2.3</version>
        </dependency>
        <!-- xfire webservice -->
        <dependency>
            <groupId>org.codehaus.xfire</groupId>
            <artifactId>xfire-all</artifactId>
            <version>1.2.6</version>
            <exclusions>
                <exclusion>
                    <!-- 不去除报版本冲突 -->
                    <artifactId>activation</artifactId>
                    <groupId>javax.activation</groupId>
                    <!--<version>1.0.2</version>-->
                </exclusion>
            </exclusions>
        </dependency>
        <!-- xfire webservice -->
    </dependencies>

    <build>
        <plugins>
            <plugin>
                <!-- jetty -->
                <groupId>org.mortbay.jetty</groupId>
                <artifactId>maven-jetty-plugin</artifactId>
                <version>6.1.26</version>
                <configuration>
                    <webAppSourceDirectory>${basedir}/src/main/webapp</webAppSourceDirectory>
                </configuration>
            </plugin>
        </plugins>
    </build>
</project>
二、服务端编写:
1、创建服务端接口:HelloWorldService.java
package org.yoki.edu.service;

/**
 * Created by SunnyWen on 2017/9/4.
 */
public interface HelloWorldService {

    /**
     * return welcome
     *
     * @param username
     * @return
     */
    String sayHello(String username);

}
2、创建服务端接口实现:HelloWorldServiceImpl.java
package org.yoki.edu.service.impl;

/**
 * Created by SunnyWen on 2017/9/4.
 */
public class HelloWorldServiceImpl {

    public String sayHello(String name) {
        return "Hello , " + name + " welcome to new world";
    }

}
3、web.xml文件配置:
<?xml version="1.0" encoding="UTF-8"?>
<!--
 Licensed to the Apache Software Foundation (ASF) under one or more
  contributor license agreements.  See the NOTICE file distributed with
  this work for additional information regarding copyright ownership.
  The ASF licenses this file to You under the Apache License, Version 2.0
  (the "License"); you may not use this file except in compliance with
  the License.  You may obtain a copy of the License at

      http://www.apache.org/licenses/LICENSE-2.0

  Unless required by applicable law or agreed to in writing, software
  distributed under the License is distributed on an "AS IS" BASIS,
  WITHOUT WARRANTIES OR CONDITIONS OF ANY KIND, either express or implied.
  See the License for the specific language governing permissions and
  limitations under the License.
-->
<web-app xmlns="http://xmlns.jcp.org/xml/ns/javaee"
         xmlns:xsi="http://www.w3.org/2001/XMLSchema-instance"
         xsi:schemaLocation="http://xmlns.jcp.org/xml/ns/javaee
                      http://xmlns.jcp.org/xml/ns/javaee/web-app_3_1.xsd"
         version="3.1"
         metadata-complete="true">

    <servlet>
        <servlet-name>XFireServlet</servlet-name>
        <servlet-class>
            org.codehaus.xfire.transport.http.XFireConfigurableServlet
        </servlet-class>
    </servlet>

    <servlet-mapping>
        <servlet-name>XFireServlet</servlet-name>
        <url-pattern>/services/*</url-pattern>
    </servlet-mapping>

</web-app>
4、编写services.xml配置:
在classpath目录下创建META-INF/xfire/services.xml,并加入如下配置:
<beans xmlns="http://xfire.codehaus.org/config/1.0">
    <service>
        <!-- 服务名称 -->
        <name>HelloWorldService</name>
        <!-- 命名空间 -->
        <namespace>http://org.yoki.edu/HelloWoldService</namespace>
        <!-- 服务提供类 -->
        <serviceClass>org.yoki.edu.service.HelloWorldService</serviceClass>
        <!-- 服务提供实现类 -->
        <implementationClass>org.yoki.edu.service.impl.HelloWorldServiceImpl</implementationClass>
    </service>
</beans>
4、启动项目:
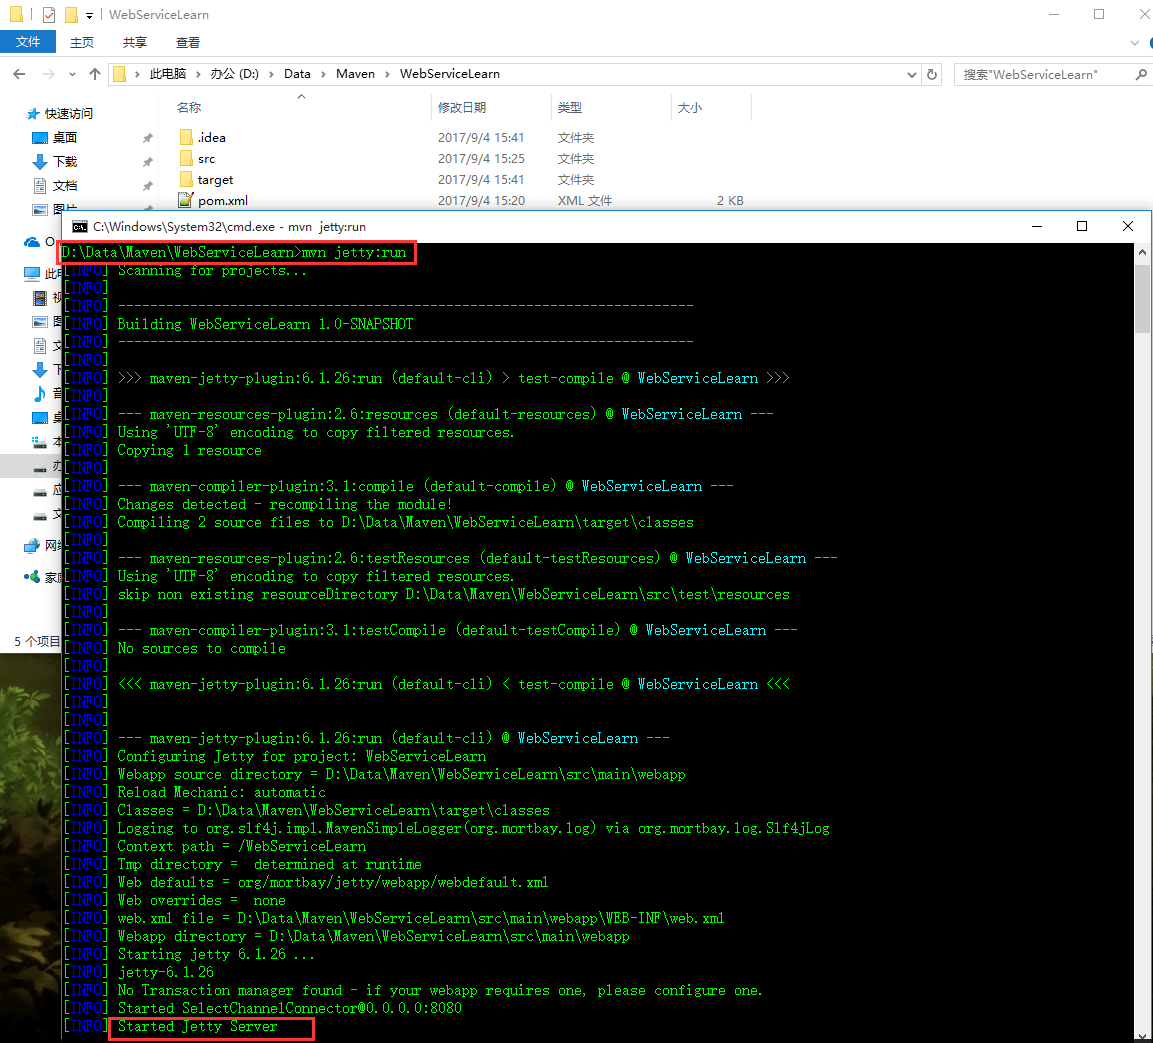
因为我们在pom.xml文件中配置了jetty,所有可以直接使用命令mvn jetty:run运行项目,如下:
或者使用mvn clean package命令打包成war,放在web容器中运行:
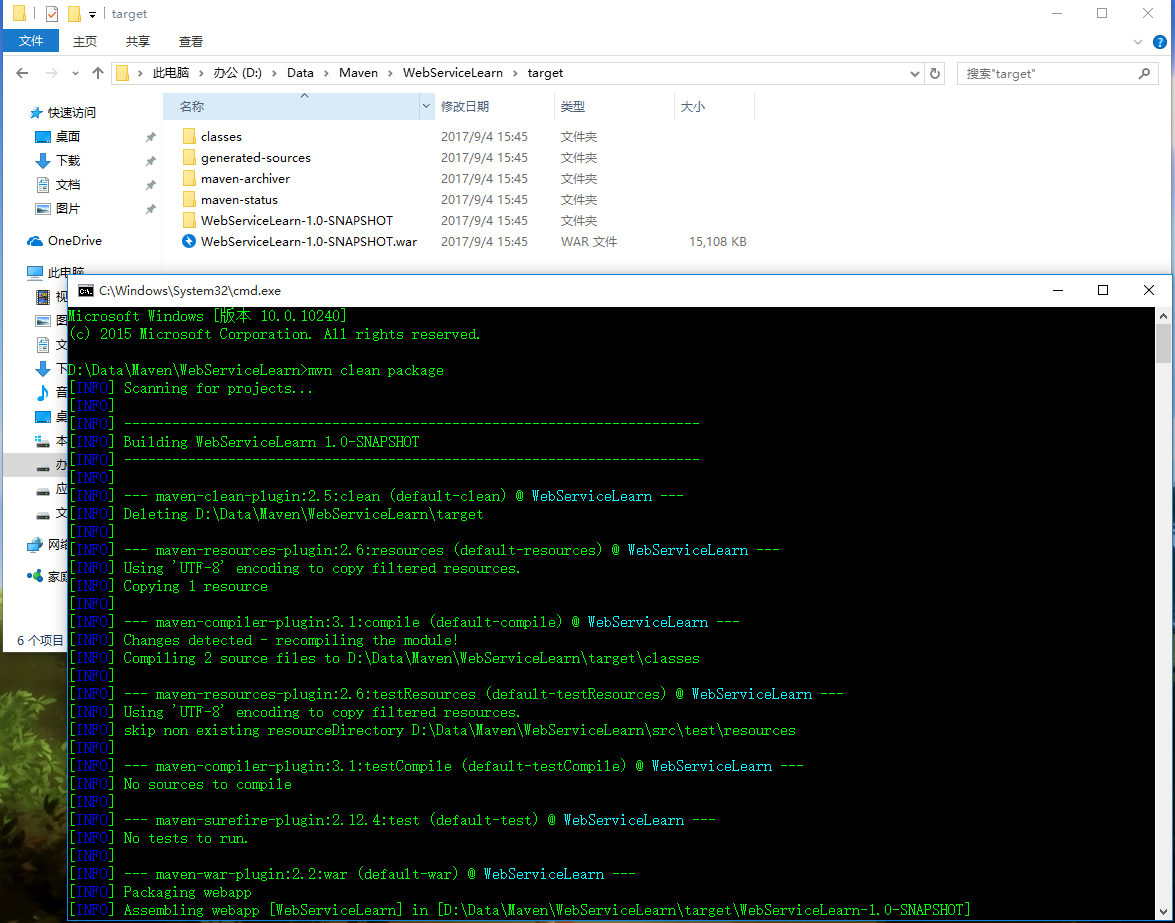
放入Tomcat中并运行Tomcat:

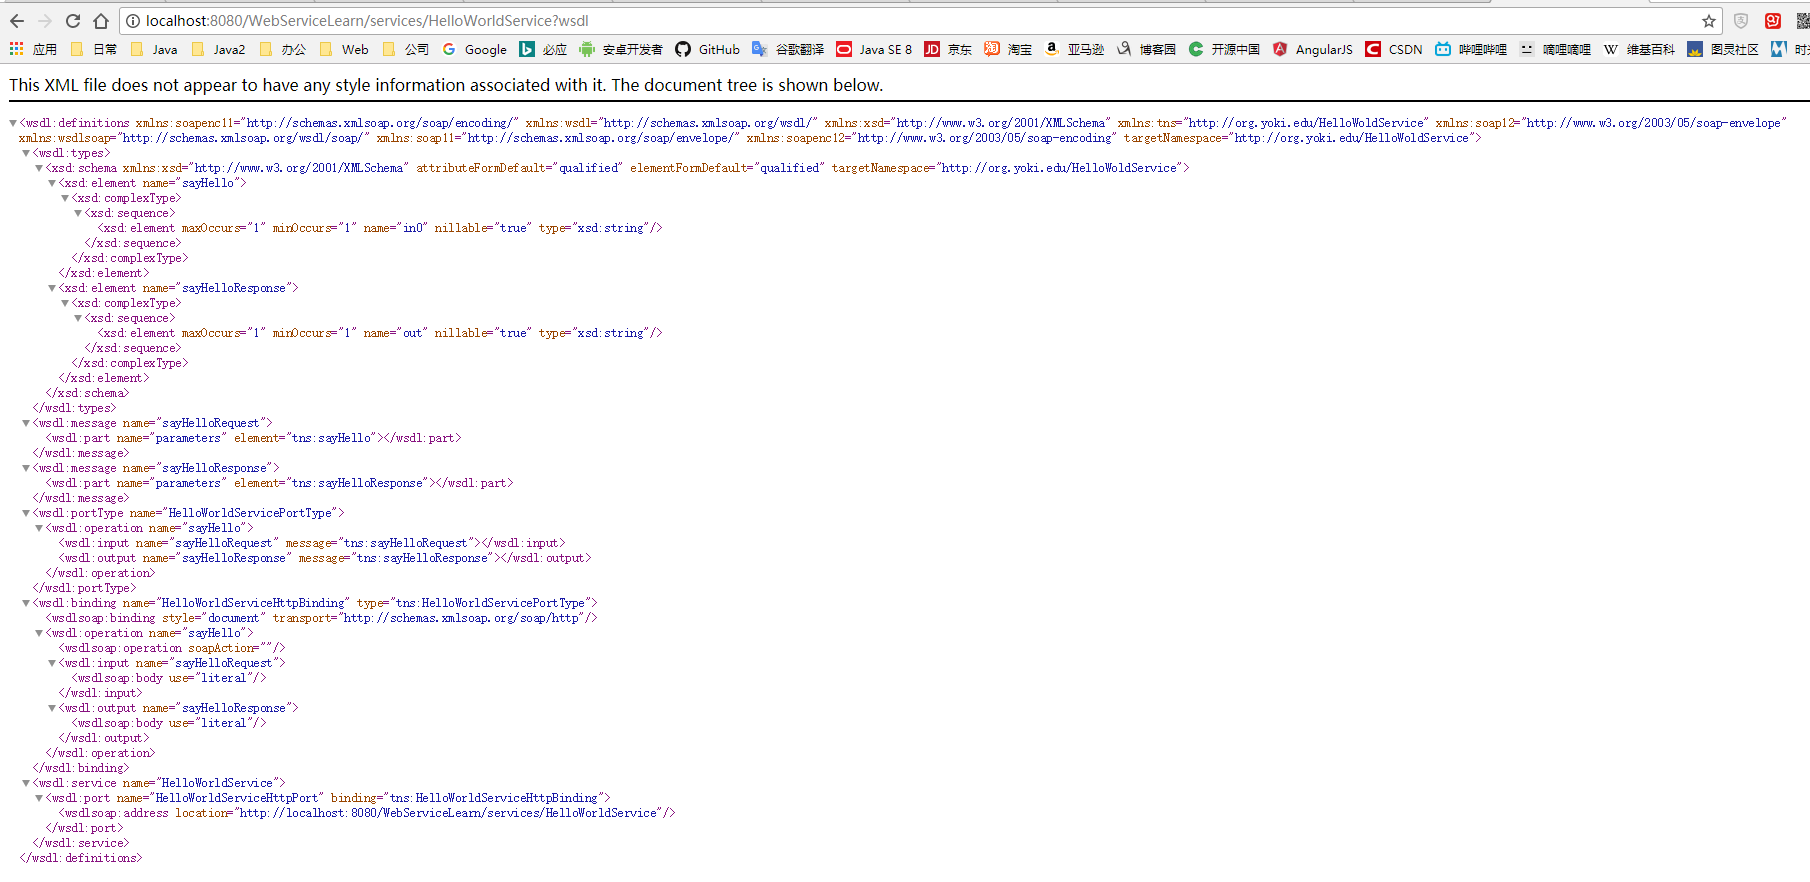
访问网站http://localhost:8080/WebServiceLearn/services/HelloWorldService?wsdl:
二、客户端编写:
package com.yunzhitx.sdy.task.utils;


import org.codehaus.xfire.client.Client;
import org.codehaus.xfire.transport.http.CommonsHttpMessageSender;
import org.springframework.stereotype.Component;

import javax.xml.namespace.QName;
import java.net.HttpURLConnection;
import java.net.URL;
import java.util.Observable;

/**
 * Created by SunnyWen on 2017/8/8.
 */
@Component
public class WsXfireClientUtil {

    public Sender buildSender(String url, String method, Object[] param) {
        Sender sender = new Sender(url, method, param);
        return sender;
    }


    public class Sender extends Observable {
        /**
         * WebService 访问地址
         */
        private String url;
        /**
         * WebService 访问方法
         */
        private String method;
        /**
         * 需要传递的参数
         */
        private Object[] param;
        /**
         * 设置命名空间
         */
        private String targetNamespace;
        /**
         * 是否同步,默认为异步
         */
        private Boolean isSynchro = false;

        public Sender(String url, String method, Object[] param) {
            this.url = url;
            this.method = method;
            this.param = param;
        }

        private Sender setTargetNamespace(String targetNamespace) {
            this.targetNamespace = targetNamespace;
            return this;
        }

        public Sender setSynchro() {
            this.isSynchro = true;
            return this;
        }

        public void send() {

            Runnable runnable = new Runnable() {
                @Override
                public void run() {
                    privateSend() ;
                }
            };
            Thread thread = new Thread(runnable);
            if (!isSynchro)
                thread.start();
            else
                thread.run();
        }

        public Object[] sendSynchro() {
            return privateSend() ;
        }

        private Object[] privateSend(){
            Object[] results = null;
            try {
                HttpURLConnection httpConnection = (HttpURLConnection) new URL(url).openConnection();
                httpConnection.setReadTimeout(240000);//设置http连接的读超时,单位是毫秒
                httpConnection.connect();
                Client client = new Client(httpConnection.getInputStream(), null);
                client.setProperty(CommonsHttpMessageSender.HTTP_TIMEOUT, String.valueOf(240000));//设置发送的超时限制,单位是毫秒;
                client.setProperty(CommonsHttpMessageSender.DISABLE_KEEP_ALIVE, "true");
                client.setProperty(CommonsHttpMessageSender.DISABLE_EXPECT_CONTINUE, "true");
                //Client client = new Client(new URL(wsURL));
                //client.setTimeout(20000);
                // 解决服务端收不到时参数值的情况 (设置的值为:targetNamespace)
                if (null != targetNamespace && targetNamespace.length() > 0)
                    client.getService().setName(new QName(targetNamespace));
                if(null == param)
                    param = new Object[0] ;
                results = client.invoke(method, param);
//                System.out.println("Web Service Xfire 发送数据成功!发送地址:" + url);
                setChanged();
                this.notifyObservers(results);
            } catch (Exception e) {
                e.printStackTrace();
            }
            return results ;
        }

    }

    public static void main(String[] args){
        WsXfireClientUtil ws = new WsXfireClientUtil() ;
        ws.buildSender("http://localhost:8088/ws/countries2.wsdl" , "getCountry2" , null).send();
    }
}

 浙公网安备 33010602011771号