自用对比vue2的vue3+vite 笔记
目录
一. 自用基础对比研究
子组件
<script setup>
import { reactive, ref, computed, watch, watchEffect, onBeforeMount, onMounted, onBeforeUpdate, onUpdated, onBeforeUnmount, onUnmounted } from 'vue'
// 先看新出的简写 setup


// 自定义传入props类型
// defineProps(['msg'])
// defineProps({
//   msg: String
// })
defineProps({
  msg: {
    type: String,
    default: 'aaaaa'
  },
})

// 同vue2 data return 响应式数据
const count = ref(0) // string number boolean
const obj = reactive({ num: 0 }) // 对象、数组、Map、Set

// 计算属性
const plusOne = computed(() => obj.num + 1)

// 监听 变化很大
// 监听ref
watch(
  count,
  (val) => {
    console.log(val)
  }
)
// 监听reactive
watch(
  () => obj.num,
  () => {
    // 仅当 obj.num 被替换时触发
    console.log(obj.num)
  },
  { deep: true, immediate: true }
)
// 初始化监听,感觉和nuxtJs asyncData差不多?
watchEffect(() => {
  console.log('有东西变了')
})

// 生命周期有变化
onBeforeMount(() => {
  console.log('BeforeMount')
})
onMounted(() => {
  console.log('Mounted')
})
onBeforeUpdate(() => {
  console.log('BeforeUpdate')
})
onUpdated(() => {
  console.log('Updated')
})
onBeforeUnmount(() => {
  console.log('BeforeUnmount')
})
onUnmounted(() => { // 销毁
  console.log('Unmounted')
})


// vue内置指令写法没变
// v-memo 用于缓存v-for数据,数据没变更新会跳过

// template 和 style 基本没变
</script>


<template>
  <h1>{{ msg }}</h1>
  <div class="card">
    <button type="button" @click="count++">count is {{ count }}</button>
    <p>
      Edit
      <code>components/HelloWorld.vue</code> to test HMR
    </p>
  </div>
  <div class="card">
    <button type="button" @click="obj.num++">count is {{ obj.num }}</button>
    <p>
      {{ plusOne }}
    </p>
  </div>
  <div class="card">
    <slot name="header"/>
    <slot />
  </div>

</template>


<style lang="scss" scoped>
.read-the-docs {
  color: #888;
}
</style>
父组件
<script setup>
import other from './components/other.vue'
</script>

<template>
  <other msg="父传子参数">
    <template #header>
      具名插槽
    </template>

    <template #default>
      默认插槽
    </template>
  </other>
</template>

<style scoped>
.logo {
  height: 6em;
  padding: 1.5em;
  will-change: filter;
}
.logo:hover {
  filter: drop-shadow(0 0 2em #646cffaa);
}
.logo.vue:hover {
  filter: drop-shadow(0 0 2em #42b883aa);
}
</style>
二. script setup
1. 极简父传子子传父
main.js
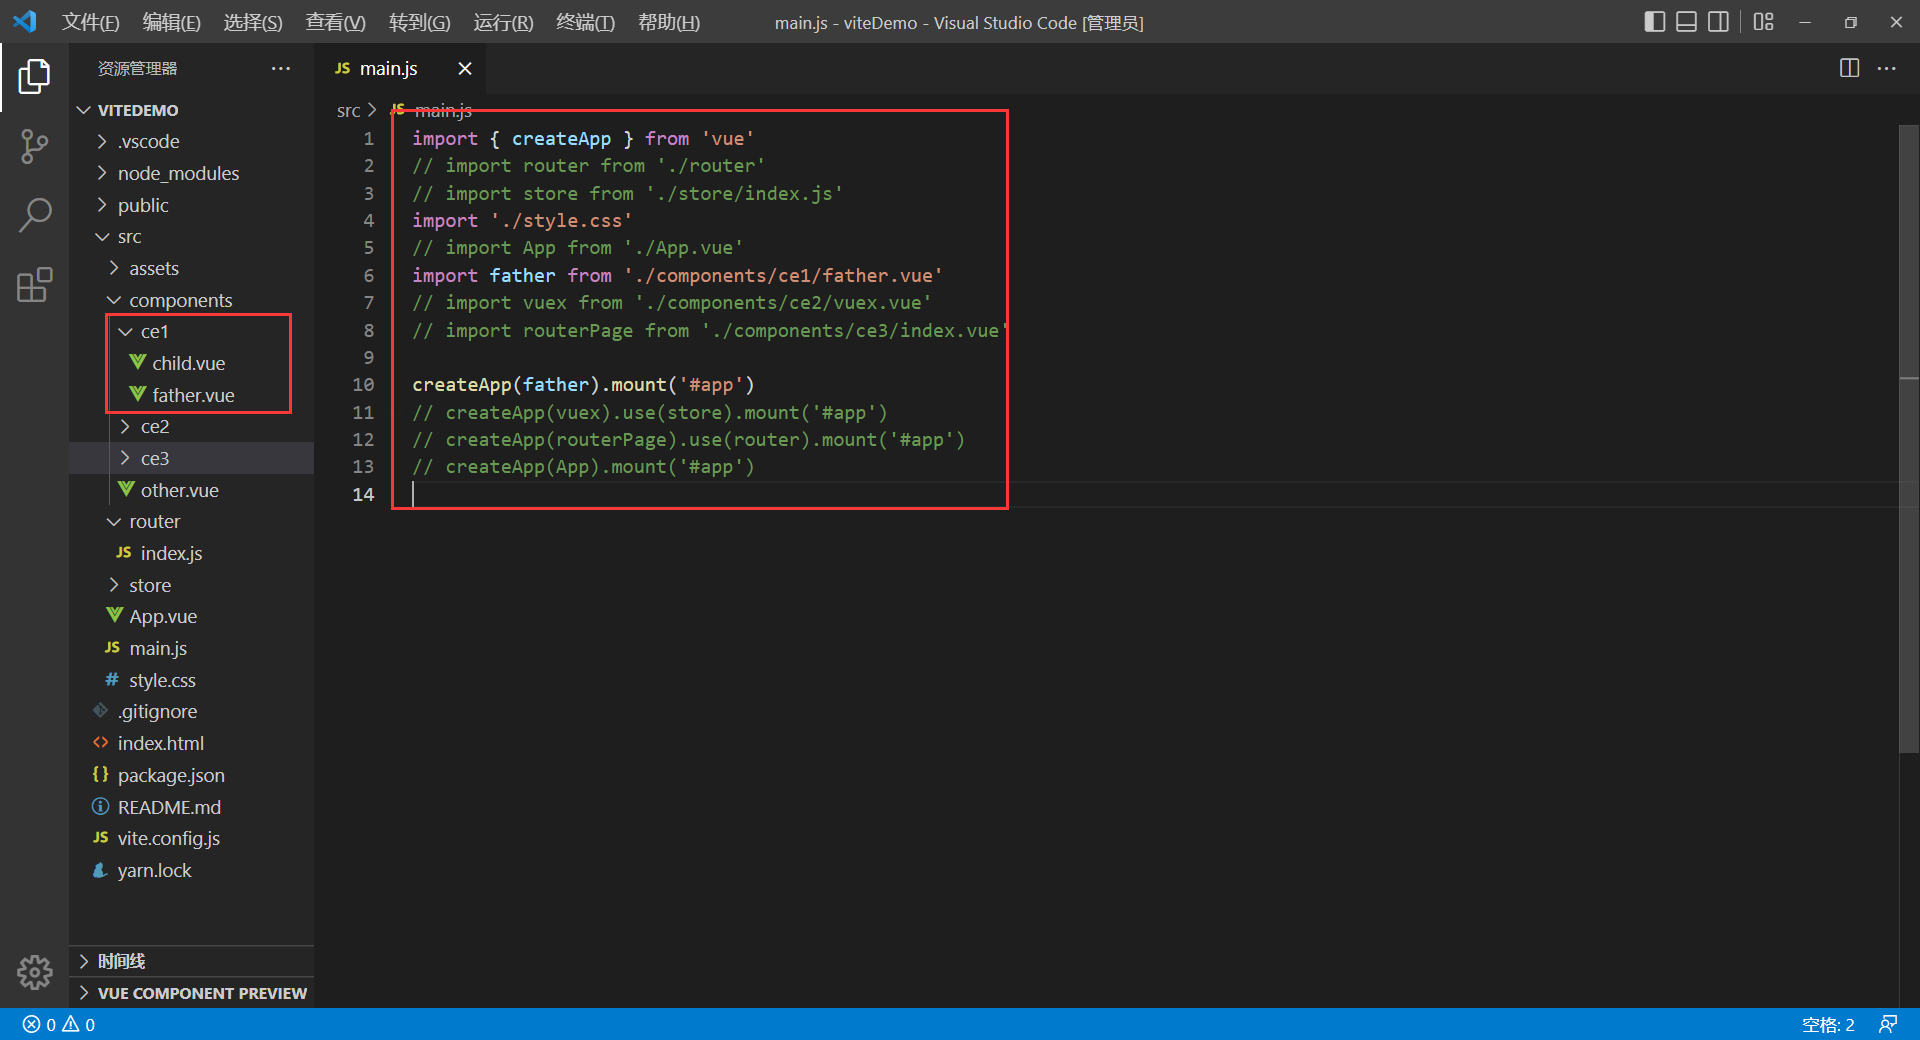
父组件 father.vue
<template>
  <h3>子传父数据:{{ childData }}</h3>
  <child
    :data="father"
    @clickFu="getData"
  />

</template>

<script setup>
import { ref } from 'vue';
import child from './child.vue'
// 定义传参
const father = ref('父数据')
const childData = ref('')

// 获得返参
const getData = (data) => {
  childData.value = data
}
</script>
子组件 child.vue
<template>
  <h3>
    父传子数据:{{data}}
  </h3>
  <button @click="clickSon">点击后子传父</button>
</template>

<script setup>
// 接收父数据props
const props = defineProps(['data'])

// 定义emit
const emit = defineEmits(['clickSon'])

// 按钮点击事件
const clickSon = () => {
  emit('clickFu', '子数据11')
}
</script>
2.vuex
store/index.js
import { createStore } from 'vuex'

const store = createStore({
  state: {
    count: 0,
    userInfo: {},
  },
  getters: {
    getCount(state) {
      return state.count + 10001;
    },
    getUserInfo(state) {
      return {...state.userInfo, ...{ name: '测试getters'}};
    },
  },
  mutations: {
    setCount(state, count) {
      state.count += count
    },
    setUserInfo(state, data) {
      // 旧版本可能要写,要不然页面数据不更新?
      // state.userInfo = null
      state.userInfo = data
    },
  },
  actions: {
    asyncSetCount(store, count) { // 第一个参数是vuex固定的参数,不需要手动去传递
      store.commit("setCount", count)
    },
    asyncSetUserInfo(store, data) {
      store.commit('setUserInfo', data)
    },
  },
})

export default store
main.js
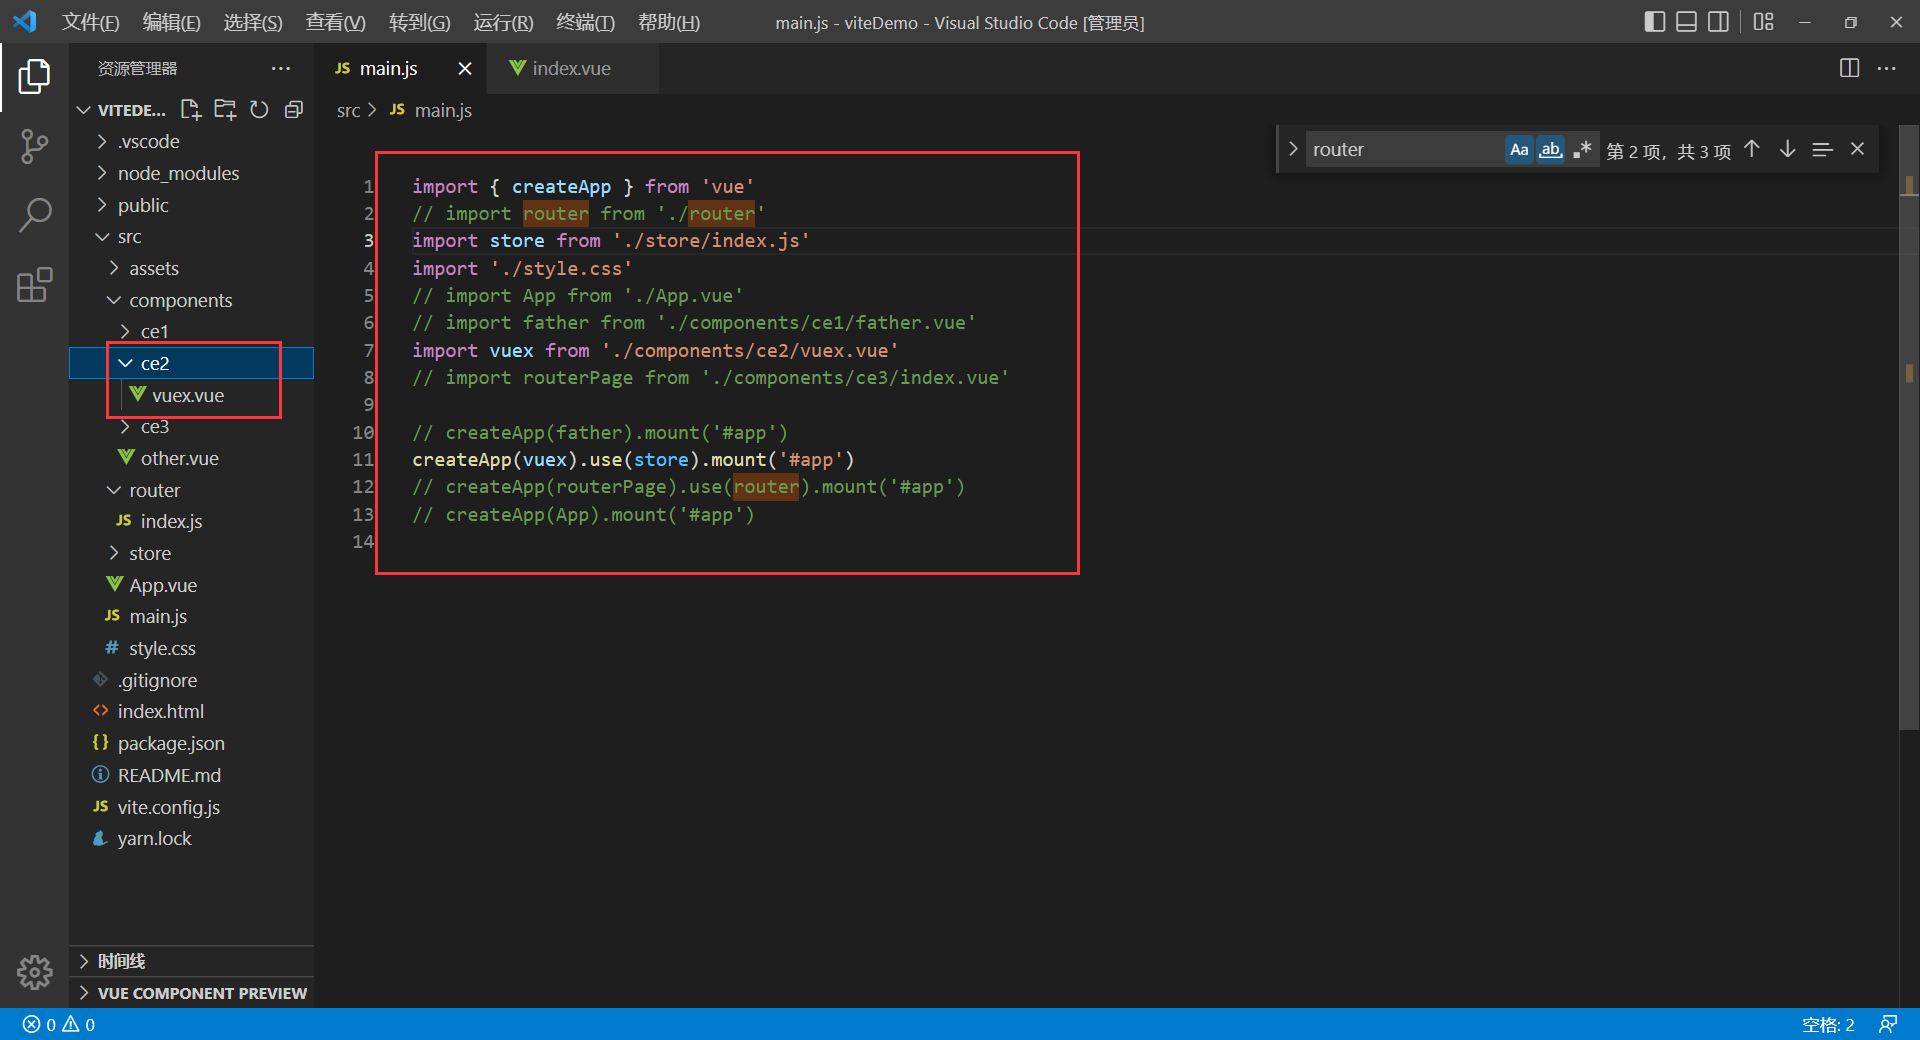
vuex.vue
<template>
  <div class="card">
    <h3>默认普通数据:{{ count }}</h3>
    <h3>默认普通数据:{{ newCount }}</h3>
    <button @click="changeCount">改变数据</button>
    <button @click="asyncChangeCount">异步改变数据</button>
  </div>
  <div class="card">
    <h3>默认对象数据:{{ userInfo }}</h3>
    <h3>默认对象数据:{{ newUserInfo }}</h3>
    <button @click="changeUserInfo">改变数据</button>
    <button @click="asyncChangeUserInfo">异步改变数据</button>
  </div>
</template>
<script setup>
import { computed } from "vue";
import { useStore } from 'vuex'
// 定义
const { state, getters, commit, dispatch } = useStore();
// 取值
let count = computed(() => { return state.count })
let userInfo = computed(() => {return state.userInfo})
// vuex计算属性
let newCount = computed(() => { return getters['getCount'] })
let newUserInfo = computed(() => { return getters['getUserInfo'] })
// 同步改变
const changeCount = () => {
  commit("setCount", 1)
}
const changeUserInfo = () => {
  commit("setUserInfo", {name: 'aaaa'})
}
// 异步改变
const asyncChangeCount = () => {
  setTimeout(() => {
    dispatch("asyncSetCount", 5)
  }, 1000)
}
const asyncChangeUserInfo = () => {
  setTimeout(() => {
    dispatch("asyncSetUserInfo", {date: new Date()})
  }, 1000)
}
</script>
3.vue-router
router/index.js
import {
  createRouter,
  createWebHashHistory,
  createWebHistory,
} from 'vue-router'

// 创建路由
const router = createRouter({
  // 创建路由模式 history模式--createWebHashHistory 哈希模式--createWebHistory
  history: createWebHashHistory(),
  // 配置路由规则
  routes: [
    { path: '/home', component: () => import('../components/ce3/Home.vue') },
    { path: '/login', component: () => import('../components/ce3/Login.vue') },
  ],
})

// 导出路由
export default router
main.js
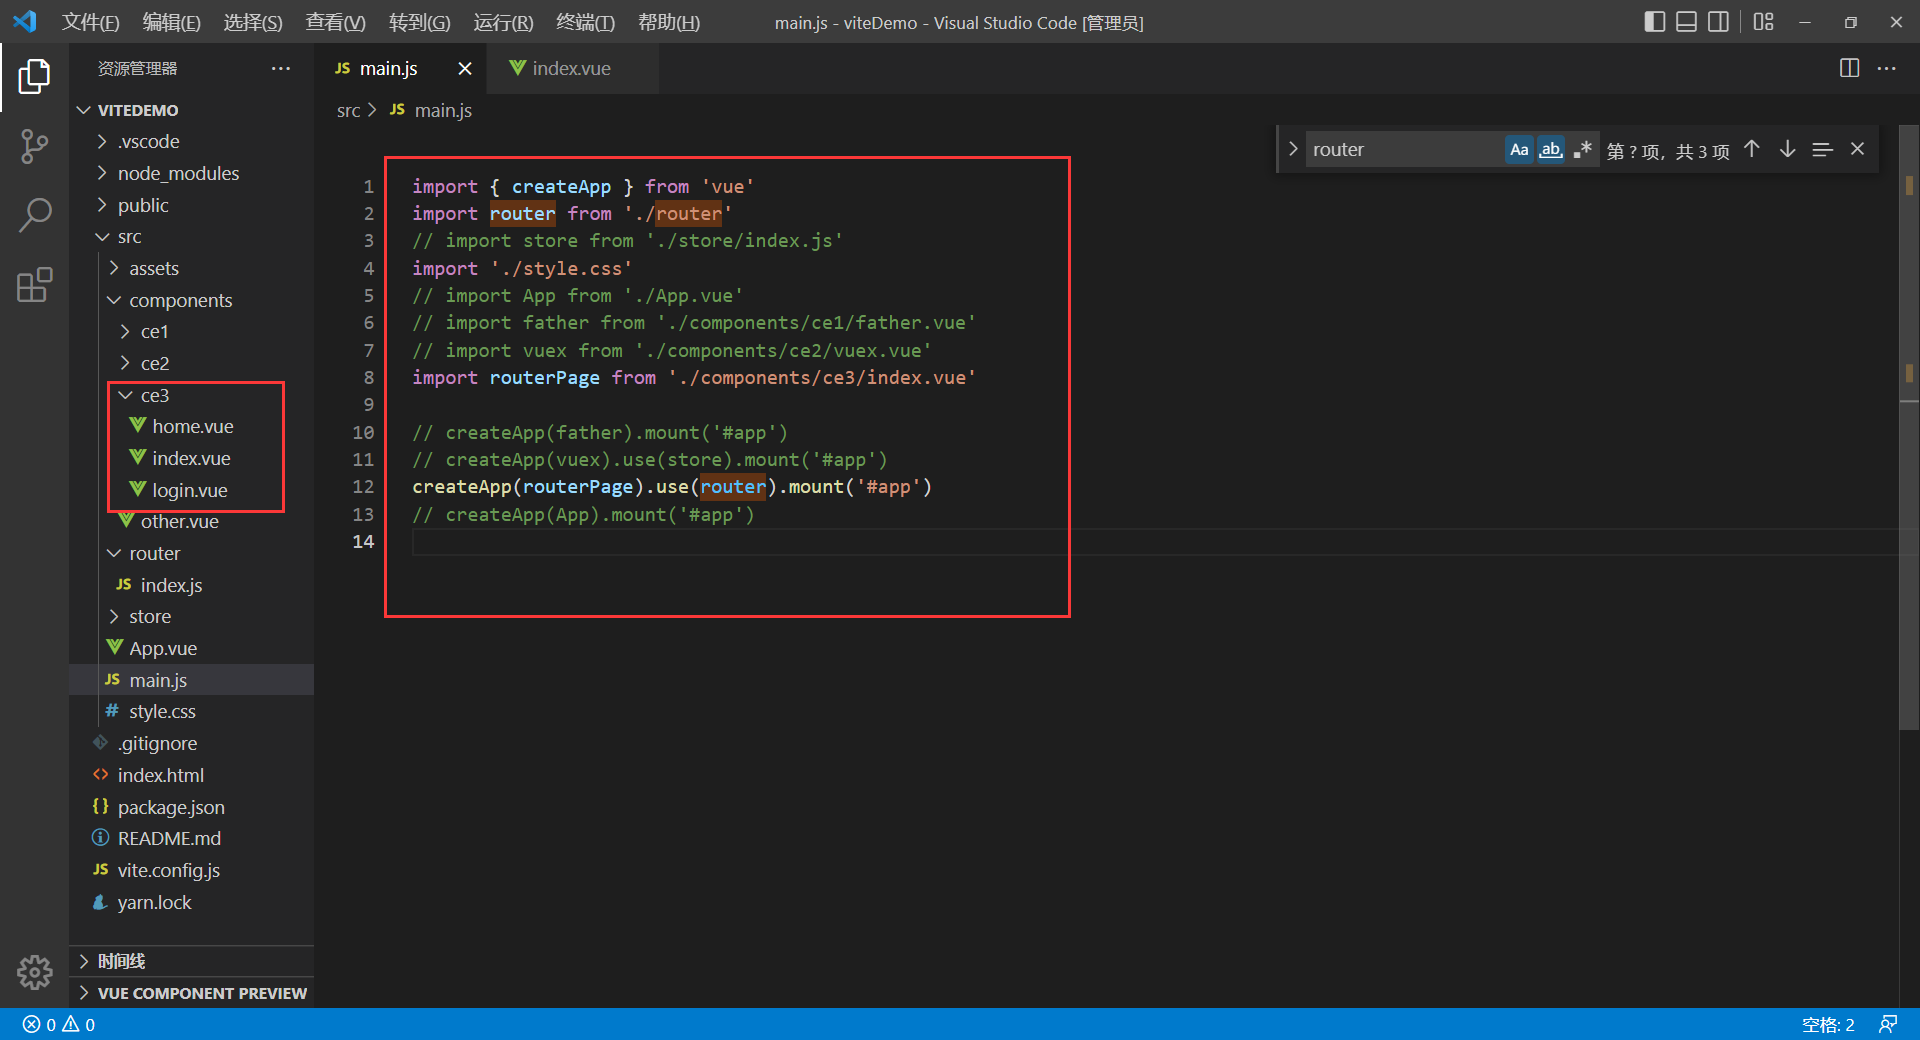
index.vue
-
首页 -
登录
本文来自博客园,作者:暗鸦08,转载请注明原文链接:https://www.cnblogs.com/DarkCrow/p/17015037.html

 浙公网安备 33010602011771号